Tag Archives: eggs

Simplicity Is Elegance

I am not much of a dessert eater, but I do enjoy fruit desserts. I prefer tarts and galettes. Most times I am too full after eating to even think about something sweet. However, this cake totally changed everything. It’s moist, full of fruit, not too sweet, light, and incredibly delicious. I remember the first time I made it, I was alarmed when I started folding in the cubed apples. “This can’t be right,” I thought to myself. There seemed to be more fruit than cake. Exactly!

This cake can be baked in a regular cake pan, however I prefer a 9-inch springform pan lined with parchment paper. This makes it very easy to slide onto a plate after it cools.

FRENCH APPLE CAKE

INGREDIENTS:

  • 1 cup all-purpose flour, spooned into measuring cup and leveled off
  • 1 teaspoon baking powder
  • 1/4 teaspoon salt
  • 1 stick (1/2 cup) unsalted butter, at room temperature
  • 2/3 cup granulated sugar, plus more for sprinkling over cake
  • 2 farm fresh organic eggs
  • 1 teaspoon pure vanilla extract
  • 3 tablespoons dark rum
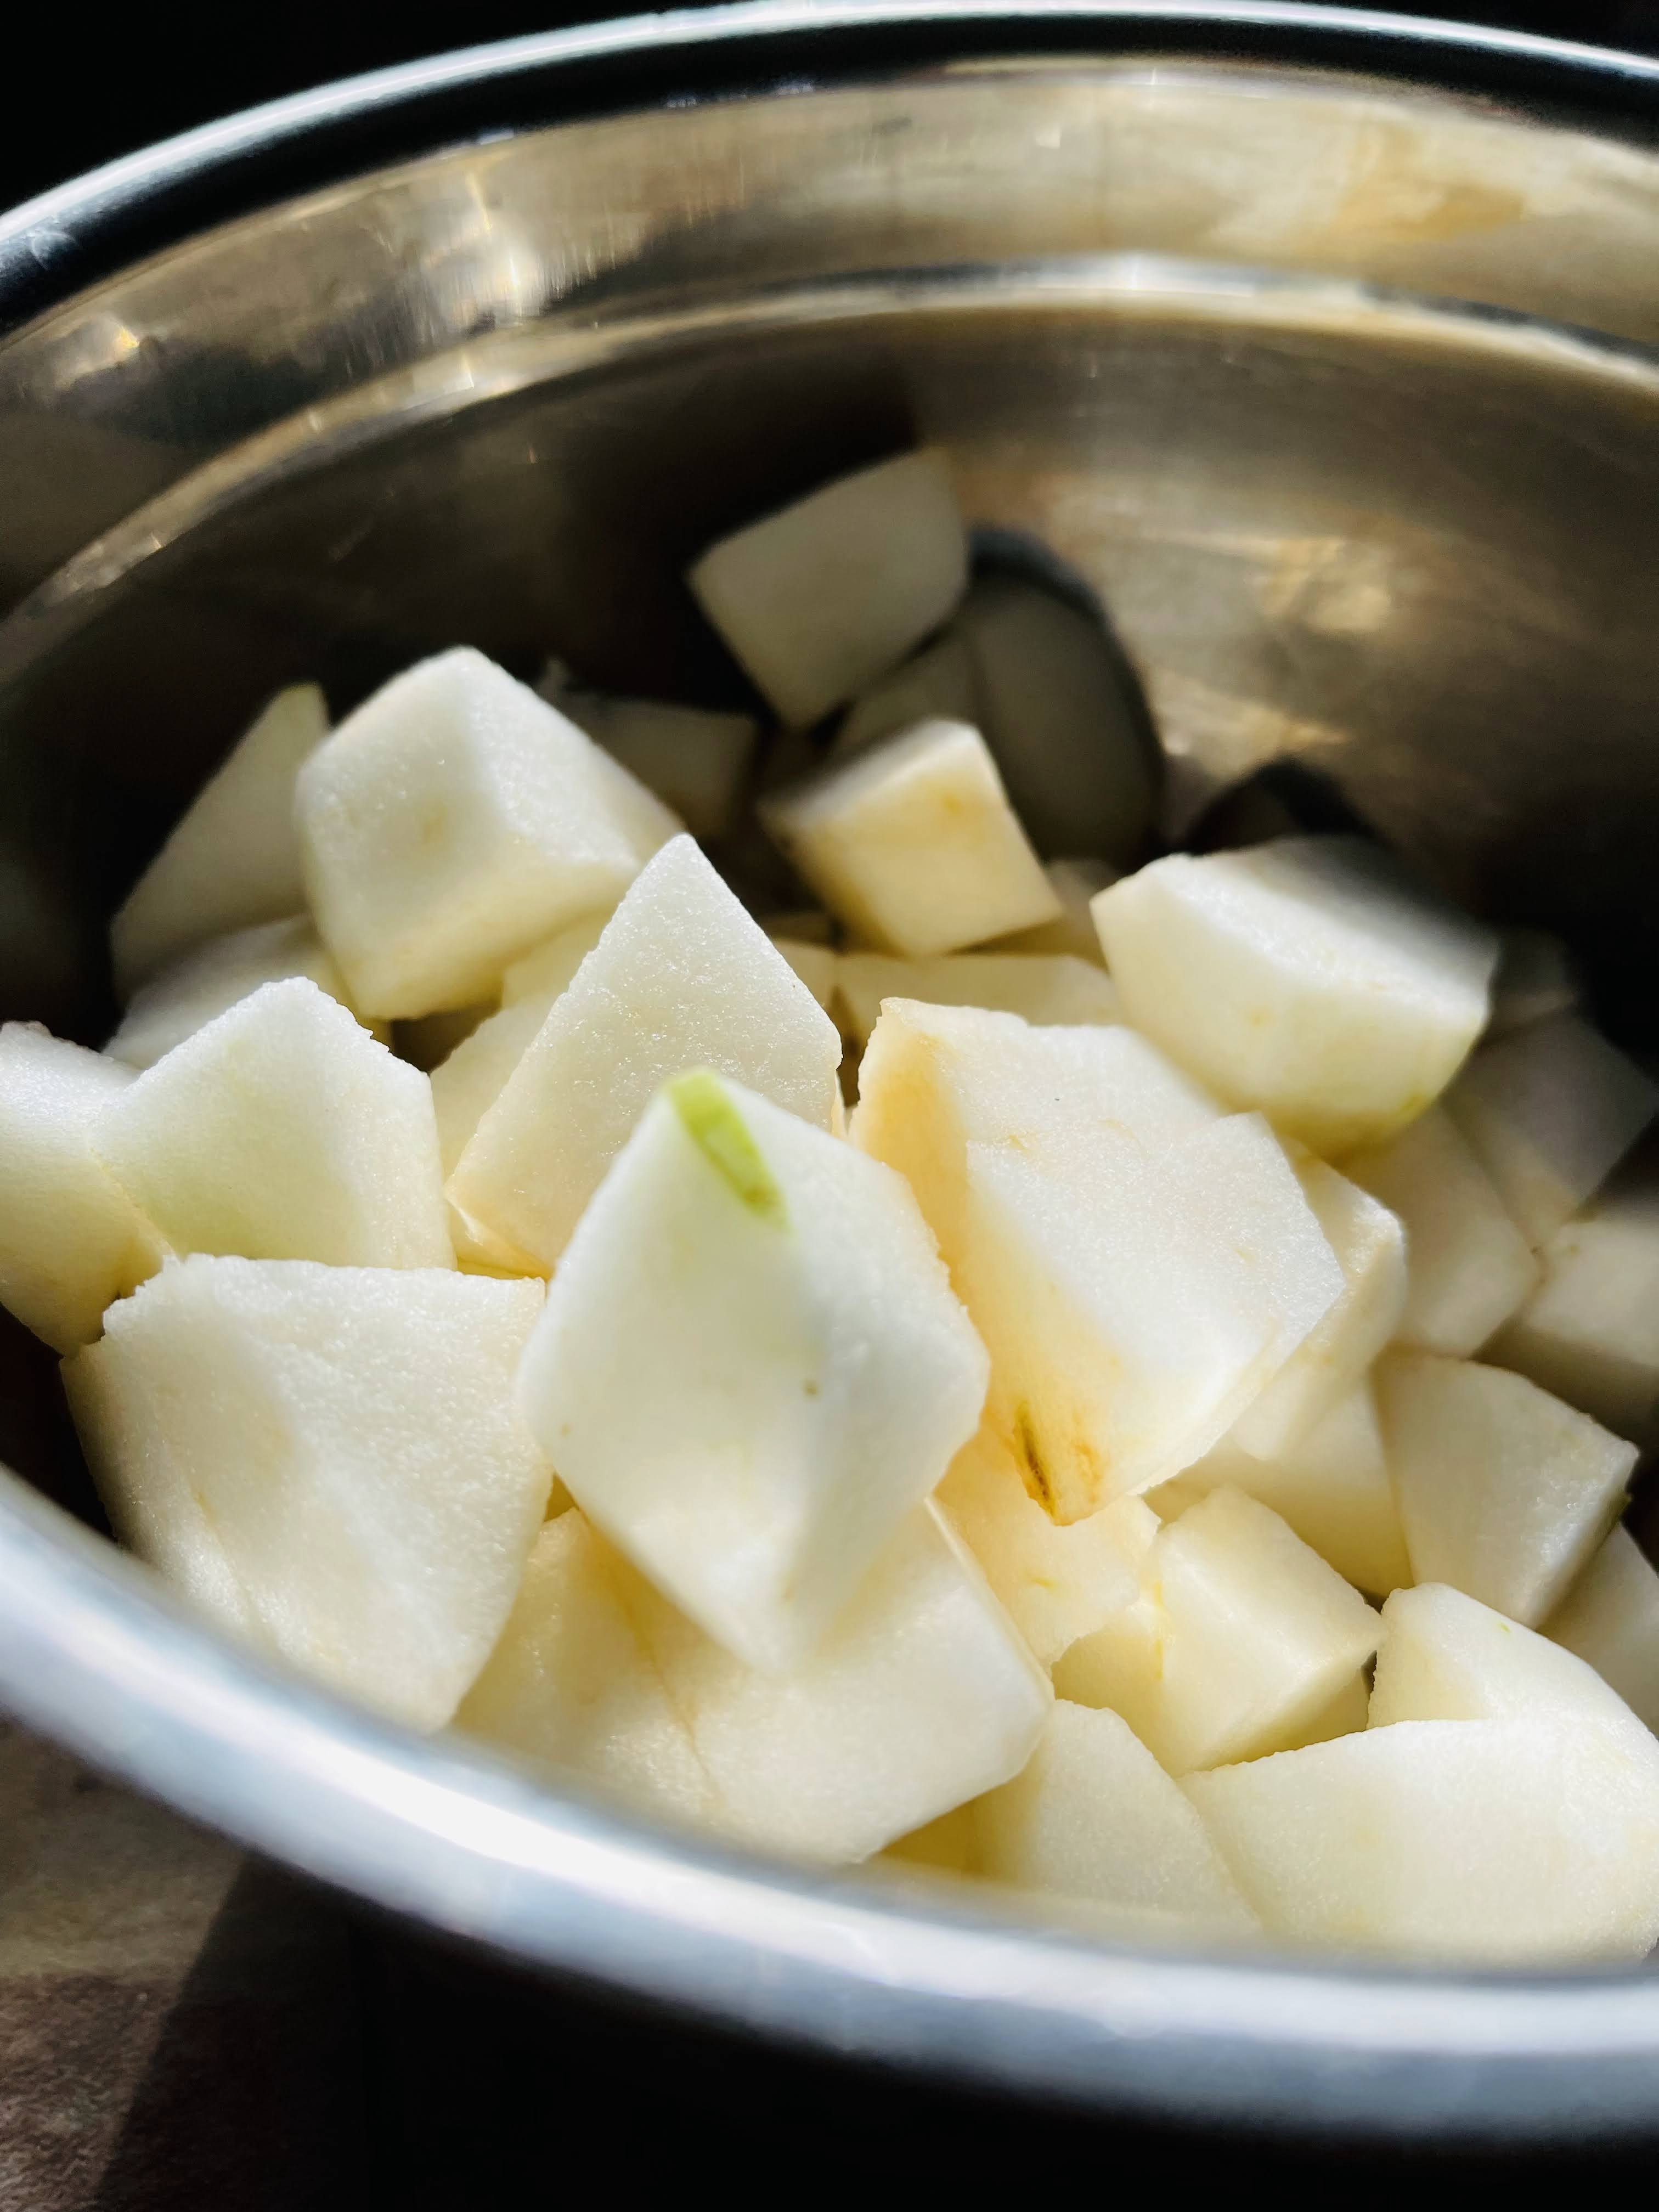
  • 3 baking apples, peeled, cored and cut into 1/2 -inch cubes (I like Pink Ladies, Granny Smith or Cortland)
  • Confectioner’s sugar (optional) for decorating cake
INSTRUCTIONS:
  1. Preheat oven to 350 degrees F and set an oven rack in the middle position. Grease a 9-inch springform or regular cake pan with butter or cooking spray. If using a springform pan, line the bottom and sides with parchment paper, and grease again. If using a regular cake pan, line the bottom with parchment paper, and grease again.
  2. In a small bowl, whisk together the flour, baking power and salt.
  3. Using a handheld mixer with beaters or a stand mixer with the paddle attachment, cream the butter and granulated sugar until light and fluffy, about 3 minutes. Add the eggs, one at a time, beating well and scraping down the sides of the bowl after each addition. Beat in the vanilla and rum. The batter will look slightly grainy.
  4. Add the flour mixture and mix on low speed until just combined. Using a rubber spatula, fold in the chopped apples.
  5. Scrape the batter into the prepared pan and even the top. Sprinkle evenly with 1 tablespoon granulated sugar. Bake for 40-50 minutes, or until the cake is golden and a toothpick inserted into the center comes out clean.
  6. Allow the cake to cool on a rack in the pan. Once cool, run a blunt knife around the edges of the cake. If using a springform pan, remove the sides. If using a regular cake pan, carefully invert the cake onto the rack, remove the parchment paper, then gently flip the cake over and place right-side-up on a platter. If using a springform pan, remove parchment paper on the sides, slip two spatulas under the cake, and carefully slide it onto a platter.
  7. Using a fine sieve, dust with confectioners’ sugar. Cake can be served warm or at room temperature.

Serves 6-8

“Life’s too short to say no to cake!”

Skillet Chili Rellenos

As a vegetable farmer, I can or freeze a fair amount of food for our winter consumption. When the tomatoes and peppers are on, you will find me doing something for future use. Currently we are bombarded with peppers of all kinds. Poblanos, Hatch, jalapeños, pepperoncini and serranos. This week as I was grilling some poblano peppers for using in chili this winter, I thought why not use all this produce for something savory that won’t take a lot of time, yet has all the ingredients of one of my favorites, Chili Rellenos. Peppers, onions, garlic, tomatoes, we had it all on hand. I’ve been using the cast iron skillet that was handed down from my wife’s grandmother quite a bit lately. I love how it can go from stovetop, to oven to table (less dishes!). Bingo! I had our dinner plans.

Although I prefer to grill my peppers, you can also broil them in the oven on a sheet pan. Simply cut your peppers in half lengthwise and place them on a lightly oiled sheet pan, skin side up. Broil the poblanos about 15 minutes, until the skins char and blacken. They should puff up. Remove, place them in a bowl and cover with plastic wrap until they cool slightly. Then peel off the skins and discard along with the seeds and stem.

INGREDIENTS:

  • 6 roasted poblano peppers, peeled and seeded; cut into strips
  • 1 tablespoon olive oil
  • 2 jalapeños, minced
  • 1 medium white onion, chopped
  • 4 cloves garlic, minced
  • 6 fresh roma tomatoes, chopped or one 15 oz can chopped tomatoes
  • 1 teaspoon Mexican oregano
  • 1 teaspoon smoked paprika
  • 1/2 teaspoon ancho chili powder
  • 1 teaspoon ground cumin
  • Salt and freshly ground black pepper to taste
  • 6 large eggs
  • 4 cups shredded cheddar cheese or a combination of Monterey Jack and cheddar
  • Fresh cilantro, chopped for garnish
  • Sour cream for garnish

INSTRUCTIONS:

  1. Heat a 12-inch ovenproof skillet over medium heat and add the olive oil. Add the onion and jalapeño and saute them for about 5-6 minutes to soften.
  2. Add the garlic and cook for about 2 minutes.
  3. Add the tomatoes, oregano, ancho powder, cumin, salt and pepper. Cook for 10 minutes on medium-low, until the tomatoes soften up and the mixture becomes saucy. Scoop half of the sauce into a bowl.
  4. Preheat the oven to 350 degrees F.
  5. In the same 12-inch skillet, layer half of the poblano strips and half of the cheese. Add the remaining sauce, then the remaining poblano strips, then half of the remaining cheese.
  6. Next, beat the eggs and pour the eggs over the mixture over the top of the skillet. Add the remaining cheese.
  7. Bake for 25-30 minutes, or until the eggs set and the cheeses are melted.
  8. Remove and let set for 5 minutes. Garnish with chopped cilantro.

Serves 4-6

My favorite time of day is to get up and eat leftovers from dinner, especially spicy food. — David Byrne

Elevating Breakfast

I absolutely love food! It is my passion, my vocation, my artform and my entertainment. Yet, my relationship to food has been out of balance for most of my life. I eat when I’m stressed, I eat when I’m sad, I eat when I’m bored. I eat when I’m happy. In other words, I am an emotional eater. This has caused me to lose the same 30-40 pounds over and over throughout my adult life. It has taken me a long time to be willing to come to terms with the fact that my relationship to food was what was out of balance.

I am by nature a generous person. Food is love to me. My ability to love myself, not so much. I became aware that the act of excessive eating, was how I filled myself up. Food substituted for love, and this realization was an amazing discovery. So what do I do with this information? Diets have never worked for me. I would lose the weight only to gain it back (and then some)! What I needed was a lifestyle change, not a diet. I needed to understand the why of my overeating, its triggers, and correct that distortion. In other words, I needed to create a life that was healthy and took into account my love of food. I discovered: Noom. I highly recommend it for not only helping you lose weight, but learning about the psychology of why we create unhealthy habits. If I as an elder can make changes, anyone can.

The following recipe is a good example of controlling food quantity, as well as being satisfied. I am a person who does not eat a lot of processed food. I find this not only delicious, but something created from items we usually have on hand. I usually prepare a entire can of artichoke hearts, so I can use it throughout the week.

ARTICHOKE & EGG TARTINE

INGREDIENTS:

  • 1 teaspoon extra-virgin olive oil
  • 1 can artichoke hearts, drained
  • 1-2 leeks cleaned and rinsed, using white and light green parts, thinly sliced (you can also use 2-3 shallots)
  • 1/2 teaspoon dried oregano
  • Freshly ground black pepper to taste
  • 1 slice of toasted bread of choice per person
  • 1 large farm fresh egg per person
  • Hot sauce (optional) I like Chalula

INSTRUCTIONS:

  1. Drain artichokes, then place them between several layers of paper towels. Press firmly to absorb as much of the brine as possible; then chop coarsely.
  2. Slice leeks or shallots thinly; set aside.
  3. Heat olive oil in 10-inch non-stick skillet on medium. Add leeks or shallots and sauté until soft. Add artichokes, oregano and pepper. Sauté until hot.
  4. Toast bread (you could also use 1/2 of an English muffin). Poach or fry eggs over-easy.
  5. Spoon artichoke mixture on toast; top with egg.
  6. Add a dash or two of hot sauce.

Serves up to 4

“Every woman who finally figured out her worth, has picked up her suitcases of pride and boarded a flight to freedom, which landed in the valley of change.” —Shannon L. Alder

Edible Culture

As the wind throws our wind chimes against the house, and stirs up whitecaps on the lake; I sit beside our wood burner feeling quite cozy. I was thinking about our kitchen fest last holiday weekend; I absolutely love egg dishes and had made Shashuka on Sunday. The dish’s name means ‘all mixed up’ and in a sense it is. Its name dates back to the Ottoman Empire and is a favorite in the Middle East, Israel and North Africa. It’s hardy, affordable and delicious with warm spices of cumin and smoked paprika, along with tomatoes, sweet peppers, chickpeas, onion, garlic and of course eggs. There are several similar egg dishes in the world that have some of these ingredients along with their own cultural flair. I have always thought that any dish combining tomatoes and eggs is an automatic winner.

Shashuka has a comforting nature and healthy ingredients. There are many variations that allow for levels of spiciness, along with vegetables, herbs and meat. You can add ground lamb or sausage before sautéing the onion and pepper, and garnish it with feta; or you can make it more Tex-Mex by omitting the paprika and adding chili powder, black beans or corn, then finishing it with chopped fresh cilantro and a squeeze of lime juice. It’s just plain flexible, so let your imagination soar. These days, practically any dish in which eggs are cooked in a sauce may be called Shashuka. In my last cookbook I have a recipe for Green Shashuka, made with spinach, Swiss chard, arugula or kale; along with onions, garlic, herbs, cream and feta.

SHASHUKA

INGREDIENTS:

  • 2 tablespoon extra-virgin olive oil
  • 1 yellow onion, chopped
  • 2 sweet peppers, I like one red and one yellow, cut into 1 inch pieces
  • 4 cloves garlic, minced
  • 2 15-oz cans fire roasted tomatoes (or 6-8 fresh Roma tomatoes, chopped)
  • 1 15-oz can rinsed chickpeas
  • 2 teaspoons ground cumin
  • 2 teaspoons smoked paprika
  • 1/2 teaspoon Aleppo pepper flakes
  • 1/2 teaspoon freshly ground black pepper
  • 1/4 cup tomato paste
  • 2 cups packed baby spinach
  • 2 fresh eggs per person
  • 1/2 cup fresh micro-greens, chopped fresh parsley or cilantro for garnish
Let’s start with onions and garlic
Then add beautiful peppers and tomatoes

INSTRUCTIONS:

  1. In a large non-stick or cast iron skillet, heat your oil over medium-high heat. Add onions and sauté for 3-4 minutes or until soft and translucent; add garlic and sauté 1 minute more. Add peppers and fresh tomatoes if using; cook until soft, about 8-10 minutes.
  2. Add fire-roasted tomatoes if using, then cumin, smoked paprika, Aleppo pepper (or red pepper flakes), black pepper, chickpeas and tomato paste. Stir to combine. Simmer until thickened, about 5-8 more minutes.
  3. Stir in baby spinach and fold gently until spinach wilts. Make indentations in the sauce and gently crack the eggs into the wells. Season eggs with salt and pepper. Cover the skillet, and cook until the egg whites are just set, but yolks are still soft, about 7-10 minutes.
  4. Carry skillet to table and serve hot, sprinkled with garnish of your choice.

Serves: 2-6

Eggs poaching in sauce
Beautiful Shashuka ready to eat!!

“Food is love!!”

Your My Thrill

You do something to me! It was so unexpected when it happened. Caught totally off guard, I find I just can’t get enough of my new love! There are so many ways to use these little gems, and this recipe is perfect for a breakfast or brunch. Full of cheese, eggs, kale, cream and bread cubes it is a meal by itself, or if you prefer, with something simple from the grill. Turnips have the added benefit of not being a carbohydrate. They have less than half the calories of potatoes or sweet potatoes; and can easily be swapped out in recipes. So you can literally eat them with abandon!

TURNIP AND KALE GRATIN

INGREDIENTS:

  • 5 cloves garlic, thinly sliced
  • 2 cups heavy cream
  • 1 teaspoon fresh thyme leaves (lemon thyme is wonderful)
  • 2 tablespoons unsalted butter, divided
  • 3 medium onions, thinly sliced
  • Kosher salt and freshly ground black pepper to taste
  • 3 bunches kale, ribs and stems removed, leaves torn (you can use any type of kale, I find Tuscan and Red Russian particularly good)
  • 6-8 medium turnips, trimmed, and cut into 1/2 inch cubes (I don’t peel mine, however if you do feel free)
  • 3 large farm-raised eggs, beaten
  • 1 cup Fontina cheese, grated (about 4 ounces)
  • 1 cup pecorino cheese, grated (about 1 ounce)
  • 2 cups day-old bread such as ciabatta, cut into 1/2 inch pieces

img_6645

INSTRUCTIONS:

  1. In a medium pan, bring garlic, cream and thyme to a simmer over medium heat. Reduce heat to low and continue to simmer for 30 minutes. Let cool.
  2. Meanwhile, heat 1 tablespoon butter in a large skillet over medium-low. Add onions, season with salt and cook, stirring occasionally until they turn a nice light amber color, about 20-30 minutes. Add a splash or two of water if they start to stick to the bottom of your pan. Transfer to a large bowl and let cool. Wipe out skillet.
  3. Heat remaining 1 tablespoon of butter in same skillet. Working in batches, add your kale, tossing and letting it wilt slightly before adding more; season with salt. Cook until kale is wilted and tender, about 5 minutes. Add to bowl with onions.
  4. While kale is cooking, cook turnips in a large pot on well-salted water until crisp tender, about 2 minutes; drain. Transfer to a bowl of ice water and let cool. Drain and pat dry. Transfer to the bowl with onions and kale.
  5. Preheat oven to 375 degrees F. Whisk eggs, Fontina cheese, pecorino cheese, and cooled cream mixture in a large bowl to combine. Add onion and kale mixture, along with bread; season with salt and pepper. Transfer to a 8 x 8 casserole dish and bake uncovered until well browned, 40-50 minutes. Let rest 10 minutes before serving. Gratin can be assembled 12 hours ahead. Cover and chill.

Serves 6

img_6647

“The best things happen unexpectedly.”

The Best of Both Worlds

Now that our shelter in place order has been extended to May 15th, we are all seeking comfort through various ways. For me, cooking and food are my go to sources for calming myself. It is gradually getting warmer, we are planting in our greenhouse, the garlic is growing, and my daffodils are blooming.

These days, when I ponder what to make, it comes from a place of what is available? It becomes a combination of home-canning, frozen, fresh and pantry staples. I must say that when you put a little thought into it, you will be surprised at what you can come up with to warm the belly. This time it was a fusion of both Greek and Italian cuisines that worked quite well together. I love to make spanakopita, but was out of phyllo dough, I had my quarts of roasted tomato sauce and uncooked lasagna sheets. Then it hit me, why not combine the spanakopita in a lasagna? Bingo, the best of both worlds. It gave us a couple days of comfort food.

SPANAKOPITA LASAGNA

INGREDIENTS:

  • 12 sheets of oven-ready lasagna noodles
  • 16 ounce bag of chopped frozen spinach, thawed and drained in a wire strainer
  • Zest from one lemon
  • 1/4 cup fresh dill, chopped
  • 3 green onions, using both white and green parts, thinly sliced
  • 4 cloves garlic, grated
  • 4 beaten eggs
  • 10 ounces crumbled feta
  • 16 ounces goat cheese, crumbled
  • 2 cups shredded mozzarella
  • 1 quart of roasted tomato sauce (or equivalent of jarred pasta sauce
  • 2 tablespoon balsamic vinegar

img_6326

img_6327

INSTRUCTIONS:

  1. Preheat oven to 350 degrees F. Spray a 13 x 9 ceramic pan with cooking spray.
  2. Place the drained spinach in a clean kitchen towel and gently squeeze out the remaining water. Place spinach in a large bowl.
  3. Add lemon zest, dill, green onions, garlic, eggs, feta and goat cheese. Mix gently but thoroughly until combined.
  4. In a bowl, combine your pasta sauce with the two tablespoons of balsamic vinegar. Place a ladle full of pasta sauce in bottom of baking dish, and evenly spread it. Place three oven-ready lasagna noodles on top of sauce. Spoon 1/2 cup of filling on each sheet and distribute evenly. Top with three more lasagna sheets, repeat with filling. Repeat one more time. You should have 3 layers of spinach mixture.
  5. On the top of the final lasagna sheets, pour an equal amount of pasta sauce over the 3 groups of layered sheets. Top with mozzarella. Cover with foil and place in pre-heated oven. Bake covered for 25 minutes; uncover and bake for an additional 20 minutes, or until cheese is completely melted and sauce is bubbling.
  6. Let rest for 10-15 minutes.

Serves 6

img_6328

“A good cook works by the fire of imagination not merely by the fire in the stove.”

Robert Coffin

We Eat With Our Eyes

It is often said that we eat with our eyes.  I believe this is true.  When a dish looks appetizing and beautiful we want to savor it; we might eat a little slower so we can stretch out the experience.  I have made many quiches; some with, some without a crust, but this technique makes the final product a feast for the eyes.  We are fortunate to raise chickens that lay eggs with extremely dark yolks.  This made the color of this quiche a bright yellow, which only added to its appeal.  It is made in a spring-form pan instead of a pie plate.  This allows for a nice deep well for the filling, which I appreciate; but the real joy comes from using hash browns as the crust.  It literally comes out looking like a work of art.

Feel free to change up the ingredients in the filling to suit what you have or your taste preferences.  You can use arugula instead of spinach or a combination of the two.  You can also use Swiss chard.  Vegetarians can leave out the bacon, and you can use Comte instead of Gruyere.  You decide. It will all taste delicious.

SPINACH & GRUYERE QUICHE WITH A HASH BROWN CRUST

img_6282

img_6283

img_6284

INGREDIENTS:

FOR HASH BROWN CRUST:

  • 1 package frozen hash browns, thawed and squeezed dry
  • 2 tablespoons unsalted butter, melted
  • 1 farm-fresh egg, light beaten
  • 1/2 teaspoon garlic salt

FOR THE QUICHE:

  • 1/2 cup red (or any color you have) seeded and diced
  • 1/4 cup onion, diced
  • 2 cloves garlic, minced
  • 6 farm-fresh egg whites, and 3 additional farm-fresh eggs
  • 1 1/2 cups Gruyere or Comte cheese, shredded
  • 4 cups lightly packed spinach and/or arugula mixed
  • 1/2 cup half and half
  • 4 slices bacon, cooked, drained and crumbled

INSTRUCTIONS FOR THE CRUST:

  1. Preheat oven to 400 degrees F.  Brush the bottom of a 9-inch spring form pan with olive oil, then line both bottom and sides with parchment paper; brush with oil again.
  2. Combine the hash browns, melted butter, garlic salt and egg.  Mix thoroughly and press into spring form pan, pushing them up the sides.
  3. Bake for 20-25 minutes or until hash browns start to crisp up.

INSTRUCTIONS FOR QUICHE:

  1. Fry bacon in skillet, drain and crumble.
  2. In a small skillet over medium-low heat, add 1 tablespoon olive oil and saute onions, red pepper and garlic for 8-10 minutes or until soft and translucent.  Add spinach and saute for another 1-2 minutes or until spinach has wilted.  Set aside to cool.
  3. In a bowl, combine the egg whites, whole eggs, 1/2 and 1/2, shredded cheese and crumbled bacon.  Add the cooled onions and red pepper and stir to combine.  Season with salt and pepper to taste.  Pour into hash brown crust in spring form pan.
  4. Reduce the heat to 350 degrees F and bake for 40-45 minutes or until eggs are set.

Serves 6

img_6287

img_6291

Note:  This recipe is from my new cookbook Twisted Basics: Laugh, Cook, Eat.  You can purchase it at our website

“The kitchen is seasoned with love.”

Shelter From The Storm

As we wind up week six of social distancing, I am recognizing my emotions looming large.  One minute grief, then anger, jumping to anxiety, then surprising me completely by hope. I can be washing the dishes or folding clothes and I find tears running down my face.  I listen to the news and feel angry at people who aren’t taking this virus seriously.  I’m furious at the misinformation and lies.  I wake up during the night and process thoughts for 2-4 hours.  There are times I think, “What’s wrong with me? Am I losing my mind?” The truth is, I am completely normal. There is absolutely nothing wrong with me. I am simply leaning fearlessly into my emotions. I want to know what is below the surface of my packaging. The average person didn’t see the corona-virus coming; and then the world came to a collective pause. Everything changed. Nothing is as is was.

We are in shock. I keep hearing people wanting to get back to normal. Yet what does that look like? Why long to return to an existence that was not working for most of us? I for one, have no desire to return to the times of collective exhaustion, greed and disconnection.  In this collective pause why not dream of a better way? Why not take these precious  moments and rein-vision something that sustains and nourishes us? We already know how to distance. We’ve been running away from healthy solutions for humans and the planet for generations, chasing our desire for bigger and better until the world couldn’t take it anymore.

For now, cooking and my kitchen help to steady my emotional tides. Preparing food for me is like meditation or prayer for some. One thing I do know: we need to practice a lot more kindness and compassion for each other. Our world is not a virtual reality; it is the reality. Right here, right now. We all yearn for shelter from the storm.


Smooth As Silk

Val and I are not big dessert eaters; but there are occasions when it seems just right.  I love a good fruit pie or tart; and would never turn down a homemade scone or brownie.  But what will really get my attention is something that the texture alone is worth the calories.  I love Creme Brule or Pots de Creme; but the real deal is a flan.  It is always something I look for on a dessert menu; yet I have never attempted one at home.  Well, I’m happy to say, “No more!”  It is surprisingly easy to make and looks so beautiful on a platter surrounded by berries.  This can be made in a loaf pan or a 1 quart souffle dish.  You can even divide the recipe into 4 individual ramekins.  For our purposes today I will stick to a loaf pan.

One of the important things to remember is that you do have to make it at least one day ahead.  I actually prefer two days, as I find it easier to unmold and is beautifully creamy yet firm.   I also enjoy putting a tablespoon of Bourbon in it.  This adds a deep, rich element.  This optional however.  If you decide no on the Bourbon, add an additional 2 teaspoons of vanilla.

INGREDIENTS:

  • 2/3 cups cane sugar
  • 2 large eggs, plus 5 egg yolks (I use farm fresh eggs from the farmers market)
  • 1 (14-oz) can sweetened condensed milk
  • 1 (12-oz) can evaporated milk
  • 1/2 cup whole milk or half-and-half
  • 2 teaspoons pure vanilla extract
  • 1 tablespoon Bourbon
  • 1/2 teaspoon salt

img_5205

img_5207

DIRECTIONS:

  1. Adjust your oven rack to the middle position and preheat the oven to 300 degrees F.
  2. In a small heavy saucepan, stir together the sugar and 1/4 cup water until sugar is completely moistened.  Bring to a boil over medium-high heat and cook, without stirring, until the mixture begin to turn golden.  At this step gently swirl the pan, and continue to cook until the mixture looks like the color of honey.  Remove the pan from the heat and continue swirling until the sugar turns an amber color, about 20 seconds more.  Carefully swirl in 2 tablespoons warm tap water until incorporated.  Be careful as your mixture will bubble and steam.
  3. Pour caramel into an 8-1/2 x 4 1/2 -inch loaf pan (or whatever vessel you have decided to use);  Do not scrape out the saucepan.  Your caramel will solidify in the loaf pan after you pour it (it’s supposed to).  It will soften up again as it bakes.  Set the loaf pan aside.
  4. In a large bowl, whisk together the eggs and yolks until combine.  Add the sweetened condensed milk, evaporated milk, half-and-half, Bourbon, vanilla and salt and whisk until incorporated.  Strain the mixture through a fine-mesh strainer over an other bowl (you will be surprised when you see your bits of egg).  We do this to guarantee that your flan will have the ideal texture.  Pour the strained custard into your loaf pan over the set caramel.  Cover the loaf pan tightly with aluminum foil.
  5. Place the loaf pan in the center of a high-sided roasting pan to make a water bath or bain marie.  Place the nested pans in the oven; then, using a tea kettle or pitcher, pour hot water around the loaf pan until it reaches about halfway up the side of the loaf pan.  Bake for 75 to 90 minutes, until the custard is set around the edges but still a bit jiggly in the center.  The custard continues to cook as it sets completely.  Carefully remove the pans from the oven,  Remove the foil and leave the flan in the water bath for 1 hour to cool.
  6. Remove the loaf pan from the water bath and wipe dry.  Cover tightly with plastic wrap and place in the refrigerator overnight or up to 4 days.
  7. To unmold flan, carefully slide a sharp knife around the edges of the pan.  Invert on a platter with a raised rim (to hold your liquid caramel), by holding it upside down, then turn your platter over.  If your flan doesn’t release immediately, let sit for a minute or two.  Once the flan is released remove your loaf pan, and with a silicone spatula, scrape the residual caramel onto the platter.  Arrange berries around the flan.  Slice flan, adding sauce and berries around each slice.  Leftovers (if there are any) can be covered loosely with plastic wrap and refrigerated for up to 4 days.

Serves 8-10


img_5214

“Life is uncertain.  Eat dessert first!”  –Jacques Torres