When I was a child, you could tell the day of the week by what we ate for dinner. My mother who worked full time relied on me to get things started in the kitchen. To this day I can’t look at meatloaf with any enthusiasm, although I will make it for my wife in a way that differs greatly from my mother’s recipe. The things we do for love! The other thing that will illicit a yuck from me is cream of mushroom soup from a can. Any can. I hate the stuff (and I love mushrooms)! All I can picture is it congealing around baked chicken breasts, and tasting, well, bland.
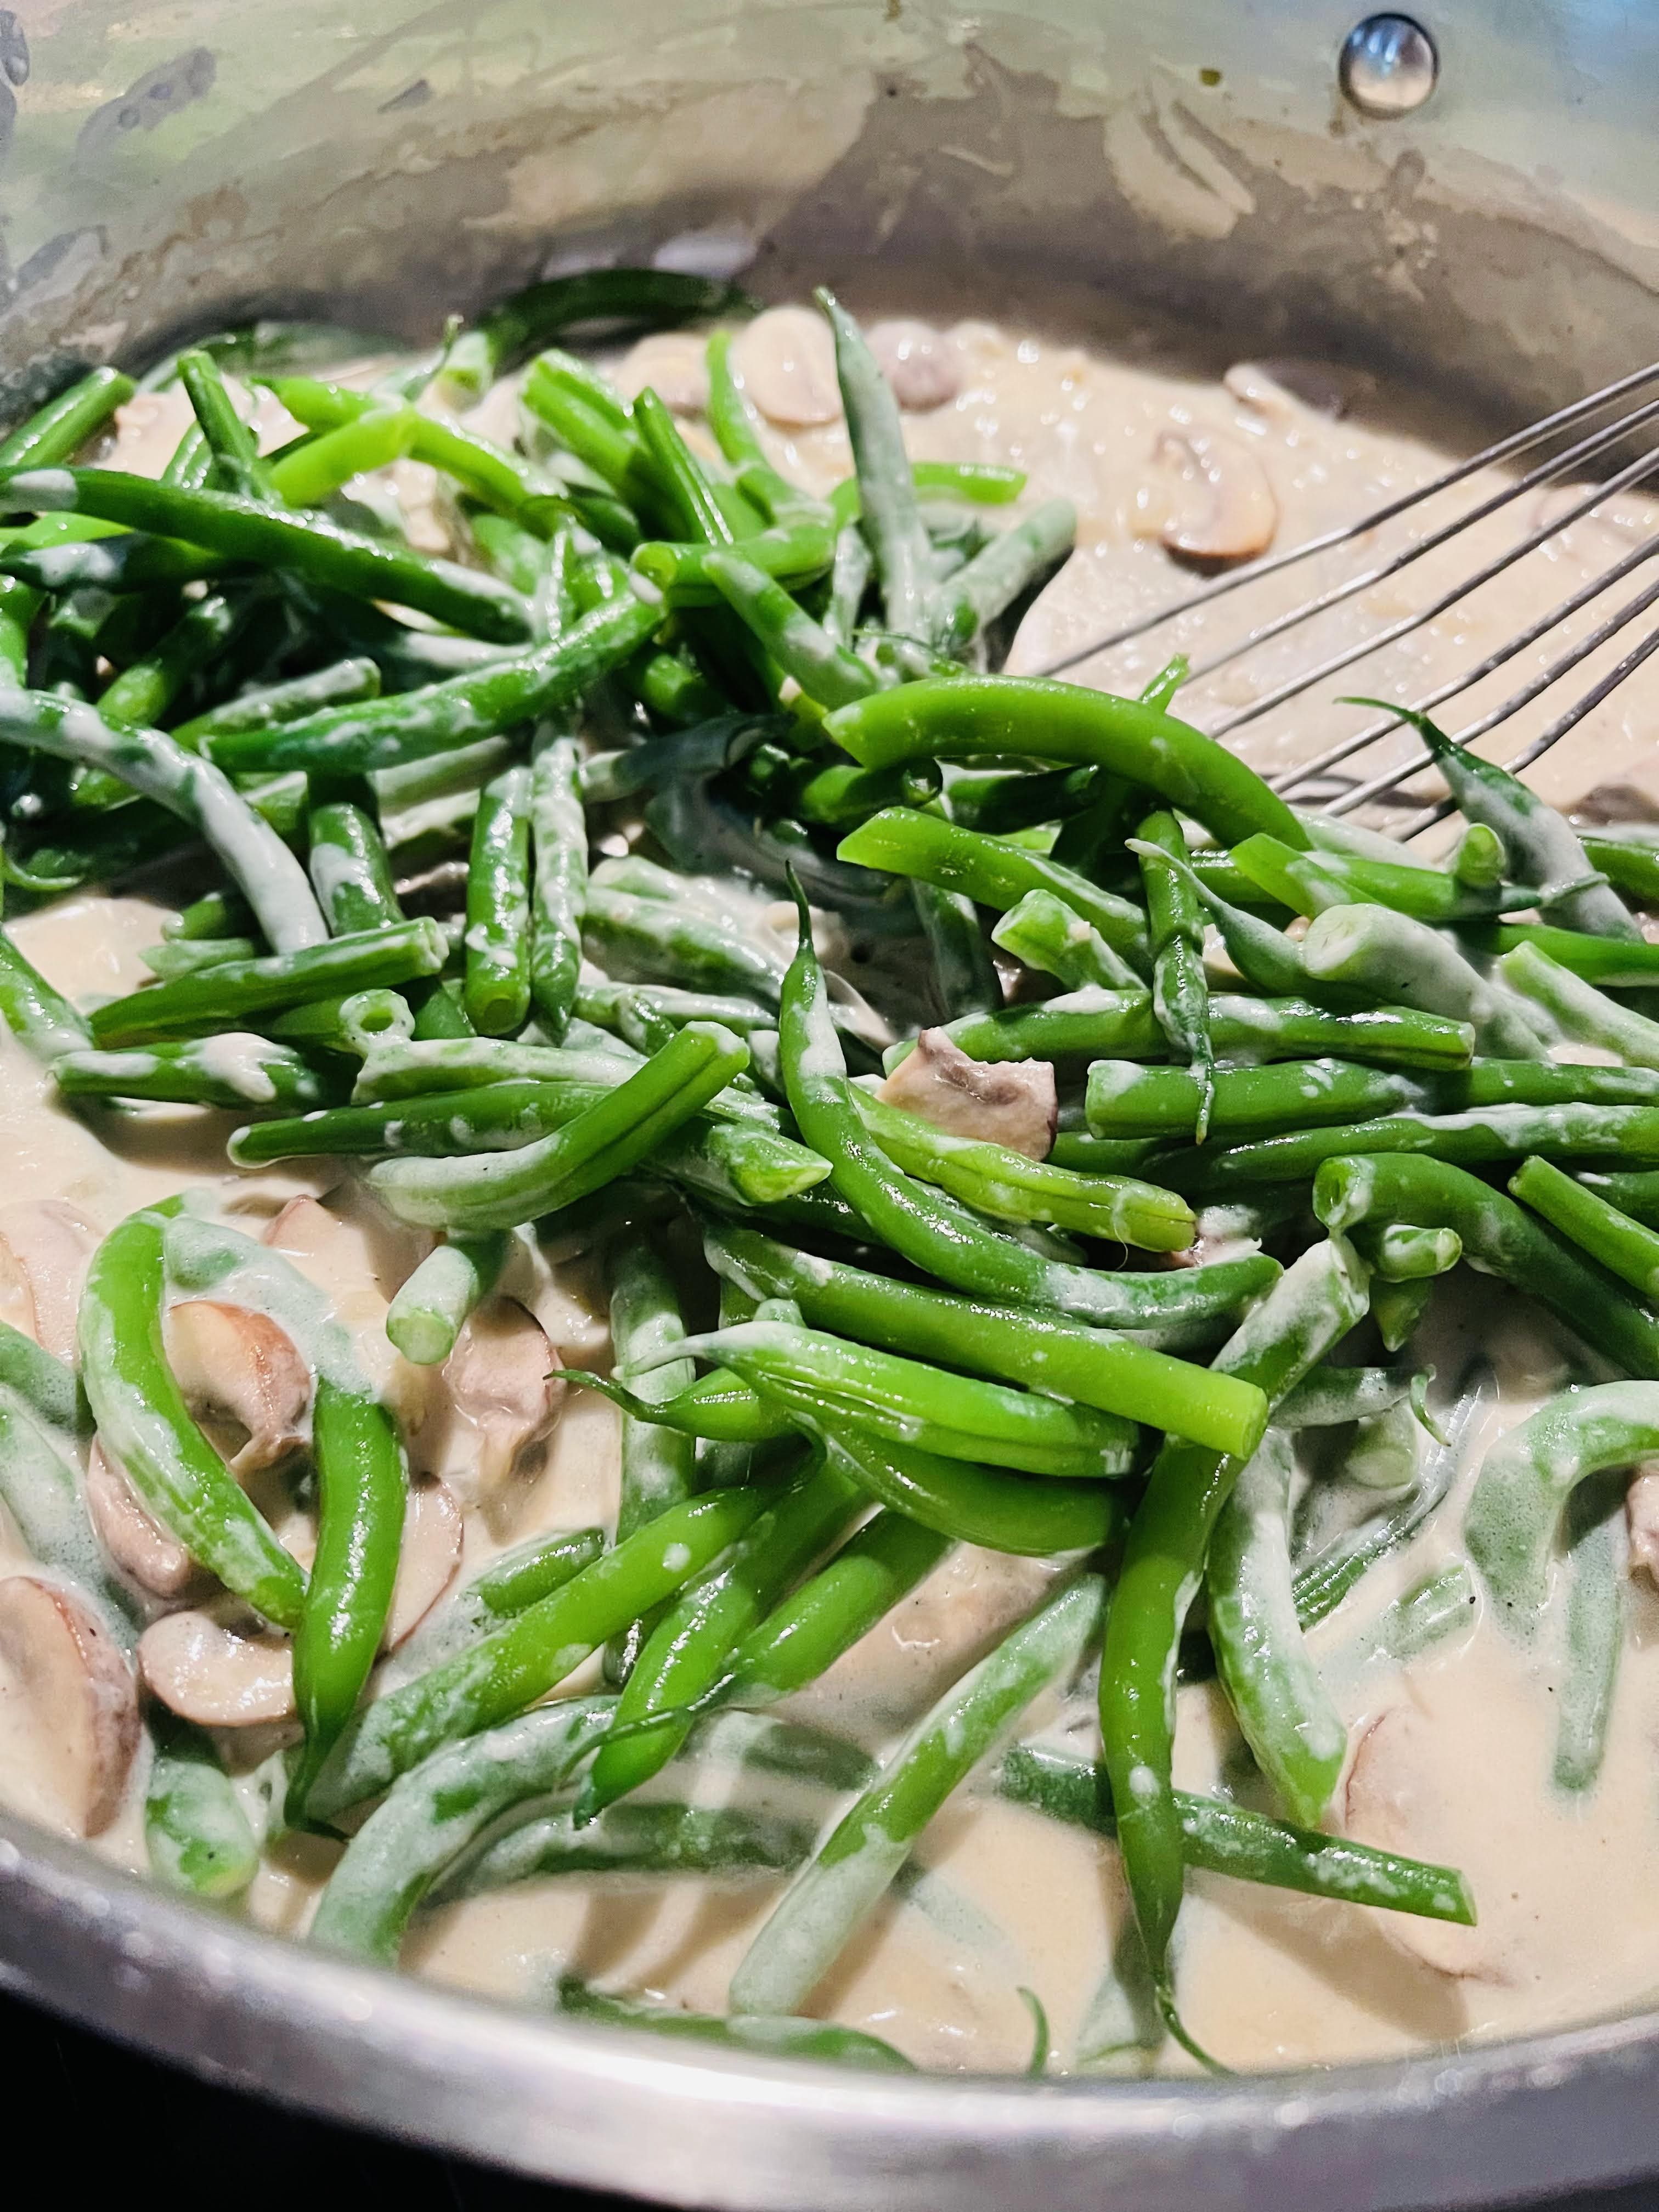
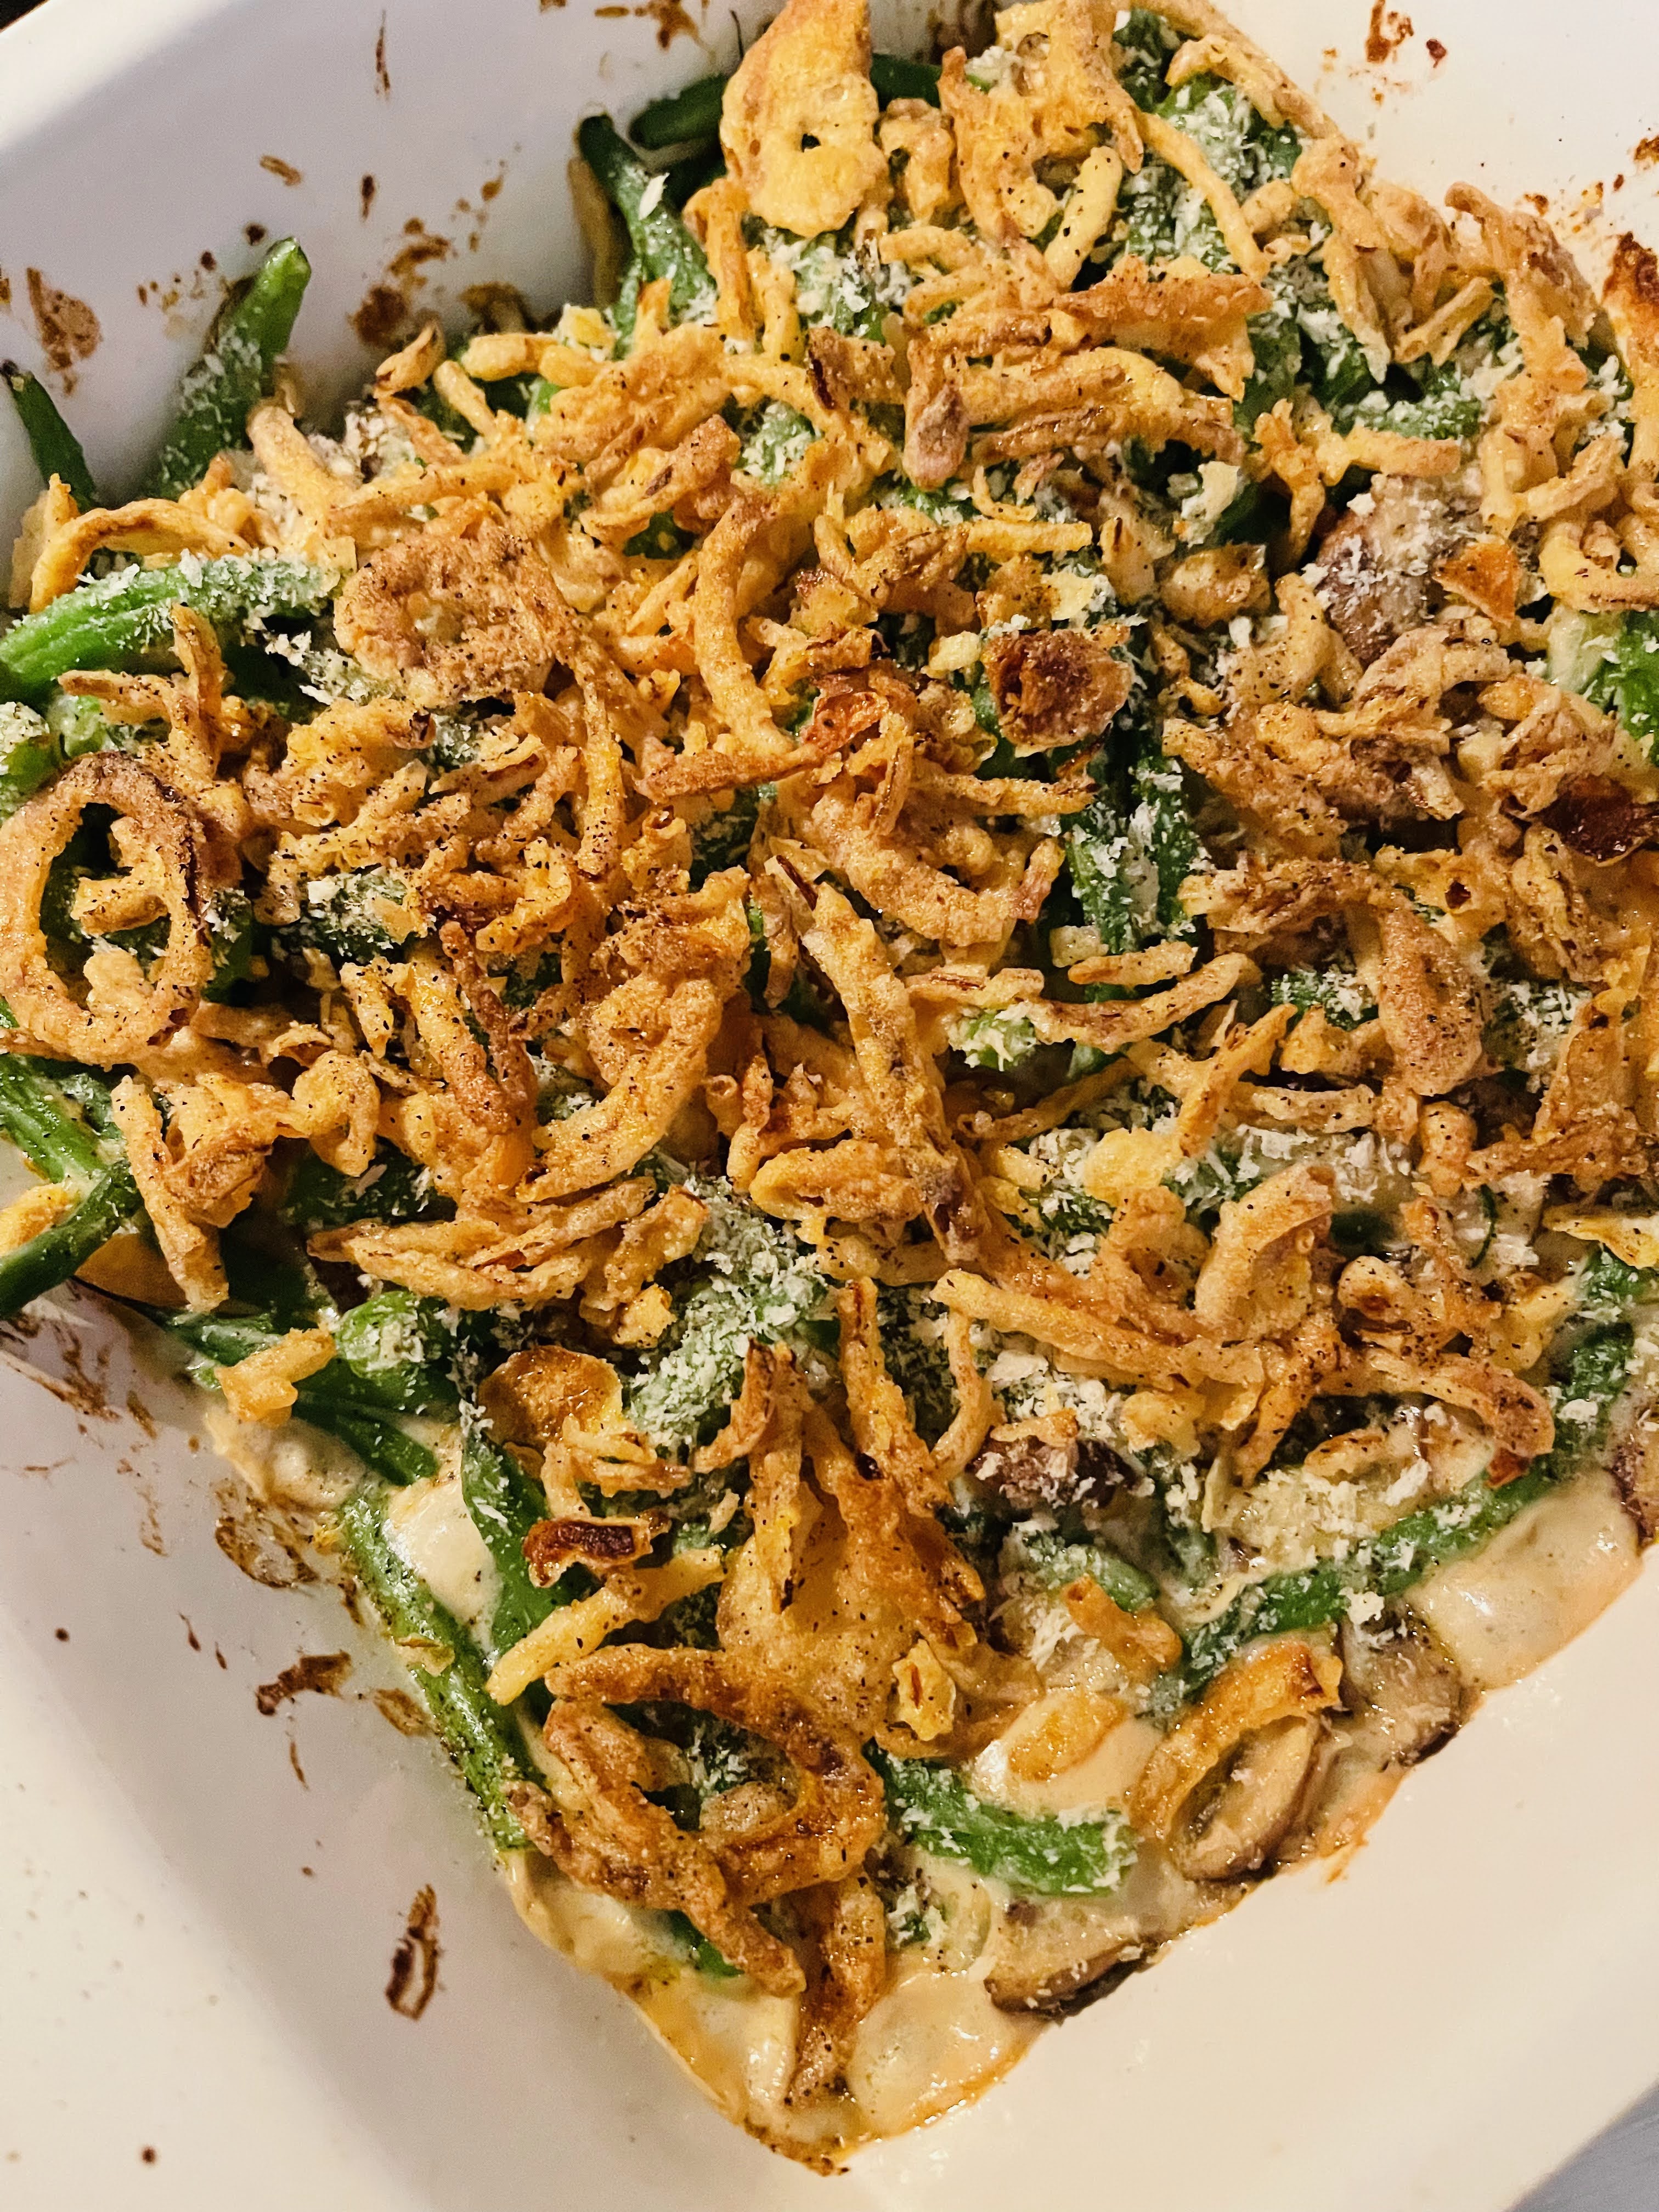
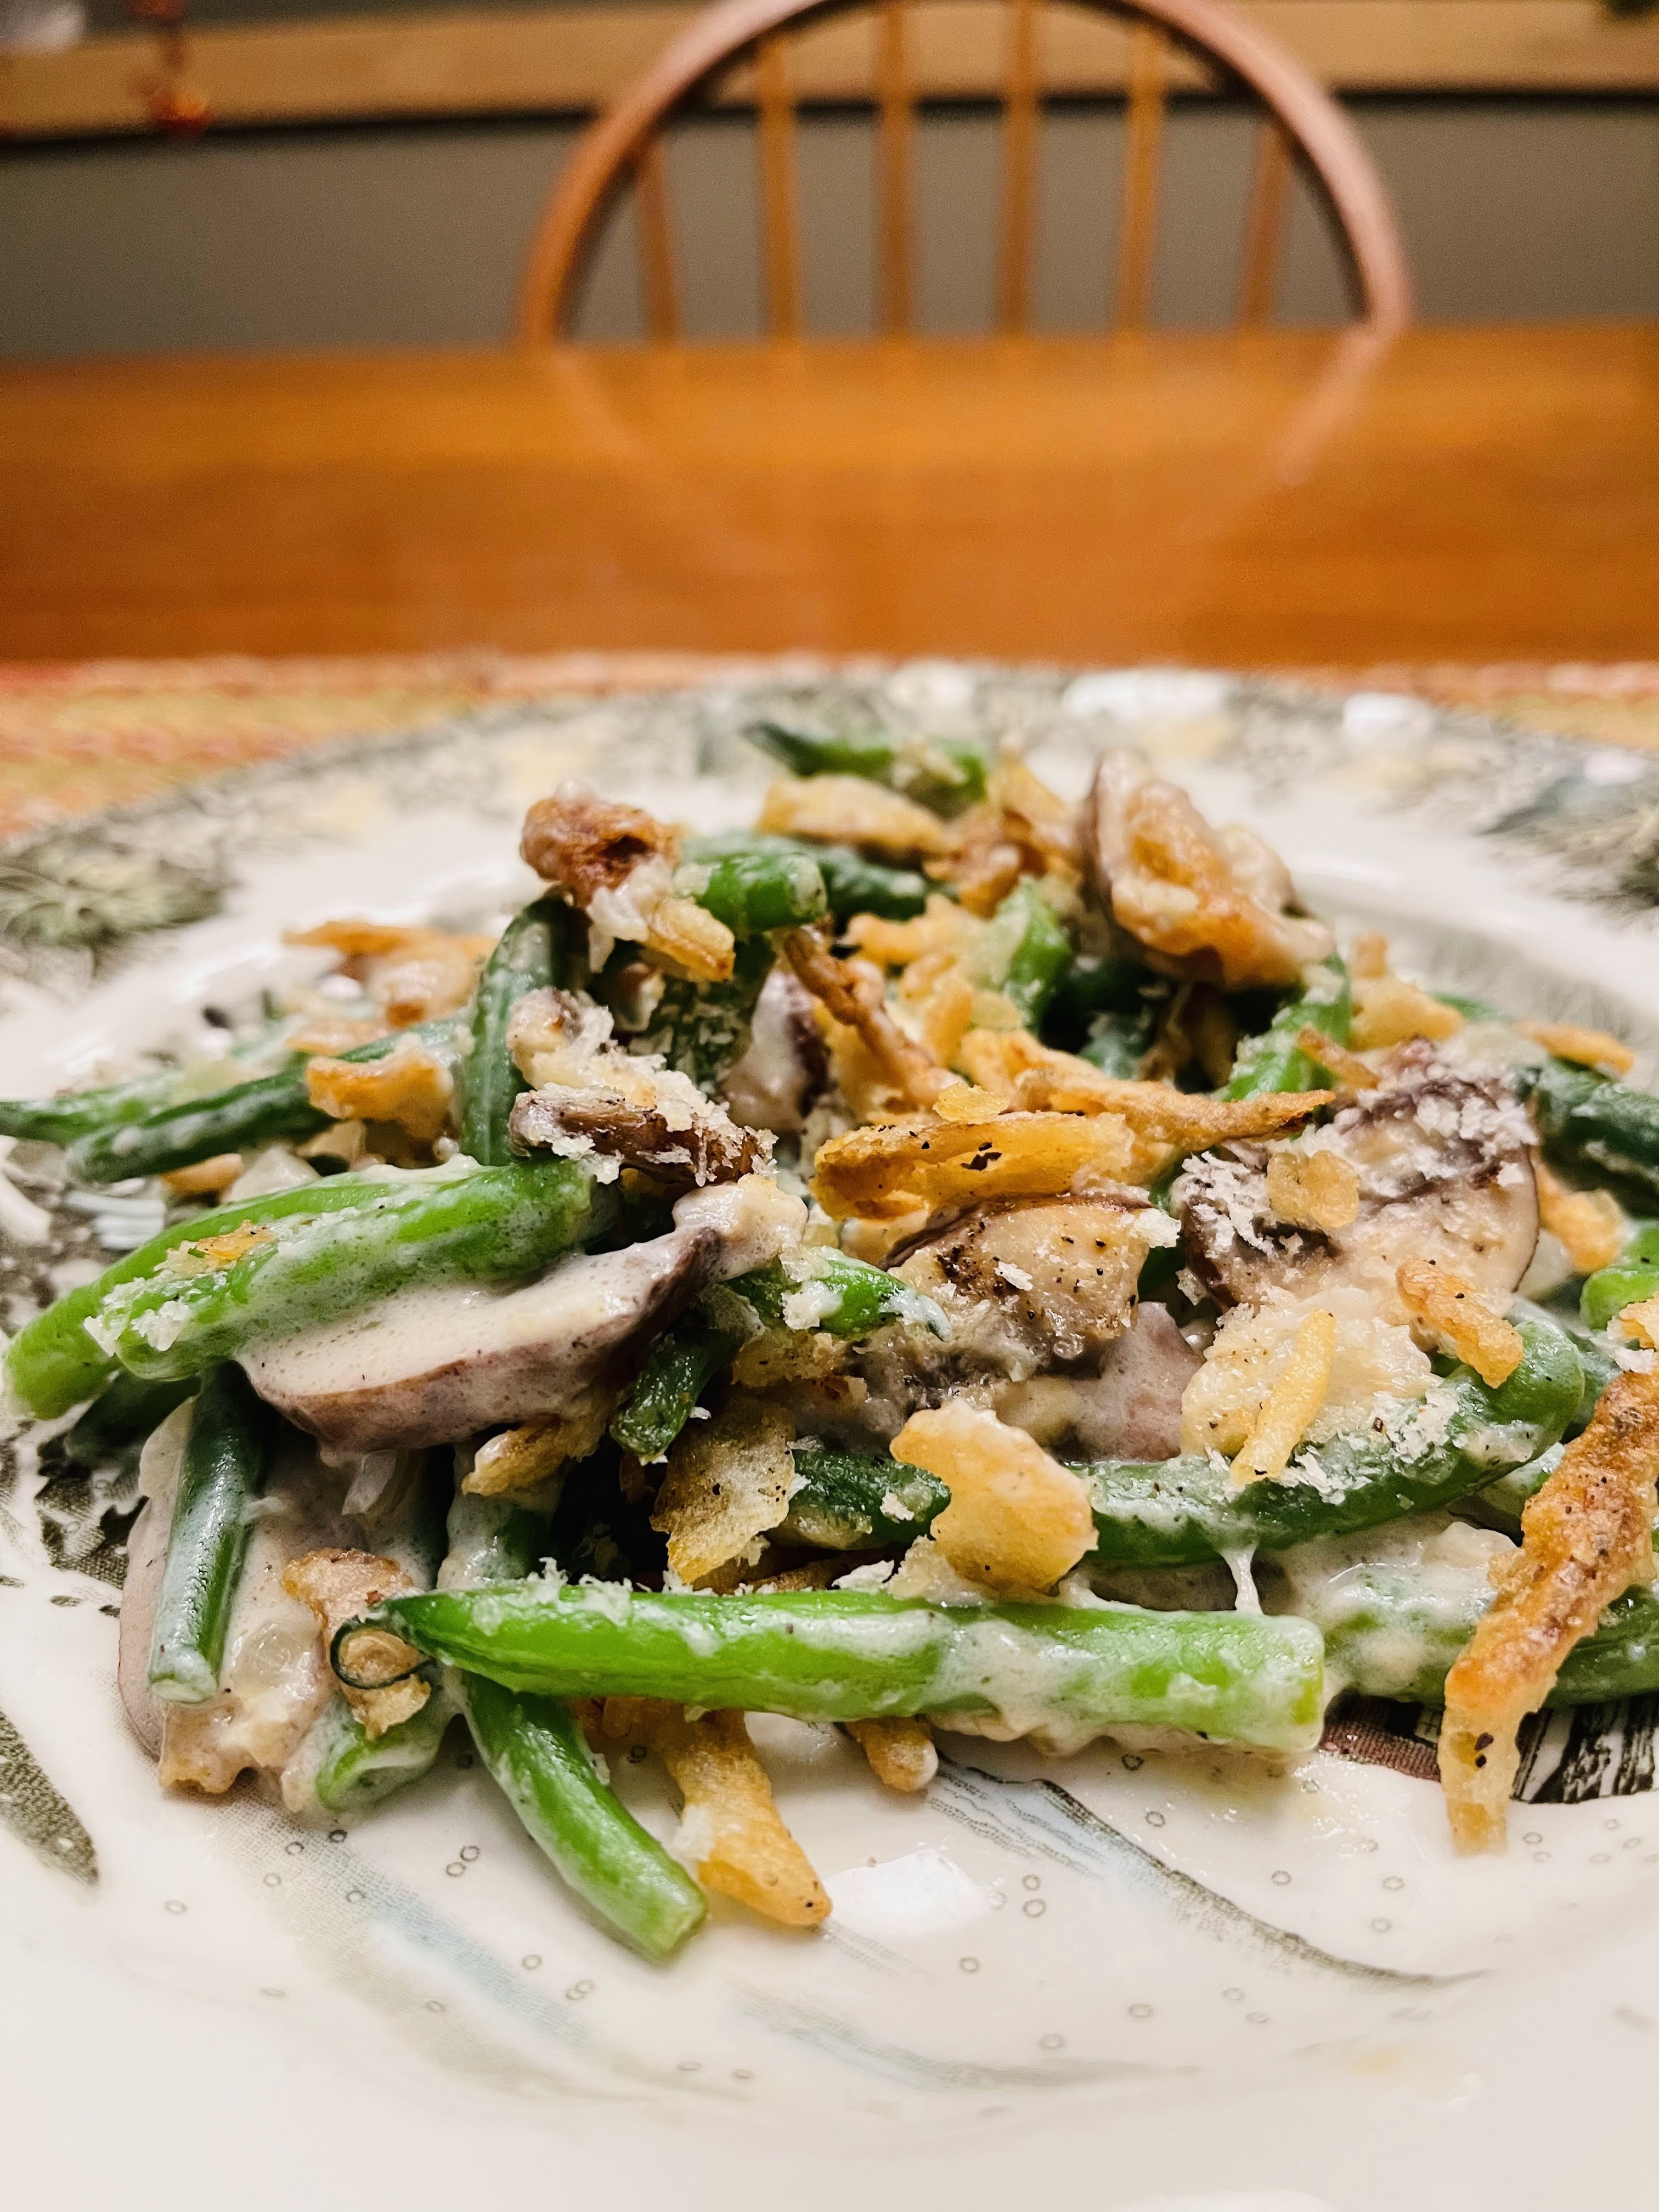
As we approach Thanksgiving, there are memories and traditions that families enjoy. A favorite side dish for many is green bean casserole. I love green beans and was on a mission to create a slightly different version of this beloved dish, minus that awful cream of mushroom soup. Fresh beans were a priority, along with fresh mushrooms. Onions, garlic, a flavorful roux of butter, flour, homemade chicken stock, and half & half, became something both old and new. Don’t forget the crispy french fried onions (my nod to tradition)! Afterall, we can’t completely through the baby out with the bath water!


INGREDIENTS:
- 2 pounds fresh green beans, rinsed, stemmed and cut in half
- 2 tablespoons unsalted butter
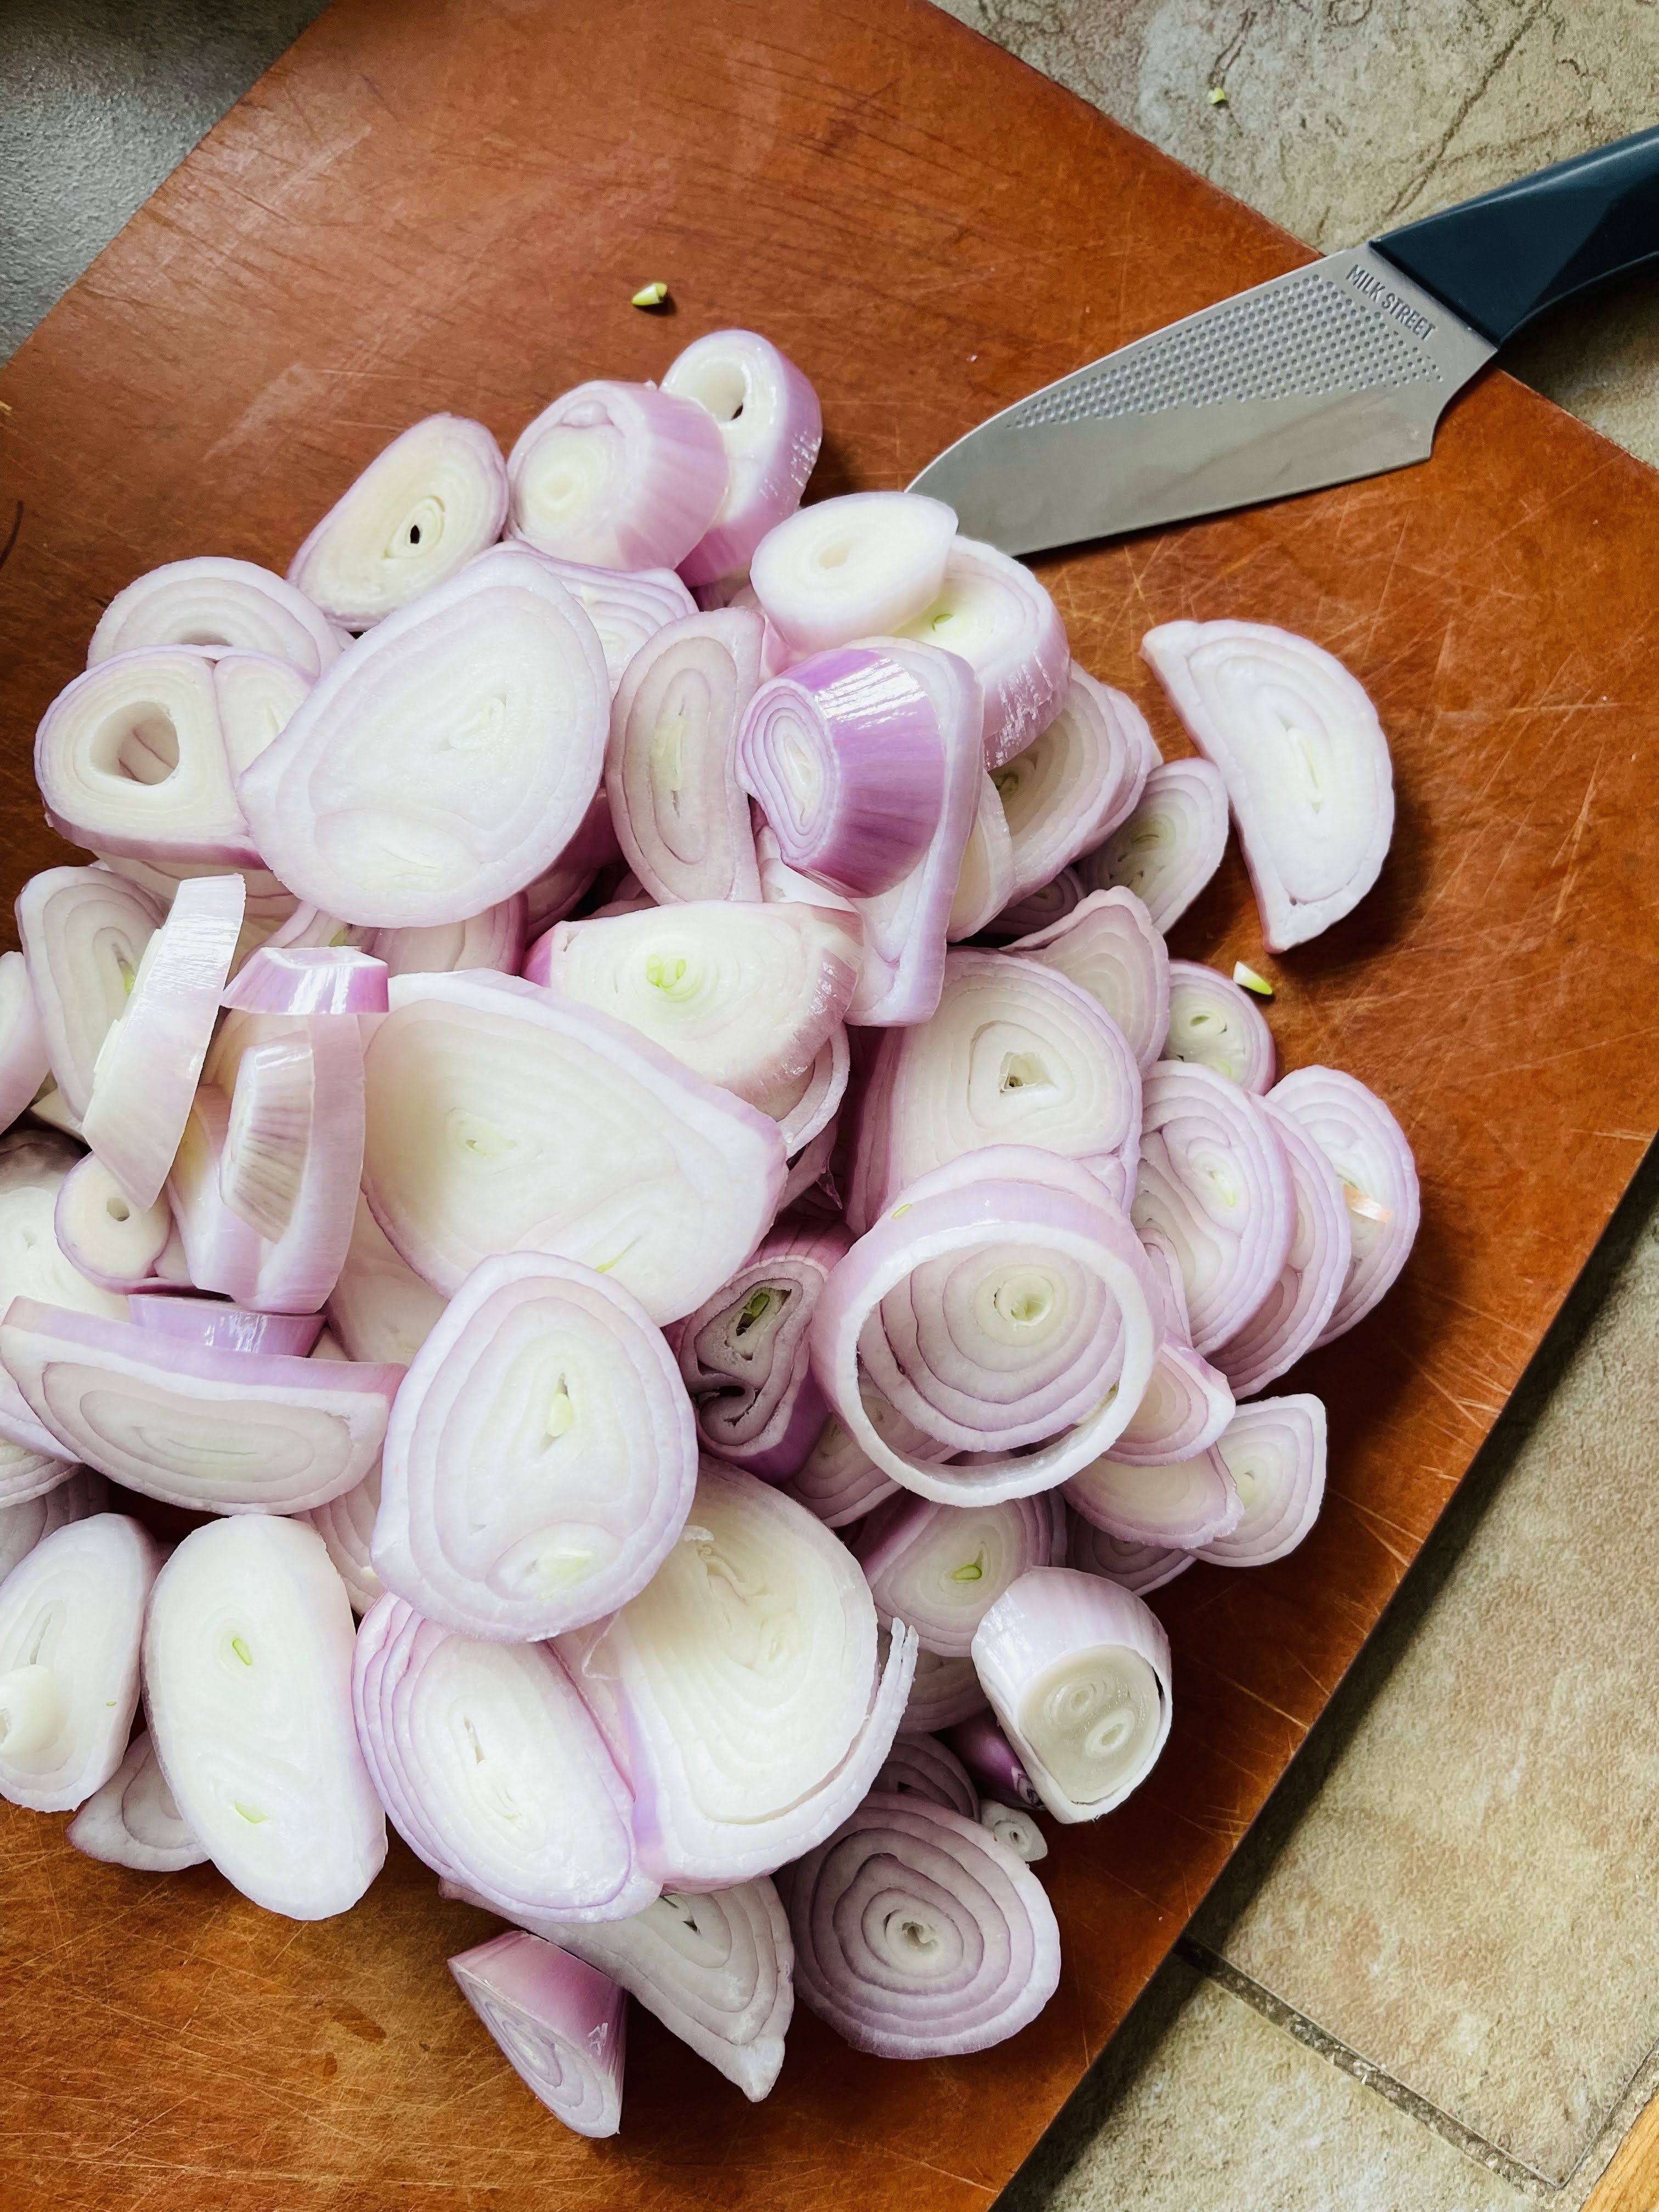
- 1 medium onion, finely chopped
- 3 large garlic cloves, minced
- 8 ounces cremini or white button mushrooms, stemmed and sliced
- 1 teaspoon Kosher salt
- Freshly ground black pepper
- 2 tablespoons all-purpose flour
- 1 cup chicken stock (homemade really makes a difference here)
- 1 cup half and half
- 1/2 cup Panko bread crumbs
- 6 ounces french fried onions (I used French’s)

INSTRUCTIONS:
- Preheat the oven to 375 degrees F. Heat a large pot of salted water to boil. Generously season with Kosher salt. Prepare a large bowl with ice water to stall the cooking of the blanched beans.
- Blanch beans by adding them to the salted, boiling water a cook for 5 minutes. Drain beans in a colander and place in the ice bath. Once cooled, drain and set aside.
- Melt the butter in a large skillet over medium-high heat. Add the onion and garlic, sauteing them for 4-5 minutes, or until the onion is translucent. Add the sliced mushrooms, salt and pepper to taste and cook for another 2-3 minutes.
- Sprinkle the flour over the onions and mushrooms, stirring to combine. Cook for about 2 minutes, then slowly whisk in the chicken stock, making sure there are no lumps. Slowly add half and half and continue to whisk. Cook until thickened about 6 minutes, stirring occasionally.
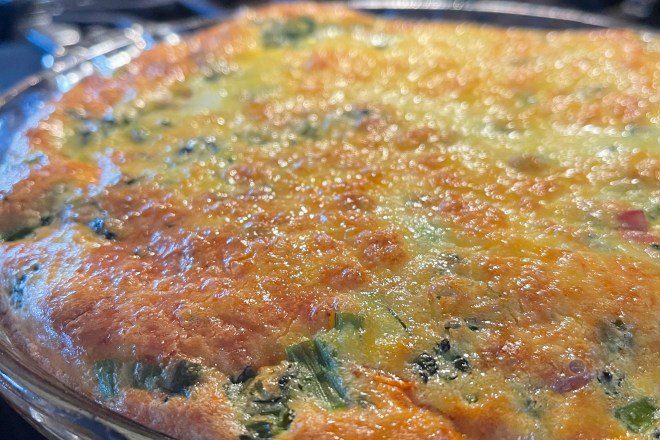
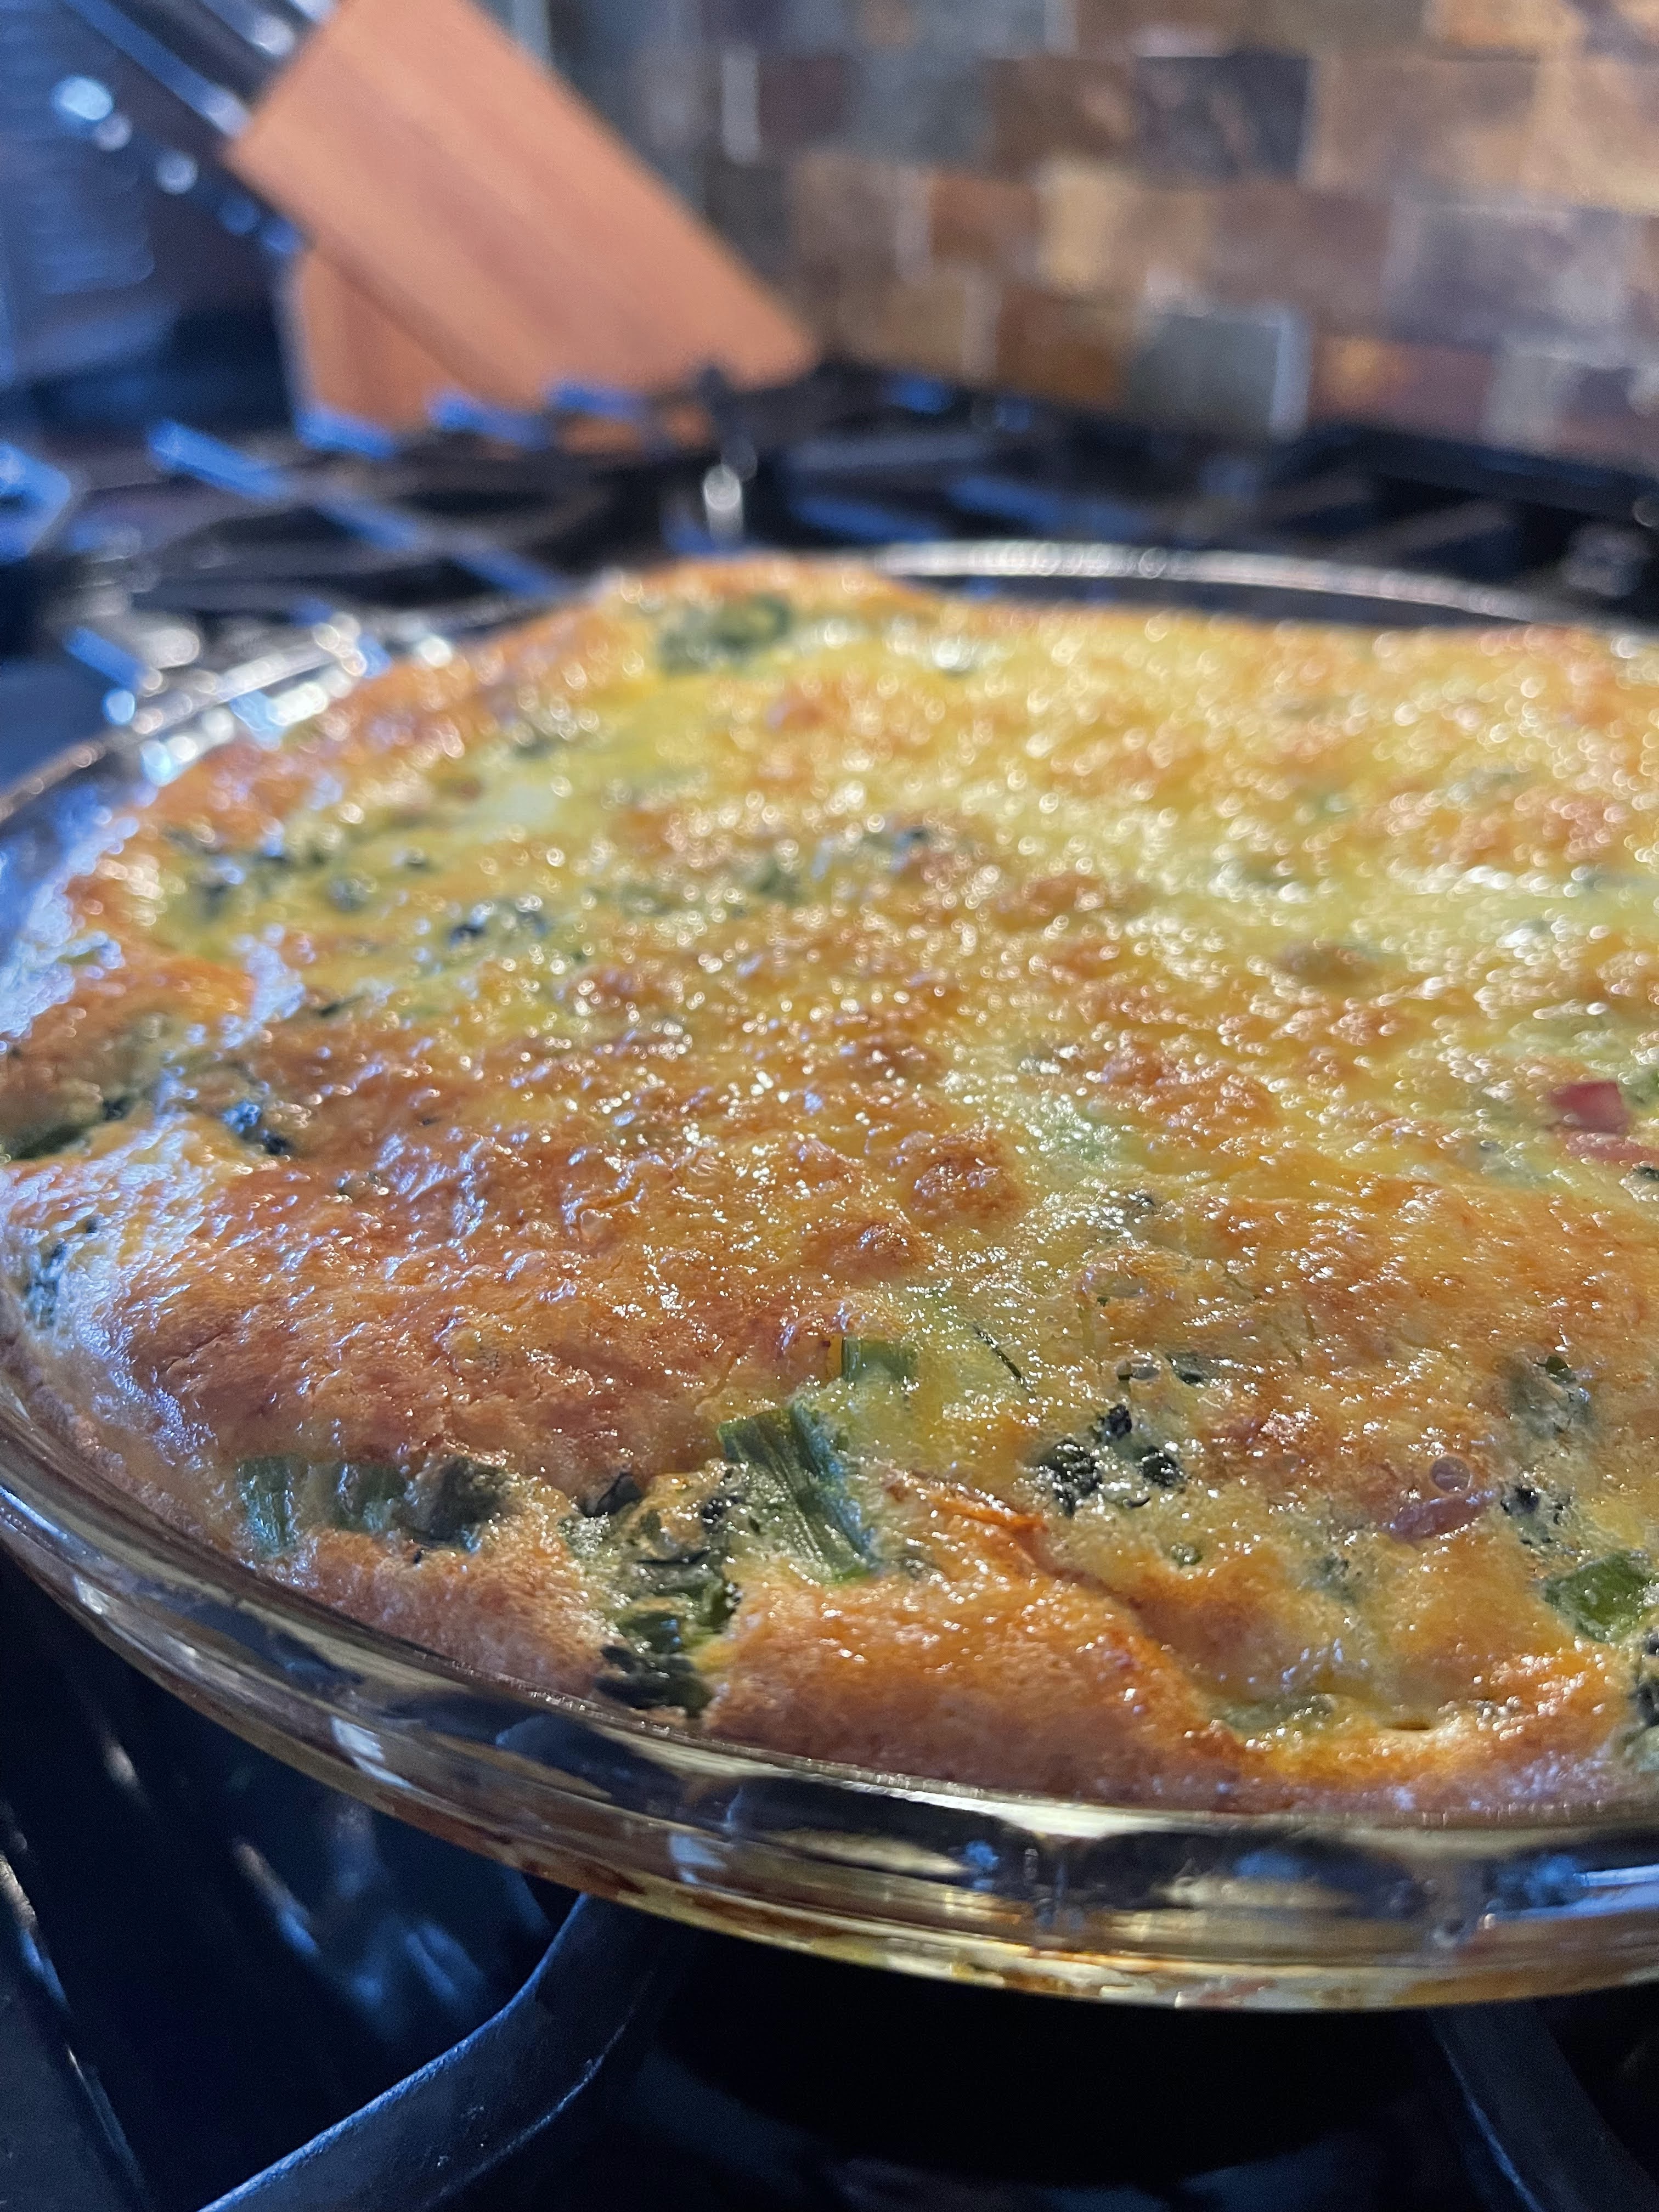
- Add your blanched green beans and stir to combine, then transfer to a 9×13 casserole dish and sprinkle with breadcrumbs and french fried onions. Bake for 20 minutes until hot and bubbly.
Serves 6-8
“Tradition is a guide, not a jailer.” —W. Somerset Maugham