Tag Archives: cheese

No Fuss Crustless Quiche

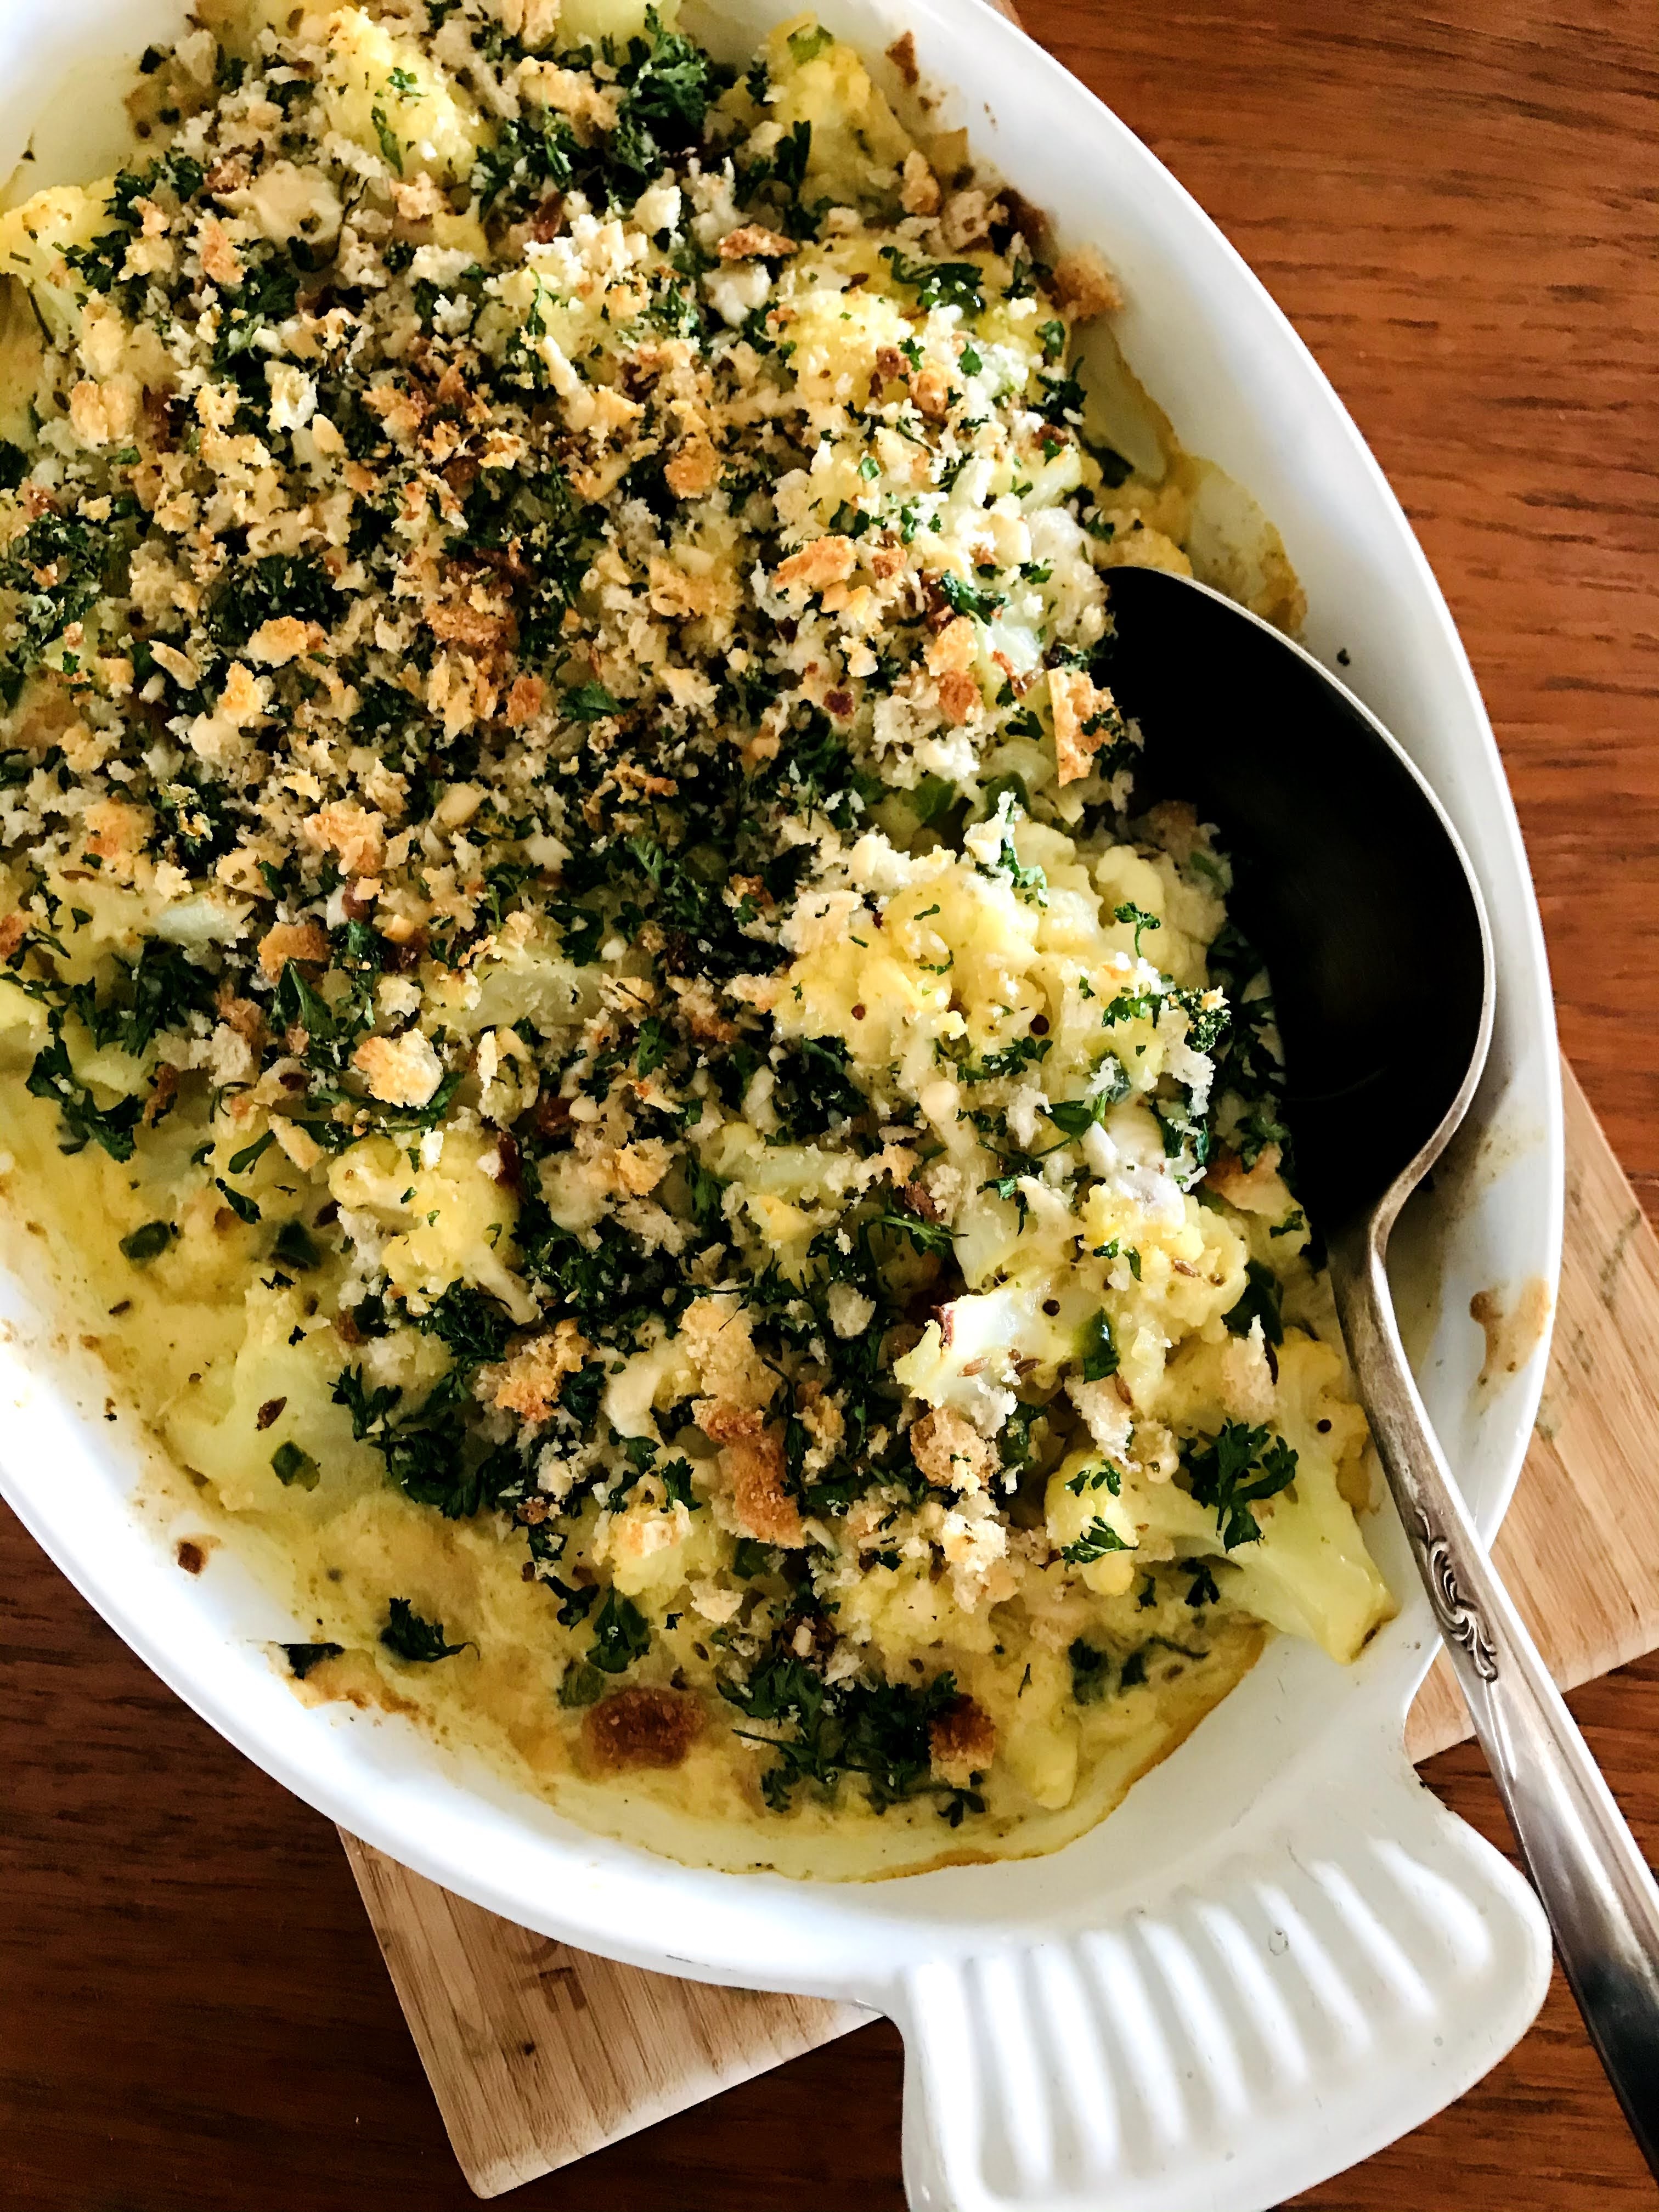
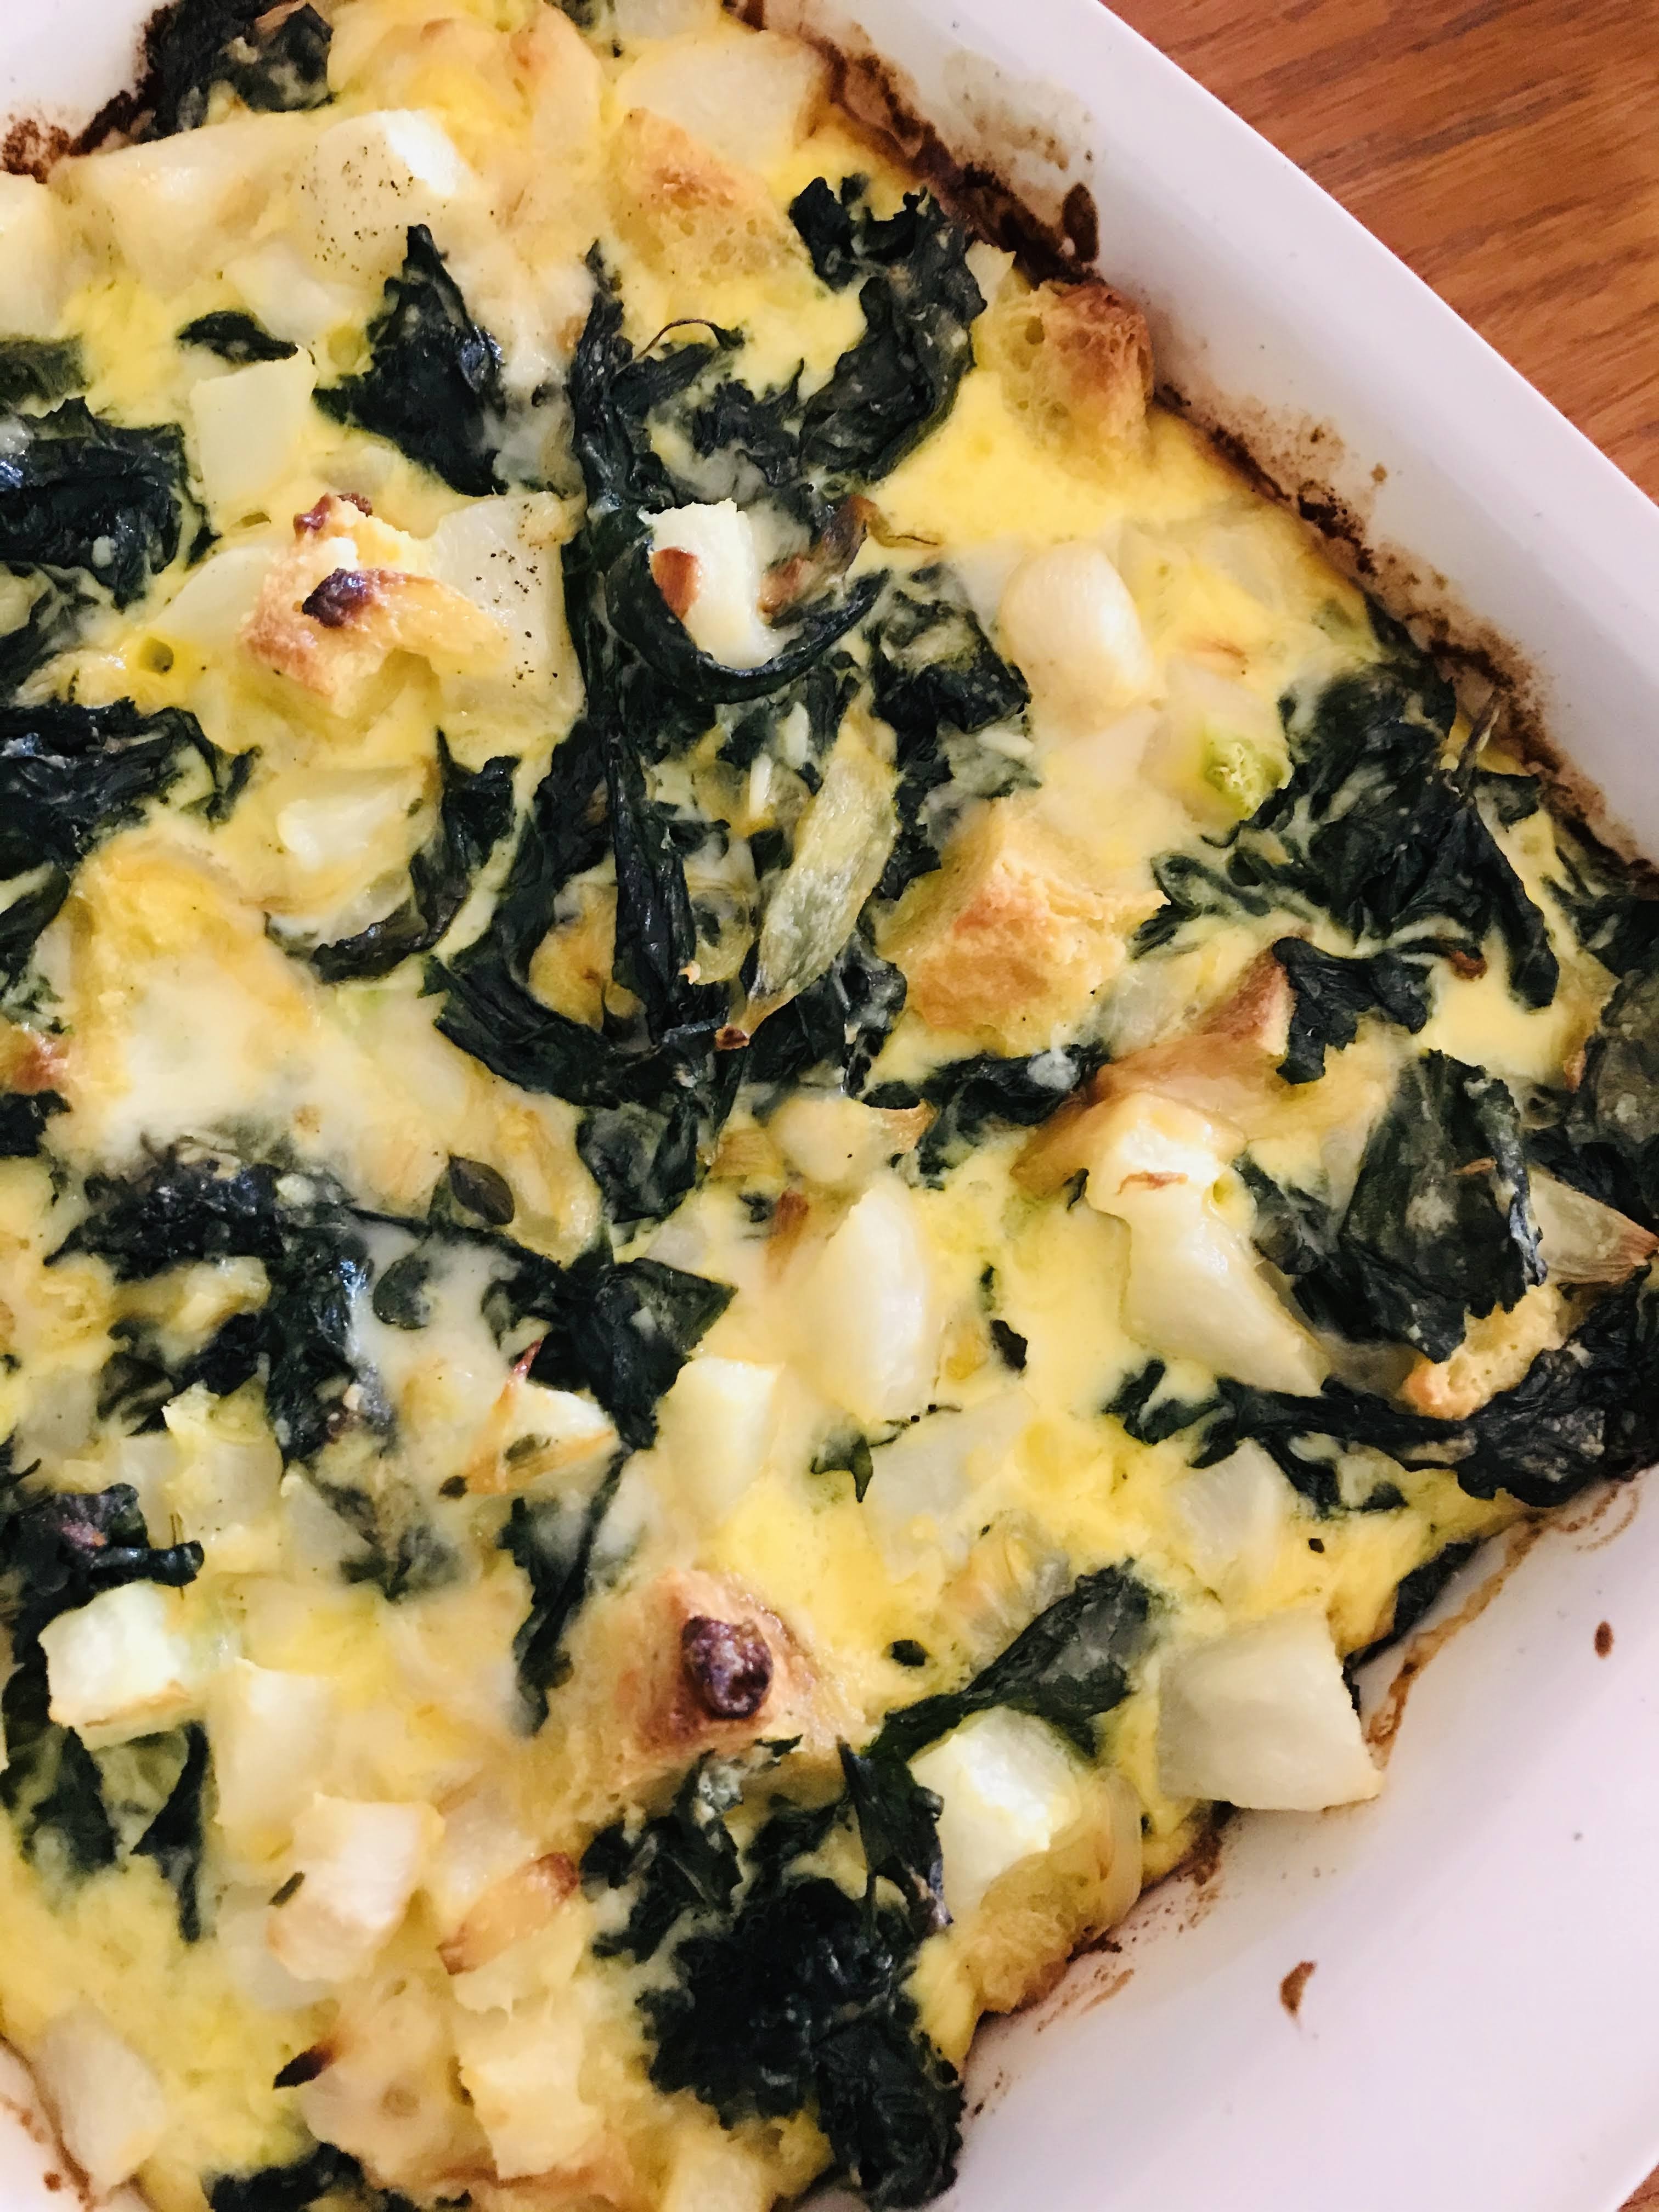
During busy times of the year I enjoy making something that I can stretch out for a couple days. Something loaded with vegetables and flexible in ingredients. Quiche really fills the bill; but what if I don’t want to mess around with a crust? What if I want to lower the calorie count? The solution? Crustless quiche. You get the rich quiche flavor without the fuss of crust.

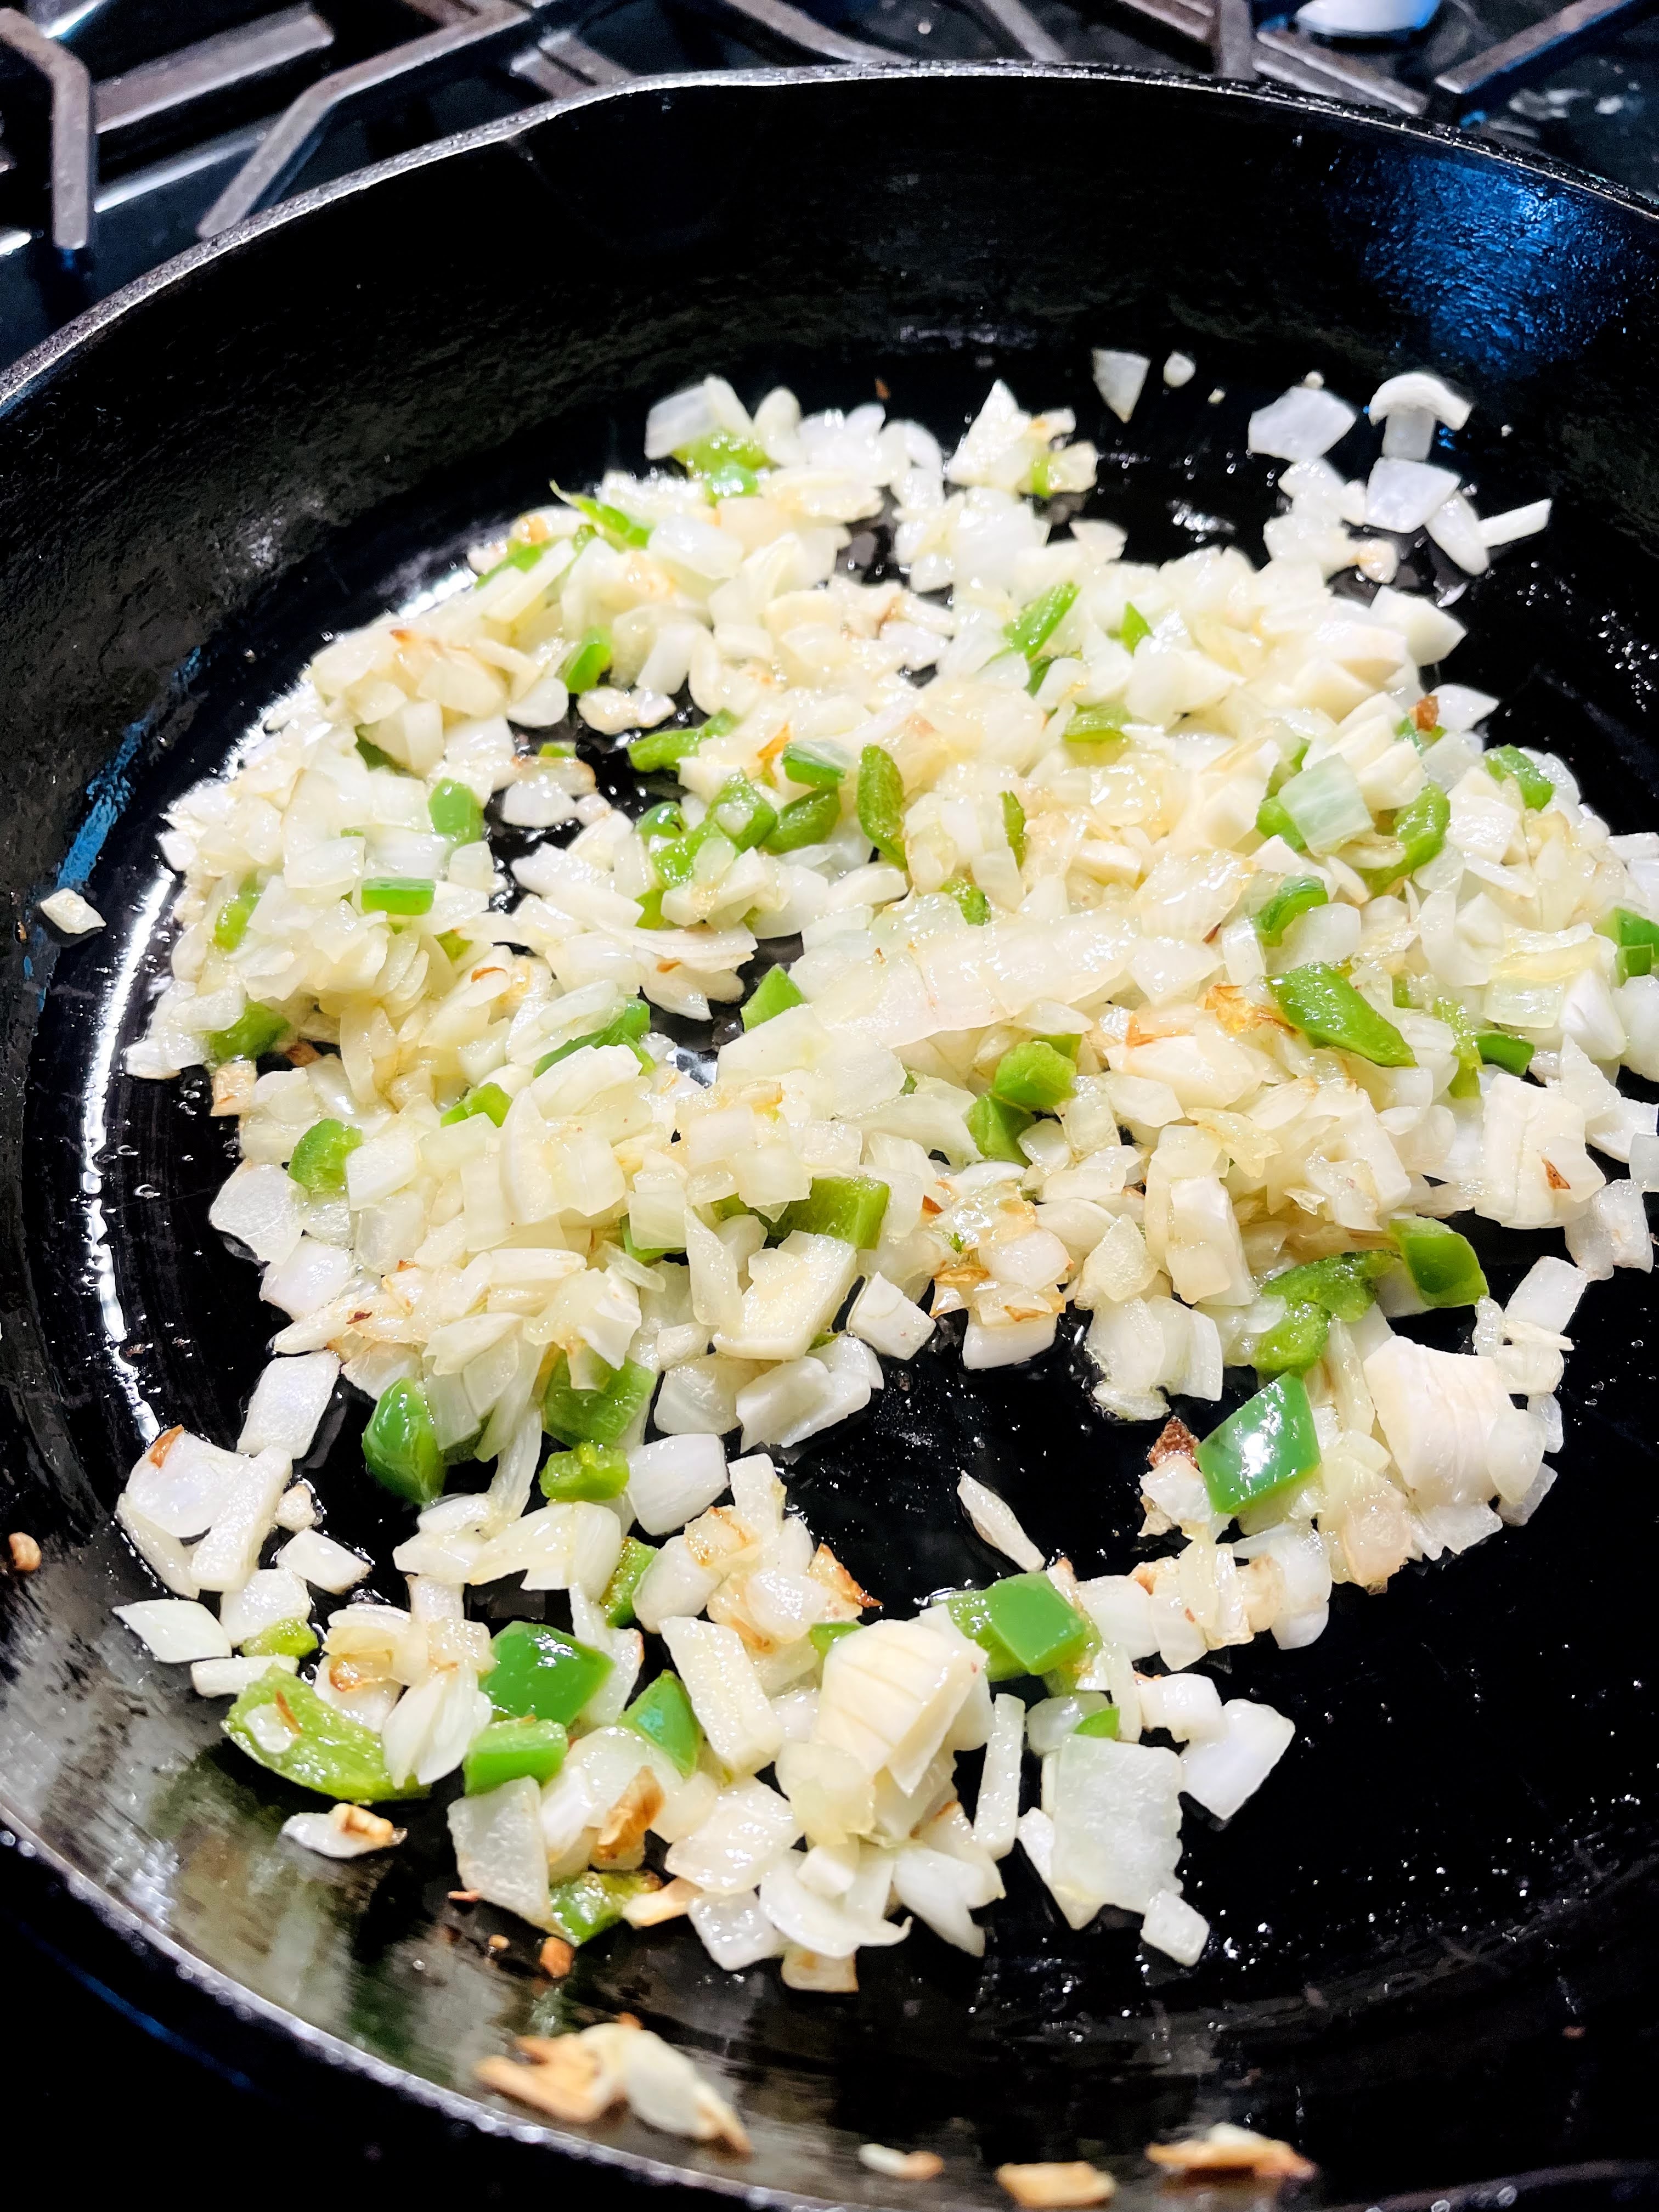
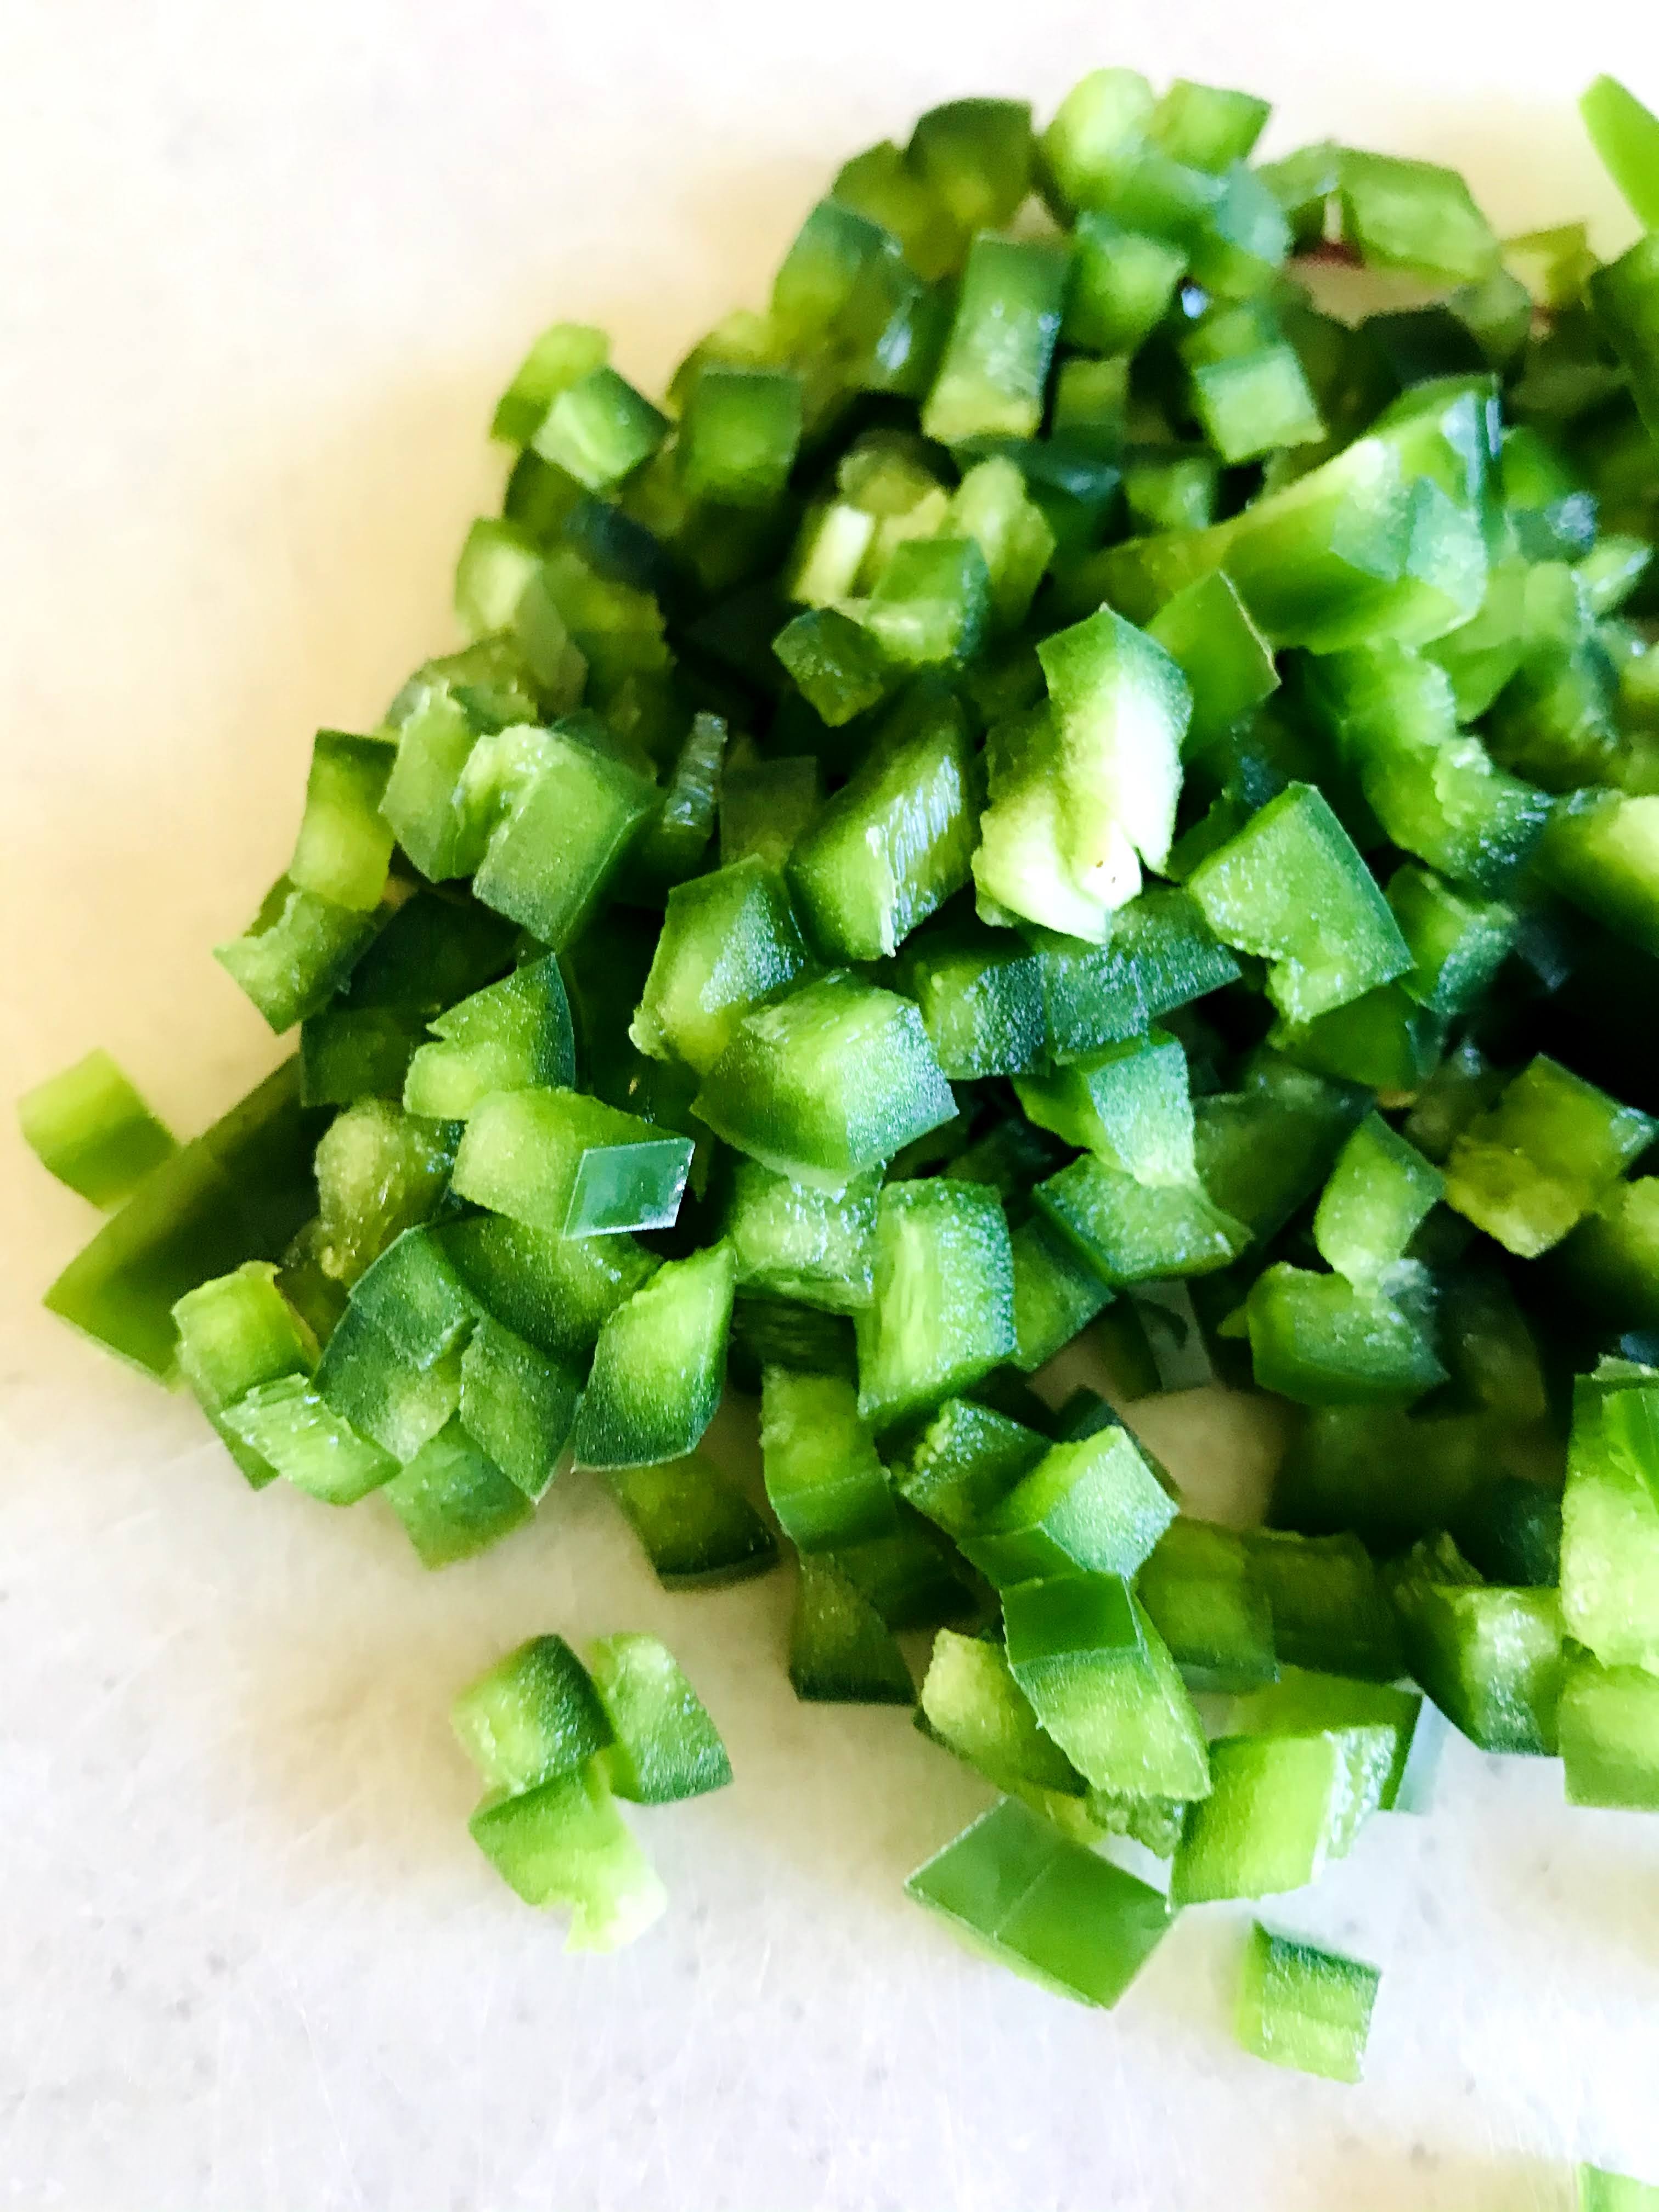
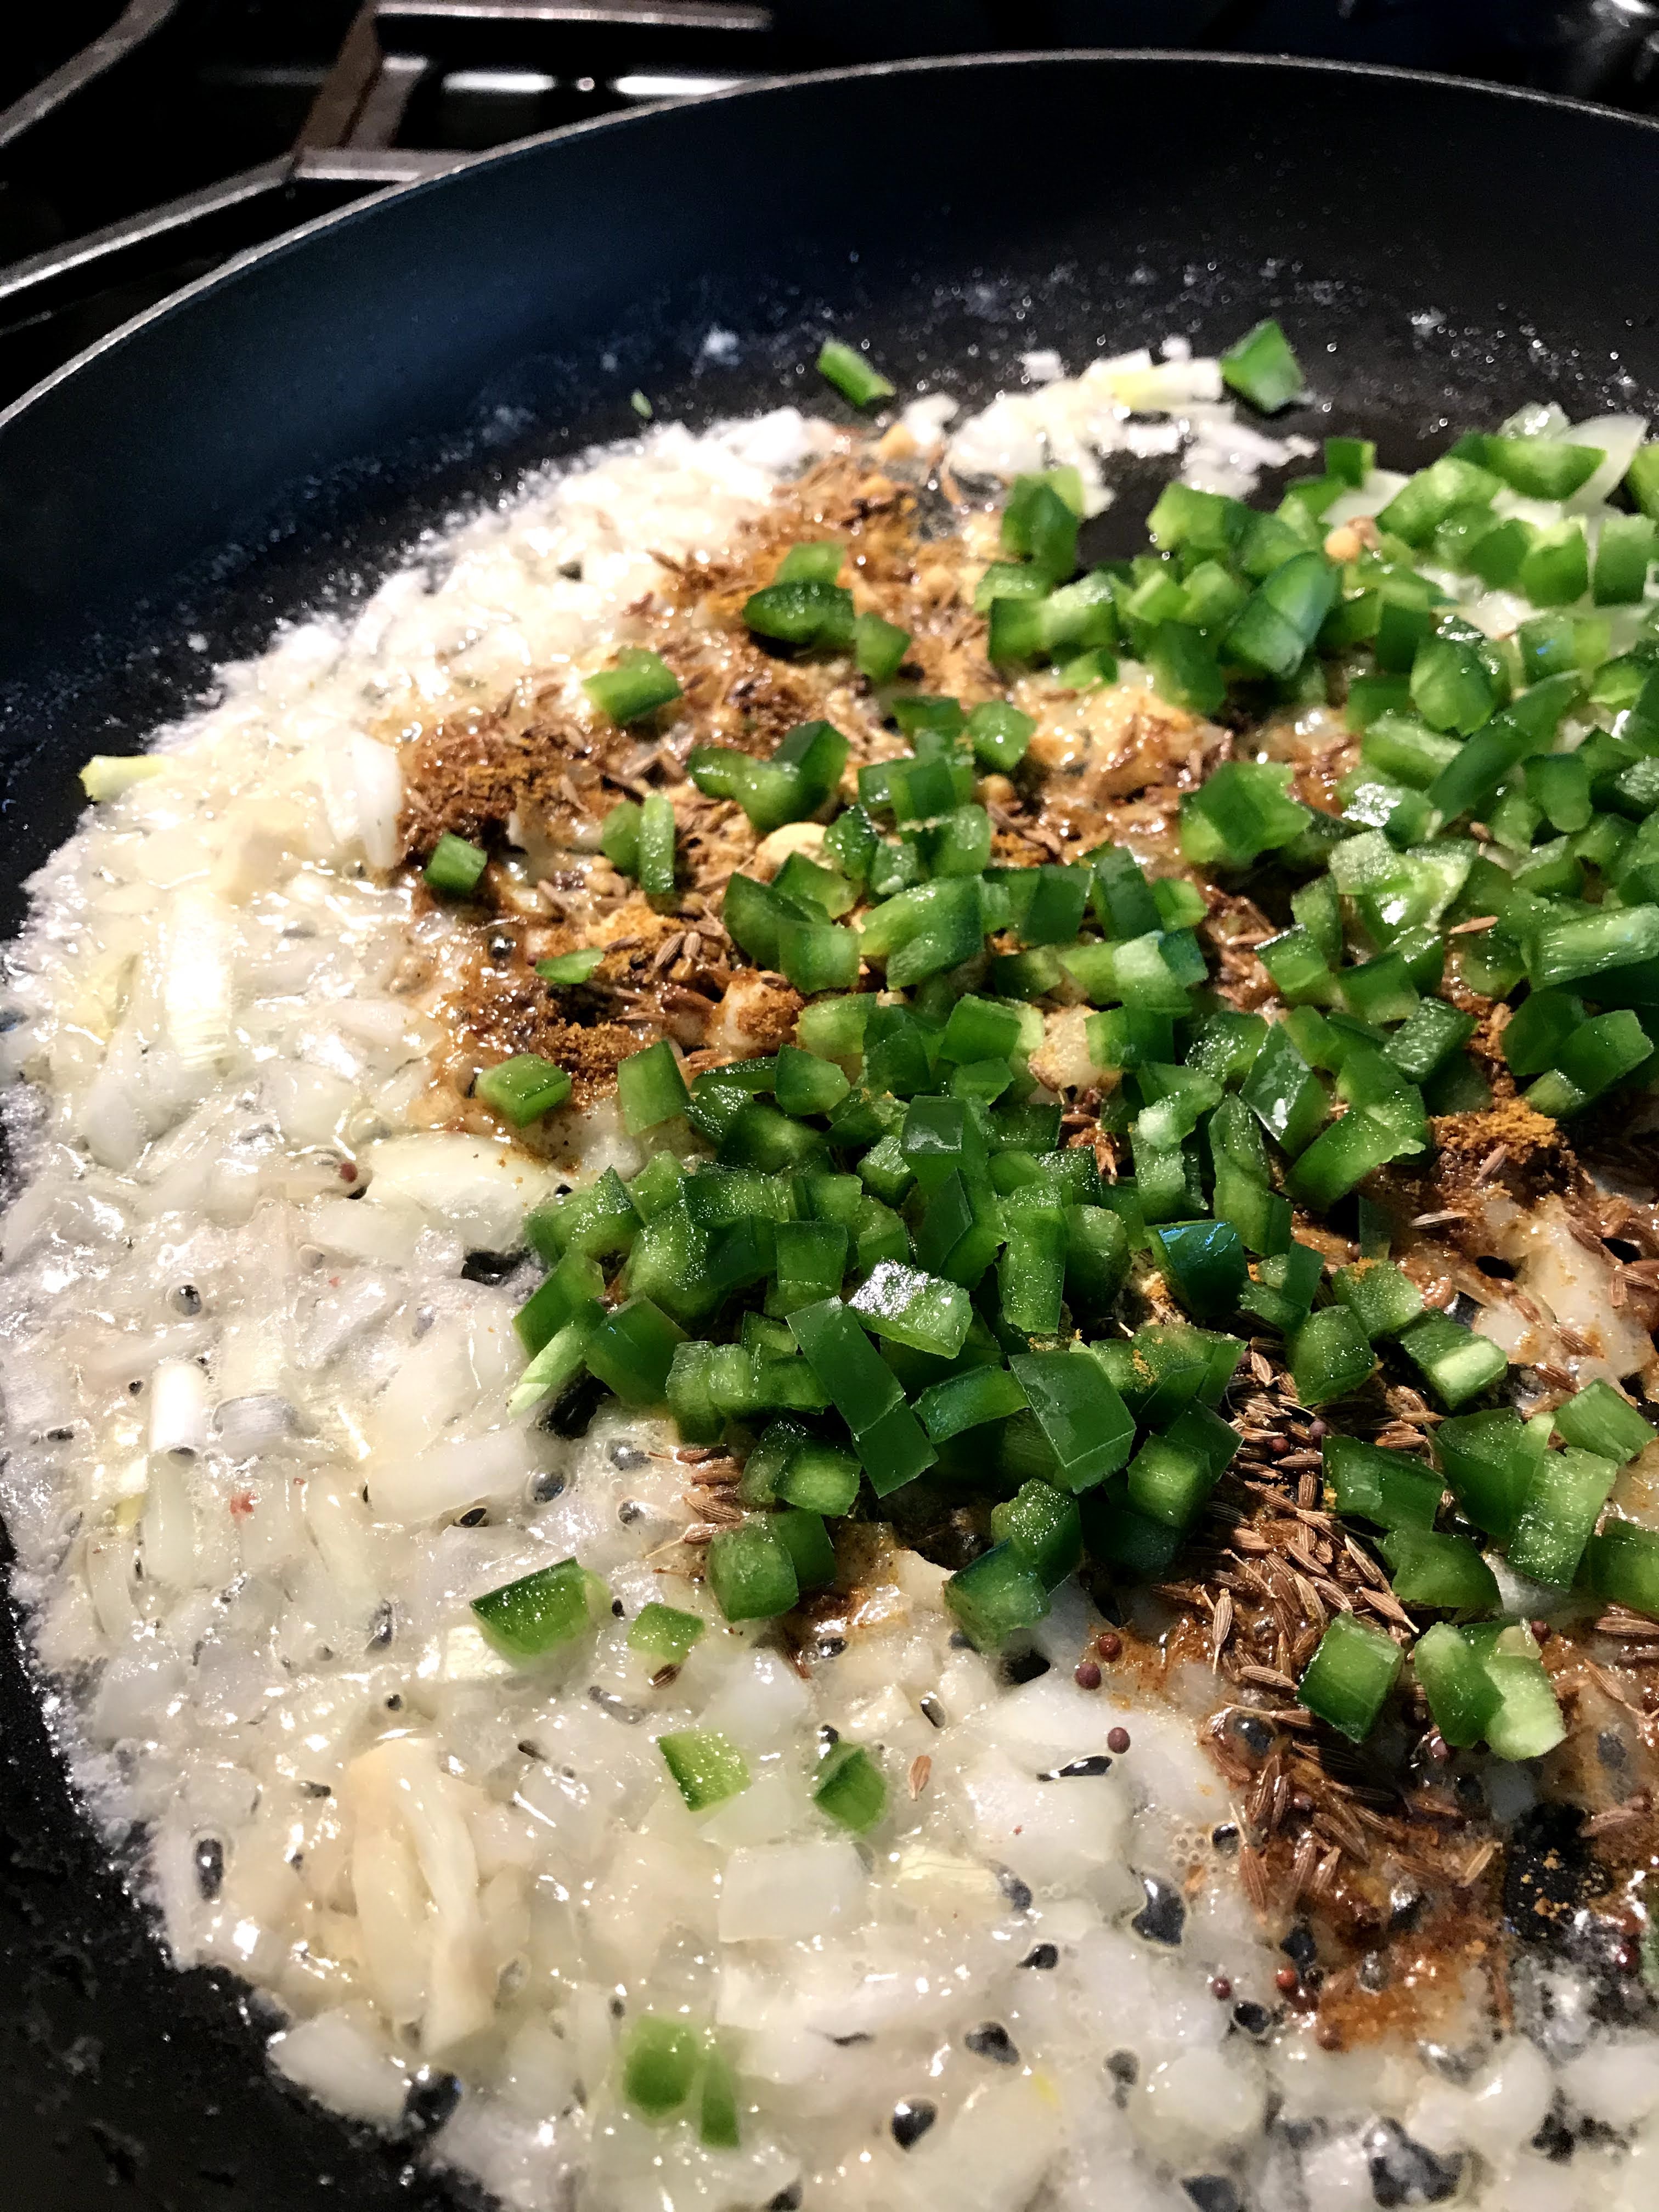
Quiches are versatile; whether served for breakfast, brunch, lunch or dinner. Pair them with a green salad and they will easily serve 6 people. Leftover slices are can be reheated in the microwave or toaster oven. You can use various vegetables, cheese or protein such as leftover chicken, cubed ham or freshly fried bacon. Use the ratio of 1 1/2 cups of mix-ins to 3/4 cup cheese. Make sure you saute your vegetables ahead of time. Try broccoli, spinach or kale for veggies; I have even used caramelized onions. For cheese try Gruyere, fontina, sharp cheddar or mozzarella.

CRUSTLESS QUICHE

INGREDIENTS:

  • 8 large eggs
  • 1 cup heavy cream
  • Kosher salt and freshly ground black pepper to taste
  • 1 teaspoon Dijon mustard
  • Pinch of ground nutmeg
  • 1 cup of chopped and sauteed broccoli rabe
  • 1/2 cup cubed ham
  • 1 cup shredded Gruyere
  • 1/4 cup green onions, sliced, both green and white parts, or 3 Tbsp fresh chives

INSTRUCTIONS:

  1. Place a rack in the center of your oven and preheat the oven to 350 degrees. Coat a deep 9-inch pie dish with nonstick spray.
  2. Prepare any mix-ins. Saute needed vegetables, and shred cheese,
  3. In a large mixing bowl, whisk together the eggs, heavy cream, salt and pepper, mustard, nutmeg and green onions or fresh chives.
  4. Scatter the mix-ins evenly across the bottom of prepared pie dish.
  5. Sprinkle cheese on top.
  6. Carefully pour the egg mixture into the dish. Place the dish on a rimmed baking sheet.
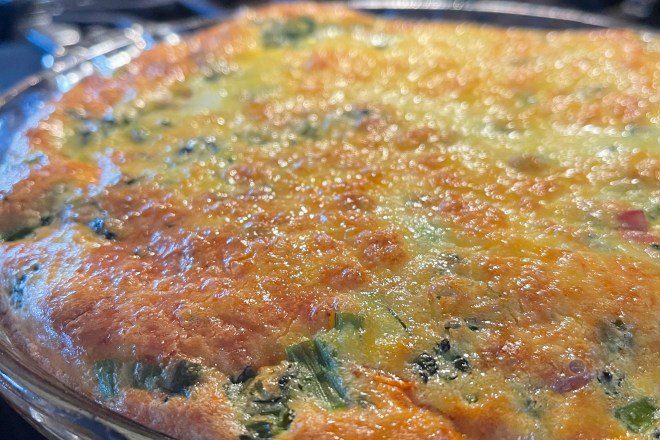
  7. Bake quiche until the center is set, about 35 minutes. It should look puffed and golden at the edges. There should be no visible liquid in the center.
  8. Let cool for 10-15 minutes. Cut into quarters or sixths. Serve warm.

“Kindness is not what you do, but who you are.” –Raktivist

Just Stuff It!

We all enjoy comfort food in the winter, but sometimes we want our dishes to look, well, pretty. Maybe it’s a special event like a birthday or anniversary, and we have a few more mouths to feed and our time is limited. I have the answer! This dish can be made in advance, it’s attractive to serve and will feed 4-6 people. It even freezes well if you want to make a double batch. Even picky eaters seem to enjoy it, and you can sneak a green vegetable in like spinach, to make the filling more interesting. Any guesses? I’m talking about jumbo pasta shells stuffed with spinach, ricotta and pecorino cheese.

Those of you who have followed this blog for a while know I’m keen on putting up tomato sauce during our growing season on the farm. However, you can save time by using a good quality marinara sauce of your choice. Make sure to read your labels and make sure that it doesn’t have a lot of added sugar. You want savory not sweet sauce. If you want more heat, add a few red pepper flakes and/or minced garlic to your sauce, or maybe some fresh basil or parsley. There are many ways to amp these commercial sauces to suit your personal preferences. You can also fill each shell easily by putting your filling in a sandwich bag and snip a corner. That way you can simply pipe in the filling in each shell without making a mess of it.

STUFFED PASTA SHELLS WITH SPINACH AND RICOTTA

INGREDIENTS:

  • 20-22 jumbo pasta shells
  • Extra-virgin olive oil, for drizzling
  • 1 16 ounce bag of frozen chopped spinach, thawed and excess moisture squeezed out
  • 16 ounces whole milk ricotta
  • 1/4 cup grated pecorino cheese, plus more for sprinkling
  • 2 garlic cloves, grated
  • 1 teaspoon dried oregano
  • 1/4 teaspoon red pepper flakes
  • Lemon zest from 1/2 fresh lemon
  • 1 egg
  • 3/4 teaspoon sea salt, plus more for pasta water
  • Freshly ground black pepper to taste
  • 1 16 ounce (2 cups) jar marinara sauce
  • 1/2 cup shredded mozzarella cheese
  • Chopped parsley or basil, for serving

INSTRUCTIONS:

  1. Preheat oven to 425 degrees F.
  2. In a large pot of heavily salted boiling water, cook the pasta shells for 10 minutes, until al dente. Drain and drizzle a little olive oil to keep them from sticking together.
  3. Place the drained and squeezed spinach in a medium bowl. Combine with the ricotta, pecorino, garlic, oregano, lemon zest, red pepper flakes, egg, sea salt and several grinds of fresh black pepper. Spoon into a plastic sandwich bag (I put the bag in a quart canning jar to hold it upright). Cut the corner of the bag when ready to pipe filling into shells.
  4. Spread 3/4 (1 1/2 cups) of marinara sauce in the bottom of a 9 x 13 baking dish. Pipe the filling into each shell and place in baking dish. Repeat until all your shells are filled. Spoon a little marinara sauce over each shell and sprinkle with mozzarella cheese. Cover with foil and bake for 20-25 minutes.
  5. Let stand for 5 minutes. Sprinkle with basil or parsley.

Serves 4-6

“Sometimes a little comfort food can go a long way.” –Benjamin Bratt

Umami Explosion

I love pasta. I can typically put together a pasta dish in under 30 minutes. This dish came together with ingredients I routinely have in my refrigerator and pantry, which makes it super convenient. But the real deal is how incredibly delicious it was with only 5 ingredients. All those taste sensations are covered, salty pancetta, acidic lemon, and the richness of pecorino. This can easily be doubled to feed a crowd. Add a salad and a crunchy baguette and you have yourself a deeply satisfying meal. You won’t believe how rich it is without using cream.

Don’t use marinated artichokes for this recipe, as their flavor is too sharp and tangy. After draining the artichokes, make sure to pat them dry so they caramelize when added to the pot. Don’t forget to reserve about 2 cups of the cooked pasta water before draining the noodles. You will need it for pureeing the artichokes and building the sauce.

LINGUINE WITH ARTICHOKES, LEMON & PANCETTA

INGREDIENTS:

  • 1 pound linguine or fettuccini
  • Kosher salt and freshly ground black pepper to taste
  • 1 tablespoon extra-virgin olive oil, plus more t serve
  • 4 ounces pancetta, chopped
  • 2 14-ounce cans artichoke hearts, drained, patted dry and quartered if whole
  • Zest from one lemon, plus 3 tablespoons lemon juice
  • 1 cup finely grated pecorino or Parmesan, plus more to serve
  • 1/2 cup finely chopped fresh flat-leaf parsley, OR chives, OR basil

INSTRUCTIONS:

  1. In a large pot, bring 4 quarts of water to a boil. Stir in the pasta and 1 tablespoon salt, then cook, stirring occasionally, until al dente, about 10 minutes. Reserve about 2 cups of cooking water, then drain.
  2. In the same pot over medium, heat the oil until shimmering. Add the pancetta and cook, stirring, until crisp, about 3-4 minutes. Using a slotted spoon, transfer to a small plate; set aside. Add the artichokes to the pot and cook, stirring, until beginning to brown at the edges, 3-4 minutes. Remove the pot from the heat. Transfer half the artichokes to a small bowl; add the remainder to a blender. Reserve the pot.
  3. To the artichokes in the blender, add 1/2 cup cooking water, the lemon juice and 1/4 teaspoon each salt and pepper; puree until smooth. In the same pot over medium, bring 1 cup of the remaining cooking water to a simmer, scraping up any browned bits. Add the artichoke puree, the pasta, lemon zest, pancetta, cheese and parsley. Cook, tossing to combine, just until the noodles are heated through, 1-2 minutes; add more reserved water as needed to make a silky sauce. Taste and season with salt and pepper. Transfer to a serving bowl and top with the reserved artichokes, along with additional oil and pecorino or Parmesan.

Serves: 4-6

“Silence more musical than any song.” –Christina Rossetti

Feeling A Little Spicy?

Can you tell that it’s pepper season here? I know there have been several posts showing their delicious versatility, so I’m hoping you can stand just one more. This week we’re doing Stuffed Poblano Peppers. These stuffed peppers are a hearty and satisfying Mexican style meal that is family friendly. The filling may make more than you will initially need. I usually freeze the remainder for future use in sweet bell peppers that are easy to come by later in the season. Either way, it’s sure to please.

The poblano pepper is a mild chili pepper, originating in the state of Puebla, Mexico. They are not as hot as a jalapeño, so they are perfect for Mexican and Tex-Mex cooking. Roasting them really brings out their great flavor. Poblanos are dark green in color, wide at the stem and narrow along the length of the pepper.

Traditionally, these stuffed peppers use ground beef, however I enjoy using Mexican chorizo in this dish. It adds a richness that compliments the poblanos. I have also tried a chicken-chorizo that was lower in fat than its pork counterpart that worked well. There is even a vegan chorizo by Friedas called “soyrizo”; all are viable options.

STUFFED POBLANO PEPPERS

INGREDIENTS:

  • 6 large poblano peppers
  • 1 pound Mexican chorizo, casings removed
  • 2-3 cloves garlic, minced
  • 1 teaspoon ground cumin
  • 1 cup cooked white rice
  • 1 15 oz can black beans, drained and rinsed
  • 1 cup frozen corn kernels, thawed
  • 15 ounce can diced tomatoes with juice
  • 15 ounce can tomato sauce (I use my homemade roasted tomato sauce)
  • 1 1/2 cups shredded Monterey Jack cheese, divided
  • 1/4 cup fresh cilantro, chopped

INSTRUCTIONS:

  1. Preheat the oven to 350 degrees F. Coat a baking sheet with cooking spray. Cut a slice off lengthwise in each pepper. Remove seeds and membranes. Place peppers in a single layer.
  2. Bake the peppers for 15-20 minutes, or until softened.
  3. Heat a 12-inch non-stick skillet over medium high heat. Add the chorizo and cook for 6-8 minutes, breaking up the meat with a wooden spoon, until the chorizo is cooked through and no longer pink.
  4. Add the garlic and cumin, cook for 1 minute.
  5. Add the rice, beans, corn, tomatoes and 3/4 of the cheese to the pan. Remove the pan from the heat and stir to combine. Coat the bottom of a 13×9 pan with tomato sauce. Place pepper halves on top. Fill each half with filling. Sprinkle with remaining cheese.
  6. Return the peppers to the oven. Bake 15-20 minutes, or until heated through and cheese is melted. Place 2 pepper halves in individual bowls, then top with tomato sauce and sprinkle with chopped cilantro.

Serves 6

“Mexican food is one of the best culinary experiences that people can have.” ~ Karla Souza

Skillet Chili Rellenos

As a vegetable farmer, I can or freeze a fair amount of food for our winter consumption. When the tomatoes and peppers are on, you will find me doing something for future use. Currently we are bombarded with peppers of all kinds. Poblanos, Hatch, jalapeños, pepperoncini and serranos. This week as I was grilling some poblano peppers for using in chili this winter, I thought why not use all this produce for something savory that won’t take a lot of time, yet has all the ingredients of one of my favorites, Chili Rellenos. Peppers, onions, garlic, tomatoes, we had it all on hand. I’ve been using the cast iron skillet that was handed down from my wife’s grandmother quite a bit lately. I love how it can go from stovetop, to oven to table (less dishes!). Bingo! I had our dinner plans.

Although I prefer to grill my peppers, you can also broil them in the oven on a sheet pan. Simply cut your peppers in half lengthwise and place them on a lightly oiled sheet pan, skin side up. Broil the poblanos about 15 minutes, until the skins char and blacken. They should puff up. Remove, place them in a bowl and cover with plastic wrap until they cool slightly. Then peel off the skins and discard along with the seeds and stem.

INGREDIENTS:

  • 6 roasted poblano peppers, peeled and seeded; cut into strips
  • 1 tablespoon olive oil
  • 2 jalapeños, minced
  • 1 medium white onion, chopped
  • 4 cloves garlic, minced
  • 6 fresh roma tomatoes, chopped or one 15 oz can chopped tomatoes
  • 1 teaspoon Mexican oregano
  • 1 teaspoon smoked paprika
  • 1/2 teaspoon ancho chili powder
  • 1 teaspoon ground cumin
  • Salt and freshly ground black pepper to taste
  • 6 large eggs
  • 4 cups shredded cheddar cheese or a combination of Monterey Jack and cheddar
  • Fresh cilantro, chopped for garnish
  • Sour cream for garnish

INSTRUCTIONS:

  1. Heat a 12-inch ovenproof skillet over medium heat and add the olive oil. Add the onion and jalapeño and saute them for about 5-6 minutes to soften.
  2. Add the garlic and cook for about 2 minutes.
  3. Add the tomatoes, oregano, ancho powder, cumin, salt and pepper. Cook for 10 minutes on medium-low, until the tomatoes soften up and the mixture becomes saucy. Scoop half of the sauce into a bowl.
  4. Preheat the oven to 350 degrees F.
  5. In the same 12-inch skillet, layer half of the poblano strips and half of the cheese. Add the remaining sauce, then the remaining poblano strips, then half of the remaining cheese.
  6. Next, beat the eggs and pour the eggs over the mixture over the top of the skillet. Add the remaining cheese.
  7. Bake for 25-30 minutes, or until the eggs set and the cheeses are melted.
  8. Remove and let set for 5 minutes. Garnish with chopped cilantro.

Serves 4-6

My favorite time of day is to get up and eat leftovers from dinner, especially spicy food. — David Byrne

Cutting Carbs? No Problem!

I’ve been a vegetable lover all my life (well, except beets and okra, but that’s another story). Being organic vegetable farmers, we eat seasonally as much as possible. There are certain vegetables we return to again, and again for their amazing versatility; one of these is cauliflower. You can rice it, steam it, roast it whole or with other vegetables. This particular recipe calls for it to be made into a luscious gratin. This is a riff on a recipe from my main man, Yotam Ottolenghi. He is an absolute genius when it comes to vegetables. I have switched up some of the spices, and adjusted for our heat preference. Feel free to do the same.

This gratin can be made in advance (up to one full day) and refrigerated until ready to bake. It will pair well as a vegetarian dish with a side of brown rice, or goes well with roasted chicken and/or fish. I find a dollop of yogurt and a sprinkling of micro-greens rather than parsley works well too.

CAULIFLOWER GRAIN WITH MUSTARD & CHEDDAR

INGREDIENTS:

  • 1 large cauliflower , broken into 2 inch pieces
  • 2 tablespoons unsalted butter
  • 1 medium onion, finely chopped
  • 1 1/2 teaspoons cumin seeds
  • 1 teaspoon medium curry powder
  • 1 1/2 teaspoons ground mustard
  • 2 jalapeños, seeded and minced
  • 1/2 teaspoon brown mustard seeds
  • 3/4 cup heavy cream
  • 1 1/2 cups white cheddar (about 6 ounces), shredded on large holes of box grater
  • Salt and freshly ground black pepper to taste
  • 1/2 cup fresh breadcrumbs (I blast mine in a food processor)
  • 1/4 cup parsley, finely chopped

INSTRUCTIONS:

  1. Preheat oven to 400 degrees F. Steam the cauliflower over boiling water for 5 minutes, drain in a colander and let cool slightly.
  2. In a 12-inch non-stick skillet melt the butter over medium heat. Add the onion and sauté for about 8 minutes or until soft and golden. Add the cumin, curry powder, mustard powder, and chilies and cook for 4 minutes more, stirring occasionally. Add the mustard seeds and cook for 1 minute more.
  3. Pour in the heavy cream. Add 1 1/4 cups cheddar and salt/pepper, then simmer for about 4 minutes, or until sauce slightly thickens. Add the cauliflower and stir gently to coat. Remove from heat.
  4. In a small bowl, place the 1/4 cup cheddar, with the breadcrumbs and parsley. Mix until combined. In a 9-inch buttered casserole dish, fill with the coated cauliflower mixture. Sprinkle with breadcrumb mixture.
  5. Bake until golden; about 25 minutes (slightly longer if refrigerated)

Serves 4

“There is nothing that is comparable to it, or as thrilling,

as gathering the vegetables one has grown.” –Alice Toklas

Little Orbs of Joy

I often find that if I’m making something that freezes well, why not double or triple the recipe? I often do this with sauces, condiments, caramelized onions and especially this recipe , Lamb & Feta Meatballs. If I make a single recipe I get approximately 16-18 meatballs. Two weeks ago I quadrupled the recipe using 4 pounds of ground lamb and made 60 (enough for 5-6 meals)!!

These little orbs are versatile and full of flavor. Plate them with last weeks recipe for Roasted Sweet Pepper and Tomato Sauce, place them in a pita with tomato and tahini sauce, use them in spaghetti and meatballs, serve them with tzatziki sauce. You can serve them as an appetizer by stabbing them with bamboo skewers with a sauce on the side. You get the idea. They freeze beautifully, so with a little effort, you are ready for a quick delicious option at a moments notice. If you have a food saver you are golden, if not, place frozen meatballs in a quart freezer bag and remove as much air as possible.

LAMB AND FETA MEATBALLS

INGREDIENTS:

  • 1 pound grass-fed ground lamb
  • 4 ounces feta, crumbled
  • 2 tablespoons fresh thyme leaves
  • 3 garlic cloves, grated on micro-planer
  • 1/2 cup fresh parsley, chopped
  • 1 cup fresh breadcrumbs, without crusts, pulsed in a food processor
  • 1/2 teaspoon ground cinnamon
  • Kosher salt and fresh ground black pepper to taste
  • 1 tablespoon extra-virgin olive oil
Lamb meatballs ready to freeze
Frozen meatballs vacuumed sealed

INSTRUCTIONS:

  1. If making a single batch, preheat oven to 425 degrees F. Line a large baking sheet with parchment paper (you will use two of these to freeze the meatballs prior to vacuum sealing them if doubling or tripling your recipe).
  2. In a large mixing bowl, place the ground lamb, feta, thyme leaves, garlic, breadcrumbs, ground cinnamon, olive oil, along with salt and pepper and mix thoroughly with your hands. Using a meatball scoop or your hands, shape into golf ball size balls. You should end up with about 18 meatballs, placing them uniformly on baking sheet about 1 1/2 inches apart.
  3. If freezing extra, place sheet in freezer overnight. Once frozen place 10-12 meatballs in a vacuum seal bag or freezer bag and seal. To defrost place bag in sink of cool water for about an hour. If making a single batch place in oven for 15-20 minutes, or until browned. Serve hot.
Ready for future eating!
Delicious!

“Preserving food is an excellent bank account.”

Think Green, Think Fresh

Summer is officially here, and it’s hotter than the hubs of hell. Although I’m still obsessed with turnips, it’s time to move on to other vegetables. Typically when it is this hot I turn to lighter fare. The heat saps me so I want something that is quick and easy to make, and uses seasonal produce. I also like options that allow you to use what might be on hand. This pasta dish comes together quickly (than 20 minutes). Although I have used fresh spinach and sugar snap peas, you could just as easily use shelling peas, asparagus or cherry tomatoes. I’m finding a lot of uses for ricotta these days. I find it refreshing and lighter than a sauce using heavy cream. Spaghetti or linguine are you best pasta choices, but feel free to use what you have on hand. Remember when you add your vegetable to the pasta water, that you want to barely blanch them. I suggest 1 minute so the freshness of the vegetable comes through. The tartness of the lemon is the perfect contrast to the ricotta and vegetables. This recipe can be doubled if serving 4 or more people.

PASTA WITH SPRING VEGETABLES AND LEMON RICOTTA

INGREDIENTS:

  • 8 ounces pasta, such as linguine or spaghetti
  • 1 cup whole-milk ricotta
  • 1 teaspoon fresh chives, chopped
  • 1/4 teaspoon red pepper flakes
  • 8 ounces fresh baby spinach
  • 8 ounces sugar snap peas, sliced vertically in 3 pieces (it’s a nice way to expose the interior of the peas)
  • 1/3 cup Parmesan or pecorino cheese, grated
  • 1 unwaxed lemon, zest and juice, plus a few extra wedges to serve
  • 1 tablespoon extra-virgin olive oil, plus extra for drizzling
  • 2 garlic cloves, grated
  • Kosher salt and freshly ground black pepper to taste

INSTRUCTIONS:

  1. In a large pot of boiling salted water, cook pasta according to package directions. Meanwhile make the ricotta sauce.
  2. In a medium bowl, combine ricotta, olive oil, cheese, garlic, lemon zest and juice, red pepper flakes and salt and pepper to taste. Stir to combine, taste and adjust seasoning to you preference.
  3. In the last minute of the pasta’s cooking time, add spinach and snap peas to the pot. Stir and push the vegetables into the boiling water.
  4. Drain after 1 minute, making sure to reserve 1/2 cup of the cooking water (you will use this to thin you sauce if needed.)
  5. Return pasta and vegetables to the same pot, add the ricotta sauce and a few tablespoons of hot pasta water (you will not use all of it!). Stir well to evenly coat the pasta in sauce, you want a smooth and creamy texture.
  6. Serve immediately, drizzling extra-virgin olive oil over each bowl; add a sprinkle of extra cheese.

Serves 3

img_6652

“There is nothing that is comparable to it, or as satisfactory or as thrilling as gathering vegetables one has grown.” —Alice Toklas

Your My Thrill

You do something to me! It was so unexpected when it happened. Caught totally off guard, I find I just can’t get enough of my new love! There are so many ways to use these little gems, and this recipe is perfect for a breakfast or brunch. Full of cheese, eggs, kale, cream and bread cubes it is a meal by itself, or if you prefer, with something simple from the grill. Turnips have the added benefit of not being a carbohydrate. They have less than half the calories of potatoes or sweet potatoes; and can easily be swapped out in recipes. So you can literally eat them with abandon!

TURNIP AND KALE GRATIN

INGREDIENTS:

  • 5 cloves garlic, thinly sliced
  • 2 cups heavy cream
  • 1 teaspoon fresh thyme leaves (lemon thyme is wonderful)
  • 2 tablespoons unsalted butter, divided
  • 3 medium onions, thinly sliced
  • Kosher salt and freshly ground black pepper to taste
  • 3 bunches kale, ribs and stems removed, leaves torn (you can use any type of kale, I find Tuscan and Red Russian particularly good)
  • 6-8 medium turnips, trimmed, and cut into 1/2 inch cubes (I don’t peel mine, however if you do feel free)
  • 3 large farm-raised eggs, beaten
  • 1 cup Fontina cheese, grated (about 4 ounces)
  • 1 cup pecorino cheese, grated (about 1 ounce)
  • 2 cups day-old bread such as ciabatta, cut into 1/2 inch pieces

img_6645

INSTRUCTIONS:

  1. In a medium pan, bring garlic, cream and thyme to a simmer over medium heat. Reduce heat to low and continue to simmer for 30 minutes. Let cool.
  2. Meanwhile, heat 1 tablespoon butter in a large skillet over medium-low. Add onions, season with salt and cook, stirring occasionally until they turn a nice light amber color, about 20-30 minutes. Add a splash or two of water if they start to stick to the bottom of your pan. Transfer to a large bowl and let cool. Wipe out skillet.
  3. Heat remaining 1 tablespoon of butter in same skillet. Working in batches, add your kale, tossing and letting it wilt slightly before adding more; season with salt. Cook until kale is wilted and tender, about 5 minutes. Add to bowl with onions.
  4. While kale is cooking, cook turnips in a large pot on well-salted water until crisp tender, about 2 minutes; drain. Transfer to a bowl of ice water and let cool. Drain and pat dry. Transfer to the bowl with onions and kale.
  5. Preheat oven to 375 degrees F. Whisk eggs, Fontina cheese, pecorino cheese, and cooled cream mixture in a large bowl to combine. Add onion and kale mixture, along with bread; season with salt and pepper. Transfer to a 8 x 8 casserole dish and bake uncovered until well browned, 40-50 minutes. Let rest 10 minutes before serving. Gratin can be assembled 12 hours ahead. Cover and chill.

Serves 6

img_6647

“The best things happen unexpectedly.”

The Best of Both Worlds

Now that our shelter in place order has been extended to May 15th, we are all seeking comfort through various ways. For me, cooking and food are my go to sources for calming myself. It is gradually getting warmer, we are planting in our greenhouse, the garlic is growing, and my daffodils are blooming.

These days, when I ponder what to make, it comes from a place of what is available? It becomes a combination of home-canning, frozen, fresh and pantry staples. I must say that when you put a little thought into it, you will be surprised at what you can come up with to warm the belly. This time it was a fusion of both Greek and Italian cuisines that worked quite well together. I love to make spanakopita, but was out of phyllo dough, I had my quarts of roasted tomato sauce and uncooked lasagna sheets. Then it hit me, why not combine the spanakopita in a lasagna? Bingo, the best of both worlds. It gave us a couple days of comfort food.

SPANAKOPITA LASAGNA

INGREDIENTS:

  • 12 sheets of oven-ready lasagna noodles
  • 16 ounce bag of chopped frozen spinach, thawed and drained in a wire strainer
  • Zest from one lemon
  • 1/4 cup fresh dill, chopped
  • 3 green onions, using both white and green parts, thinly sliced
  • 4 cloves garlic, grated
  • 4 beaten eggs
  • 10 ounces crumbled feta
  • 16 ounces goat cheese, crumbled
  • 2 cups shredded mozzarella
  • 1 quart of roasted tomato sauce (or equivalent of jarred pasta sauce
  • 2 tablespoon balsamic vinegar

img_6326

img_6327

INSTRUCTIONS:

  1. Preheat oven to 350 degrees F. Spray a 13 x 9 ceramic pan with cooking spray.
  2. Place the drained spinach in a clean kitchen towel and gently squeeze out the remaining water. Place spinach in a large bowl.
  3. Add lemon zest, dill, green onions, garlic, eggs, feta and goat cheese. Mix gently but thoroughly until combined.
  4. In a bowl, combine your pasta sauce with the two tablespoons of balsamic vinegar. Place a ladle full of pasta sauce in bottom of baking dish, and evenly spread it. Place three oven-ready lasagna noodles on top of sauce. Spoon 1/2 cup of filling on each sheet and distribute evenly. Top with three more lasagna sheets, repeat with filling. Repeat one more time. You should have 3 layers of spinach mixture.
  5. On the top of the final lasagna sheets, pour an equal amount of pasta sauce over the 3 groups of layered sheets. Top with mozzarella. Cover with foil and place in pre-heated oven. Bake covered for 25 minutes; uncover and bake for an additional 20 minutes, or until cheese is completely melted and sauce is bubbling.
  6. Let rest for 10-15 minutes.

Serves 6

img_6328

“A good cook works by the fire of imagination not merely by the fire in the stove.”

Robert Coffin