Tag Archives: spices

Anything Moroccan!!

I am a big fan of ethnic food, particularly anything from the Mediterranean. French, Italian, Spanish, North African and especially Moroccan. Mediterranean cuisine is so darn full of fresh, savory ingredients! I just can’t get enough. Moroccan food is particularly known for their national food the tagine, it has the unique taste of popular spices such as saffron, cumin (my favorite), cinnamon, ginger, and cilantro. Most recipes are healthy and loaded with vegetables. The delicious combination of mouth-watering flavors is what makes it unique…Oh, and what flavors!

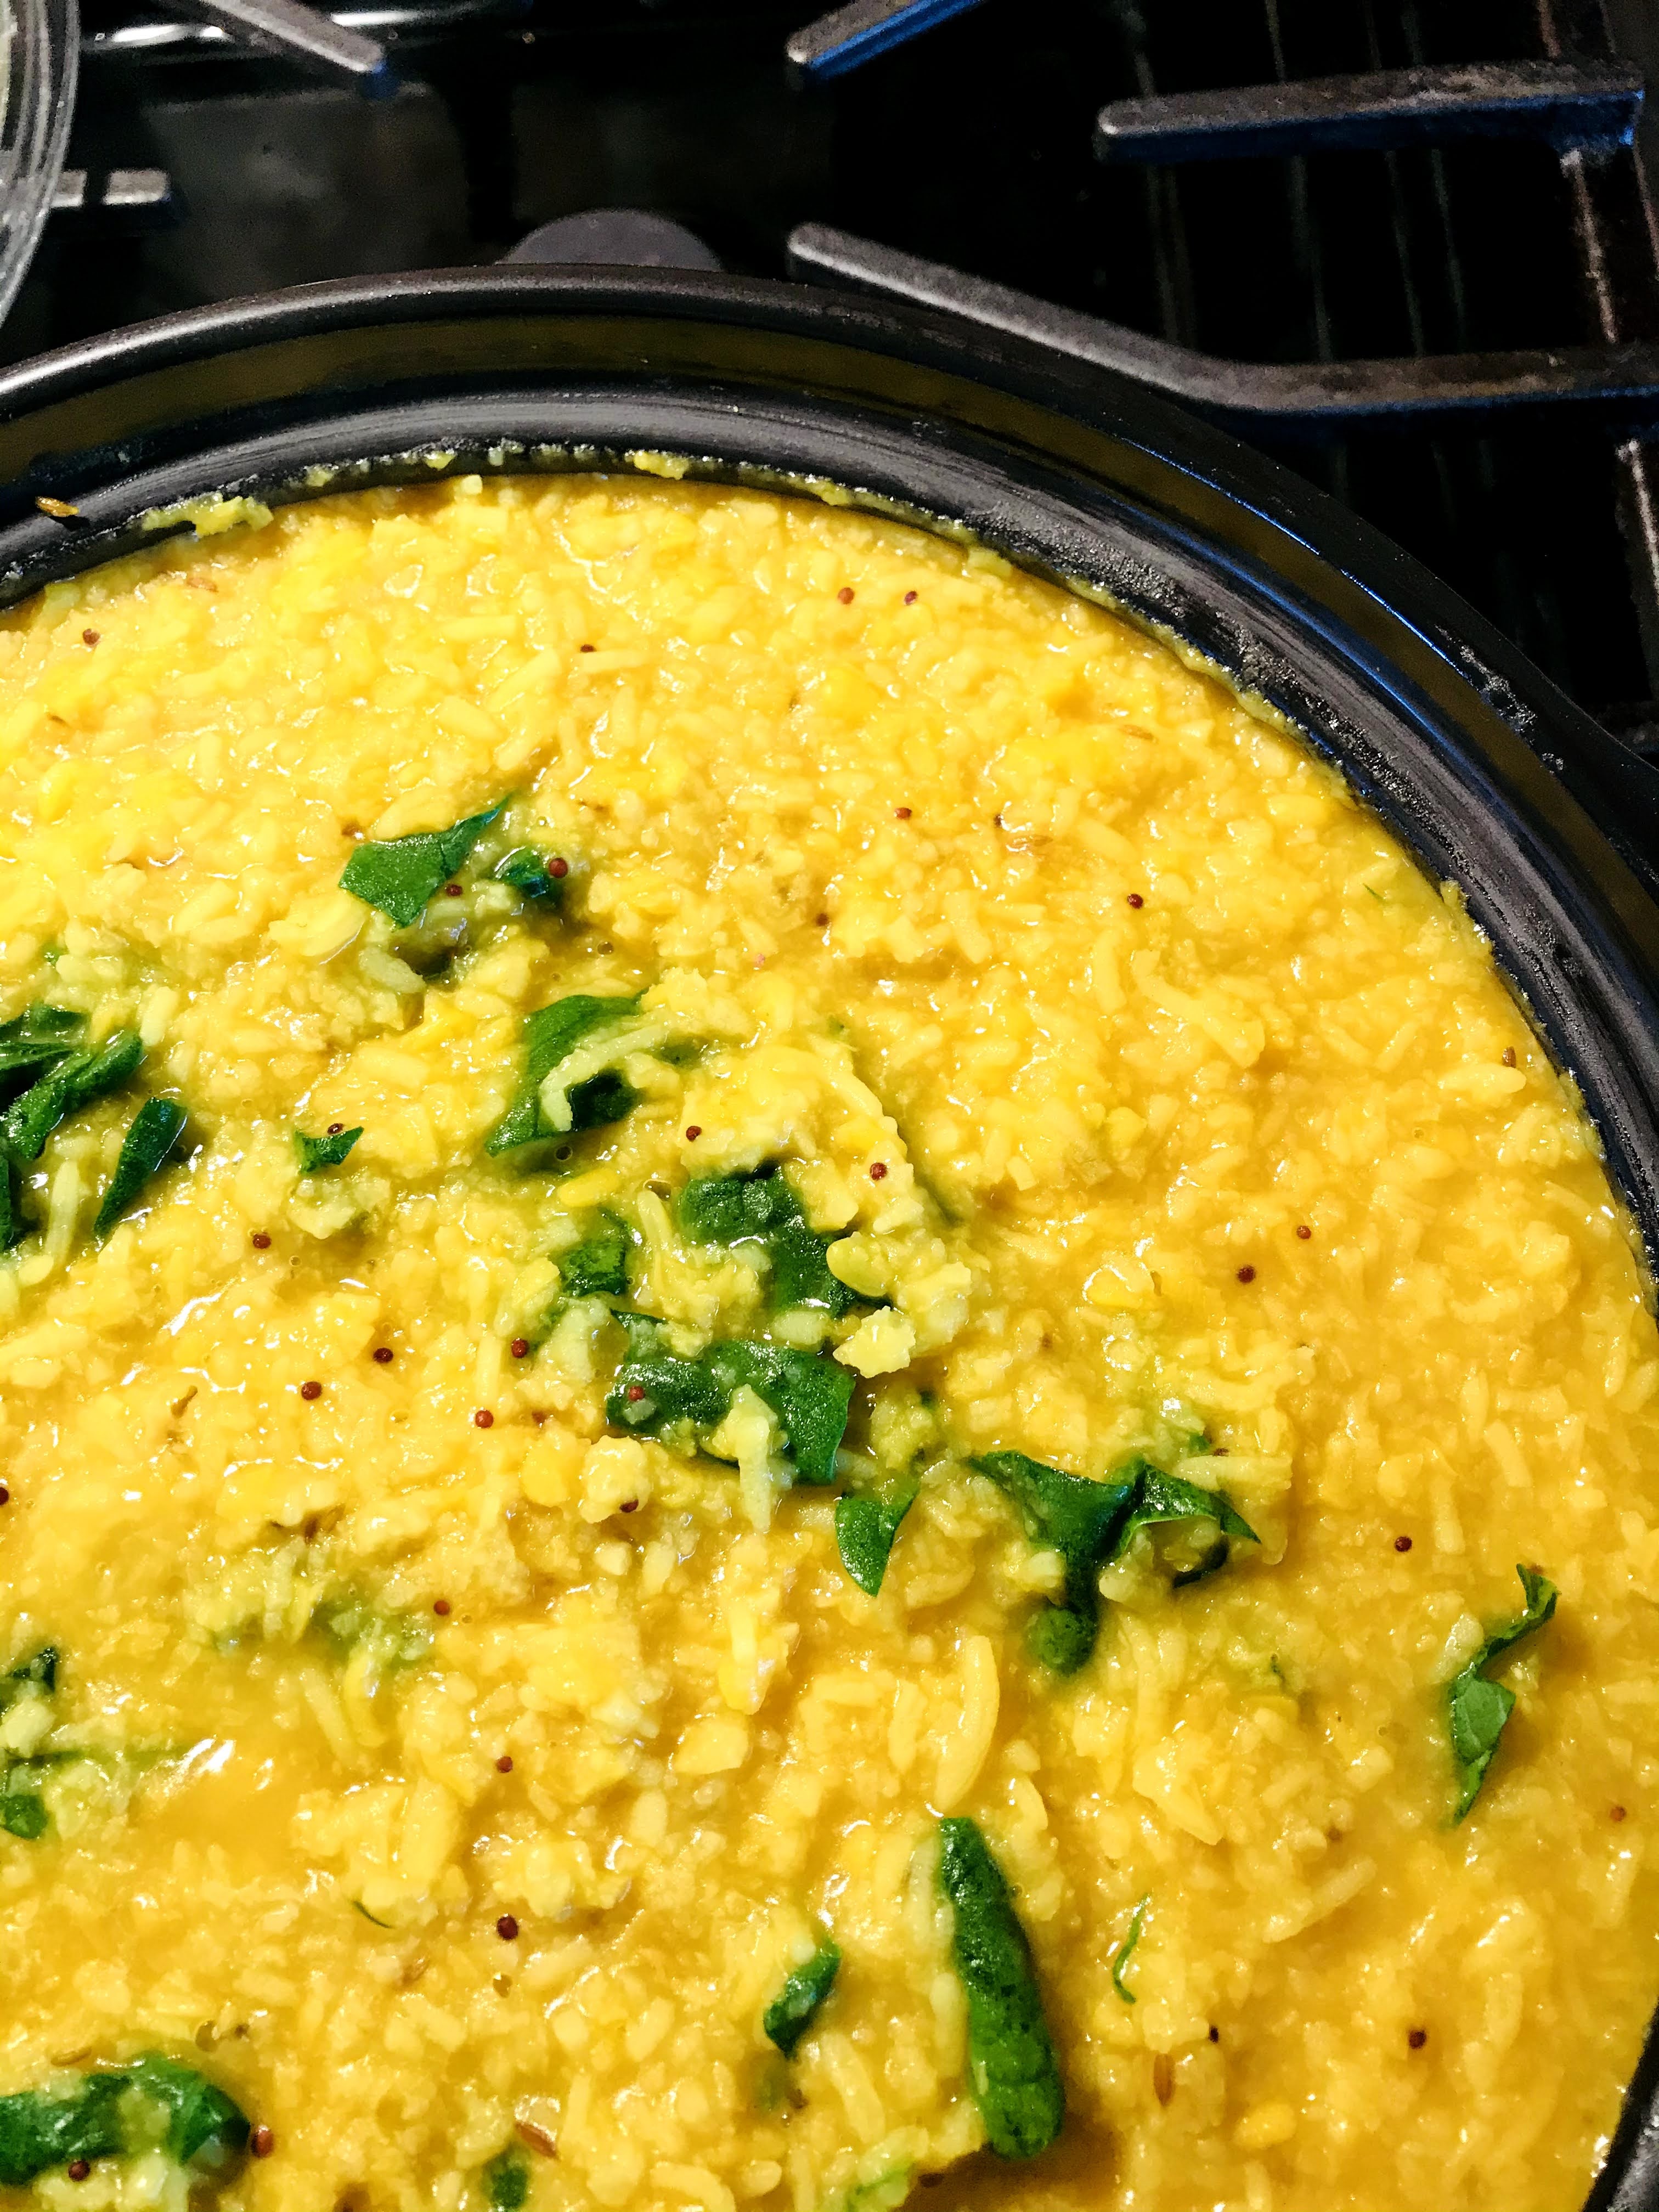
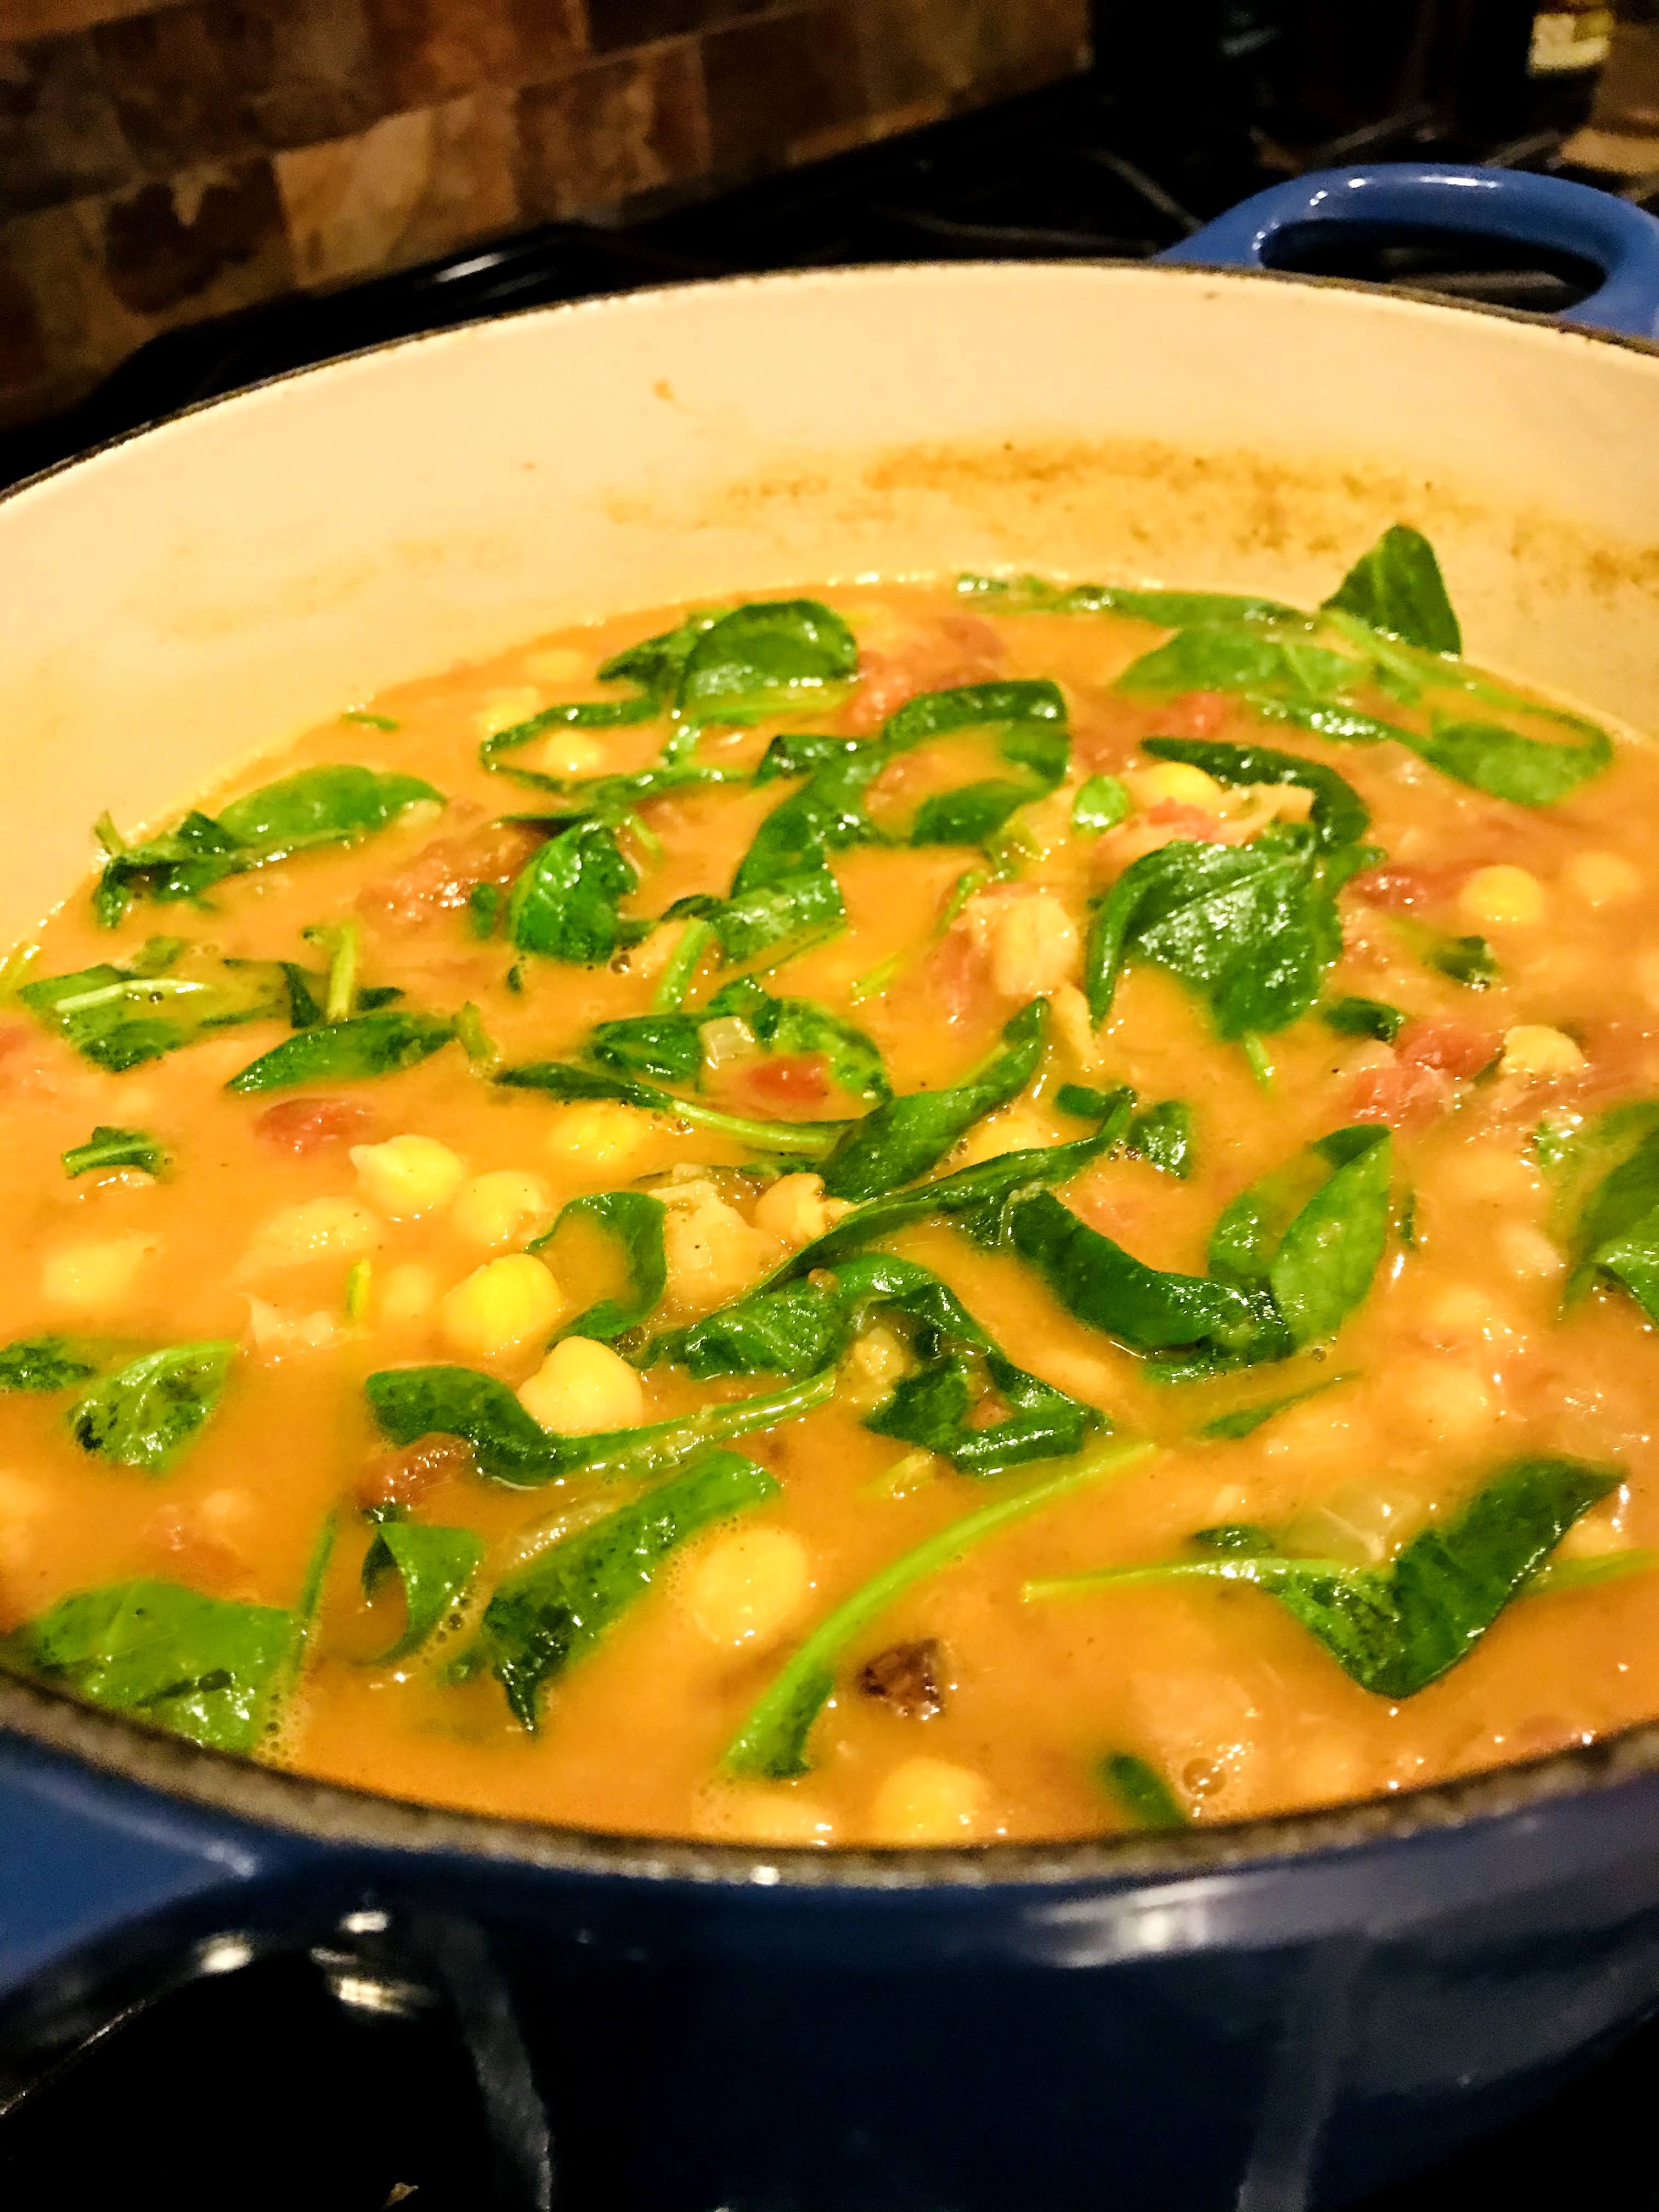
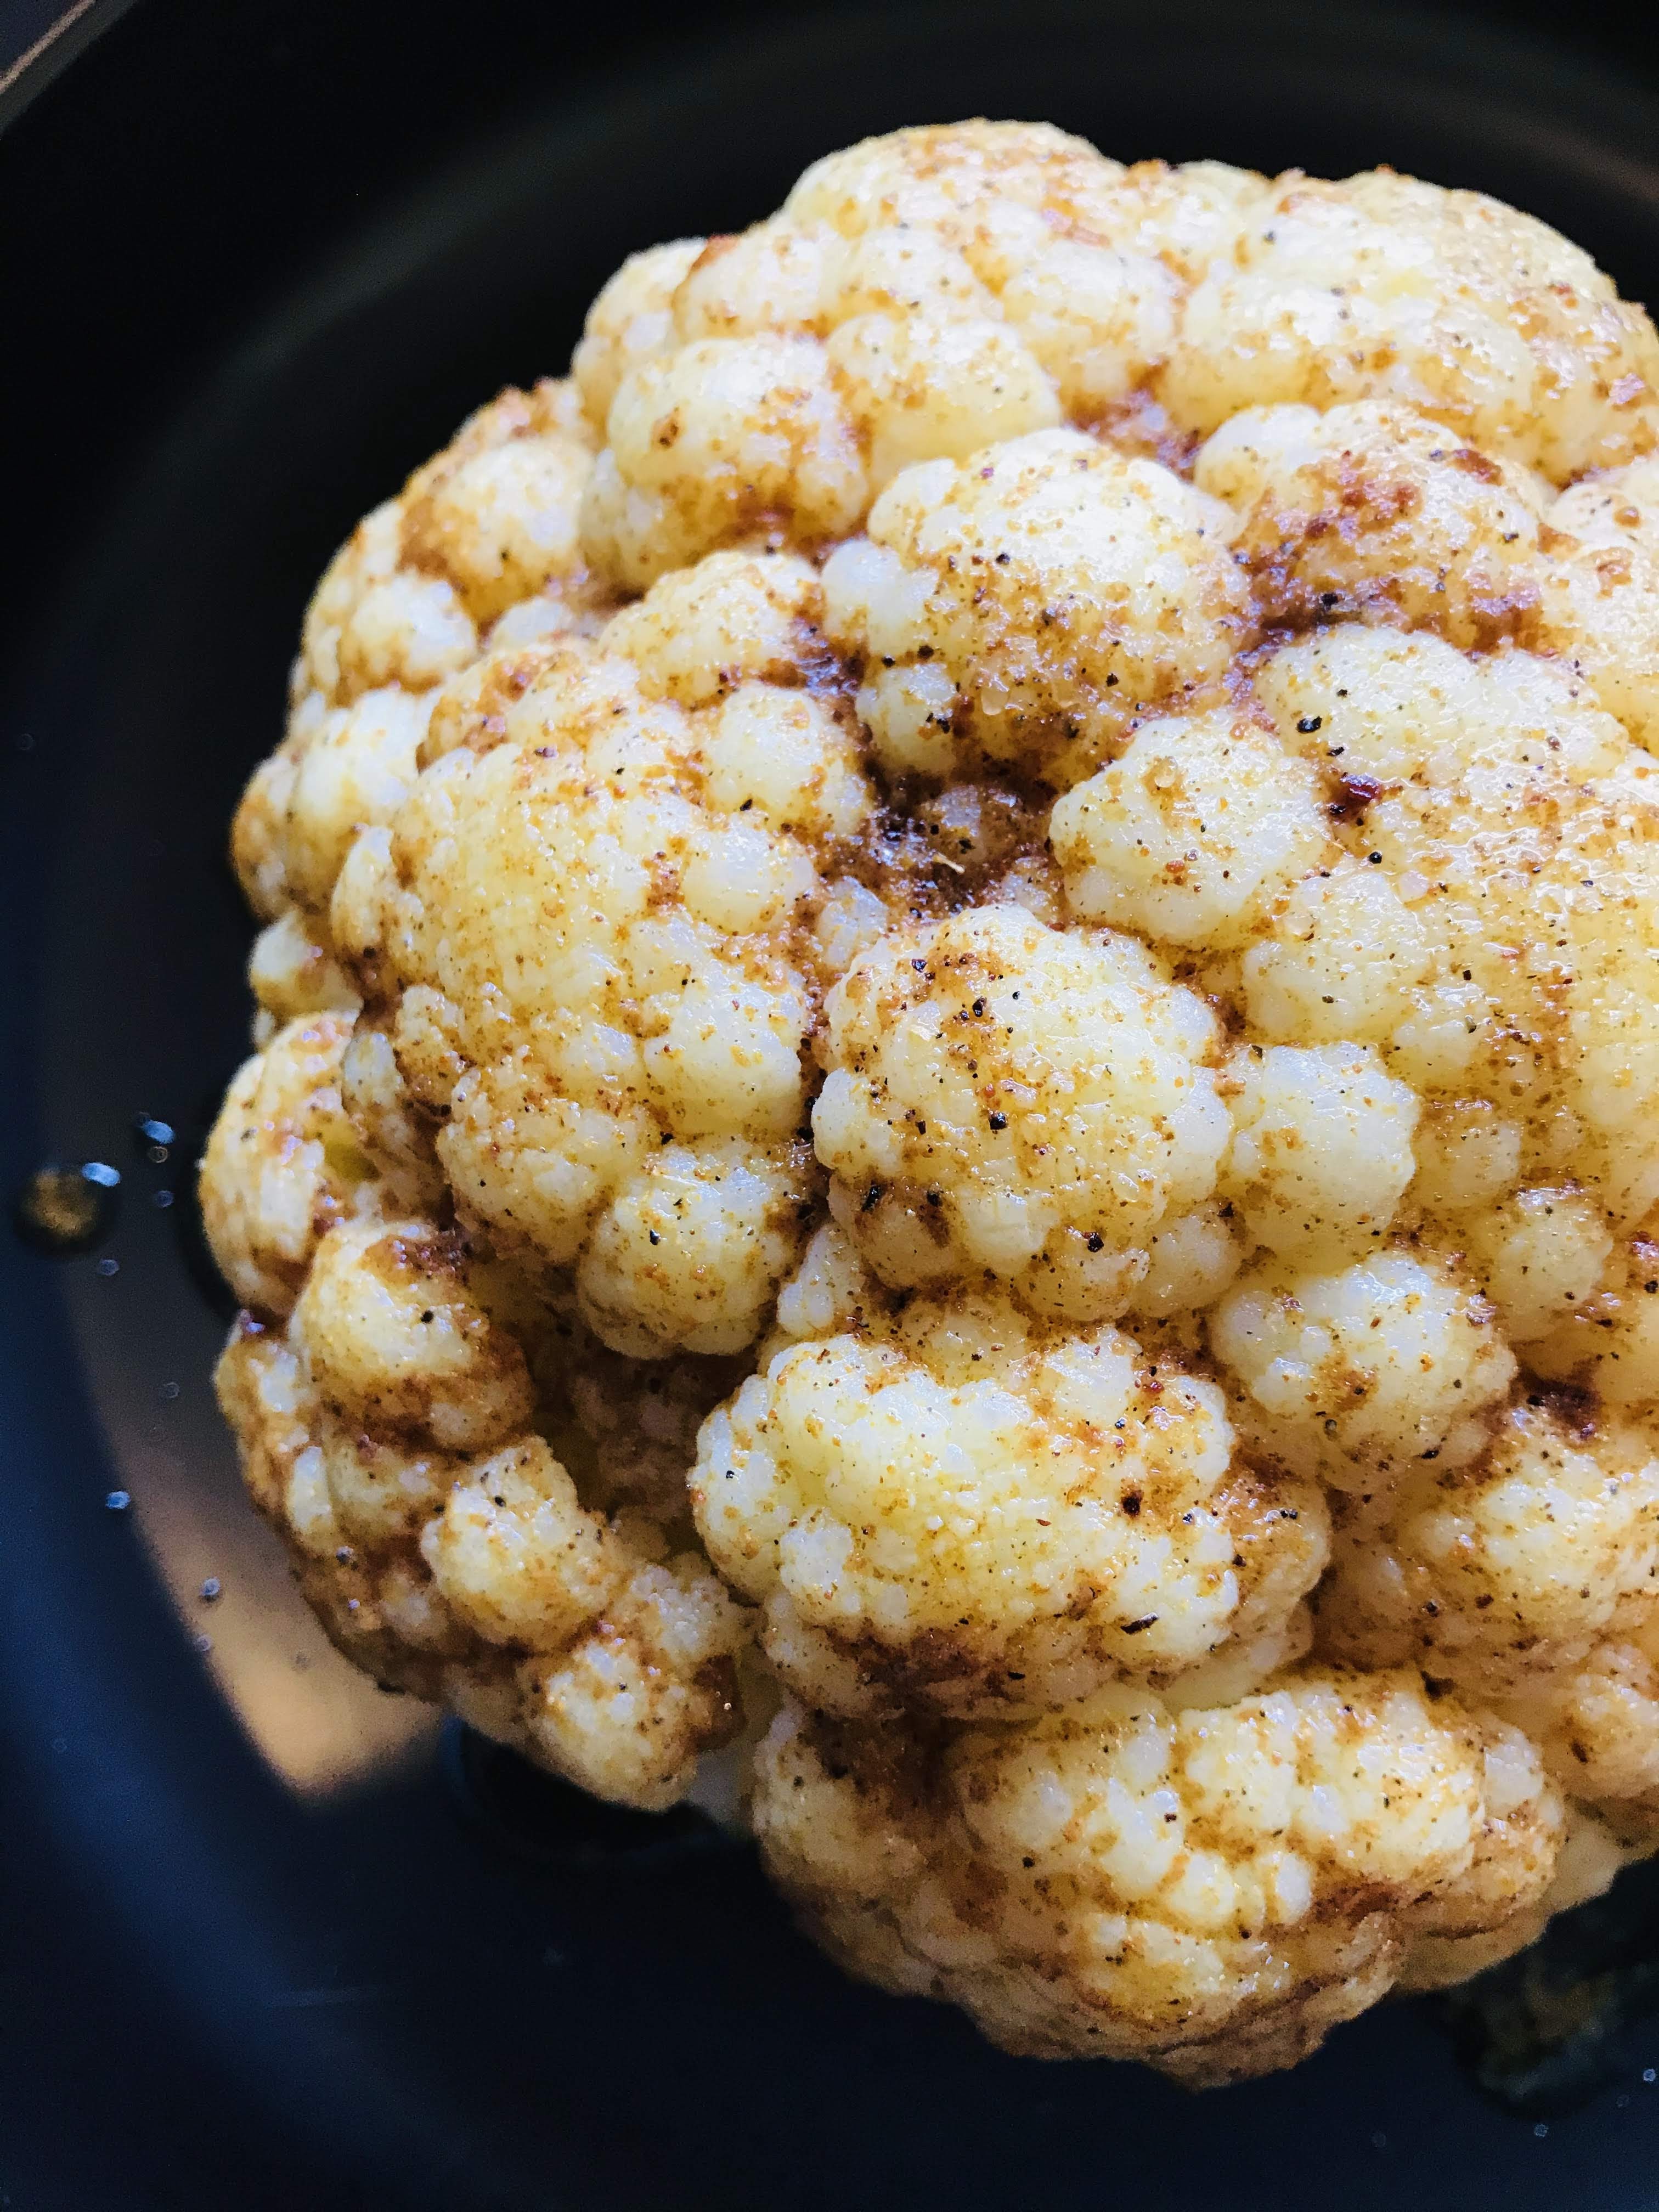
This recipe is a stew that is on regular rotation at our house. The combination of butternut squash, red potato, chickpeas and spices works beautifully together; but the green olives give it not only a punch of color, but a salty counterpoint to the sweetness of the squash. The color of this dish alone is one of the reasons to try it. You can serve this stew over, couscous, rice or cauliflower rice (which is what I use). I also love to use my homemade cilantro-chili sauce, rather than fresh cilantro. You can find it on this blog under Indian Roasted Potatoes, February 2, 2021.
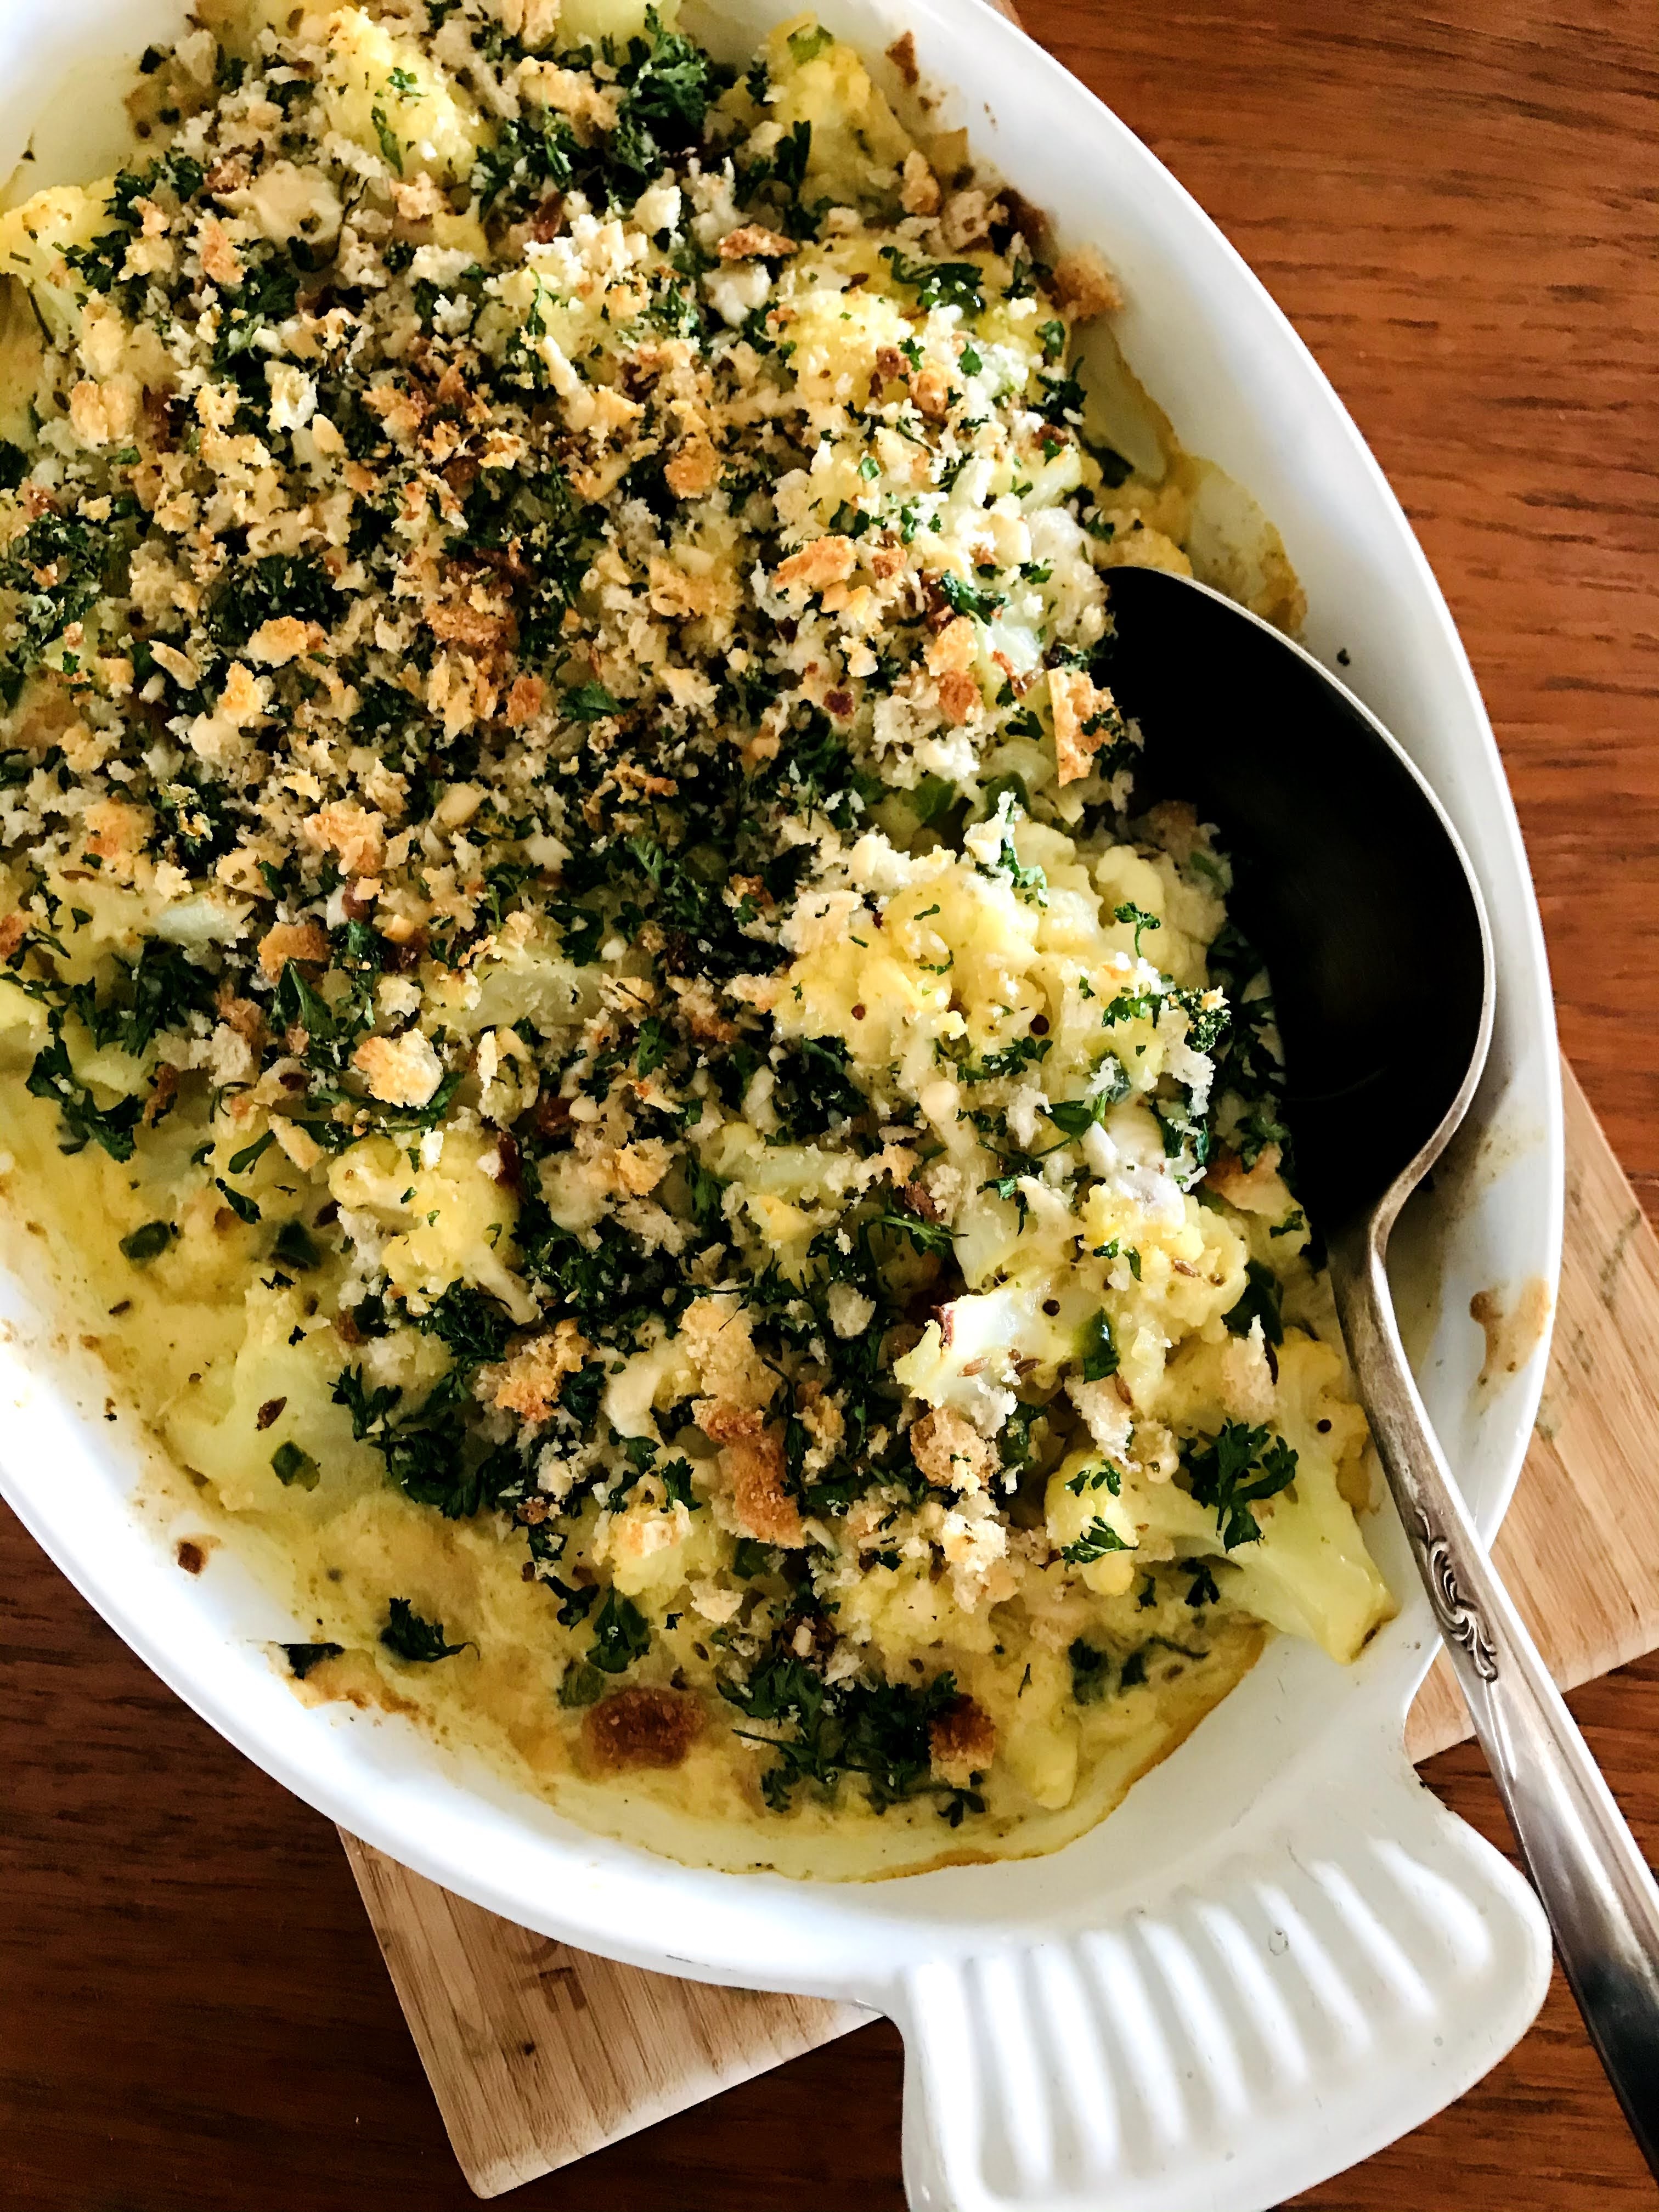
MOROCCAN STEW

INGREDIENTS:

  • 1 tablespoon unsalted butter
  • 1 tablespoon olive oil
  • 1 medium yellow onion, medium dice
  • 1 head garlic, cloves thinly sliced
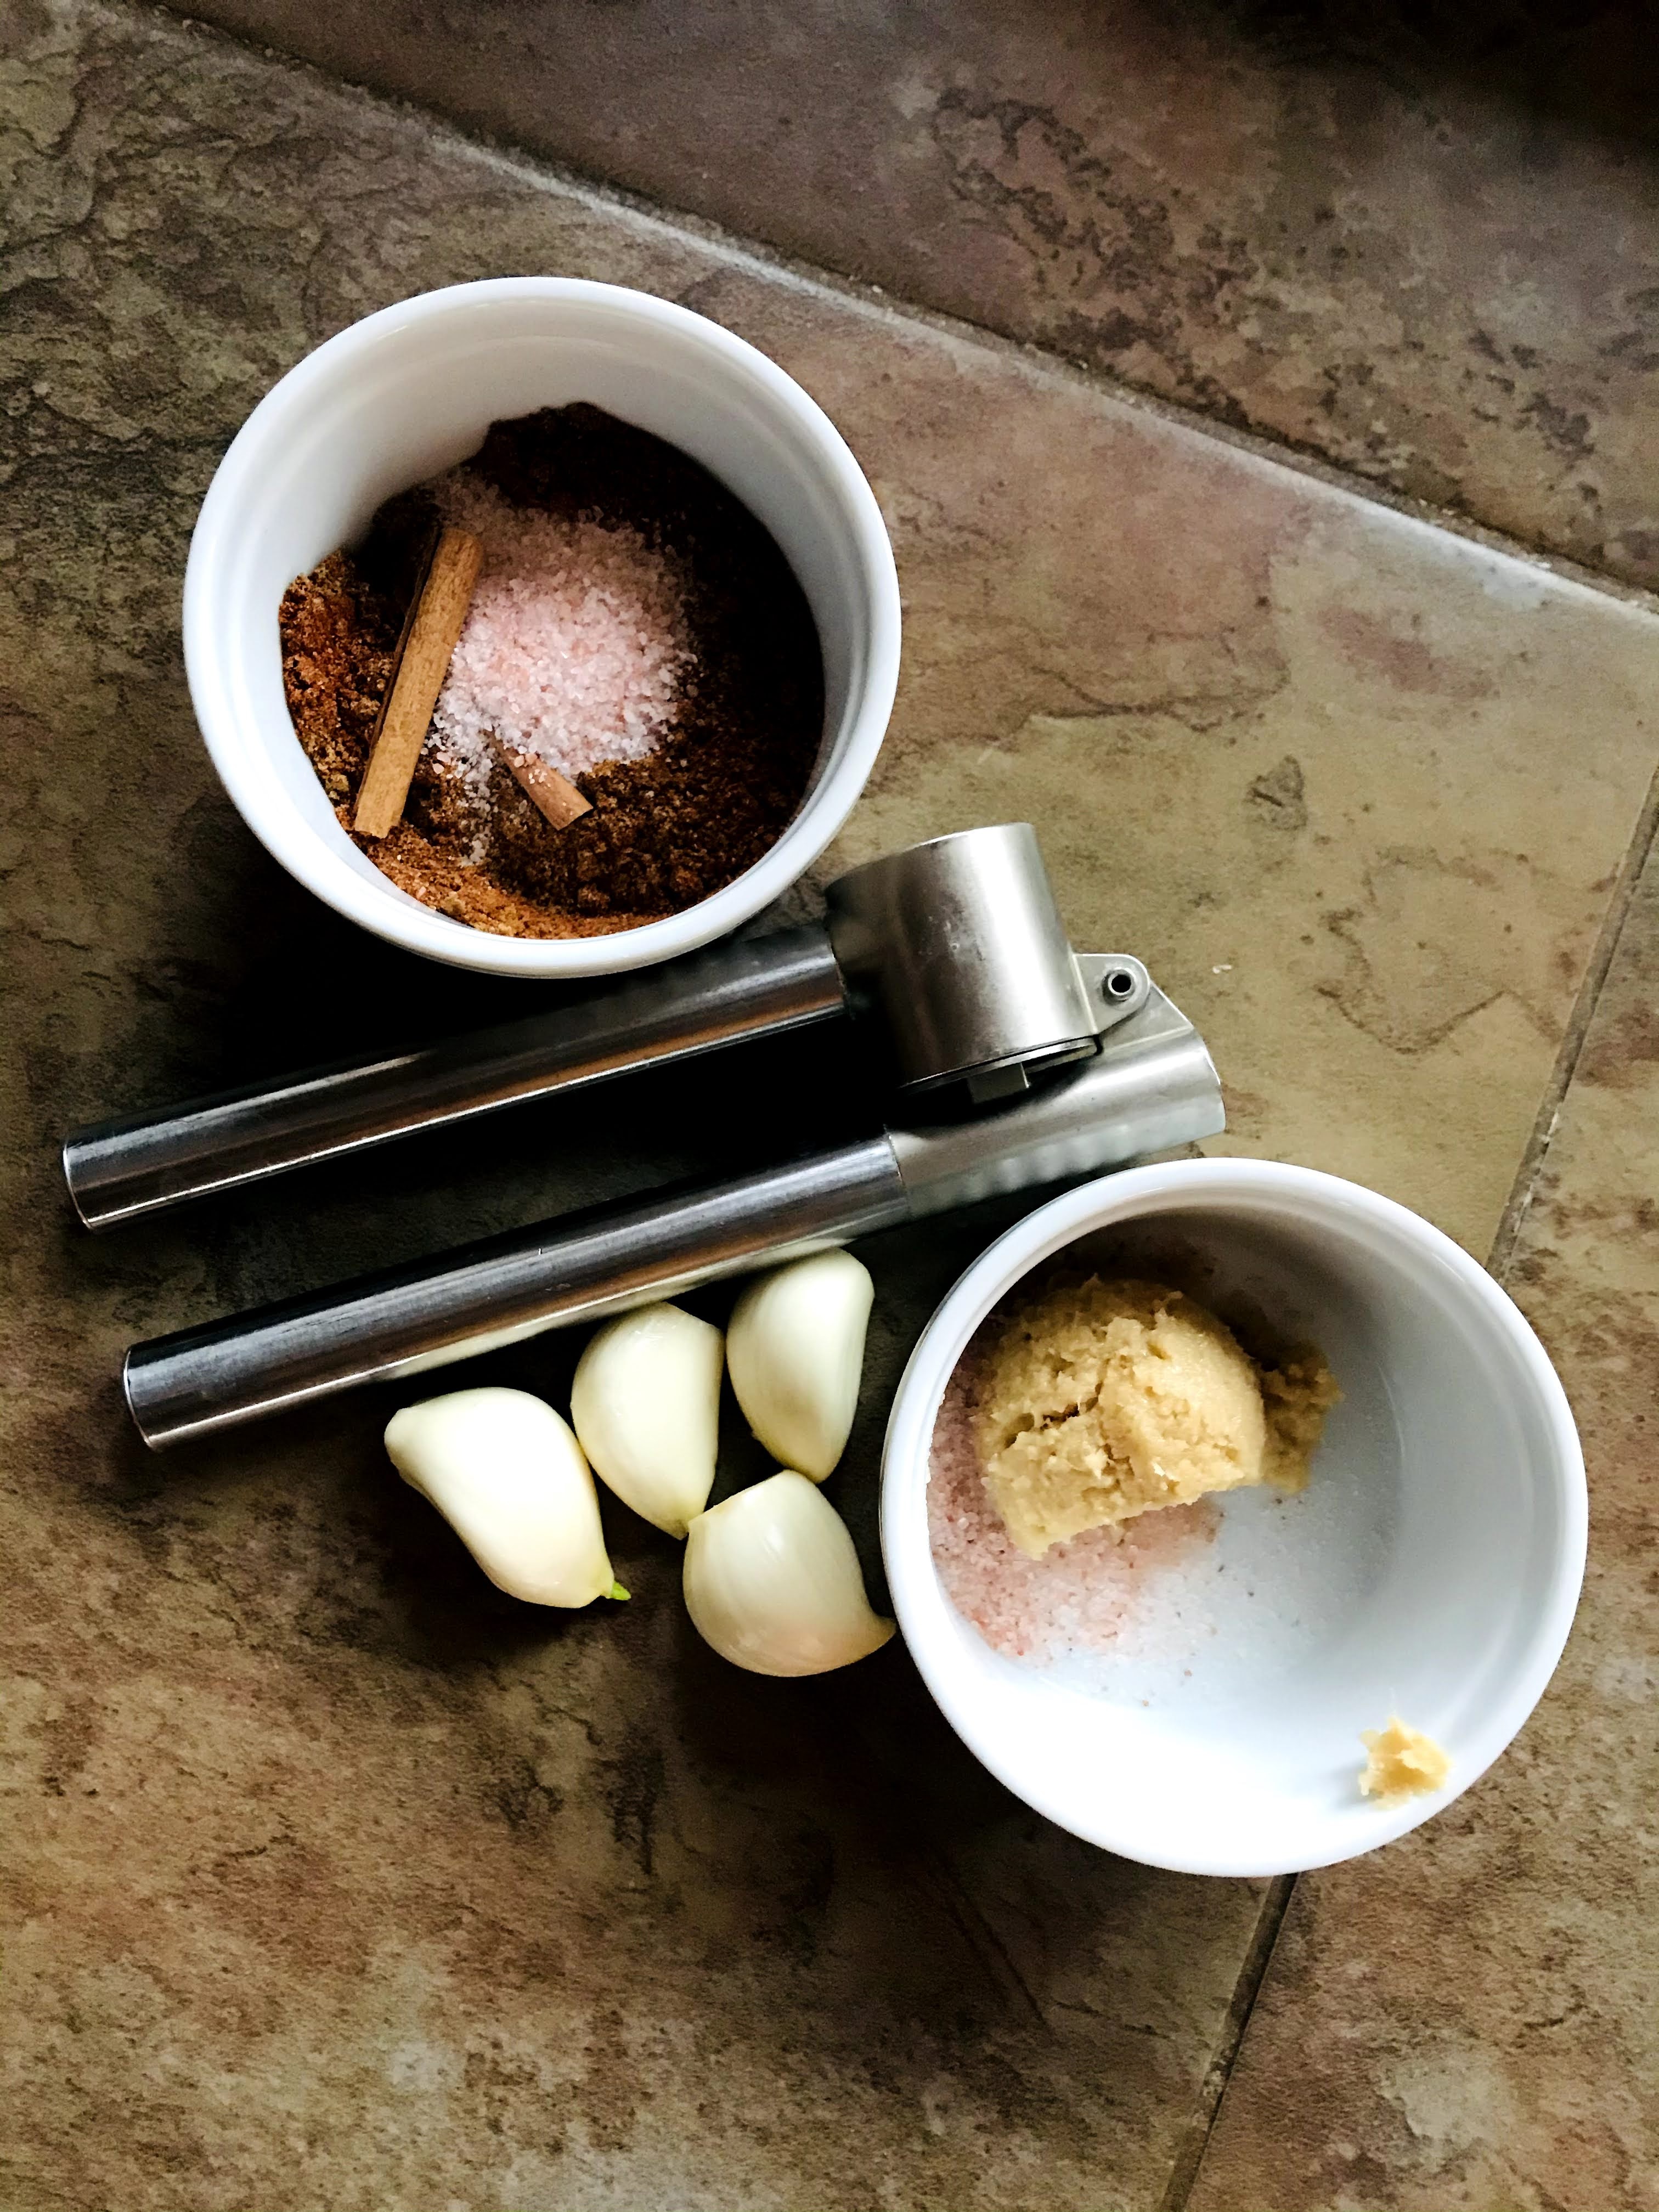
  • 3 teaspoons ground cumin
  • 1 (3-inch) cinnamon stick
  • Kosher salt & freshly ground black pepper to taste
  • 1 pound butternut squash, large dice
  • 3/4 pound (about 3 medium) red potatoes, large dice
  • 2 cups chicken or vegetable stock (homemade will really add depth)
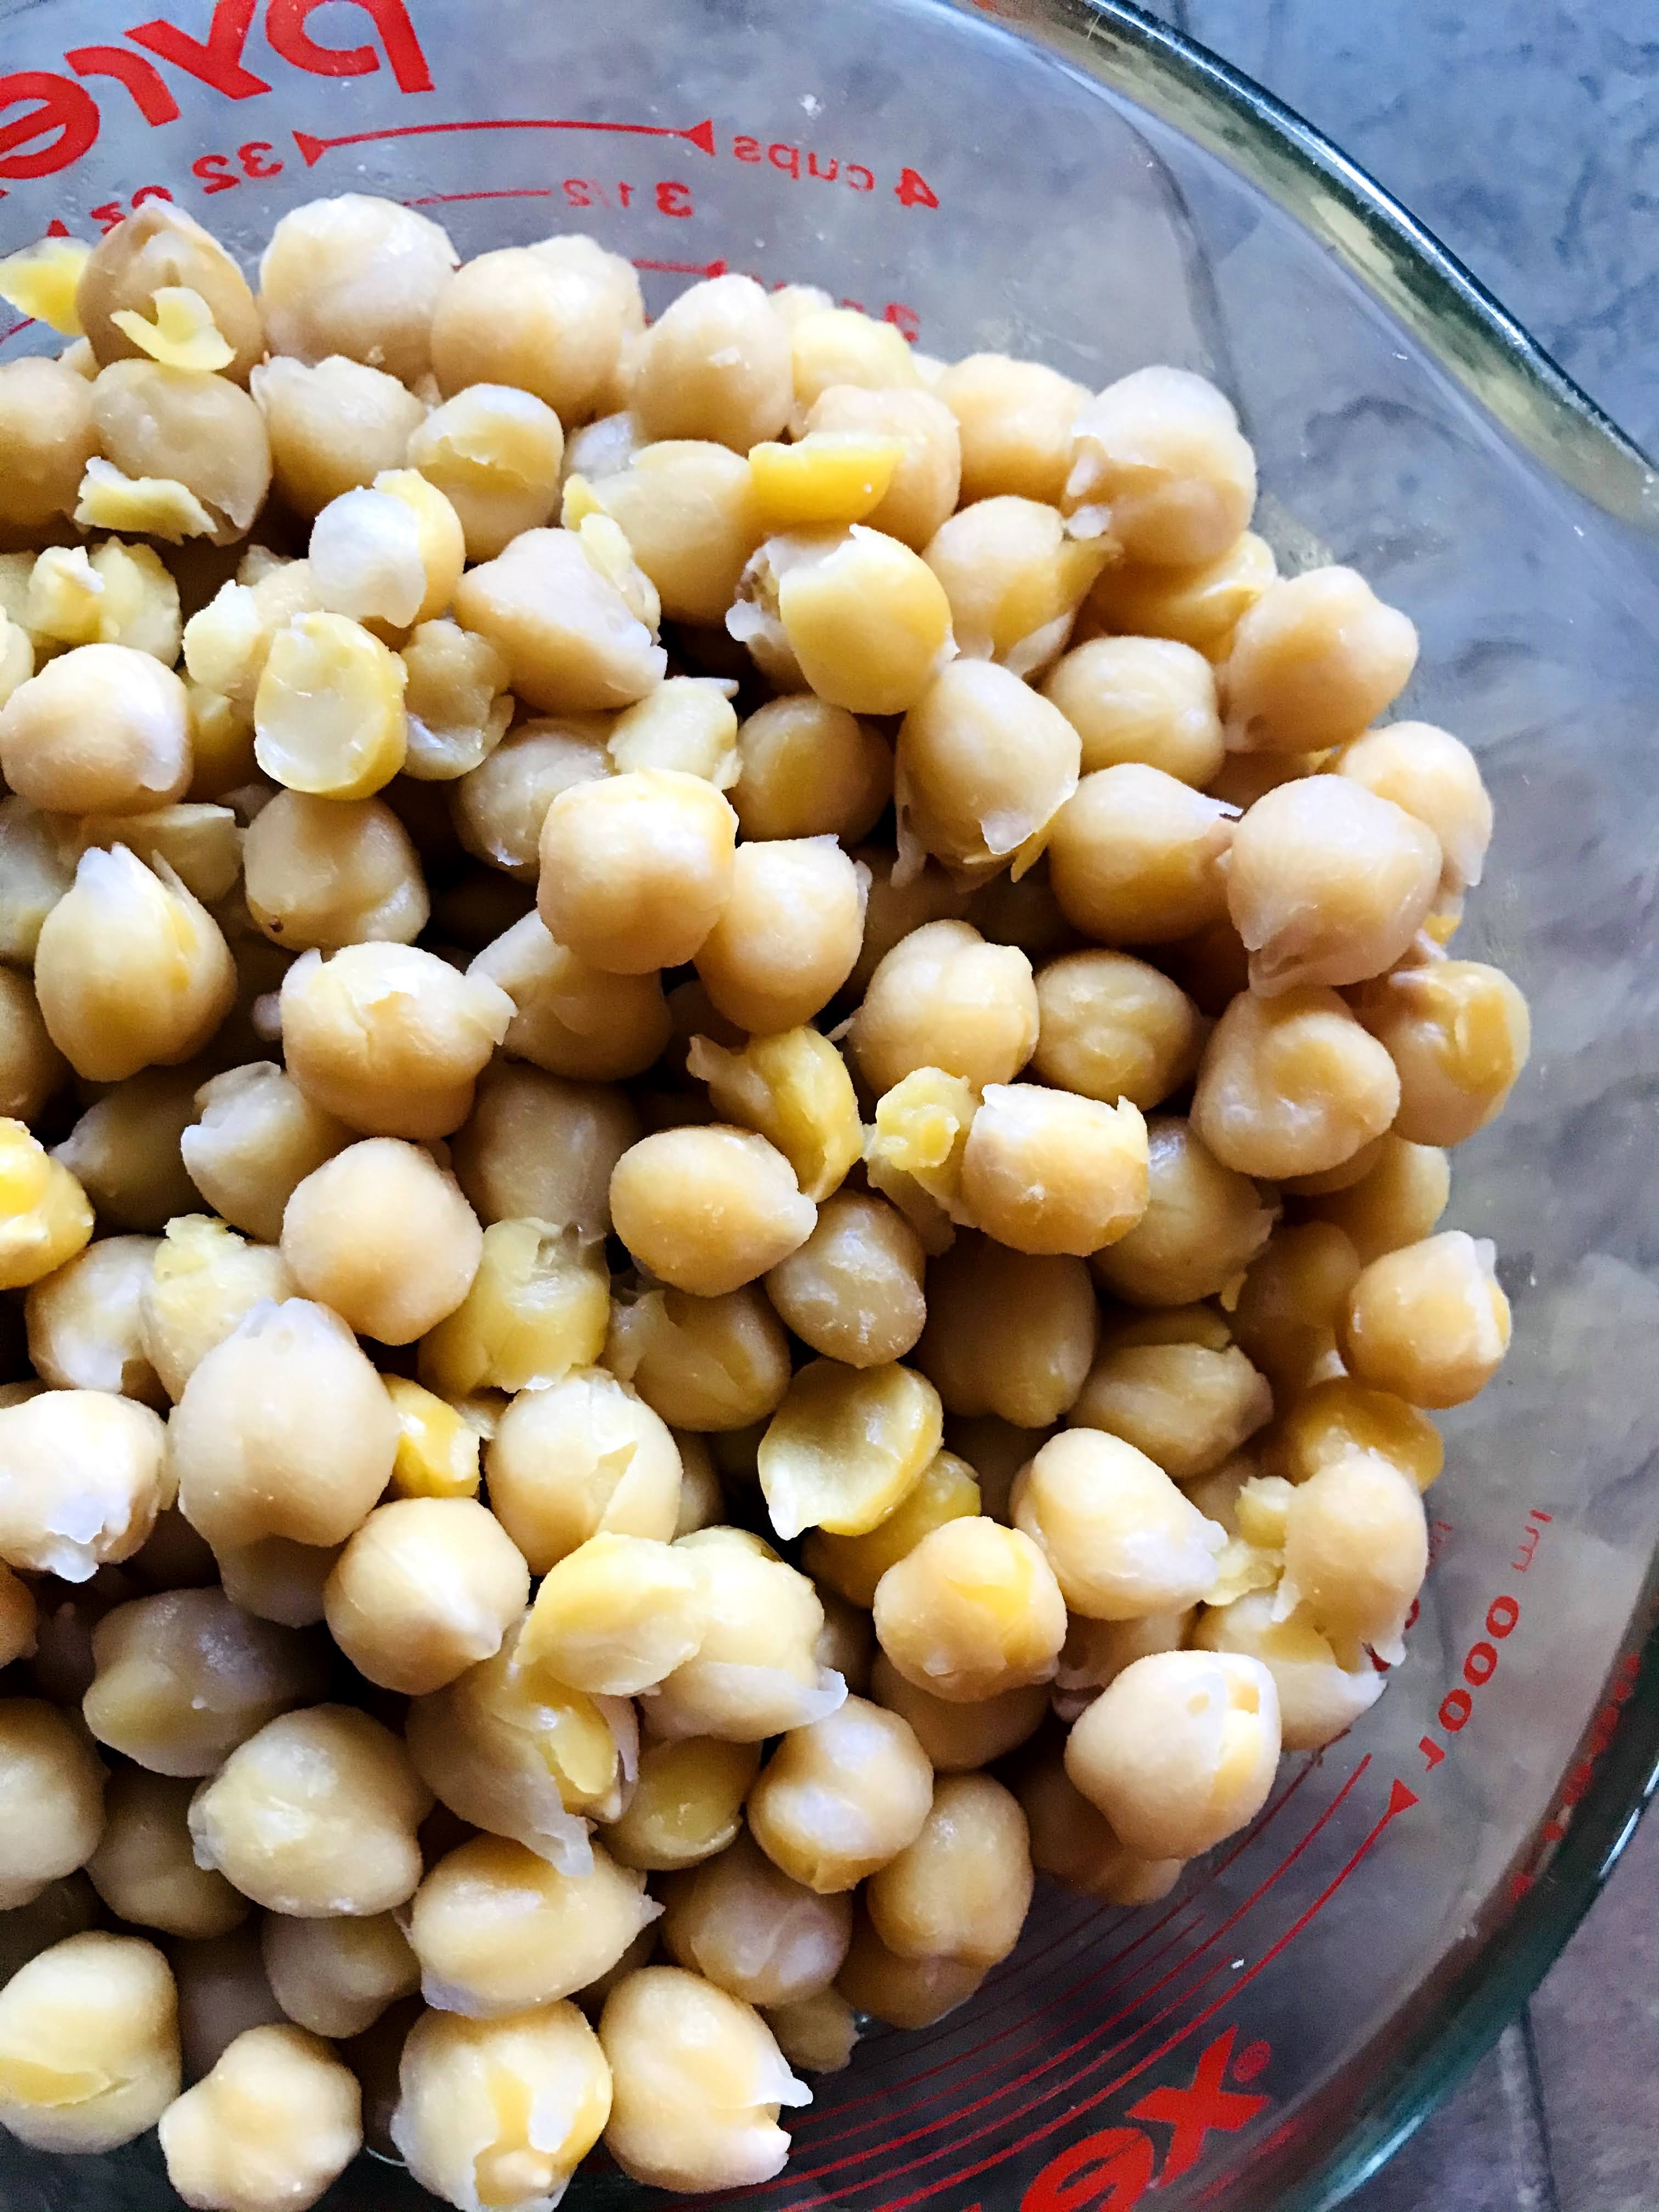
  • 1 (14-ounce) can chickpeas, drained and rinsed
  • 1 (14-ounce) can diced fire-roasted tomatoes
  • Pinch of saffron
  • Zest from one lemon
  • 1 cup green olives, (I use Castelvetrano)
  • Fresh cilantro leaves for garnish
  • Toasted slivered almonds for garnish
  • Plain Greek yogurt for garnish
  • Your favorite hot sauce (optional)

INSTRUCTIONS:

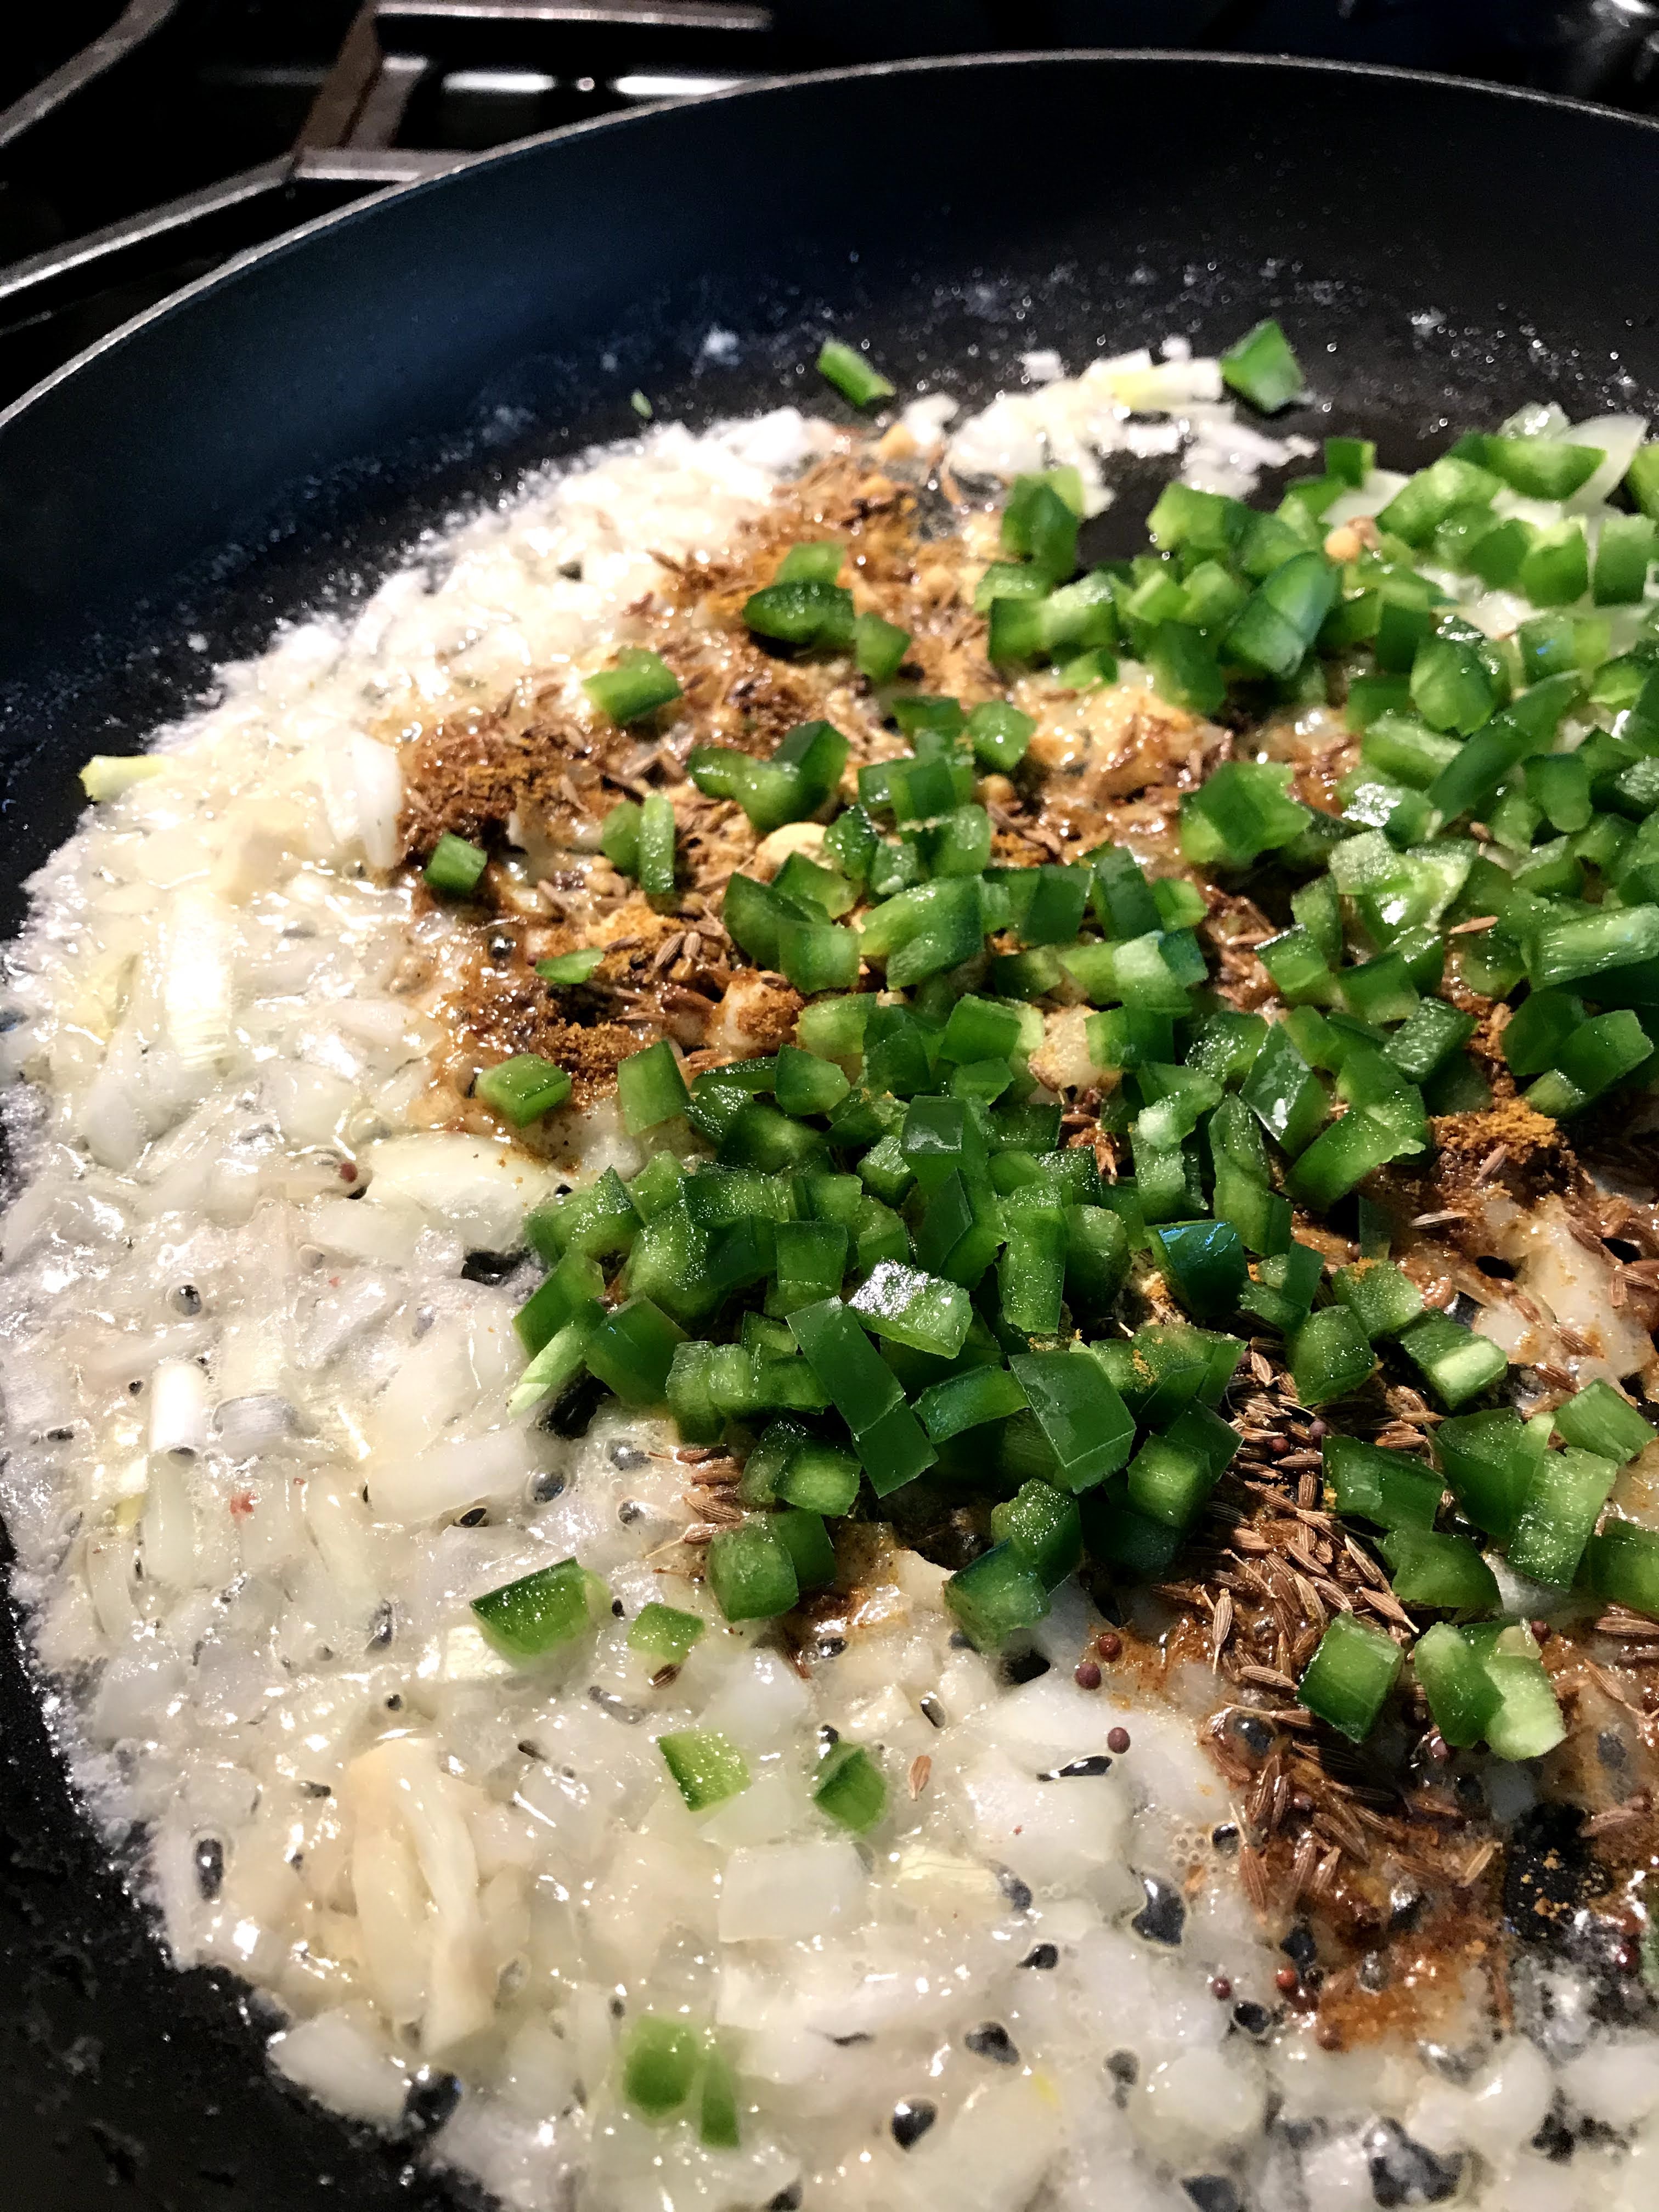
  1. In a large Dutch oven, heat butter and oil over medium heat. Add onion, garlic, cumin, cinnamon, salt and pepper. Cook stirring occasionally, until spices are aromatic and onions are soft and translucent, about 5 minutes.
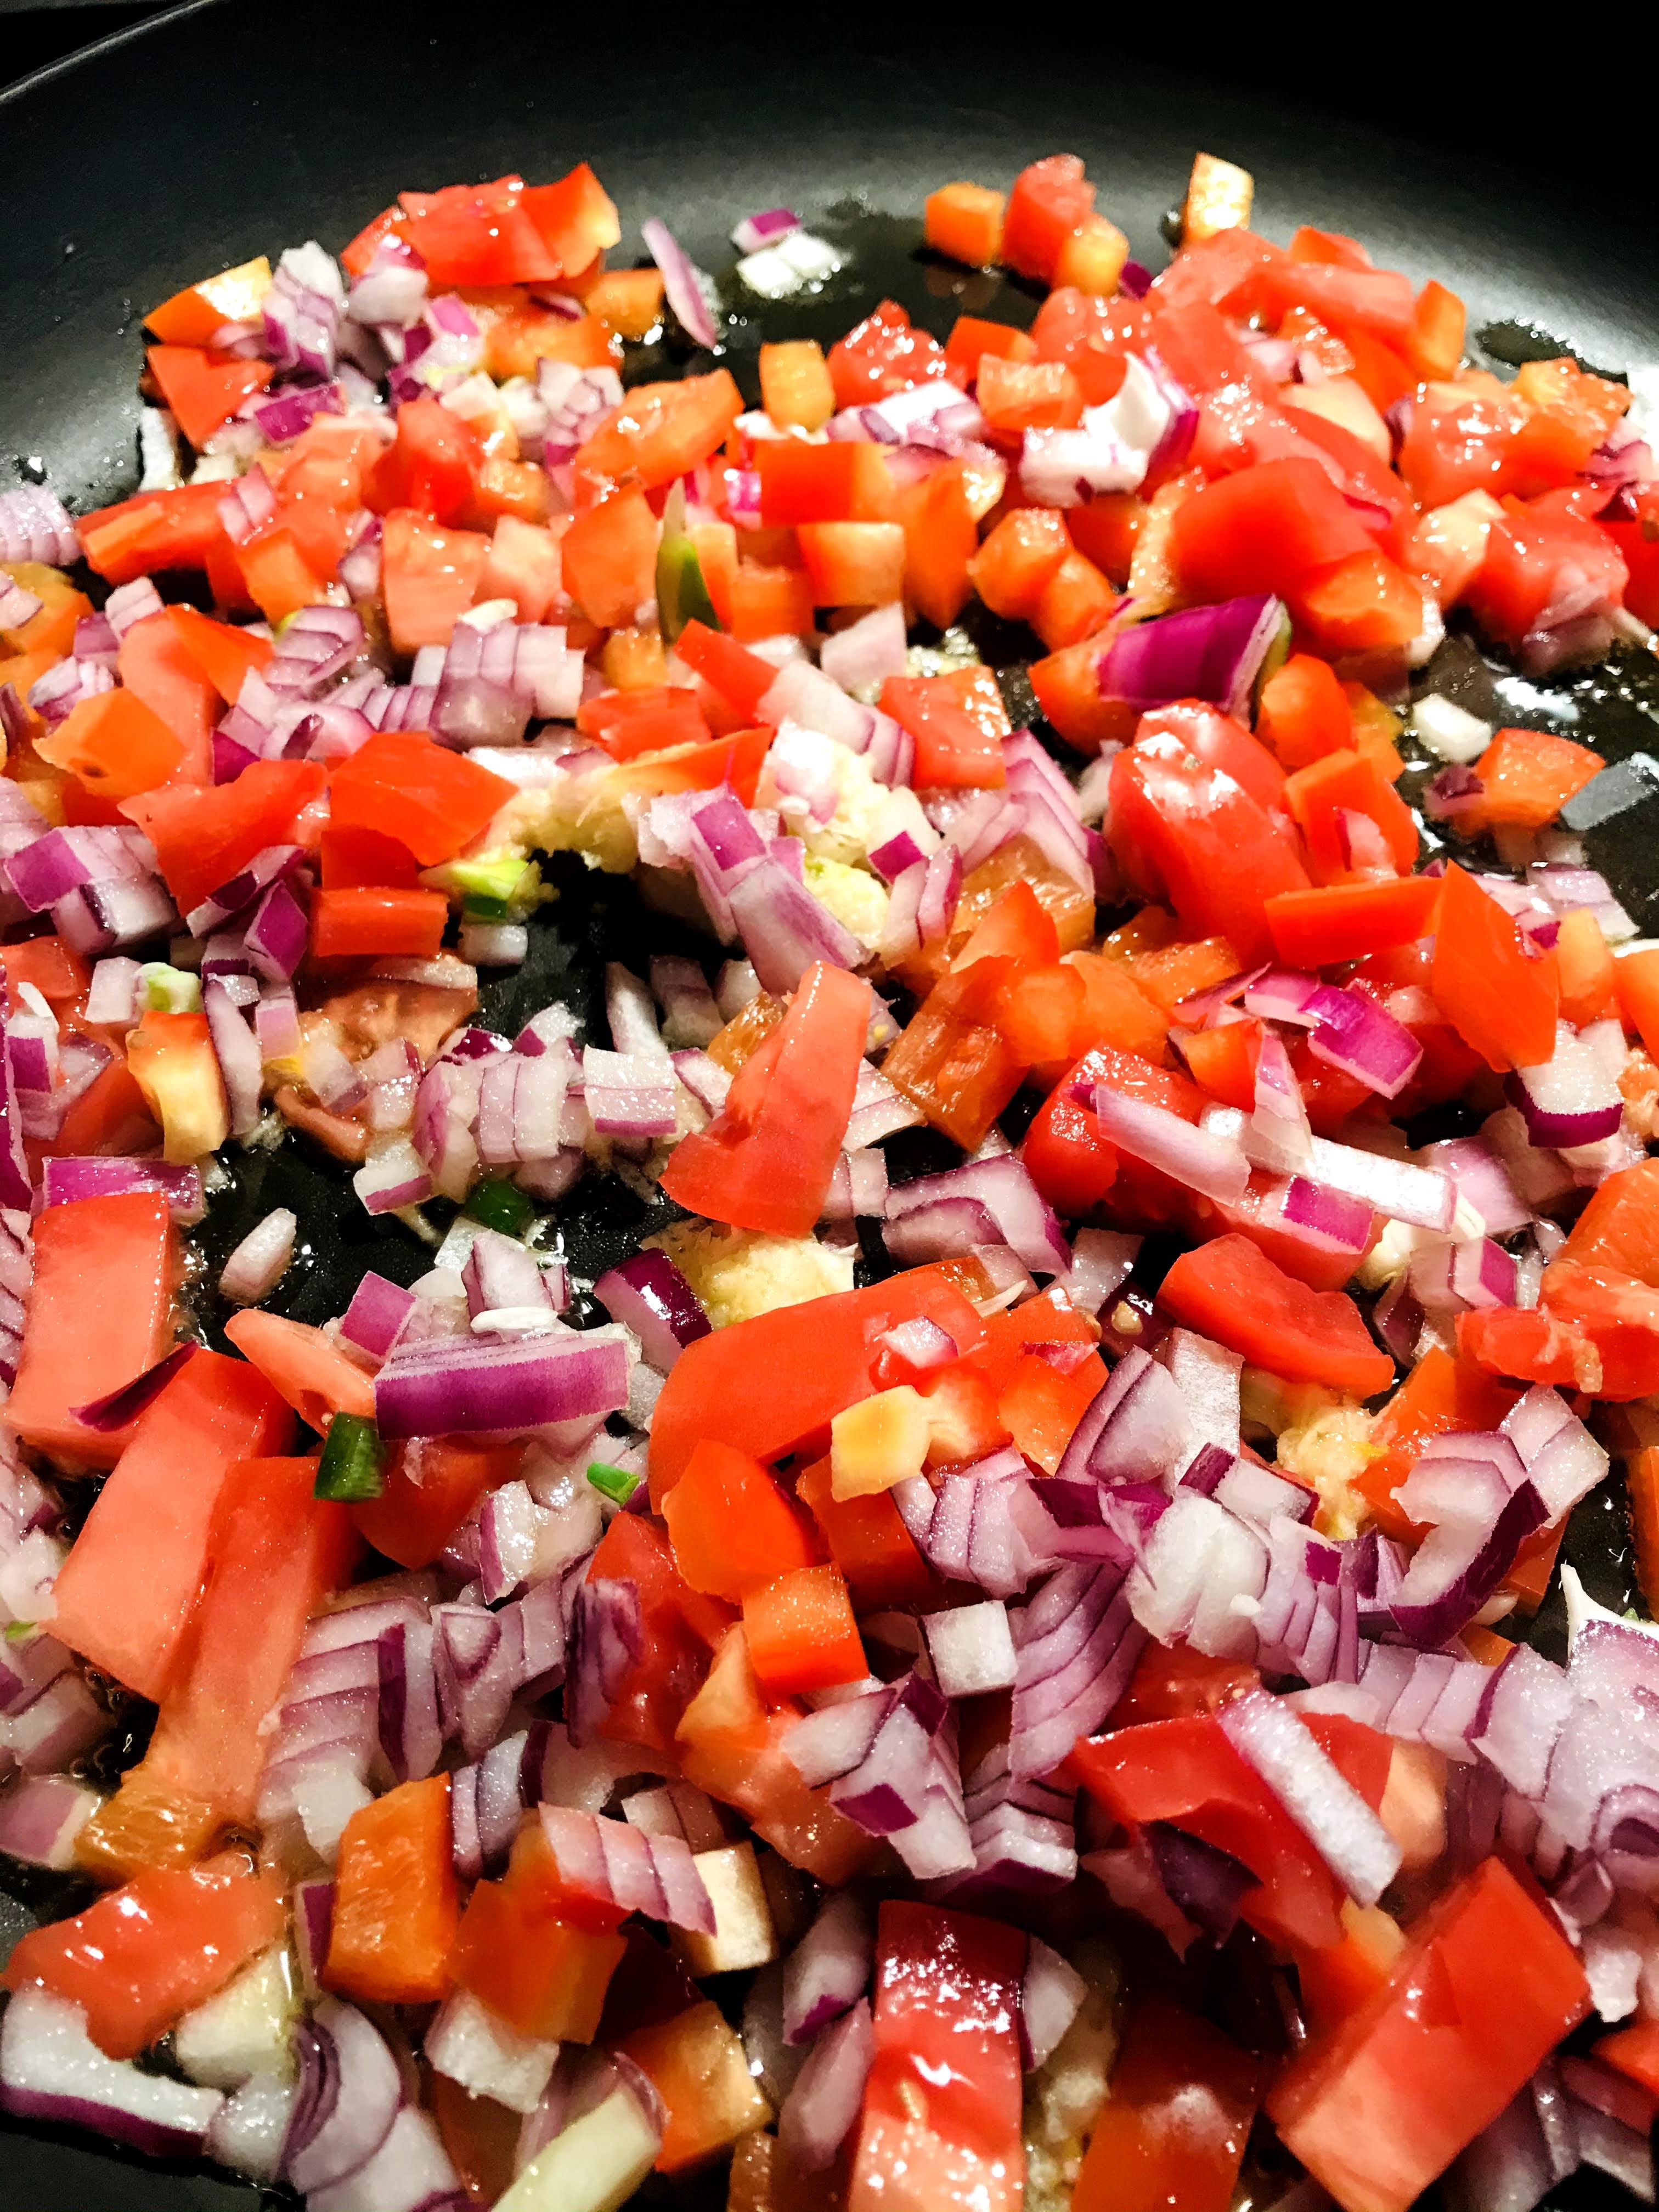
  2. Add squash and potatoes, stir to coat, and cook for about 3-5 minutes. Add stock, chickpeas, tomatoes with their juices, and saffron. Bring mixture to a boil then reduce heat to low. Cover and simmer for 10-15 minutes, or until squash and potatoes are fork tender.
  3. Remove from heat and add lemon zest and olives. Serve over grain of choice. Garnish with cilantro, almonds and yogurt.

Serves 4-6

“Ethnic diversity adds richness to a society.” –Gary Locke

Dippidy-Do-Da

We farm for a living, and I hate the heat; go figure! The one thing that keeps me going is all the fresh produce we grow or purchase from the farmers market. My head literally spins with the endless options for creative food and meals. This time we are focusing on fresh corn. This is a riff on Mexican Street Corn or Elote (grilled corn on the cob). I put up quite a bit of corn during summer for chowder, fresh corn polenta and this particular dip. That way, we can enjoy all that goodness during the winter months, when fresh is in short supply. It’s full of summer flavors and can feed a crowd on short notice.

I prefer white corn for this, but any corn will do. You can use Mexican crema or sour cream, salty Cotija cheese or feta depending on what you may have on hand. I like to use a cast-iron skillet for this, so I can take it from stove top to oven, and then to table all in one pan. You can also use a skillet and pour it into a baking dish for serving. Either way it’s sure to be a hit!

MEXICAN CORN DIP

INGREDIENTS:

  • 1 tablespoon olive oil
  • 4 cups fresh or frozen (thawed) corn kernels
  • 2-3 jalapeno peppers, seeded and finely chopped
  • 2 cloves fresh garlic, minced
  • 1 medium white onion (like Sierra Bianca), chopped
  • 1/2 cup mayonnaise
  • 1/2 cup Mexican crema or sour cream
  • Juice of one lime, divided
  • 1 teaspoon ground cumin
  • 1 cup crumbled Cotija or feta cheese, crumbled and divided
  • 1/2 teaspoon smoked paprika
  • Chopped fresh cilantro for garnish
  • Tortilla chips for serving

INSTRUCTIONS:

  1. Preheat oven to 350 degrees F. Heat oil in a large skillet over high heat until hot but not smoking. Add corn, garlic, onion and jalapeño and cook, without stirring, until lightly charred, about 3-5 minutes. Lower heat to medium-low and add Mexican crema or sour cream, mayo, half of the lime juice, spices, and half of the cheese. Mix well.
  2. Spoon contents into 2 quart baking dish if using, or place cast-iron skillet into oven. Bake until cheese is melted and outer edges begin to bubble, about 15-20 minutes.
  3. Drizzle remaining lime juice oven corn, sprinkle with remaining cheese and top with chopped cilantro.
  4. Serve with taco chips.

Serves 6-8

“Life without Mexican food, is like no life at all!”

Cutting Carbs? No Problem!

I’ve been a vegetable lover all my life (well, except beets and okra, but that’s another story). Being organic vegetable farmers, we eat seasonally as much as possible. There are certain vegetables we return to again, and again for their amazing versatility; one of these is cauliflower. You can rice it, steam it, roast it whole or with other vegetables. This particular recipe calls for it to be made into a luscious gratin. This is a riff on a recipe from my main man, Yotam Ottolenghi. He is an absolute genius when it comes to vegetables. I have switched up some of the spices, and adjusted for our heat preference. Feel free to do the same.

This gratin can be made in advance (up to one full day) and refrigerated until ready to bake. It will pair well as a vegetarian dish with a side of brown rice, or goes well with roasted chicken and/or fish. I find a dollop of yogurt and a sprinkling of micro-greens rather than parsley works well too.

CAULIFLOWER GRAIN WITH MUSTARD & CHEDDAR

INGREDIENTS:

  • 1 large cauliflower , broken into 2 inch pieces
  • 2 tablespoons unsalted butter
  • 1 medium onion, finely chopped
  • 1 1/2 teaspoons cumin seeds
  • 1 teaspoon medium curry powder
  • 1 1/2 teaspoons ground mustard
  • 2 jalapeños, seeded and minced
  • 1/2 teaspoon brown mustard seeds
  • 3/4 cup heavy cream
  • 1 1/2 cups white cheddar (about 6 ounces), shredded on large holes of box grater
  • Salt and freshly ground black pepper to taste
  • 1/2 cup fresh breadcrumbs (I blast mine in a food processor)
  • 1/4 cup parsley, finely chopped

INSTRUCTIONS:

  1. Preheat oven to 400 degrees F. Steam the cauliflower over boiling water for 5 minutes, drain in a colander and let cool slightly.
  2. In a 12-inch non-stick skillet melt the butter over medium heat. Add the onion and sauté for about 8 minutes or until soft and golden. Add the cumin, curry powder, mustard powder, and chilies and cook for 4 minutes more, stirring occasionally. Add the mustard seeds and cook for 1 minute more.
  3. Pour in the heavy cream. Add 1 1/4 cups cheddar and salt/pepper, then simmer for about 4 minutes, or until sauce slightly thickens. Add the cauliflower and stir gently to coat. Remove from heat.
  4. In a small bowl, place the 1/4 cup cheddar, with the breadcrumbs and parsley. Mix until combined. In a 9-inch buttered casserole dish, fill with the coated cauliflower mixture. Sprinkle with breadcrumb mixture.
  5. Bake until golden; about 25 minutes (slightly longer if refrigerated)

Serves 4

“There is nothing that is comparable to it, or as thrilling,

as gathering the vegetables one has grown.” –Alice Toklas

A Soothing Bowl

There have been many times when I’ve felt a little off, that I want to eat something warm, nourishing, and easy to digest. A warming bowl of kitchari is what I make to settle myself and sooth my digestion. It’s clean, wholesome and quite frankly delicious. I sometimes incorporate it with a simple 3-day fast in the spring and fall to bring my system back into balance. Kitchari comes from the Ayurvedic system of eating and health that has been around for thousands of years.

Kitchari is made from organic basmati rice, split mung dal, ghee and spices. You can also top it with the vegetables of your choice, cooking them in the kitchari itself. I enjoy putting a dollop of my homemade cilantro-chili sauce, Greek yogurt and microgreens on top. Vegan’s can simply leave the yogurt off. Kitchari is best when made fresh, so plan your proportions so you don’t have leftovers. I make enough for each day and leave it covered on the stove top. If it firms up simply add a little additional water before reheating. Don’t be put off by the long list of ingredients; you can also find premade spice mixes if the list seems to daunting.

For those of you that are curious and want additional information about Ayurveda, http://banyarnbotanicals.com is a great website to explore.

BASIC KITCHARI

INGREDIENTS:

  • 1/2 cup basmati rice
  • 1/4 cup split mung beans
  • 6 cups water
  • 1 tablespoon ghee
  • 1 teaspoon cumin seeds
  • 1/8 teaspoon hing (asafoetida)
  • 1 teaspoon coriander seeds
  • 1 teaspoon black pepper corns
  • 1 bay leaf
  • 2 more tablespoons ghee
  • 3/4 teaspoon ground cinnamon
  • 1/4 teaspoon ground cloves
  • 1 teaspoon turmeric
  • 1 teaspoon salt
  • 1 tablespoon fresh ginger, grated
  • 1/2 medium onion, chopped
  • 1-2 cloves garlic (optional)
  • 1/2 teaspoon ground cumin
  • 2-4 cups fresh vegetables (greens, spinach, kale, zucchini)
  • 2 more cups water (as needed)

INSTRUCTIONS:

  1. Measure out the rice and split mung dal and place in bowl. Add water to cover and soak overnight. You can skip this step (although it cooks much quicker) by rinsing the rice and dal in a colander until the water is clear. If soaking, drain and rinse the following day.
  2. Melt a tablespoon of ghee in a medium saucepan and add the whole cumin seeds and hing. Lightly toast them, taking care they don’t burn. Add the rice, mung and water and bring to a boil. Cover and cook for about 45 minutes, stirring occasionally so it doesn’t stick. It should end up looking like porridge or oatmeal in consistency.
  3. Warm the last two tablespoons of ghee in a small skillet. Add the coriander, peppercorns and bay leaf and sauté for 2-3 minutes. Then stir in the rest of the spices and the onion (and garlic if using). Put the sautéed spices in a blender with about 1/3 cup water and blend well. Pour the spice mixture into the rice and mung. Rinse out the blender with the last two cups of water and add it to the kitchari as well. Add your vegetables. Cook for 10-20 more.
  4. Top with garnishes of your choice like cilantro, yogurt or microgreens.

“I know there is strength in the differences between us. I know there is comfort where we overlap.” —Ani DeFranco

Stocking Up!

During the fall and winter there is nothing I enjoy more than a steaming bowl of soup. Commercial stocks are inexpensive, plentiful and convenient, but they will never replace homemade. I typically make 36 quarts of chicken, and 24 quarts of vegetable stock each season, and freeze it for future use. Not only does the house smell terrific while it simmers, it is the foundation for all sorts of delicious meals that include soups, stews and risotto. I find that vegetable stock in particular, benefits from a little love and attention to the ingredients.

If you roast or brown the vegetables before you assemble the stock, the caramelization improves the flavor profile. Adding dried porcini mushrooms and tomato paste will impart a savory or umami element that deepens the end result. Unlike chicken stock which is simmered up to 24 hours, vegetable stock is simmered no longer than 90 minutes. The addition of herbs and onion skins add flavor and color to the stock.

VEGETABLE STOCK

INGREDIENTS:

  • 1 ounce dried porcini mushrooms
  • 4 tablespoons olive oil
  • 4 cups chopped onion (save the skins)
  • 2 cups chopped celery
  • 3 cups chopped carrot
  • 2 cups chopped parsnip
  • 1 cup chopped fennel bulb
  • 2 large garlic cloves, smashed (can leave skins on)
  • 1 tablespoon tomato paste
  • 1 tablespoon fresh rosemary
  • 2 teaspoons dried thyme
  • 1 teaspoon black peppercorns
  • 4 bay leaves
  • 1/2 cup chopped parsley
  • 2 large handfuls spinach

INSTRUCTIONS:

  1. Rehydrate dried mushrooms. Place the dried mushrooms in a 4 cup glass Pyrex measuring cup and pour 4 cups boiling water over them. Set aside.
  2. Brown the onions, celery, carrots, parsnips and fennel. Heat the olive oil over high heat in a large stockpot. Add the chopped vegetables and stir to coat. Sprinkle with salt. Cook over high heat for several minutes, stirring only occasionally. Be patient with the browning of the vegetables, as they have a high moisture content. It may take 10-15 minutes or longer to brown them.
  3. Add the garlic and tomato paste and stir to combine. Cook, stirring often, for 2-3 minutes, or until the tomato paste begins to turn a rusty color.
  4. Add the mushrooms and their soaking water, the rosemary, thyme, onion skins, peppercorns, bay leaves, parsley and 4 additional quarts of water. Bring to a simmer, then lower heat to low. After 45 minutes add spinach. Continue to simmer for a total of 90 minutes.
  5. Strain the stock with a basket skimmer or slotted spoon, removing all the big pieces of vegetables and mushroom. Discard or compost. Set up a large bowl with a wire mesh strainer in it. Line strainer with a layer of cheesecloth. Using a ladle or 2 cup measuring cup, pour stock through strainer. When the liquid slows down, you may have to change the cheesecloth.
  6. Pour into jars, or 1 quart plastic deli containers and chill or freeze. Make sure you leave 1 1/2 inches of headspace if freezing.

Yields: 4-5 quarts

“The secret to change, is to focus all your energy not on fighting the old, but on building the new.” –Socrates

Mi Casa es Su Casa

Needing to shed a few pounds, I’ve been busy creating dishes that although leaner are still interesting. Lately I’m finding many ways to use cauliflower rice. It’s so easy to make and so incredibly versatile. If you really want to cut corners, many grocery stores sell it prebagged for convenience in the produce section.

As I have pointed out in my recent cookbook, Twisted Basics: Laugh, Cook, Eat! vegetables do not have to be boring! There is no substitute for fresh veggies, when it comes to feeling healthy. When I make cauliflower rice, I like to use a large head so I will have additional meals at the ready. I simply vacuum seal it in 4 cup increments. One large head can produce enough for 3 meals! When I made this Mexican Cauliflower Rice dish today, my wife could not tell the difference between real rice and its faux counterpart.

MEXICAN CAULIFLOWER RICE

INGREDIENTS:

  • 1 medium head cauliflower, riced (approx. 4 cups)
  • 2 tablespoons olive oil
  • 1 1/2 cups red or yellow onion, chopped
  • 1 cup bell pepper (any color), chopped
  • 1 paste tomato, diced
  • 1 jalapeno pepper, finely chopped
  • 2 cloves garlic, minced or grated
  • 3/4 teaspoon ground cumin
  • 3/4 teaspoon garlic salt
  • 1/2 teaspoon smoked paprika
  • 1/2 cup vegetable or chicken stock
  • 2 tablespoons tomato paste
  • Juice from 1/2 lime
  • 3 tablespoons fresh cilantro, chopped
  • 1 cup Greek yogurt
  • 3 teaspoons green tabasco

INSTRUCTIONS:

  1. To make cauliflower rice, separate head into flowerettes and slice stalks into 1 inch pieces. Place in food processor and pulse 7-8 times or until course and resembles rice. Measure out 4 cups and set aside.
  2. Chop your veggies and prep ingredients. Combine spices in a small bowl and mix.
  3. Whisk together Greek yogurt and green tabasco. Season with salt and pepper to taste.
  4. Heat a 12 inch non-stick skillet on medium-high. Add 2 tablespoons olive oil
  5. Add onion, peppers, tomato, and garlic. Sauté for 5-8 minutes or until soft.
  6. Add the spice blend, stock, and tomato paste. Mix well and cook for 2 additional minutes.
  7. Add cauliflower rice and cook until desire texture is reached, folding ingredients until thoroughly incorporated, about 5-6 more minutes.
  8. Add minced jalapeño and mix.
  9. Plate and drizzle dressing over the top. Garnish with chopped cilantro.

Serves 4

“Progress is impossible without change, and those who cannot change their minds, cannot change anything.” —George Bernard Shaq

A Pantry Darling

It is blustery and cold today at the farm. It has been a challenging year. A year marked by the pandemic, angry politics, frustration and despair for so many. It has caused us to rethink our lives going forward, and adjust our priorities. As 2020 starts to wind down, I am grateful for the love in my life, shelter from the howling wind outside, and our loving animals. But the one thing that has kept me going day after day is being in my kitchen to create something that not only feeds our bodies, but our souls. Nourishment. We require it as much as the air we breathe. I find this nourishment in the act of feeding others. It is an act of love.

When it comes to what we create in our kitchens, I find there are some ingredients that I return to again and again. I put up dozens and dozens of jars of tomatoes in all their various forms. They are truly a pantry staple. When I reflected on other ingredients, I had to acknowledge an item that has just as much versatility; the humble chickpea. Whether canned or dried this protein warrior is far more than your simple hummus. Everything from spreads, to soups, to salads and entries, the garbanzo bean has it all. Although I appreciate having canned chickpeas on hand, I can’t recommend enough cooking them from their dried state. Quite frankly, they are dirt cheap! But they are also surprisingly delicious made from scratch. When soaked overnight, they cook in about 40 minutes. I usually make a large batch and freeze some of them with their cooking liquid for additional options. Remember to add 3/4 teaspoon of baking soda to every 2 cups of dried chickpeas, in your soaking water. After draining them before cooking add the same amount to your cooking water. This helps soften them. Also, never add salt to your cooking water, as your beans will never get soft.

INDIAN BUTTER CHICKPEAS

INGREDIENTS:

  • 4 tablespoons unsalted butter
  • 1 large onion, chopped
  • 1 1/2 teaspoons kosher salt
  • 4 garlic cloves, grated or finely minced
  • 1 tablespoon grated fresh ginger
  • 2 teaspoons ground cumin
  • 2 teaspoons sweet paprika
  • 2 teaspoons garam masala
  • 1 small cinnamon stick
  • 1 (28-ounce) can whole peeled tomatoes (I use a quart of homemade)
  • 1 (15-ounce) can whole coconut milk, stirred with whisk in separate bowl before adding
  • 2 (15-ounce) cans chickpeas, drained OR equivalent of 4 cups cooked chickpeas
  • 1/4 to 1/2 teaspoon ground cayenne (optional)
  • 2 cups packed fresh baby spinach
  • Cooked white rice, for serving
  • 1/2 cup cilantro leaves and tender stems, for serving
  • 1 cup Greek yogurt, for serving (optional)
  • 1 lime cut in wedges, for serving

INSTRUCTIONS:

  1. Melt butter in a large heavy-bottomed pot or Dutch oven over medium heat. Stir in onion and 1/2 teaspoon salt; cook until golden and browned around the edges, stirring occasionally, about 20 minutes. Don’t be tempted to turn up the heat (you don’t want to burn the butter).
  2. Stir in the garlic and ginger, and cook another minute. Stir in cumin, paprika, garam masala and cinnamon stick, and cook another 30 seconds.
  3. Add tomatoes with their juices. Using a large spoon, break up and smash the tomatoes in the pot. Stir in whisked coconut milk and the remaining 1 teaspoon salt. Bring to a simmer, and continue to cook for 10 minutes, stirring occasionally, and continuing to break up the tomatoes if necessary.
  4. Stir in chickpeas and cayenne if using, simmer and cook, stirring occasionally, for another 10 minutes. Add 2 cups packed baby spinach of heat. It will wilt as you stir in in. Serve in bowls over rice, garnishing with cilantro and a dollop of Greek yogurt.

Serves 4-6

“What the new year brings to you, will depend on what you bring to the new year.”

Talking Heads

We absolutely love vegetables. I guess that is one of the reasons that we are vegetable farmers. I have seen multiple recipes for roasting whole heads of cauliflower. In fact I think it’s a ‘thing’. Two years ago I created a Ras el Hanout spice mix that I have used on endless things, from Lamb Ragu, to Moroccan Almonds, to this roasted cauliflower. The mix is savory more than just hot. I feel that you have a party in your mouth when you taste it. You can find this mix in my new cookbook Twisted Basics: Laugh, Cook, Eat! It is also available on this blog by searching for Moroccan Almonds. This would accompany anything on the grill, particularly lamb chops. We ate it with leftovers and were swooning!

WHOLE ROASTED CAULIFLOWER

INGREDIENTS:

  • 1 medium to large cauliflower
  • 1 1/2 teaspoons Ras el Hanout
  • 3 tablespoons unsalted butter
  • 3 tablespoons extra virgin olive oil
  • 1/2 teaspoon sea salt
  • Several grinds of fresh black pepper

img_6356

img_6357

img_6358

INSTRUCTIONS:

  1. In a pot large enough to hold the head of cauliflower, fill with cold water and 1 teaspoon of salt. Clean cauliflower by removing outside leaves and cutting core horizontally so it sits level.
  2. Bring water to a boil and place cauliflower head in the pot with the core on top.  The whole head does not have to be submerged. Cover with lid and cook for 6 minutes. Lift with slotted spoon and place in wire mesh strainer for 15 minutes.
  3. Preheat oven to 375 degrees F. Place head of cauliflower in a casserole dish that gives it several inches around it.
  4. Melt butter, oil, salt, pepper and Ras el Hanout over low heat. Baste with butter and spice mixture. Bake for 20 minutes. Baste again. Bake for an additional 25 minutes. Your cauliflower will take from 45 to 90 minutes depending on its size. Baste every 25 minutes until a metal skewer inserted in center indicates that the cauliflower is soft. Let rest for 10 minutes.
  5. Slices into wedges.

Serves 4-6

img_6360

Laughter is the brightest, in the place where the food is.”  –Irish Proverb

Anyway You Slice It

I absolutely love Mediterranean food.  No matter if it’s from Italy, Morocco, Turkey, Spain or France, I love it all.  Fresh vegetables, legumes, olives, olive oil, cheese and an array of spices make for endless savory meals.  I find that if something you eat is truly satisfying and delicious, you eat less not more.  This Middle Eastern Tart can be served as an appetizer or entree, depending on whether or not you use both sheets of puff pastry, and how many you are serving.  Served with a salad, it is easily a complete meal.  It comes together pretty quickly and is showy enough for company.  The first time I made it there was left-over filling, which I stuffed into peppers and baked the next day.

MIDDLE EASTERN LAMB TART

INGREDIENTS:

  • 1 or 2 sheets puff pastry, thawed
  • 1 pound ground lamb
  • 1 tablespoon olive oil
  • 1 medium onion, choppped
  • 3 garlic cloves, minced
  • 1 (15 ounce) can fire-roasted diced tomatoes
  • 1 cup cooked chick peas (I use canned and drained)
  • 2 teaspoons ras el hanout (page    , or alternatively 1 teaspoon each ground cumin and oregano)
  • 1 teaspoon kosher salt
  • 1 teaspoon freshly ground black pepper
  • 10 kalamata olives, pitted
  • 1/2 cup feta cheese, crumbled
  • 2 tablespoons parsley, chopped

img_5348

DIRECTIONS:

  1. Preheat oven to 400 degrees F.
  2. In a saute pan over medium heat add olive oil, onion and garlic until soft, about 3-4 minutes.  Add ground lamb, breaking up the lamb with a spoon and brown, about 5-6 minutes.  Add the tomatoes, chickpeas, olives and spices.  Simmer for about 5 minutes or until heated through.  Remove from heat and allow to slightly cool.
  3. Line a baking sheet with parchment paper (two baking sheets if using both puff pastry sheets).  Roll out slightly, then make a one-inch rimmed line on the inside edges with a knife, taking care not to cut all the way through.  Prick the dough with fork all over in center area.  Place in oven and bake for 10 minutes, remove from oven and spoon mixture evenly in the center of each pastry sheet.  Top with feta cheese, brush pastry edges with beaten egg (optional) and bake for another 8-10 minutes or until puffed and edges are golden brown.
  4. Top with chopped parsley and cut into desired portions; 4, 6 or multiple if serving as appetizer.  Serve.

Serves 2-4 as entree

img_5350-1

“Cooking is like love.  It should be entered into with abandon, or not at all.” –Harriet von Horne.


Chutney, Chutney, Bang, Bang

I’m in love.  With chutney’s that is.  These are marvels of Indian cuisine.  Indian chutney;s vary widely from region to region.  Chutney is a combination of sugar (sweetness) and vinegar (acidity) and is the hallmark of preserved chutneys.  This week I made Asian Pear and Dried Cherry Chutney.  We have 20 Asian pear trees on our farm.  We chose these fruit trees as they are the one fruit tree that you can grow without chemical sprays; and this is largely true if you can get past the slight imperfections on the surface of the skin.  We certainly can, as well as many of our customers.

We have two varieties of Asian pears, Shinsui and Shinseiki.  I used Shinsui for this chutney.  It is medium in size, firm even when cooked, and both juicy and aromatic.  I love this chutney so much I was drinking the juice.  Wow.  Think chicken, duck or pork.  It is easily preserved in a water bath canning system and makes a great holiday gift.

img_5179

ASIAN PEAR AND DRIED CHERRY CHUTNEY

INGREDIENTS:

  • 4 heaping cups Asian pears, peeled, cored and coarsely chopped
  • 1 1/2 cup packed light brown sugar
  • 1 cup apple cider vinegar (I use Braggs)
  • 2 tablespoons minced fresh gingerroot
  • 1 teaspoon hot ground curry powder
  • 1/2 teaspoon salt
  • 1/2 teaspoon ground cinnamon
  • 1/8 teaspoon ground cloves

img_5178

DIRECTIONS:

  1. In a large saucepan, combine all ingredients.  Bring to a boil.  Reduce heat; simmer, uncover, 40-45 minutes or until slightly thickened and pears are tender, stirring occasionally.

2.  Fill sterilized 4 oz or 8 oz canning jars, leaving 1/2 inch head space.  Process in                    water bath for 15 minutes.

Yield: 8-4 oz or 4 8 oz mason jars

img_5184-1

“Autumn shows us how beautiful it is to let things go.”  –unknown