Chili is one of those meals that has as many approaches as there are cooks. They all seem pretty tasty to me. I like them as long as they’re not so hot that they make me break out in a sweat. My wife Val enjoys them with lots of beans and corn (what we do for love!). Most are tomato-based, but for the sake of discussion, I would include my personal favorite, white chicken chili. It’s quick and easy to put together, especially with a purchased rotisserie chicken and some pantry staples.
I am not a fan of chili powder. Instead, I use ground cumin and coriander. I also add jalapeño and canned green chilies. Good bean choices are Great Northern or Cannellini. I am frugal by nature in the kitchen. I save the skin and carcass to freeze. Then I make stock later. Purchased stock lacks the deep flavor profile that I enjoy. It’s easy to make and worth the effort. chicken stock. Still, when time is of the essence, carton stock will work. Make sure to use organic.
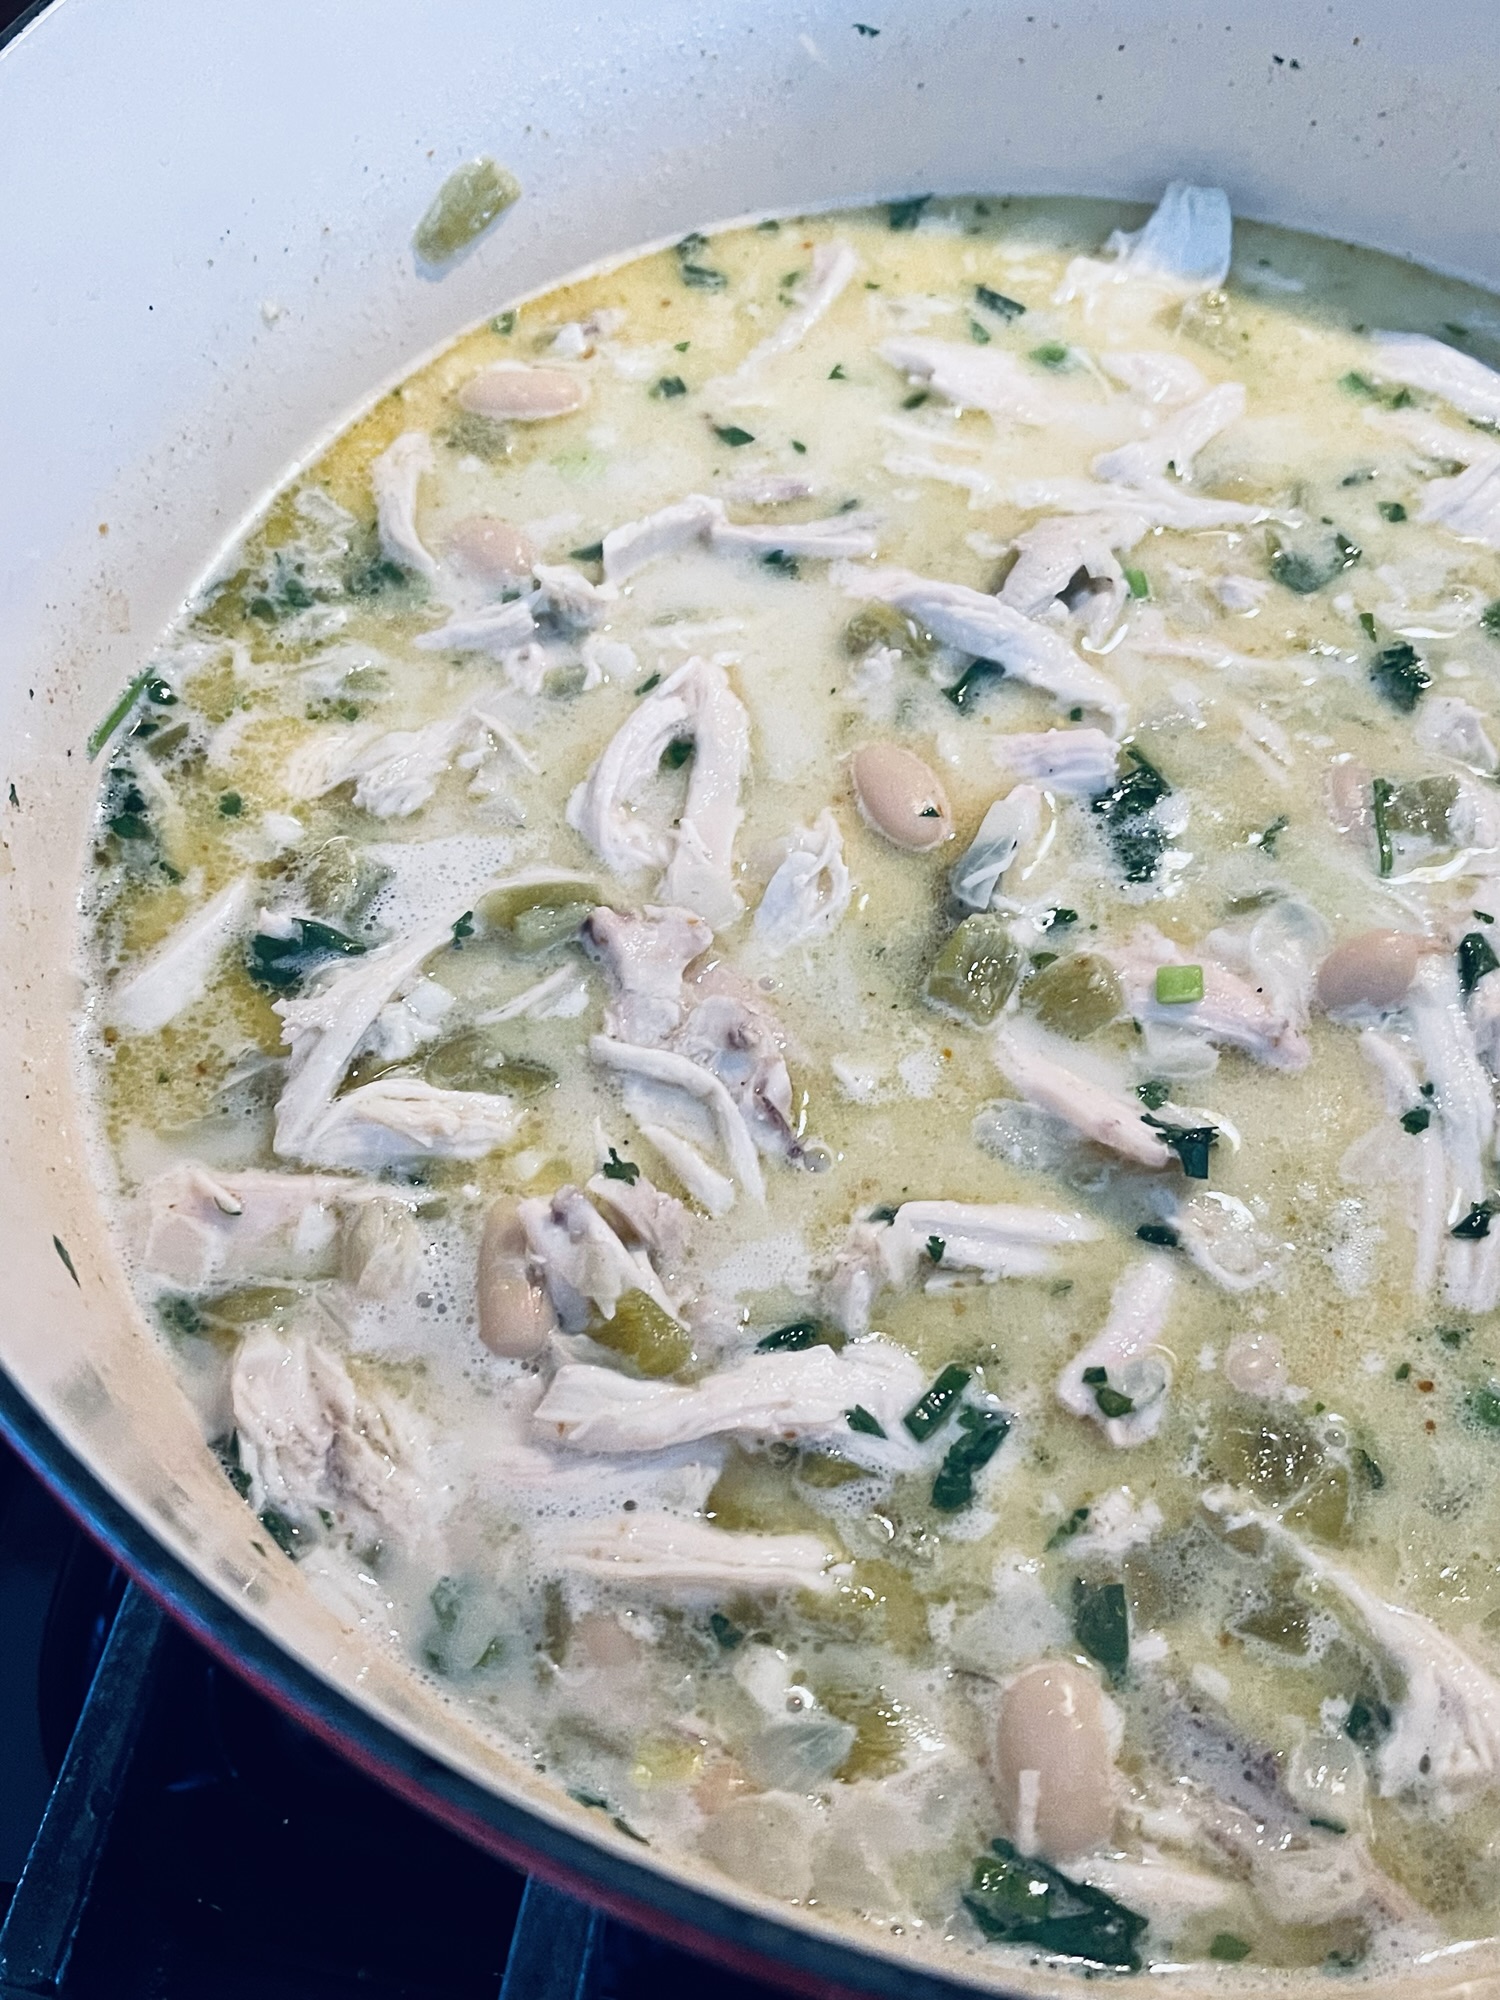
WHITE CHICKEN CHILI
INGREDIENTS:
- 1 rotisserie chicken, meat removed and shredded (about 4 cups)
- 2 cups chicken stock, preferably homemade
- 2 4-oz cans chopped green chilies
- 1 medium white onion, chopped
- 1 jalapeno, seeded and minced
- 3 large cloves of garlic, minced
- 3 teaspoons ground cumin
- 2 teaspoons kosher salt
- 1 teaspoon ground coriander
- 1/2 teaspoon freshly ground black pepper
- 4 oz softened cream cheese
- 2 15-ounce Great Northern or Cannellini beans, drained and rinsed
METHOD:
- Strip meat from the chicken and shred with two forks, measuring out 4 cups. Reserve skin and carcass for stock if using. Set aside.
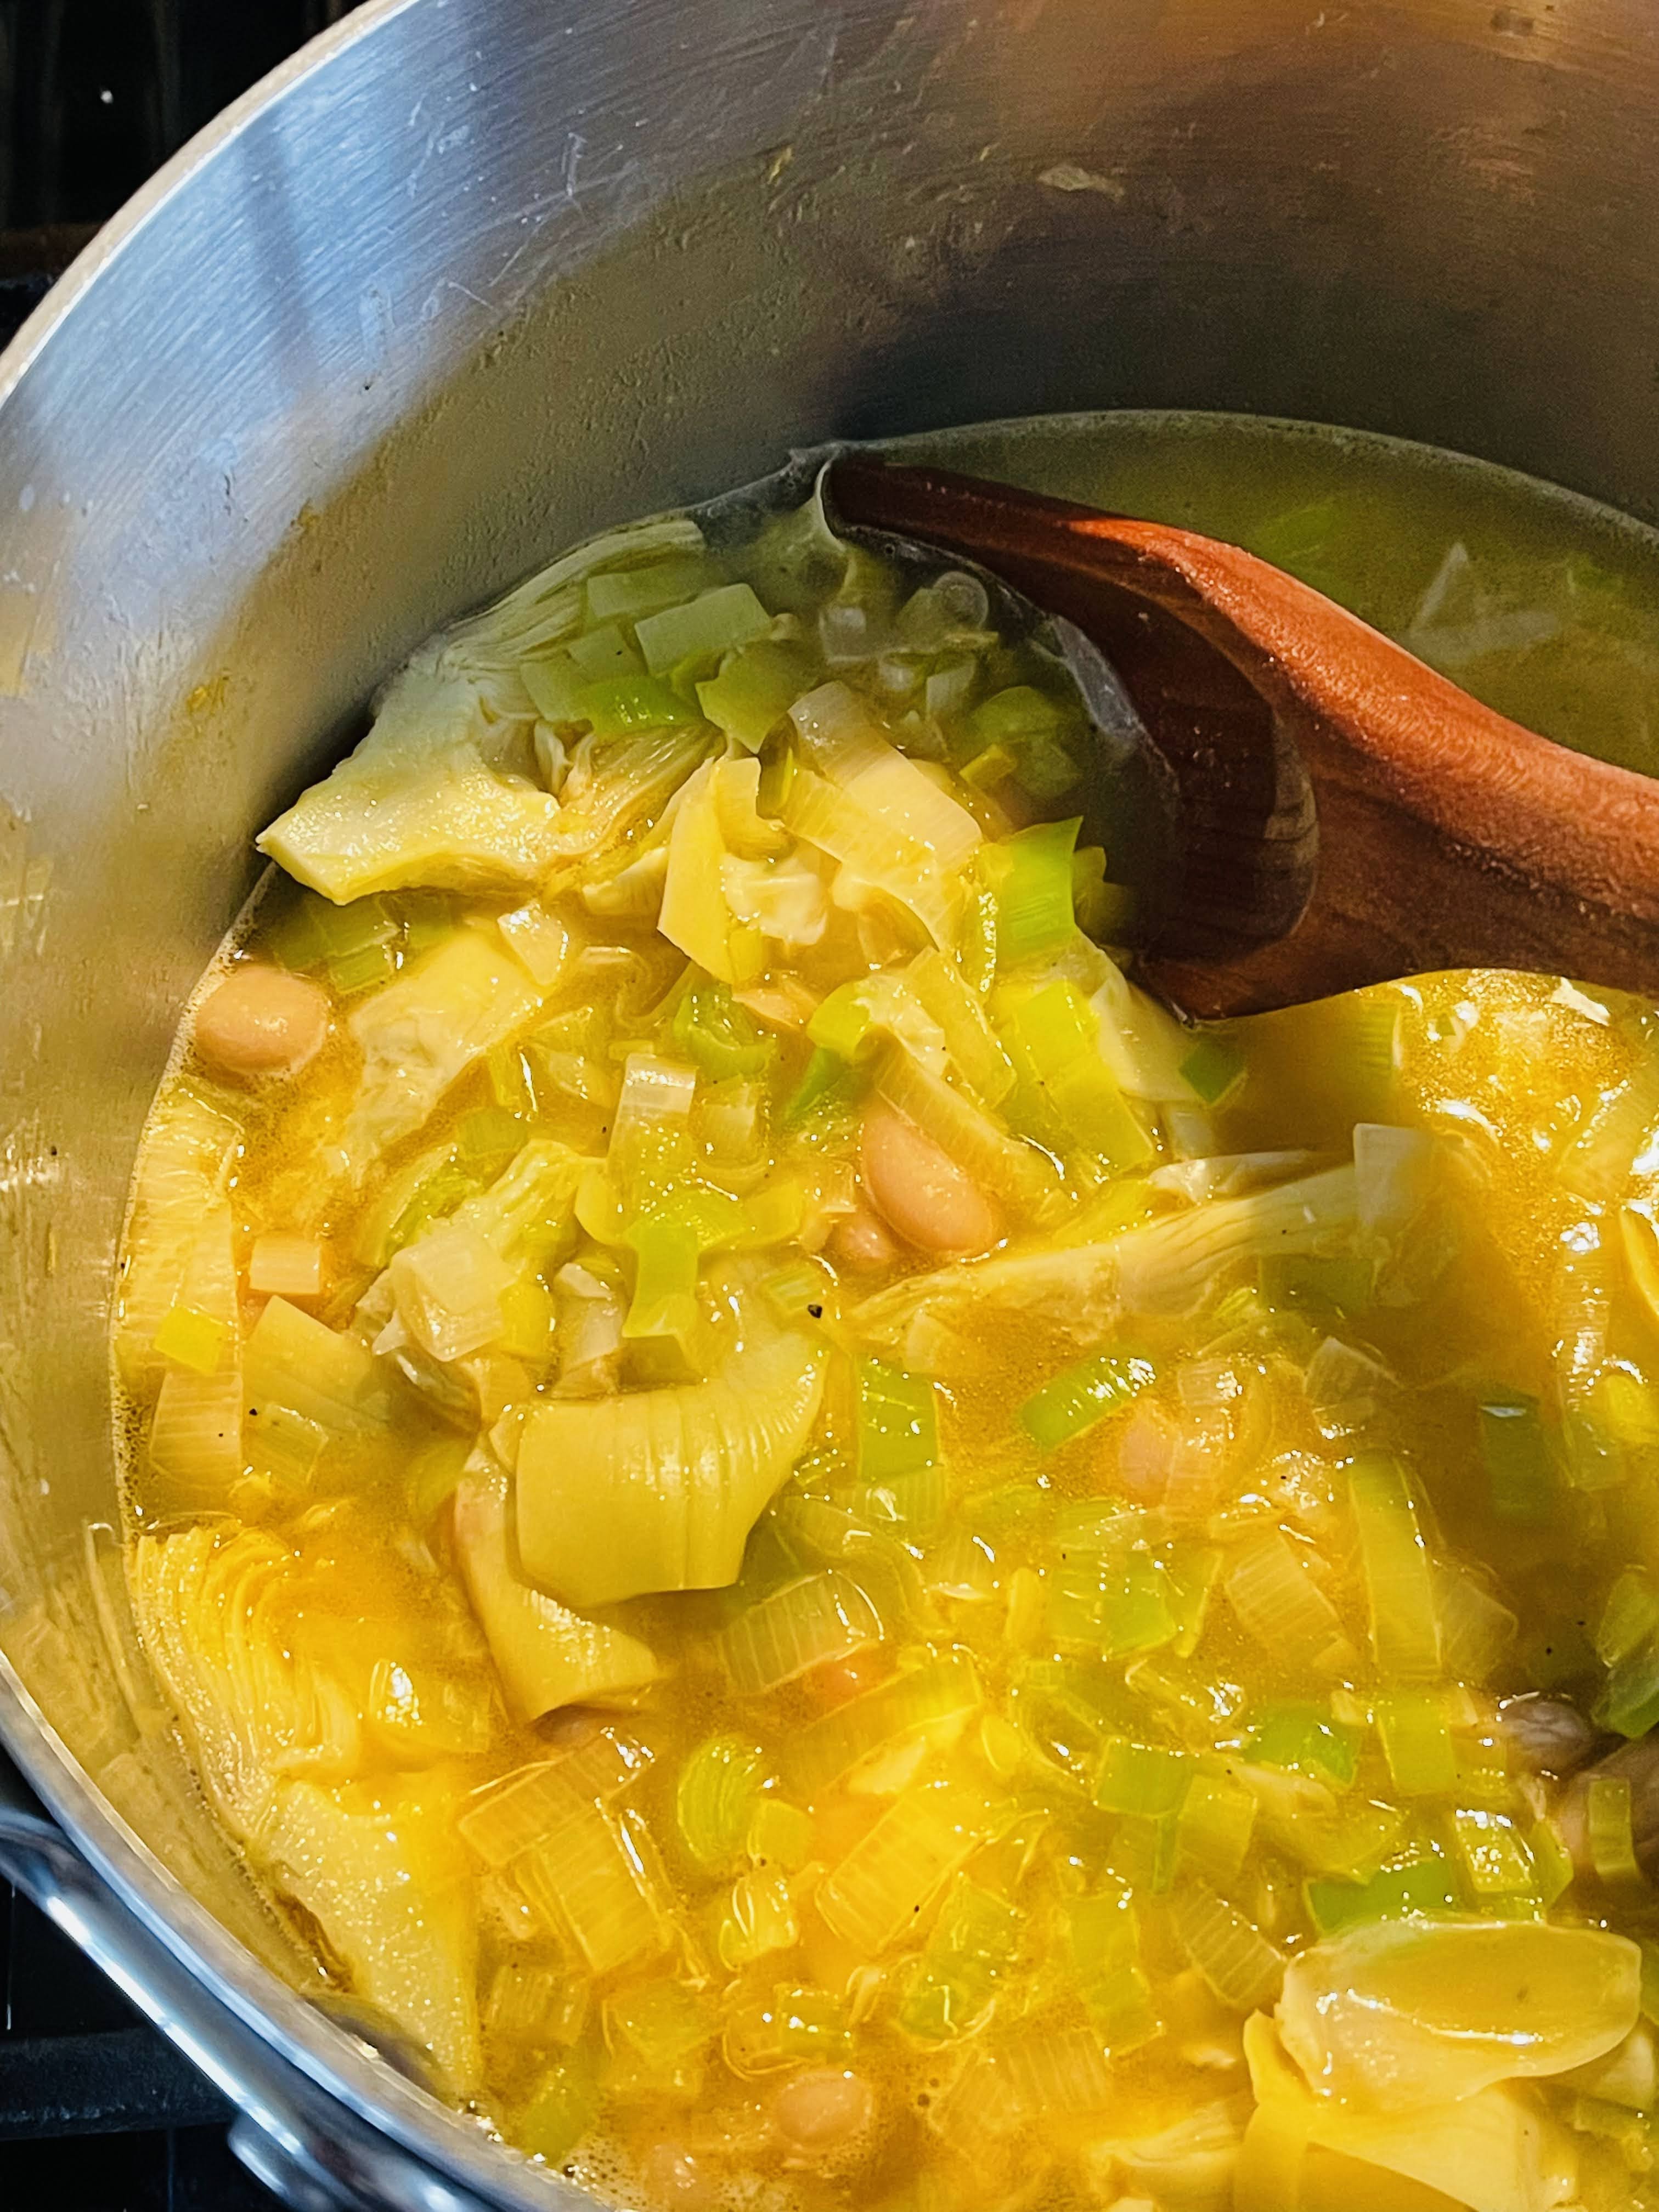
- In a 6-quart pot, stir together stock, green chilies, onion, jalapeno, garlic, cumin, salt, coriander, and black pepper. Bring to a simmer over medium heat. Cook 20 minutes.
- Mash together half of the beans with softened cream cheese and 1/2 cup hot stock until smooth (I use a small food processor)
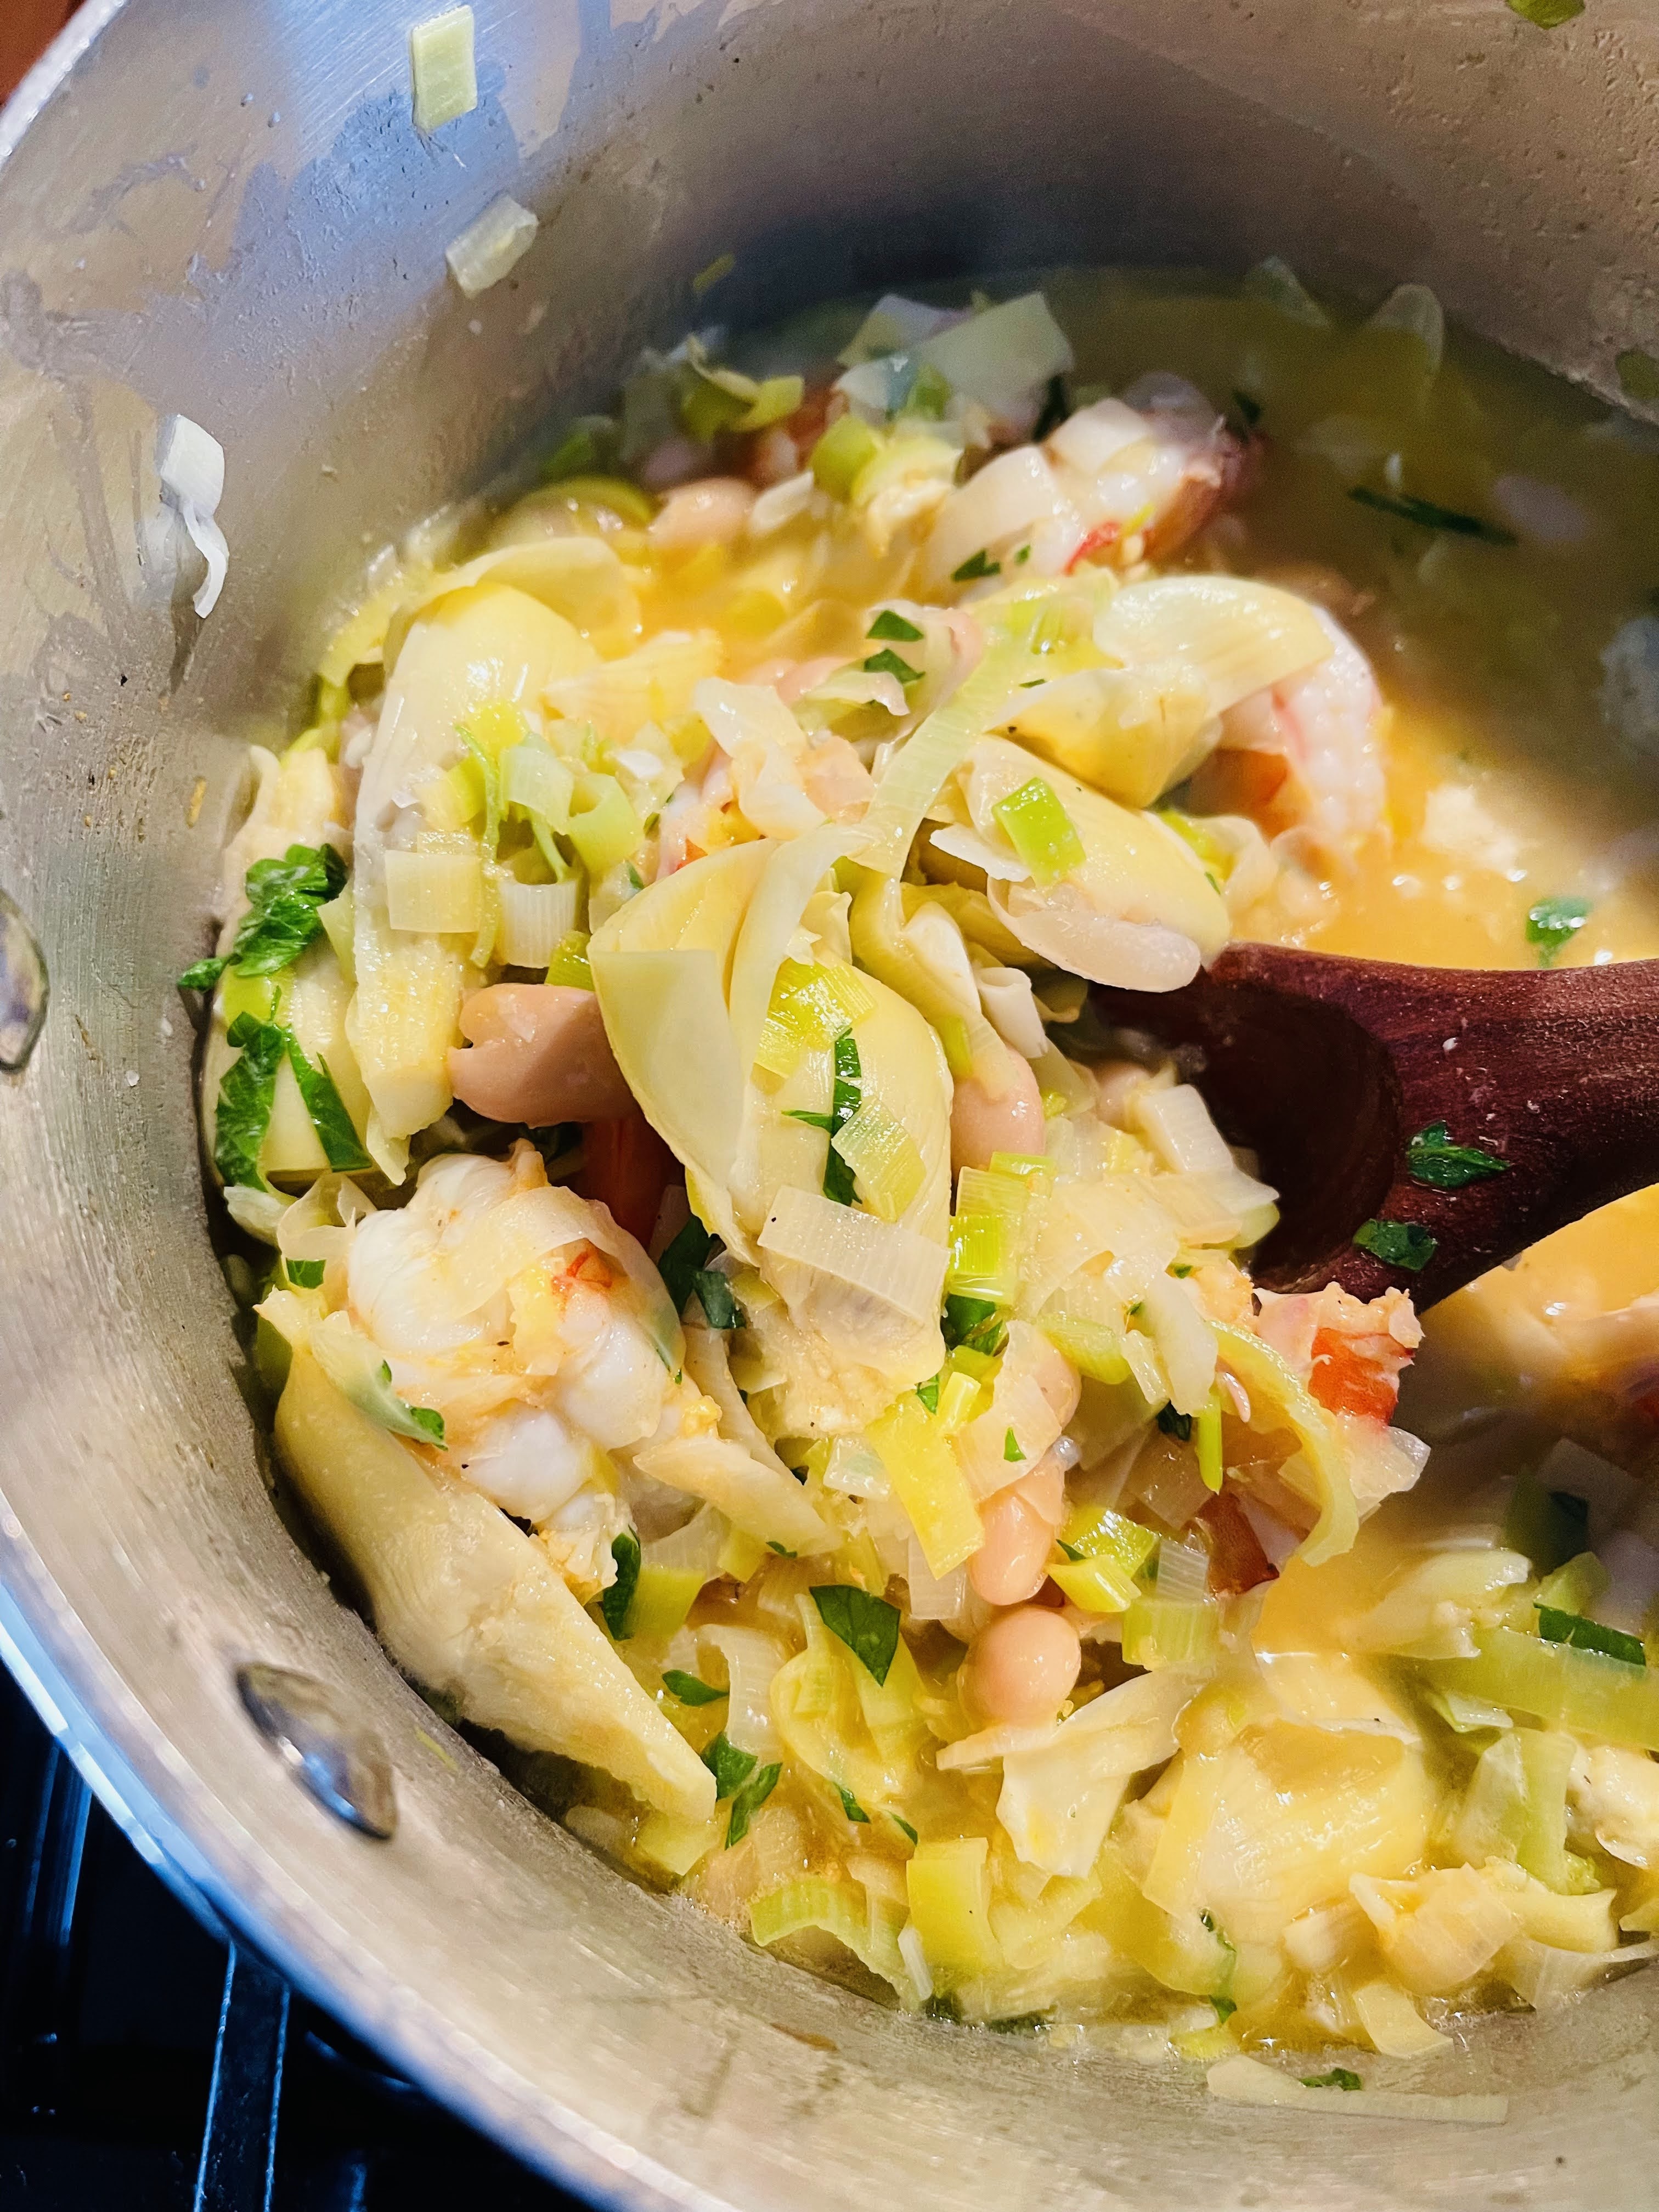
- Stir the mixture into the pot with the remaining beans and the reserved 4 cups of chicken. Reduce to low and simmer for an extra 10 minutes.
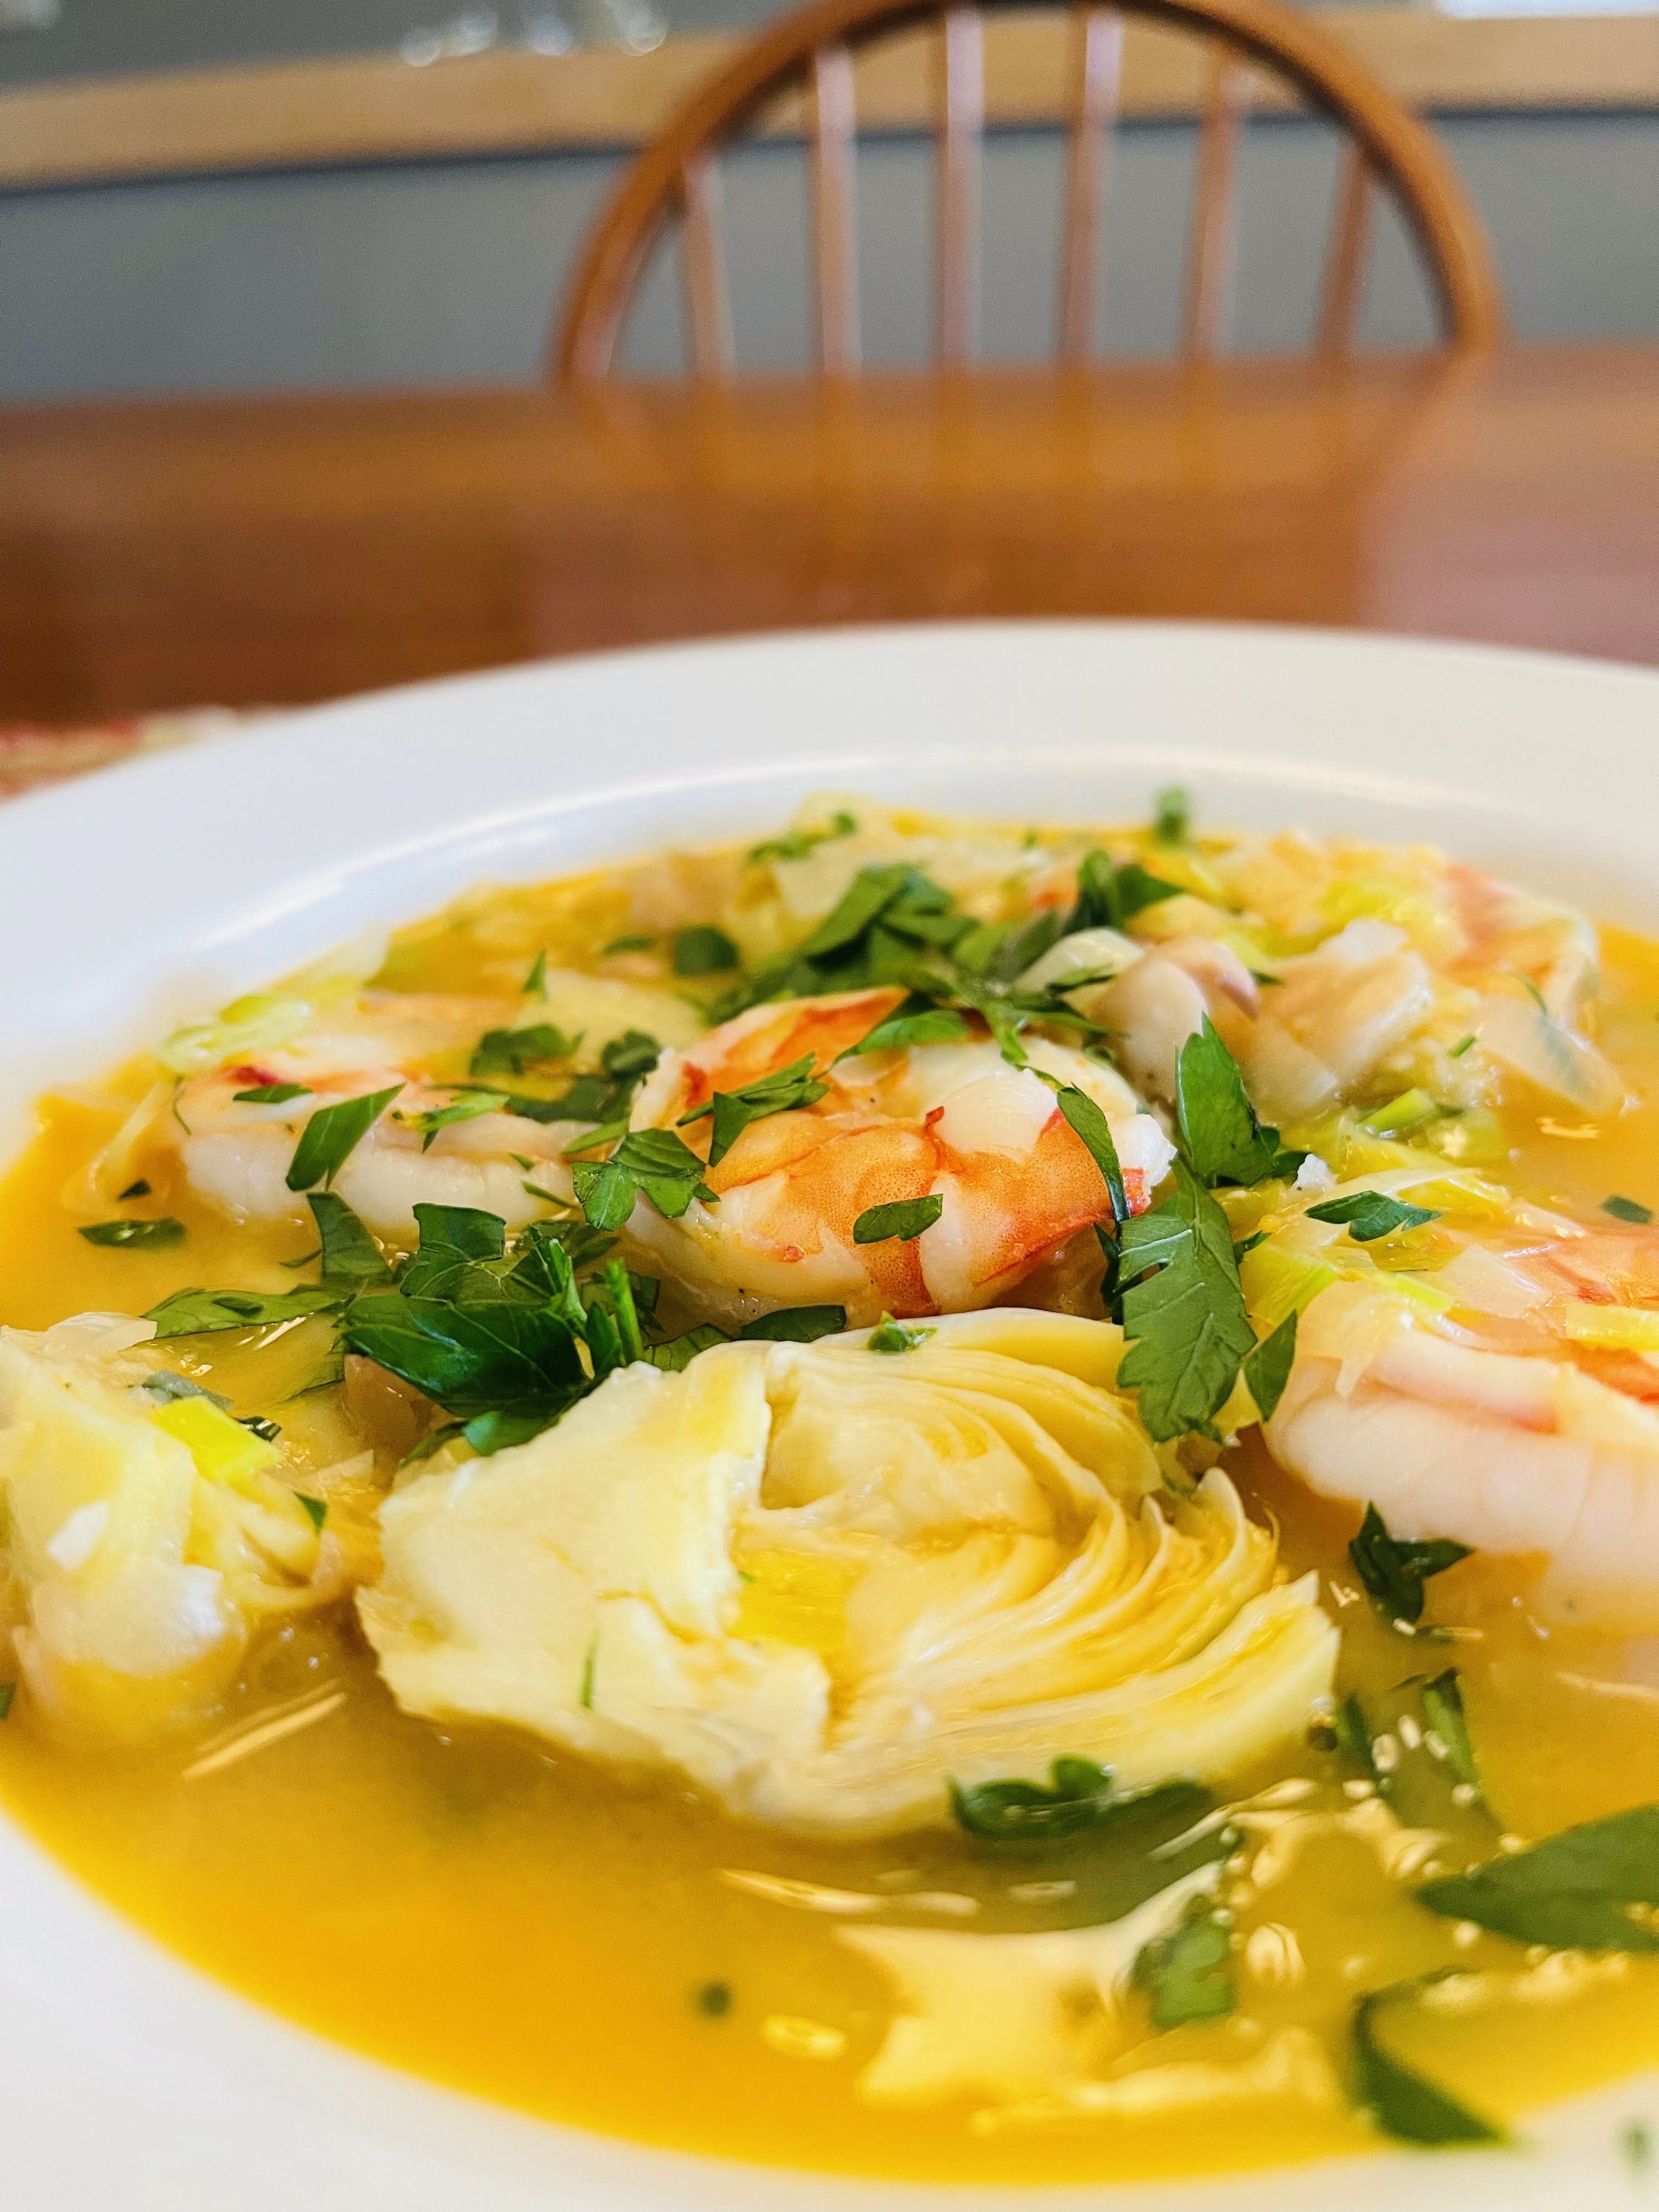
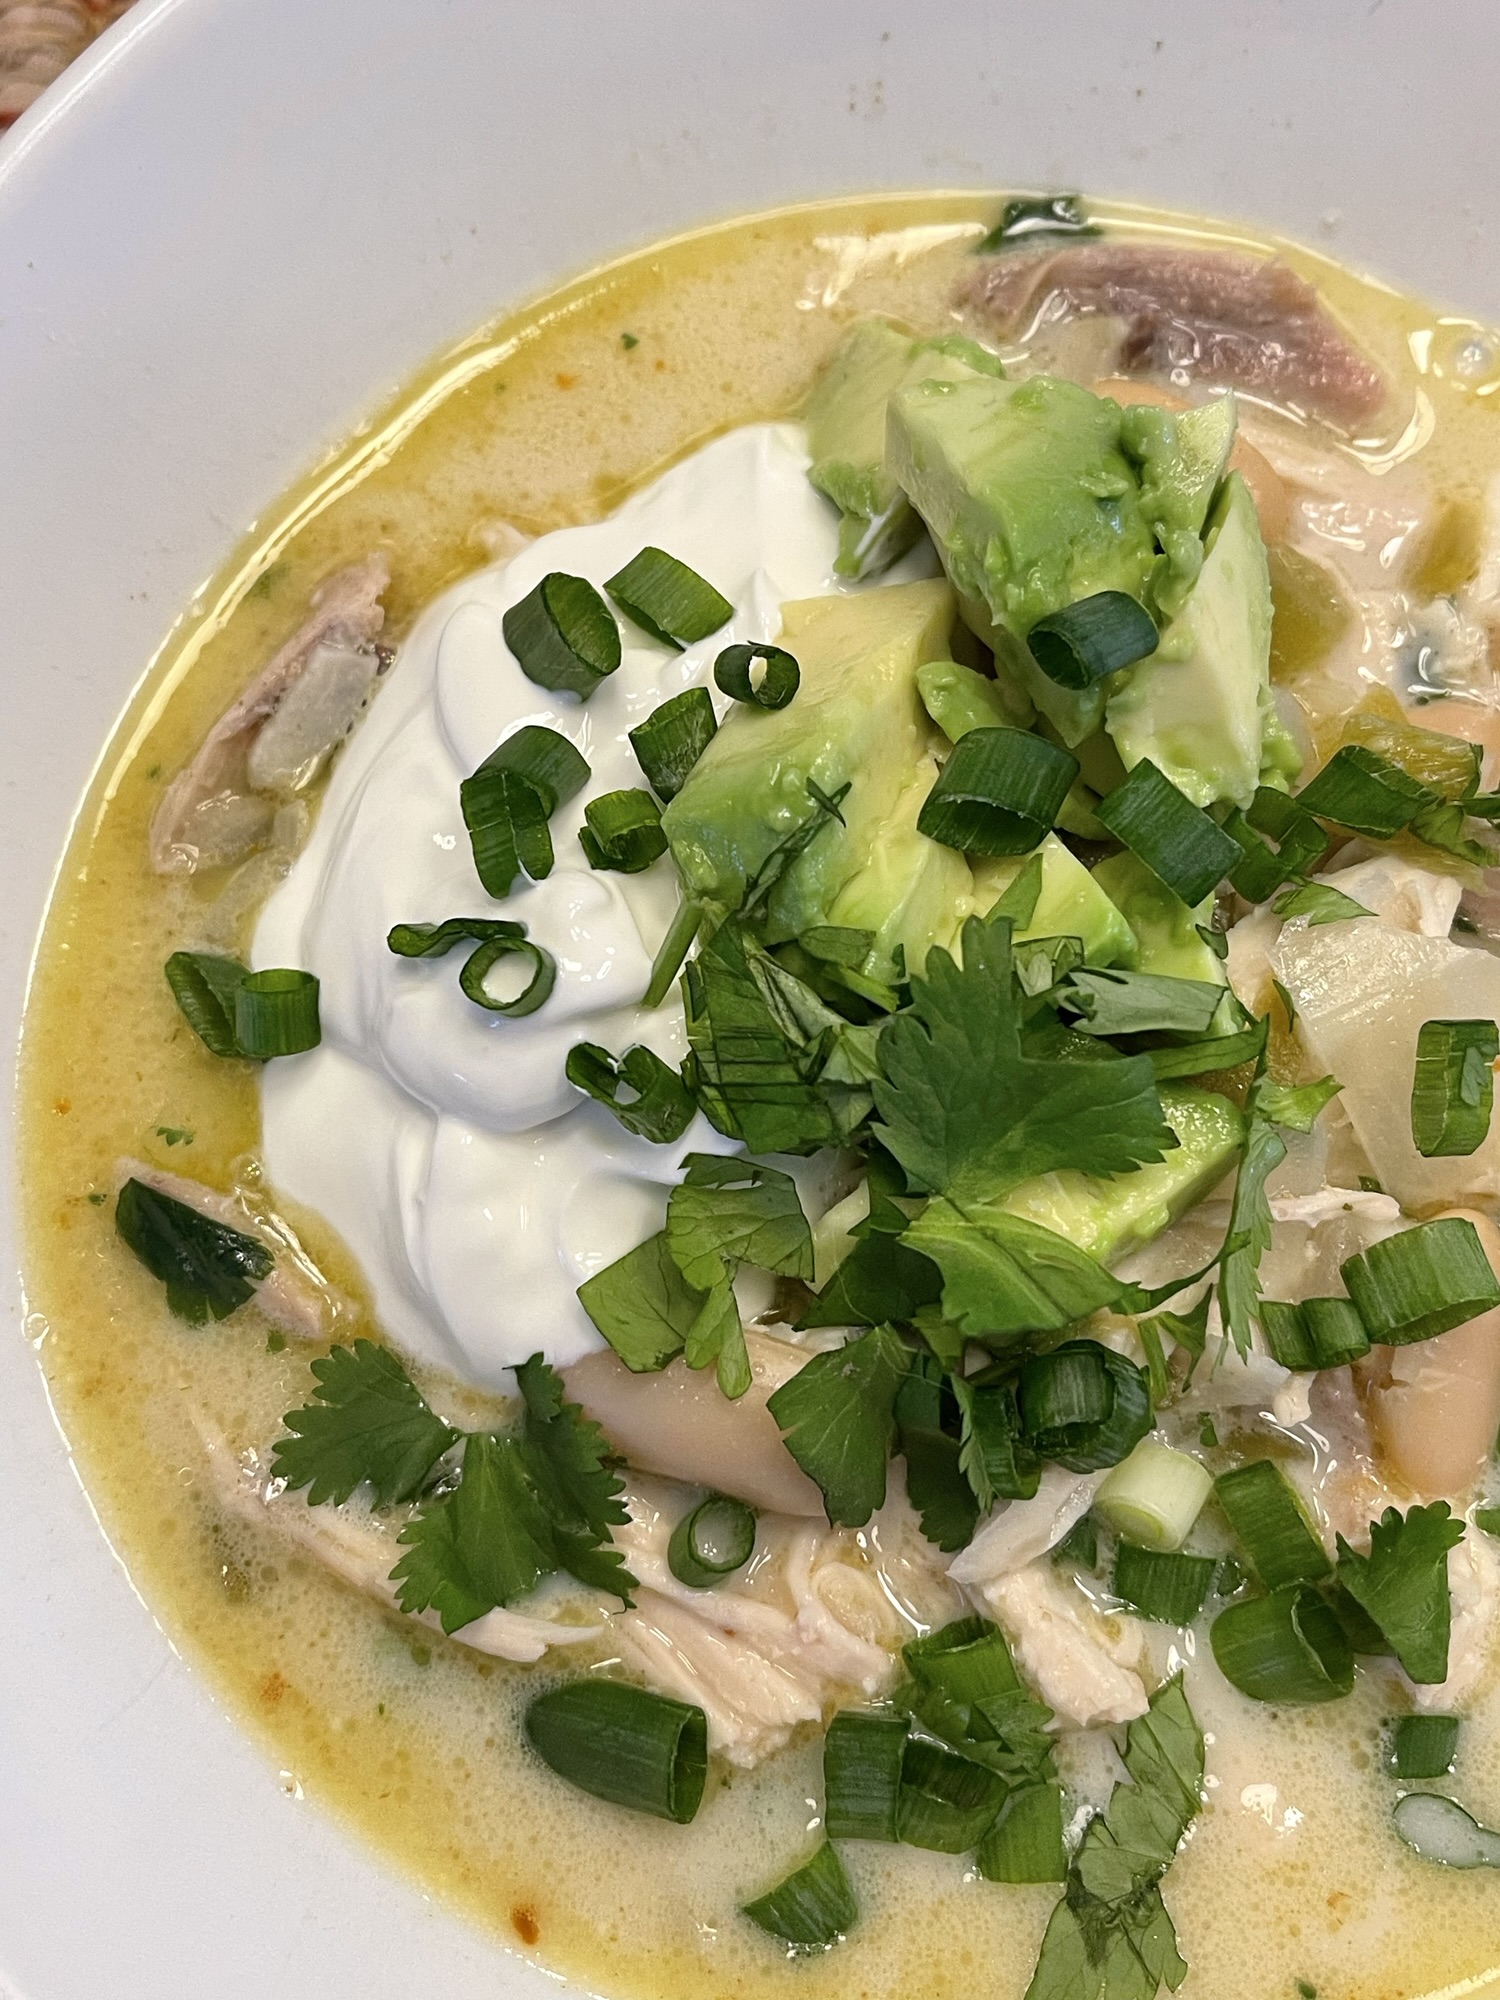
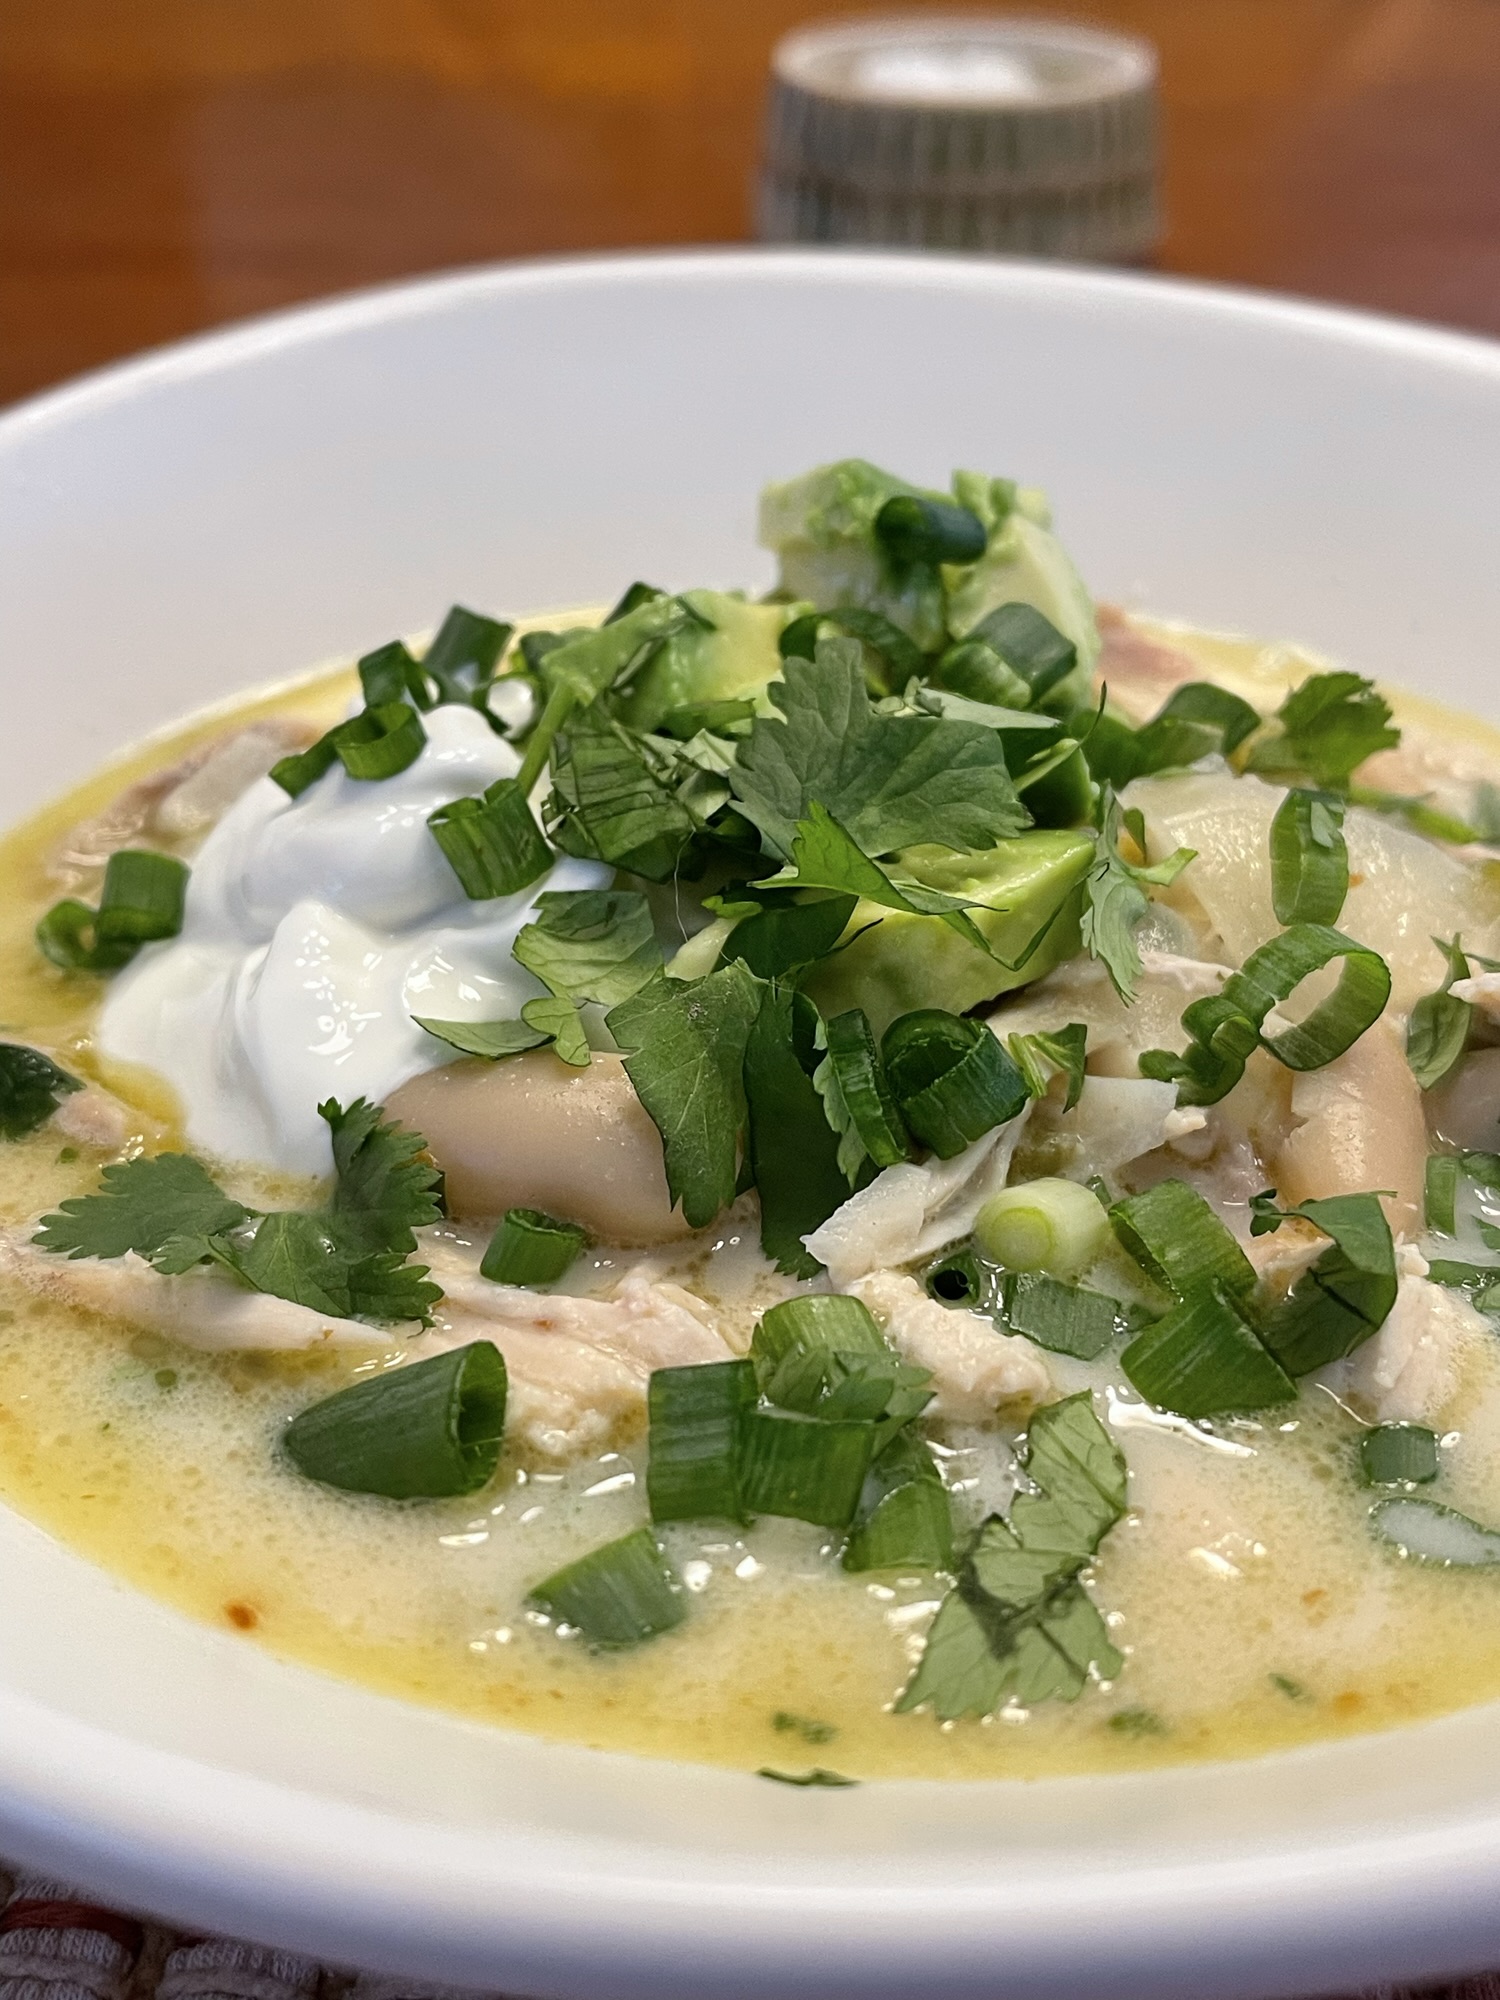
- Serve with your choice of garnishes, like chopped avocado, green onion, cilantro, or sour cream.
Serves 4-6
“Next to jazz music, there is nothing that lifts the spirits and strengthens the soul,
more than a good bowl of chili.” —Henry James