As many of you know, food is my love language. When I researched my last cookbook, I discovered 70 percent of American’s don’t cook. This absolutely amazed me! I want to help adjust that statistic! What if I told you that many meals can be made in 40 minutes or less, with healthy and unprocessed foods? We should all be concerned about the amount of processed food we eat. Studies have repeatedly shown the more processed food we consume, the less healthy we become. In less time that it takes to order takeout pizza and wait for delivery, we could have a much healthier and satisfying meal on the table for ourselves and loved ones.
To accomplish this, I will do my part by blogging two recipes per month to give you examples of how easy this can be accomplished. Stay tuned for these as we explore how easy it can be to cook healthy meals with very little prep.
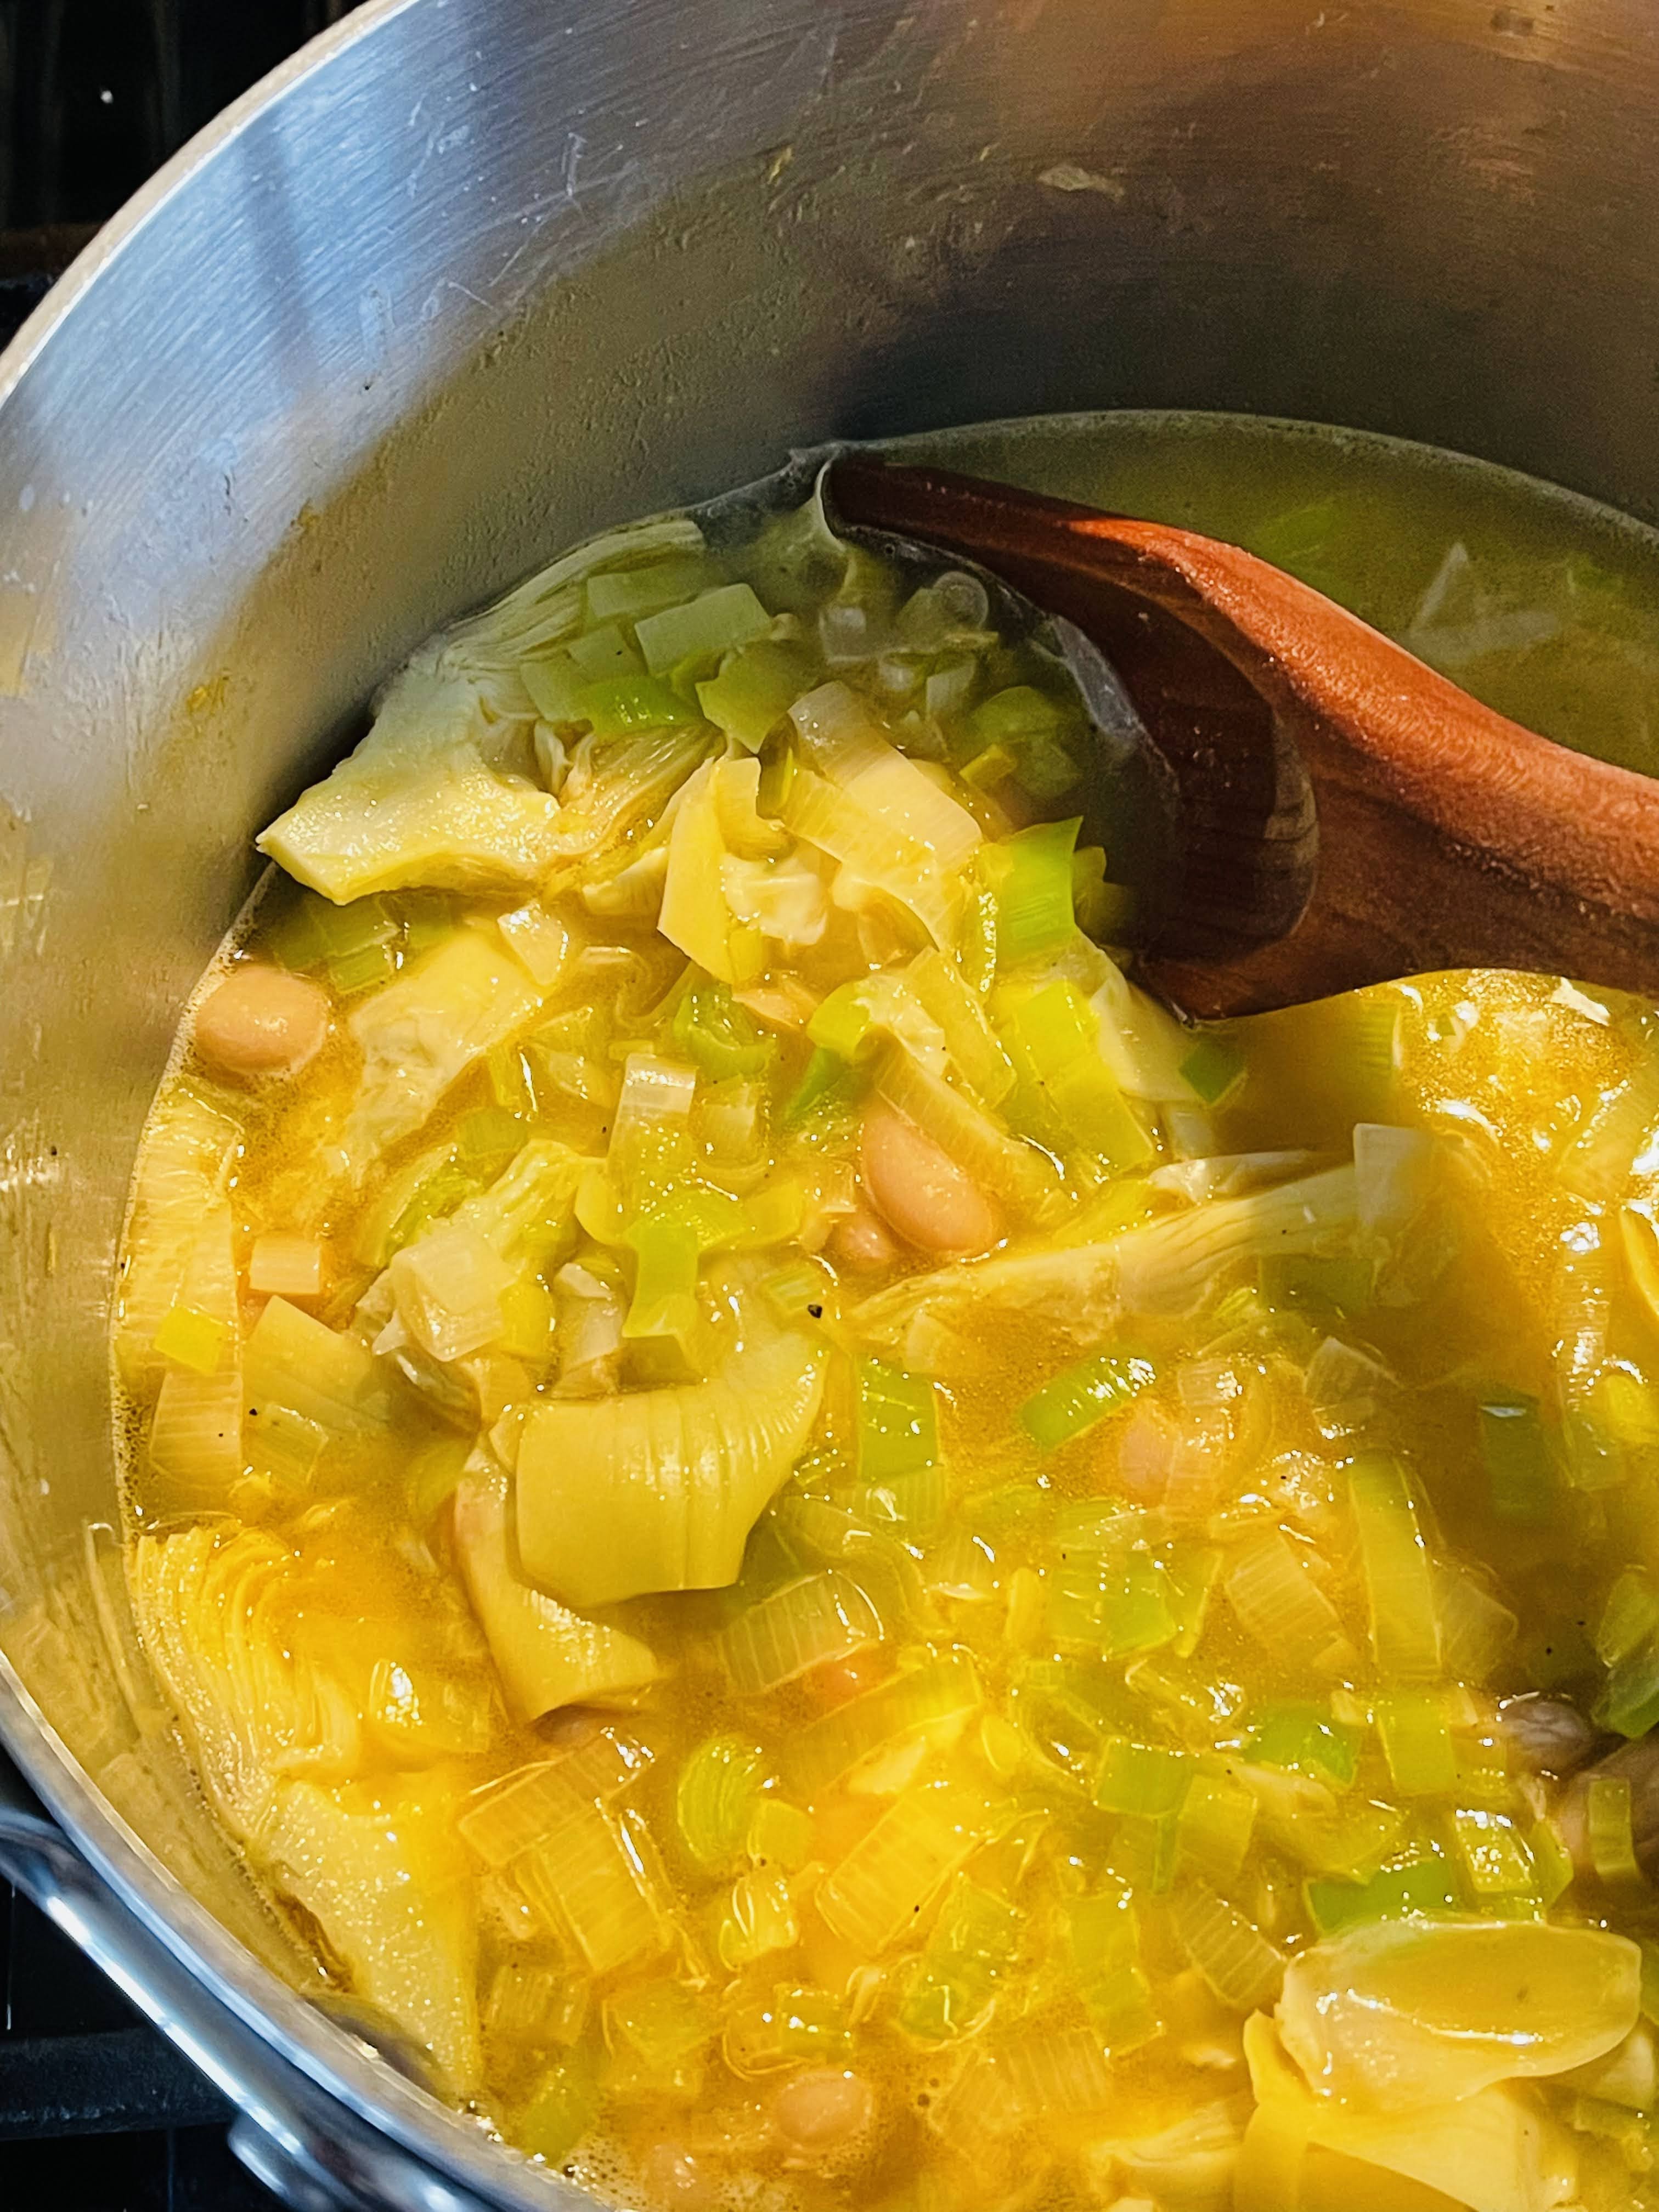
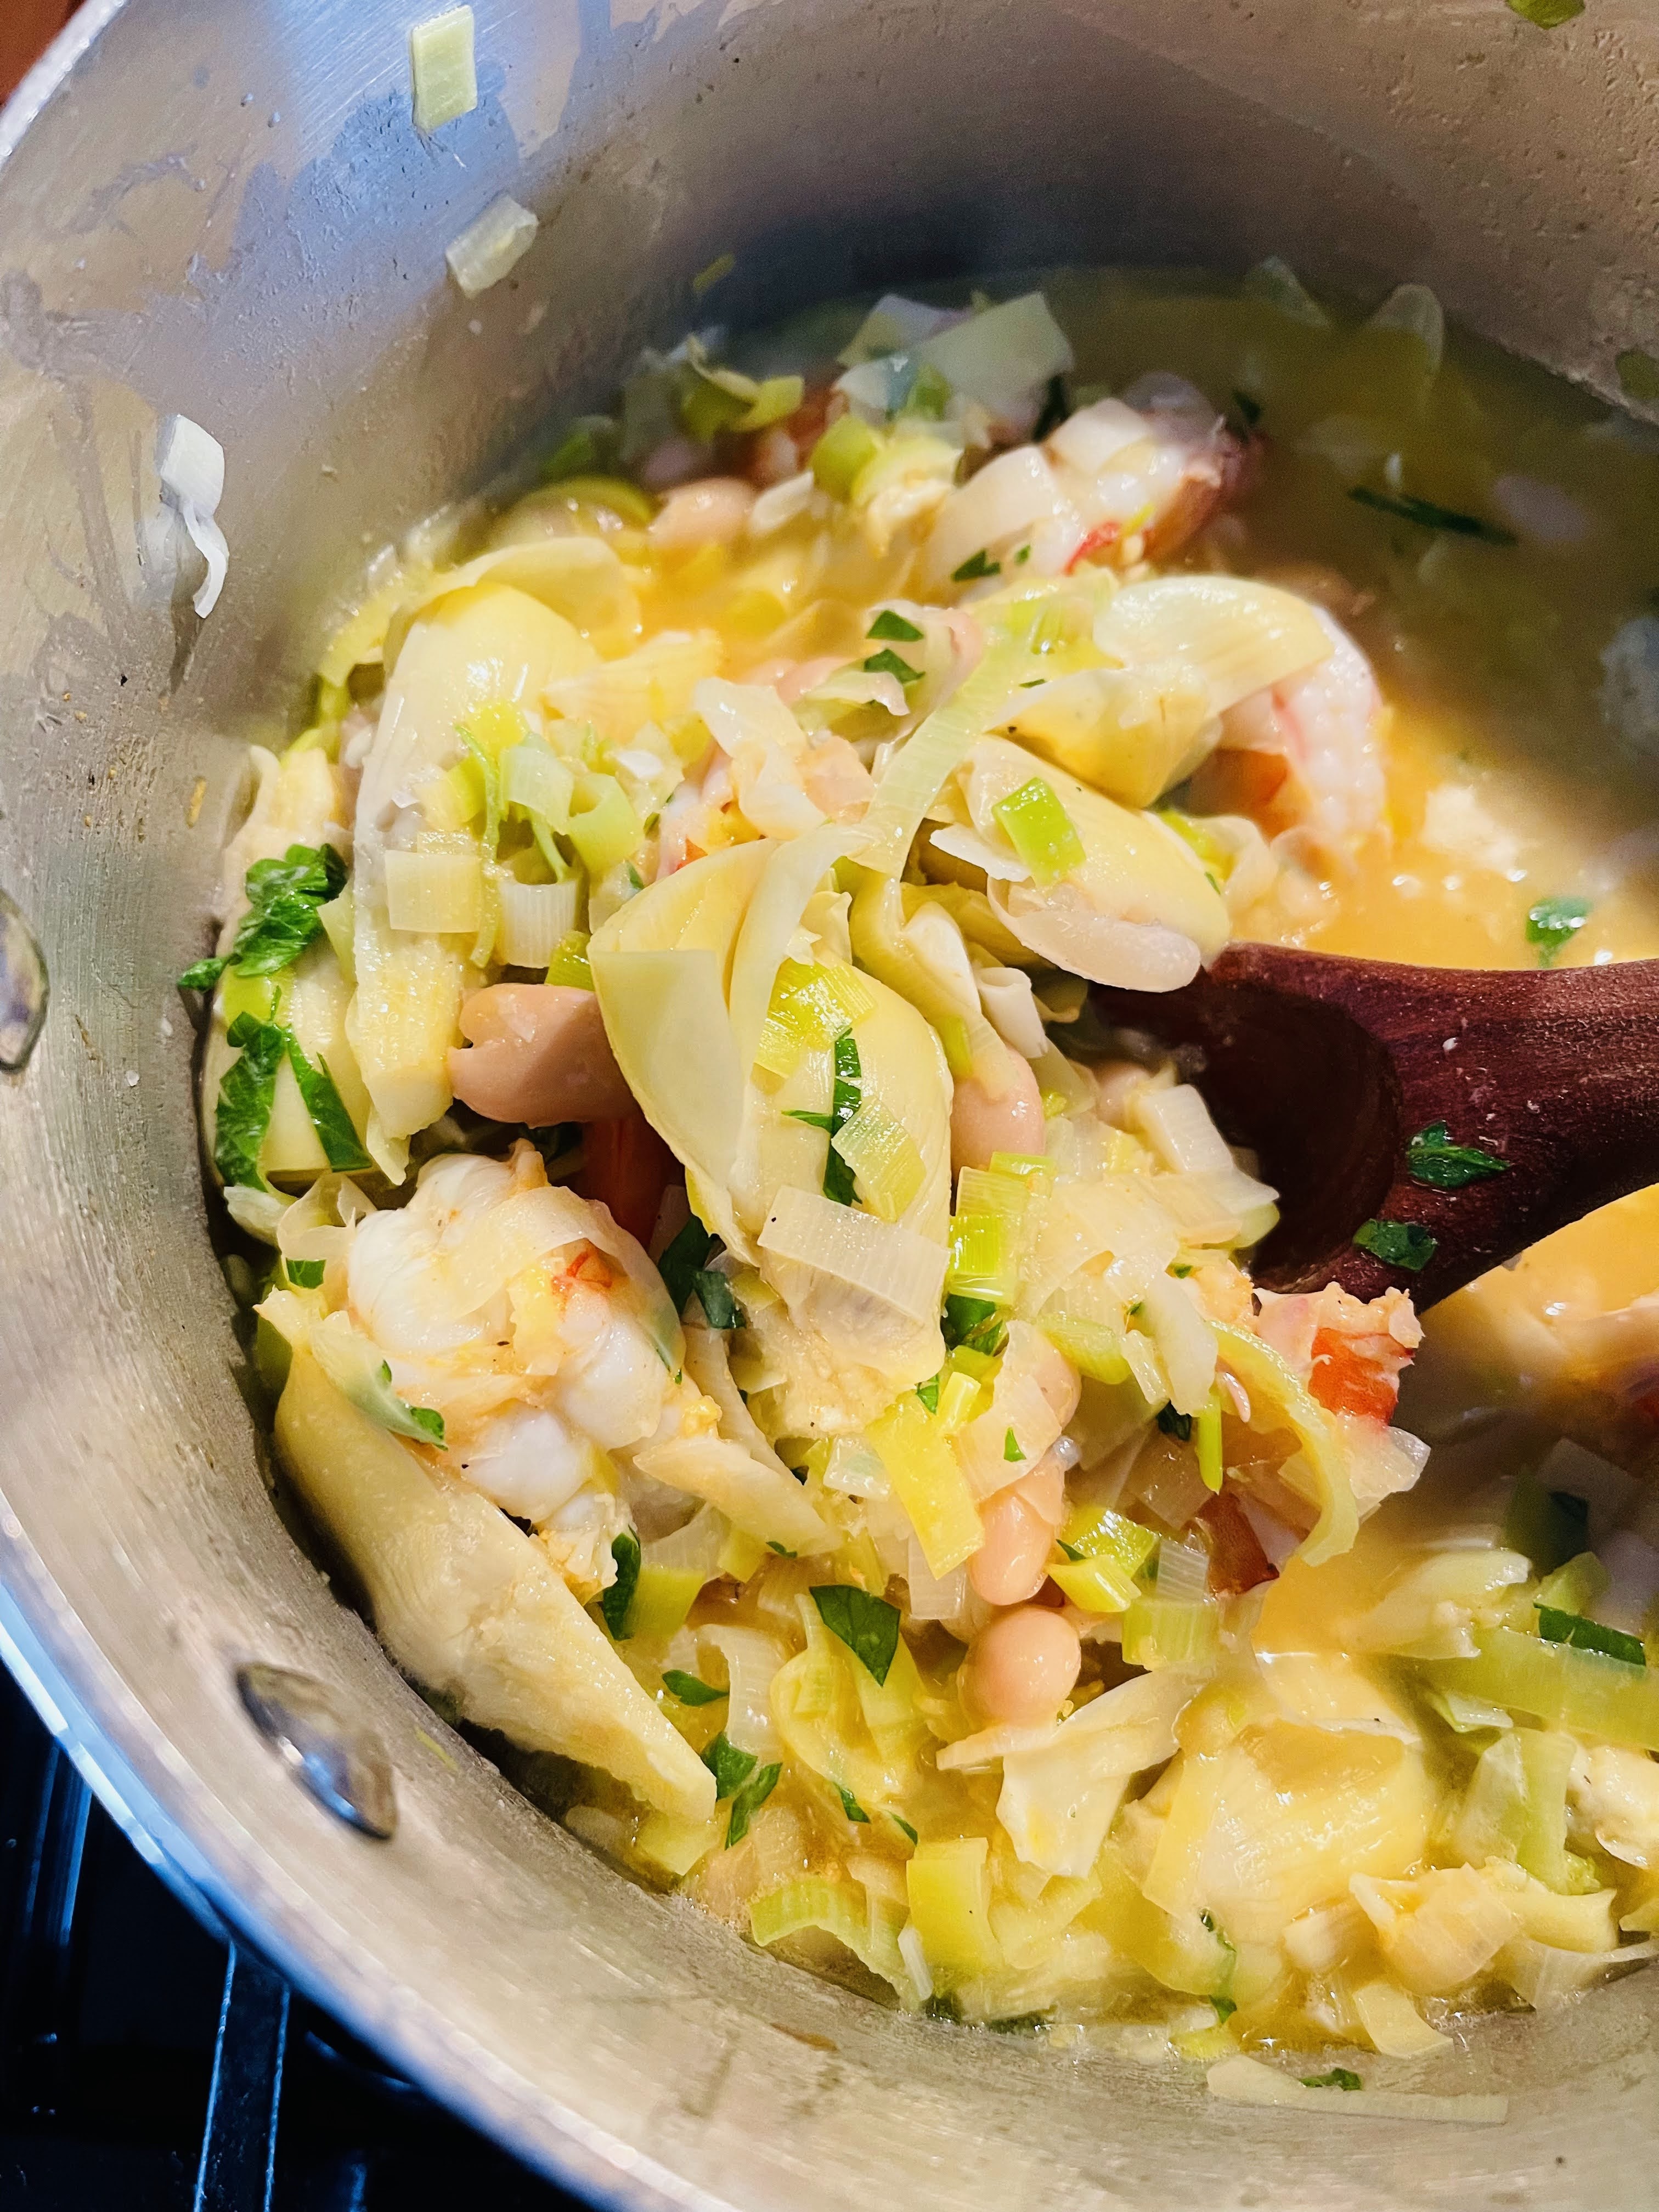
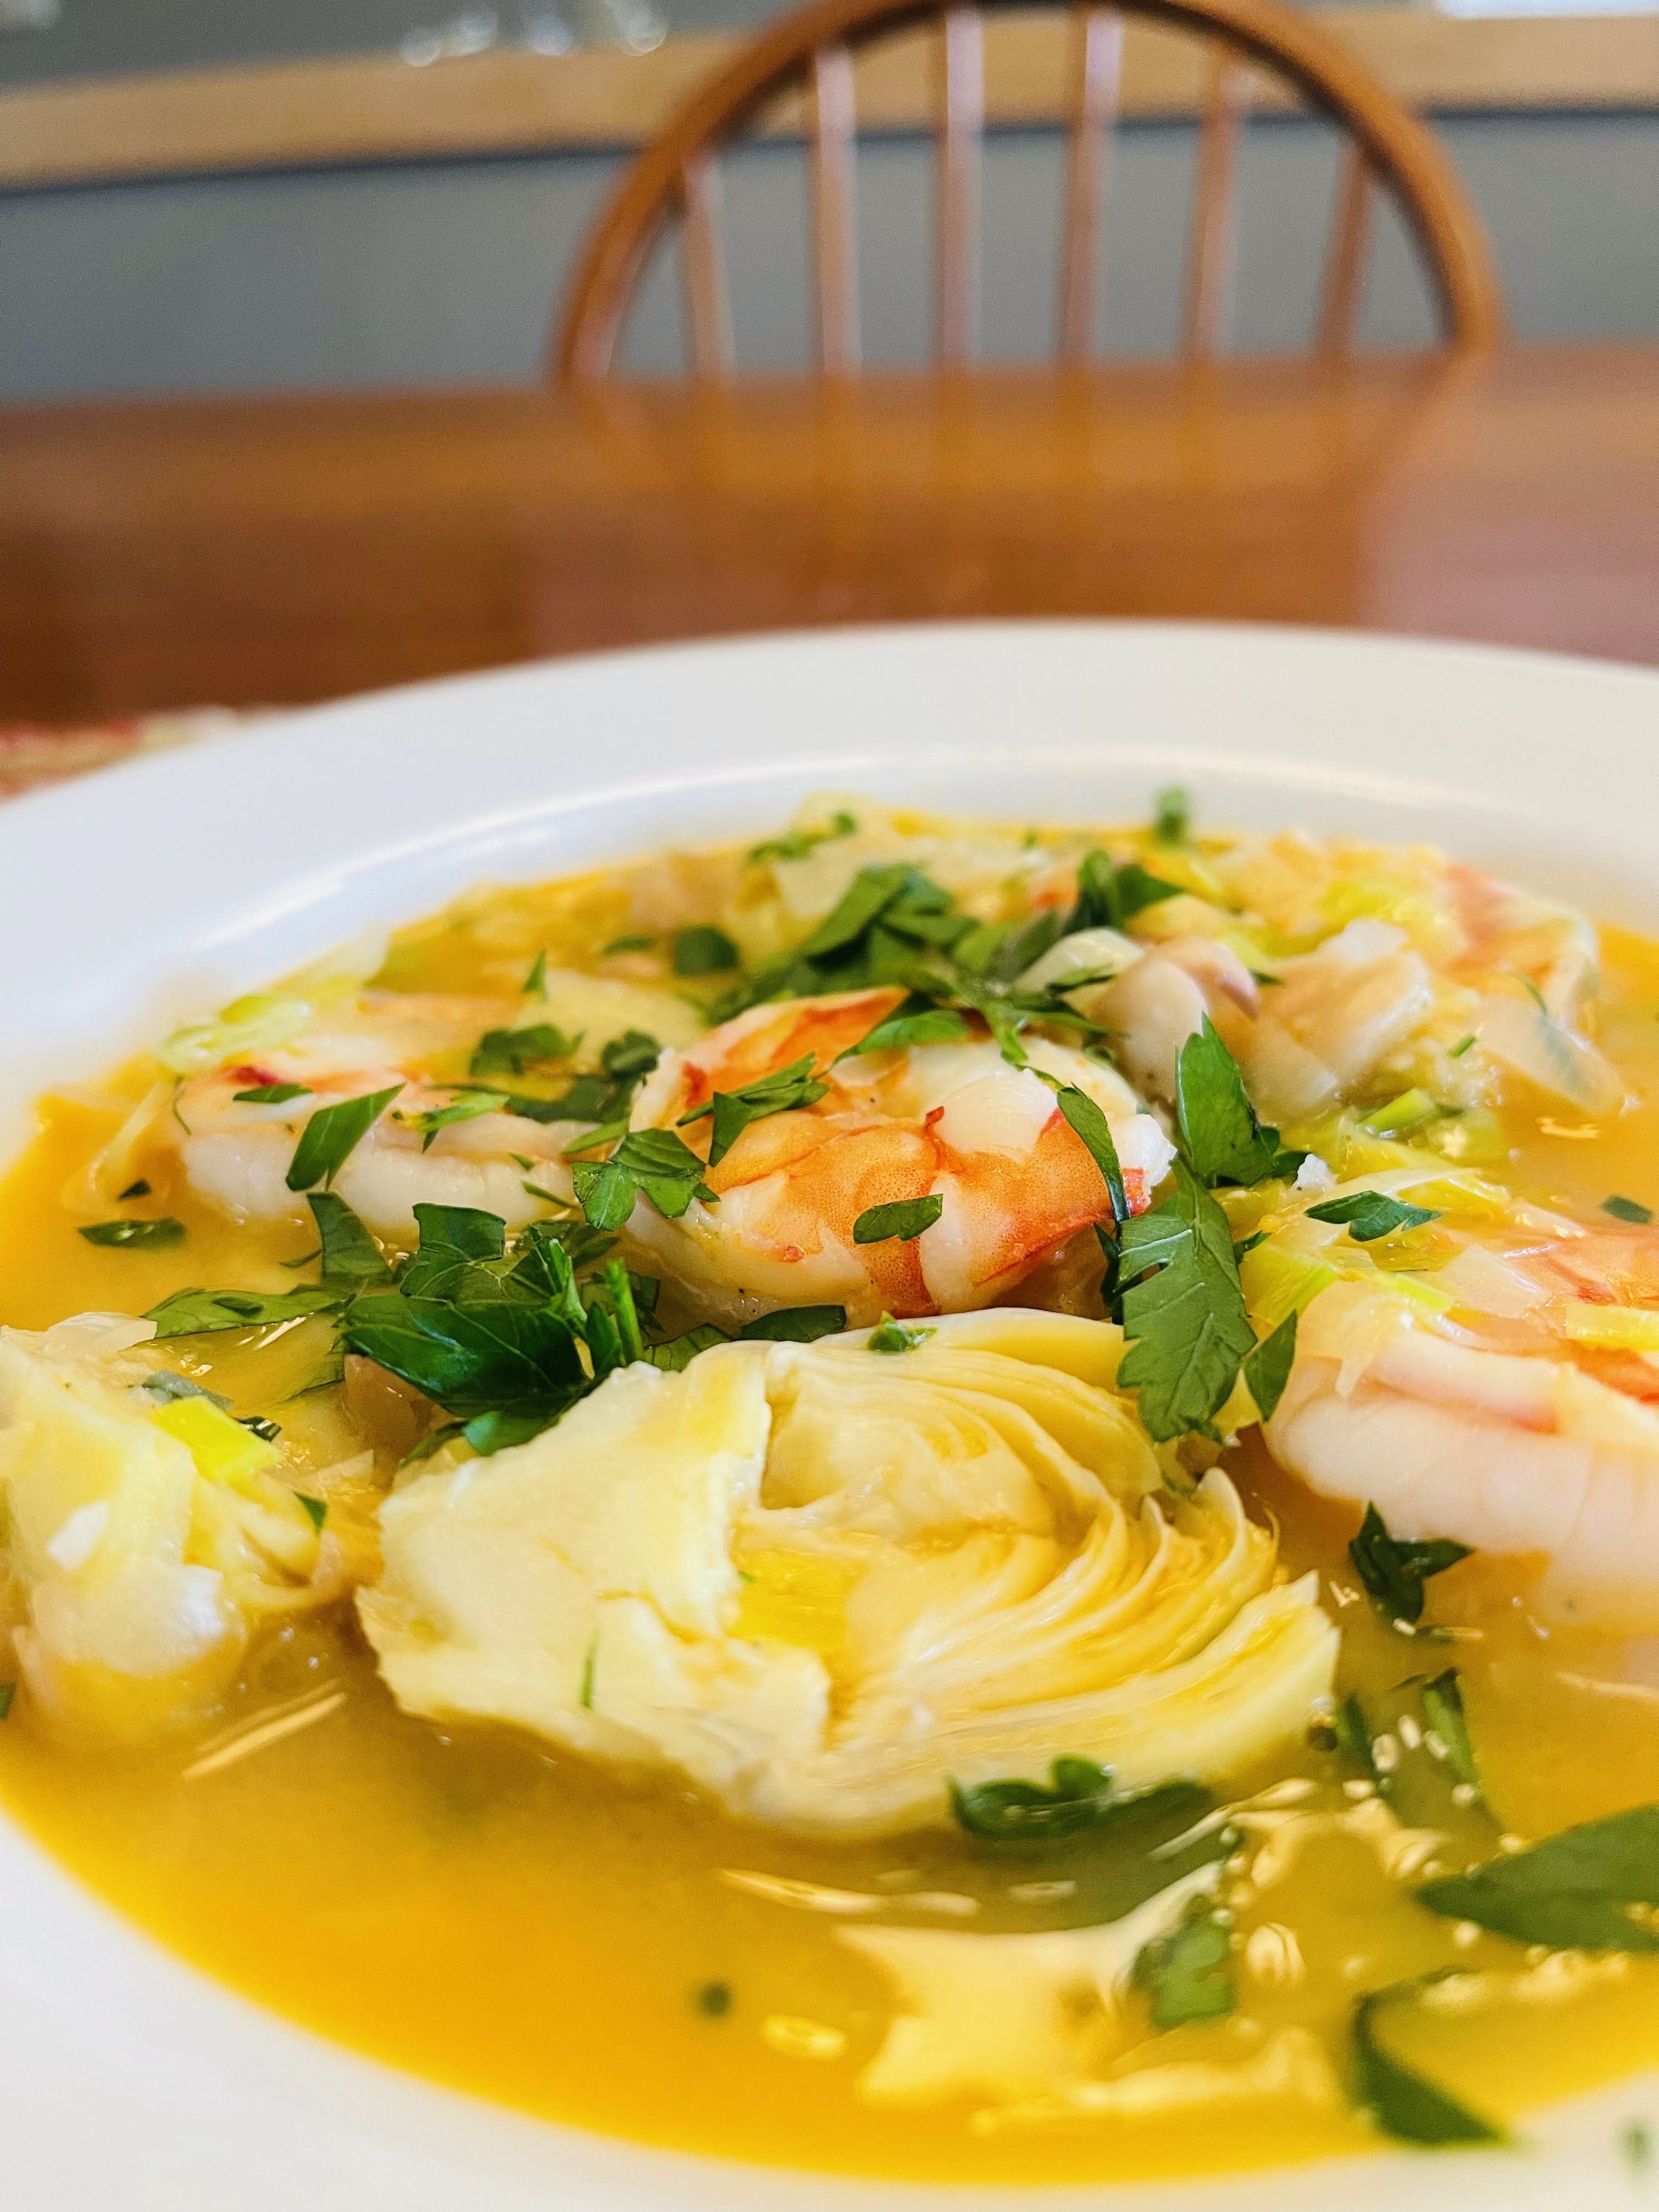
SHRIMP, BEAN AND ARTICHOKE STEW
INGREDIENTS:
Zest from one lemon, plus juice from half a lemon
1 teaspoon of sweet paprika
2 garlic cloves, grated
1 pound peeled, deveined large shrimp, tail removed
2 large leeks, trimmed, halved lengthwise, white and light green parts sliced crosswise 1/2 inch thick
4 tablespoons unsalted butter, (1/2 stick)
2 15-ounce cans cannellini beans, rinsed
2 cups chicken or vegetable stock (homemade if possible)
1 can whole artichokes, drained and cut in half vertically
3 tablespoons finely chopped parsley
INSTRUCTIONS:
Combine lemon zest, paprika, garlic, 3/4 teaspoon each of salt and freshly cracked black pepper in a medium bowl. Add shrimp and toss to coat.
In a large pot, melt butter over medium-high heat. When butter is foaming, add shrimp and cook, stirring occasionally, until slightly pink, 2-3 minutes. Using a slotted spoon, transfer shrimp to a plate; set aside.
Add leeks, season with salt & pepper, and cook over medium heat until leeks are soft and starting to brown on the edges, 4-5 minutes, stirring occasionally. Add beans, artichokes and stock. Bring to a boil over high heat. Lower heat and simmer 6-8 minutes. Remove from heat and stir in reserved shrimp and any juices from the plate, parsley and lemon juice. Garnish with additional chopped parsley.
Serve in bowls with toasted bread. SO SIMPLE!!!
Serves 4
“Good food is often, even most often, simple food.” –Anthony Bourdain
There’s something about anything salty and savory that will always get my attention. Olives, capers, anchovies, in any recipe will certainly make me sit up and take notice. One thing that will give your creativity a boost is having a delicious and versatile olive tapenade on hand. During the holidays I try to incorporate it in appetizers, pasta and entrees in general. It keeps well in the refrigerator for a couple weeks, and if your making a larger batch, freezes well for several months.
Consider the following suggestions for using tapenade:
Serve it on top of hummus for a savory boost
Serve broiled fish with a dollop of tapenade on top
Use tapenade to stuff portabella or cremini mushrooms
Make a cold pasta with veggies and use the tapenade as the dressing with lemon juice
Top burgers with roasted red pepper, cheese and tapenade
Toss with steamed baby potatoes
Use on pizza to replace tomato sauce
Make a sandwich on focaccia with salami, ham, roasted red peppers, tomatoes, red onion, pepperoncini, mozzarella and tapenade
Make a wrap of hummus, red onion, roasted red pepper, arugula and tapenade
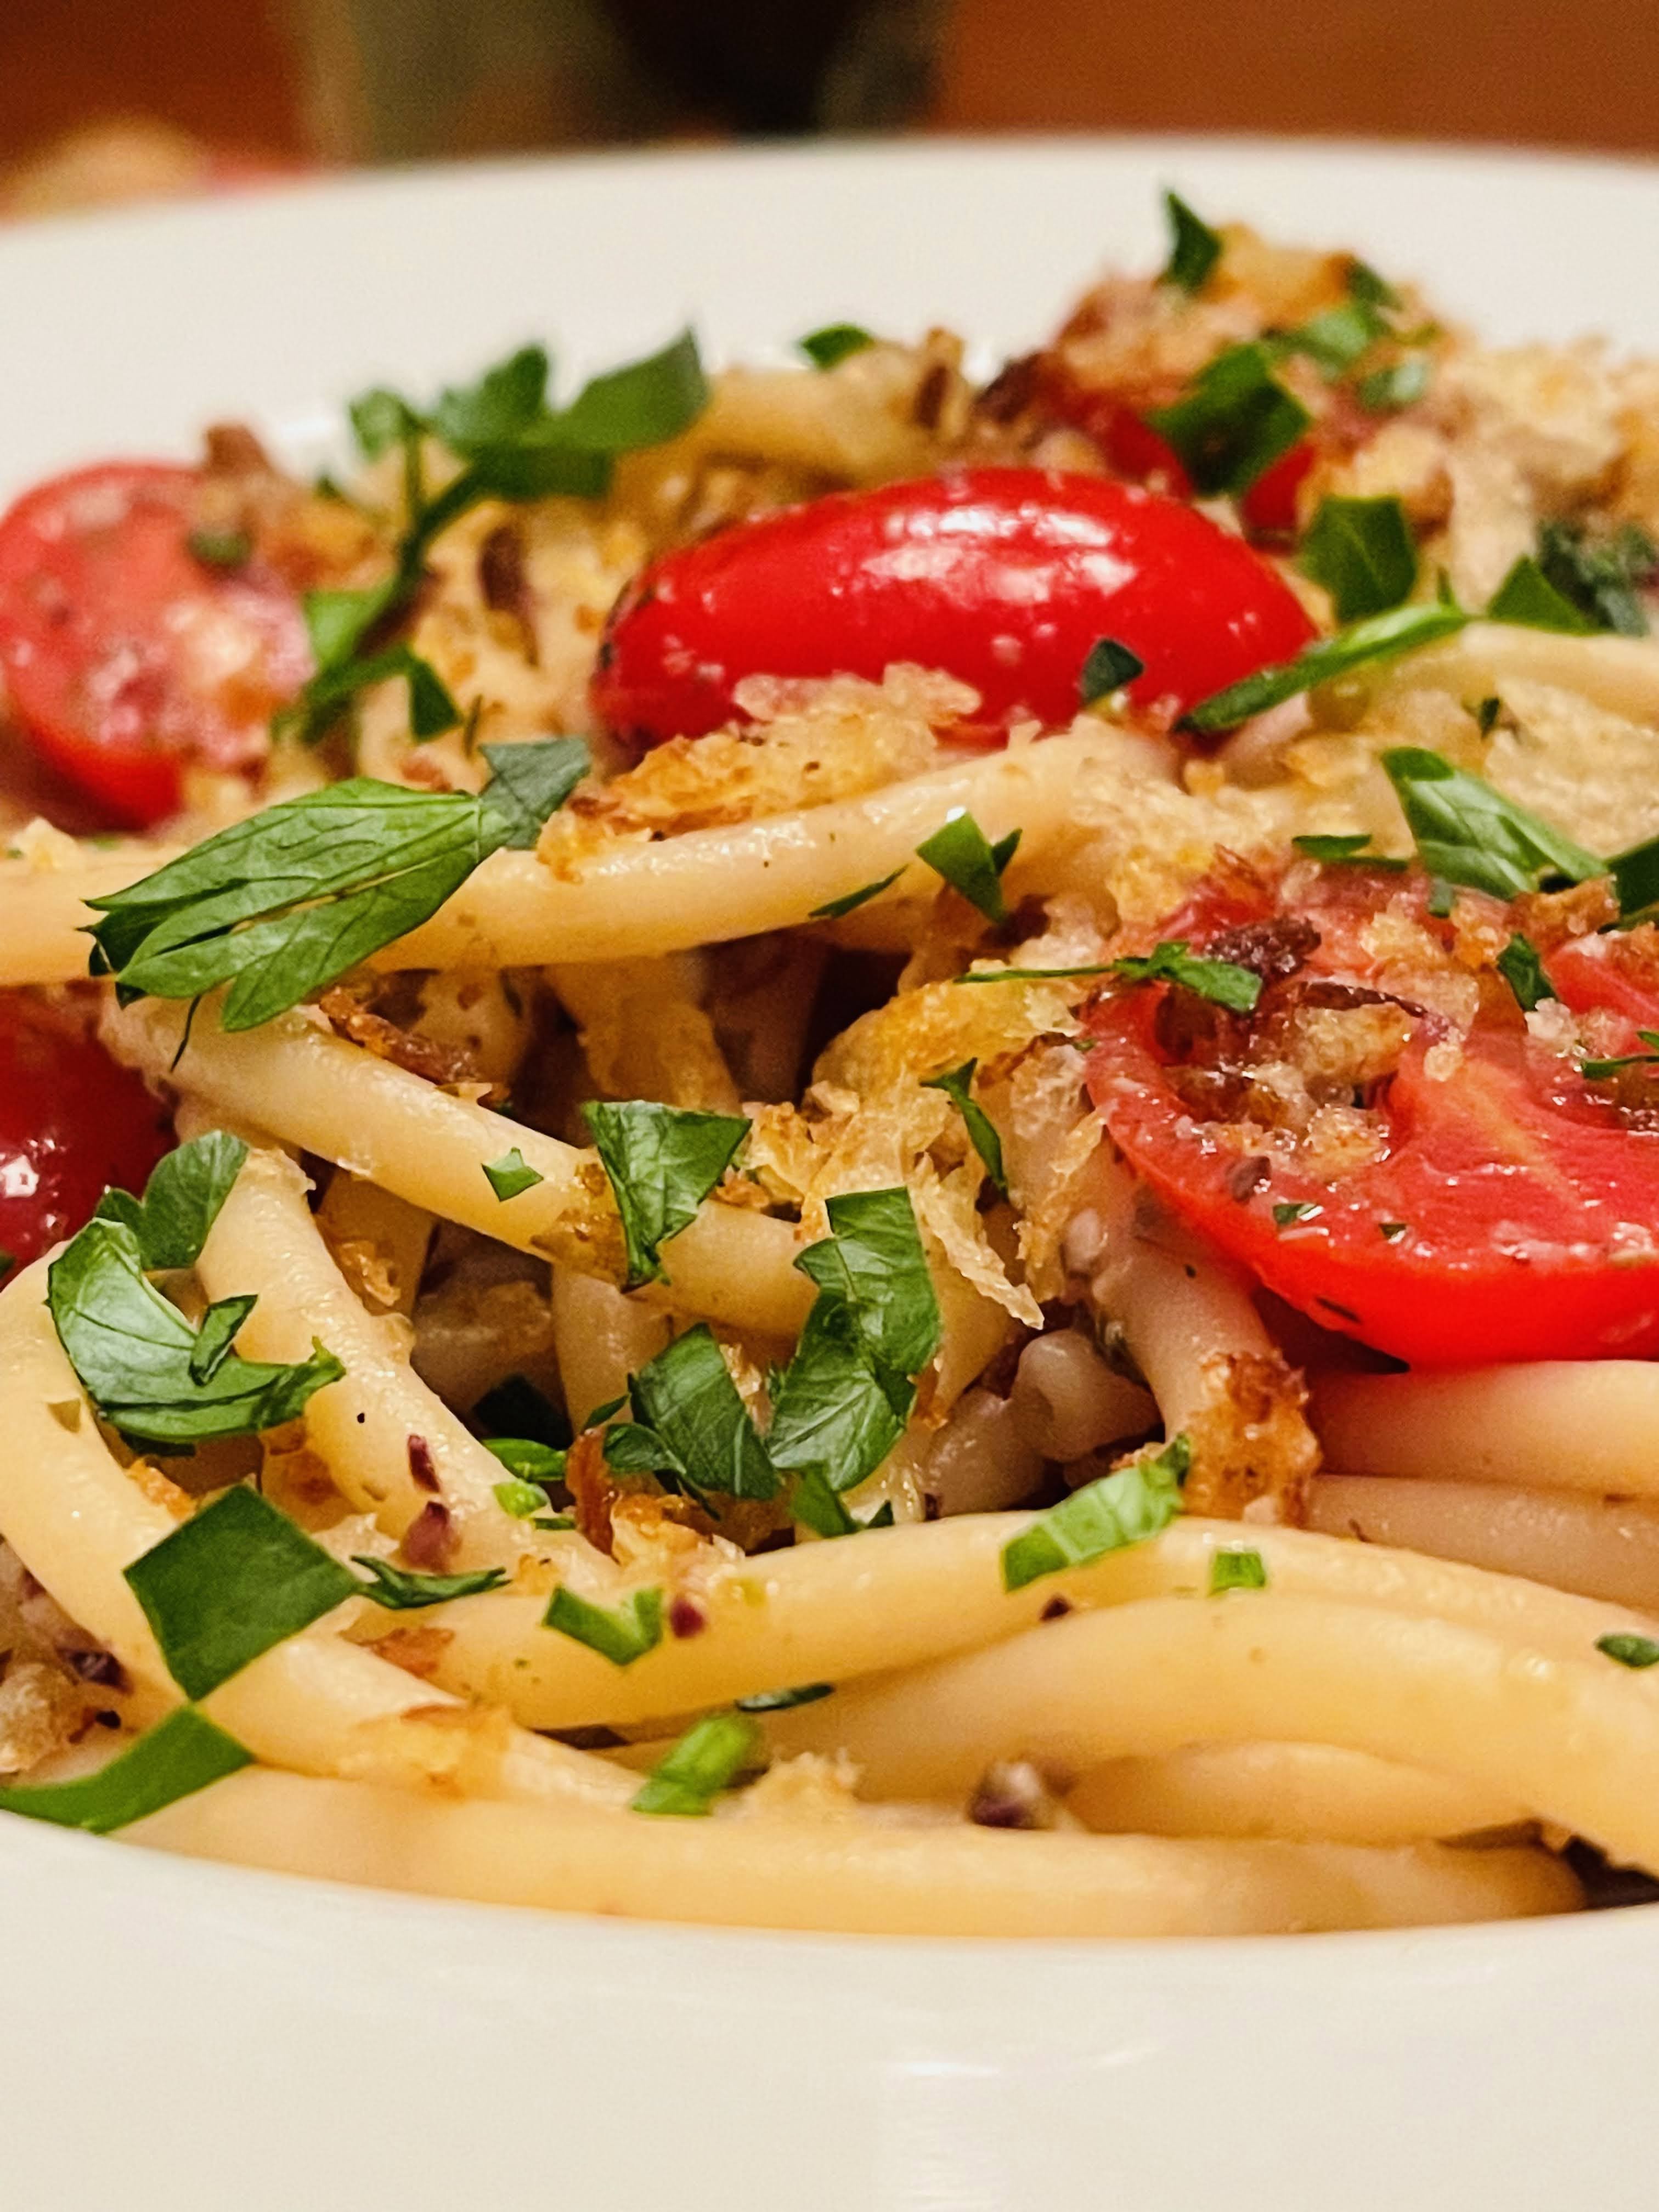
Make a pasta with tapenade, cherry tomatoes and toasted breadcrumbs (recipe to follow)
The possibilities for its use is only limited by your imagination! Although you can purchase store bought tapenade, it’s so easy why not make it yourself for a lot less! This blog will focus on whipping up this flavorful Mediterranean olive spread and a easy, crowd pleasing pasta when you’re busy.
OLIVE TAPENADE (MEDITERRANEAN OLIVE SPREAD)
INGREDIENTS:
6 ounces brine-cured olives, pitted and drained (Manzanillo and or kalamata work well)
6 ounces California black olives, pitted and drained
1 teaspoon anchovy paste or 2 anchovy filets
1/4 cup capers, drained
2 tablespoons fresh flat leaf parsley
3 cloves garlic
3 tablespoons fresh lemon juice
Couple grinds fresh black pepper
1/4 cup extra-virgin olive oil
INSTRUCTIONS:
Place drained and pitted olives in the bowl of a food processor. Add anchovy, capers, parsley, garlic, lemon juice, and black pepper. Pulse several times until coarsely chopped.
Scrape side with spatula and add olive oil. Pulse several times until a chunky paste forms, scraping sides as needed. Serve at room temperature.
TAPENADE PASTA WITH CHERRY TOMATOES AND TOASTED BREADCRUMBS
INGREDIENTS:
8 ounces bucatini pasta
1/2 cup toasted fresh breadcrumbs
2 cups cherry tomatoes, halved
1/2 cup olive tapenade
3/4 cup pecorino cheese, grated
1/2 cup chopped flat-leaf parsley
Freshly ground black pepper
INSTRUCTIONS:
Bring a large pot of water to a boil. Season the water generously with salt and then add the pasta. Cook the pasta according to package directions.. Reserve 1 cup of pasta water before draining the pasta.
While you pasta is cooking heat a few drizzles of olive oil in a small skillet over medium heat. Stir in the fresh breadcrumbs and toast them until golden brown, 3-5 minutes. Drain on paper towels.
Add the drained pasta back into the pot and add the tapenade, and 1/2 cup of the pasta water. Toss well to combine, adding additional pasta water if needed. Add 1/2 the cheese, the cherry tomatoes and parsley. Season with black pepper.
Pile the pasta onto plates or shallow bowls. Top with cheese, parsley and breadcrumbs. Finish with a drizzle of olive oil.
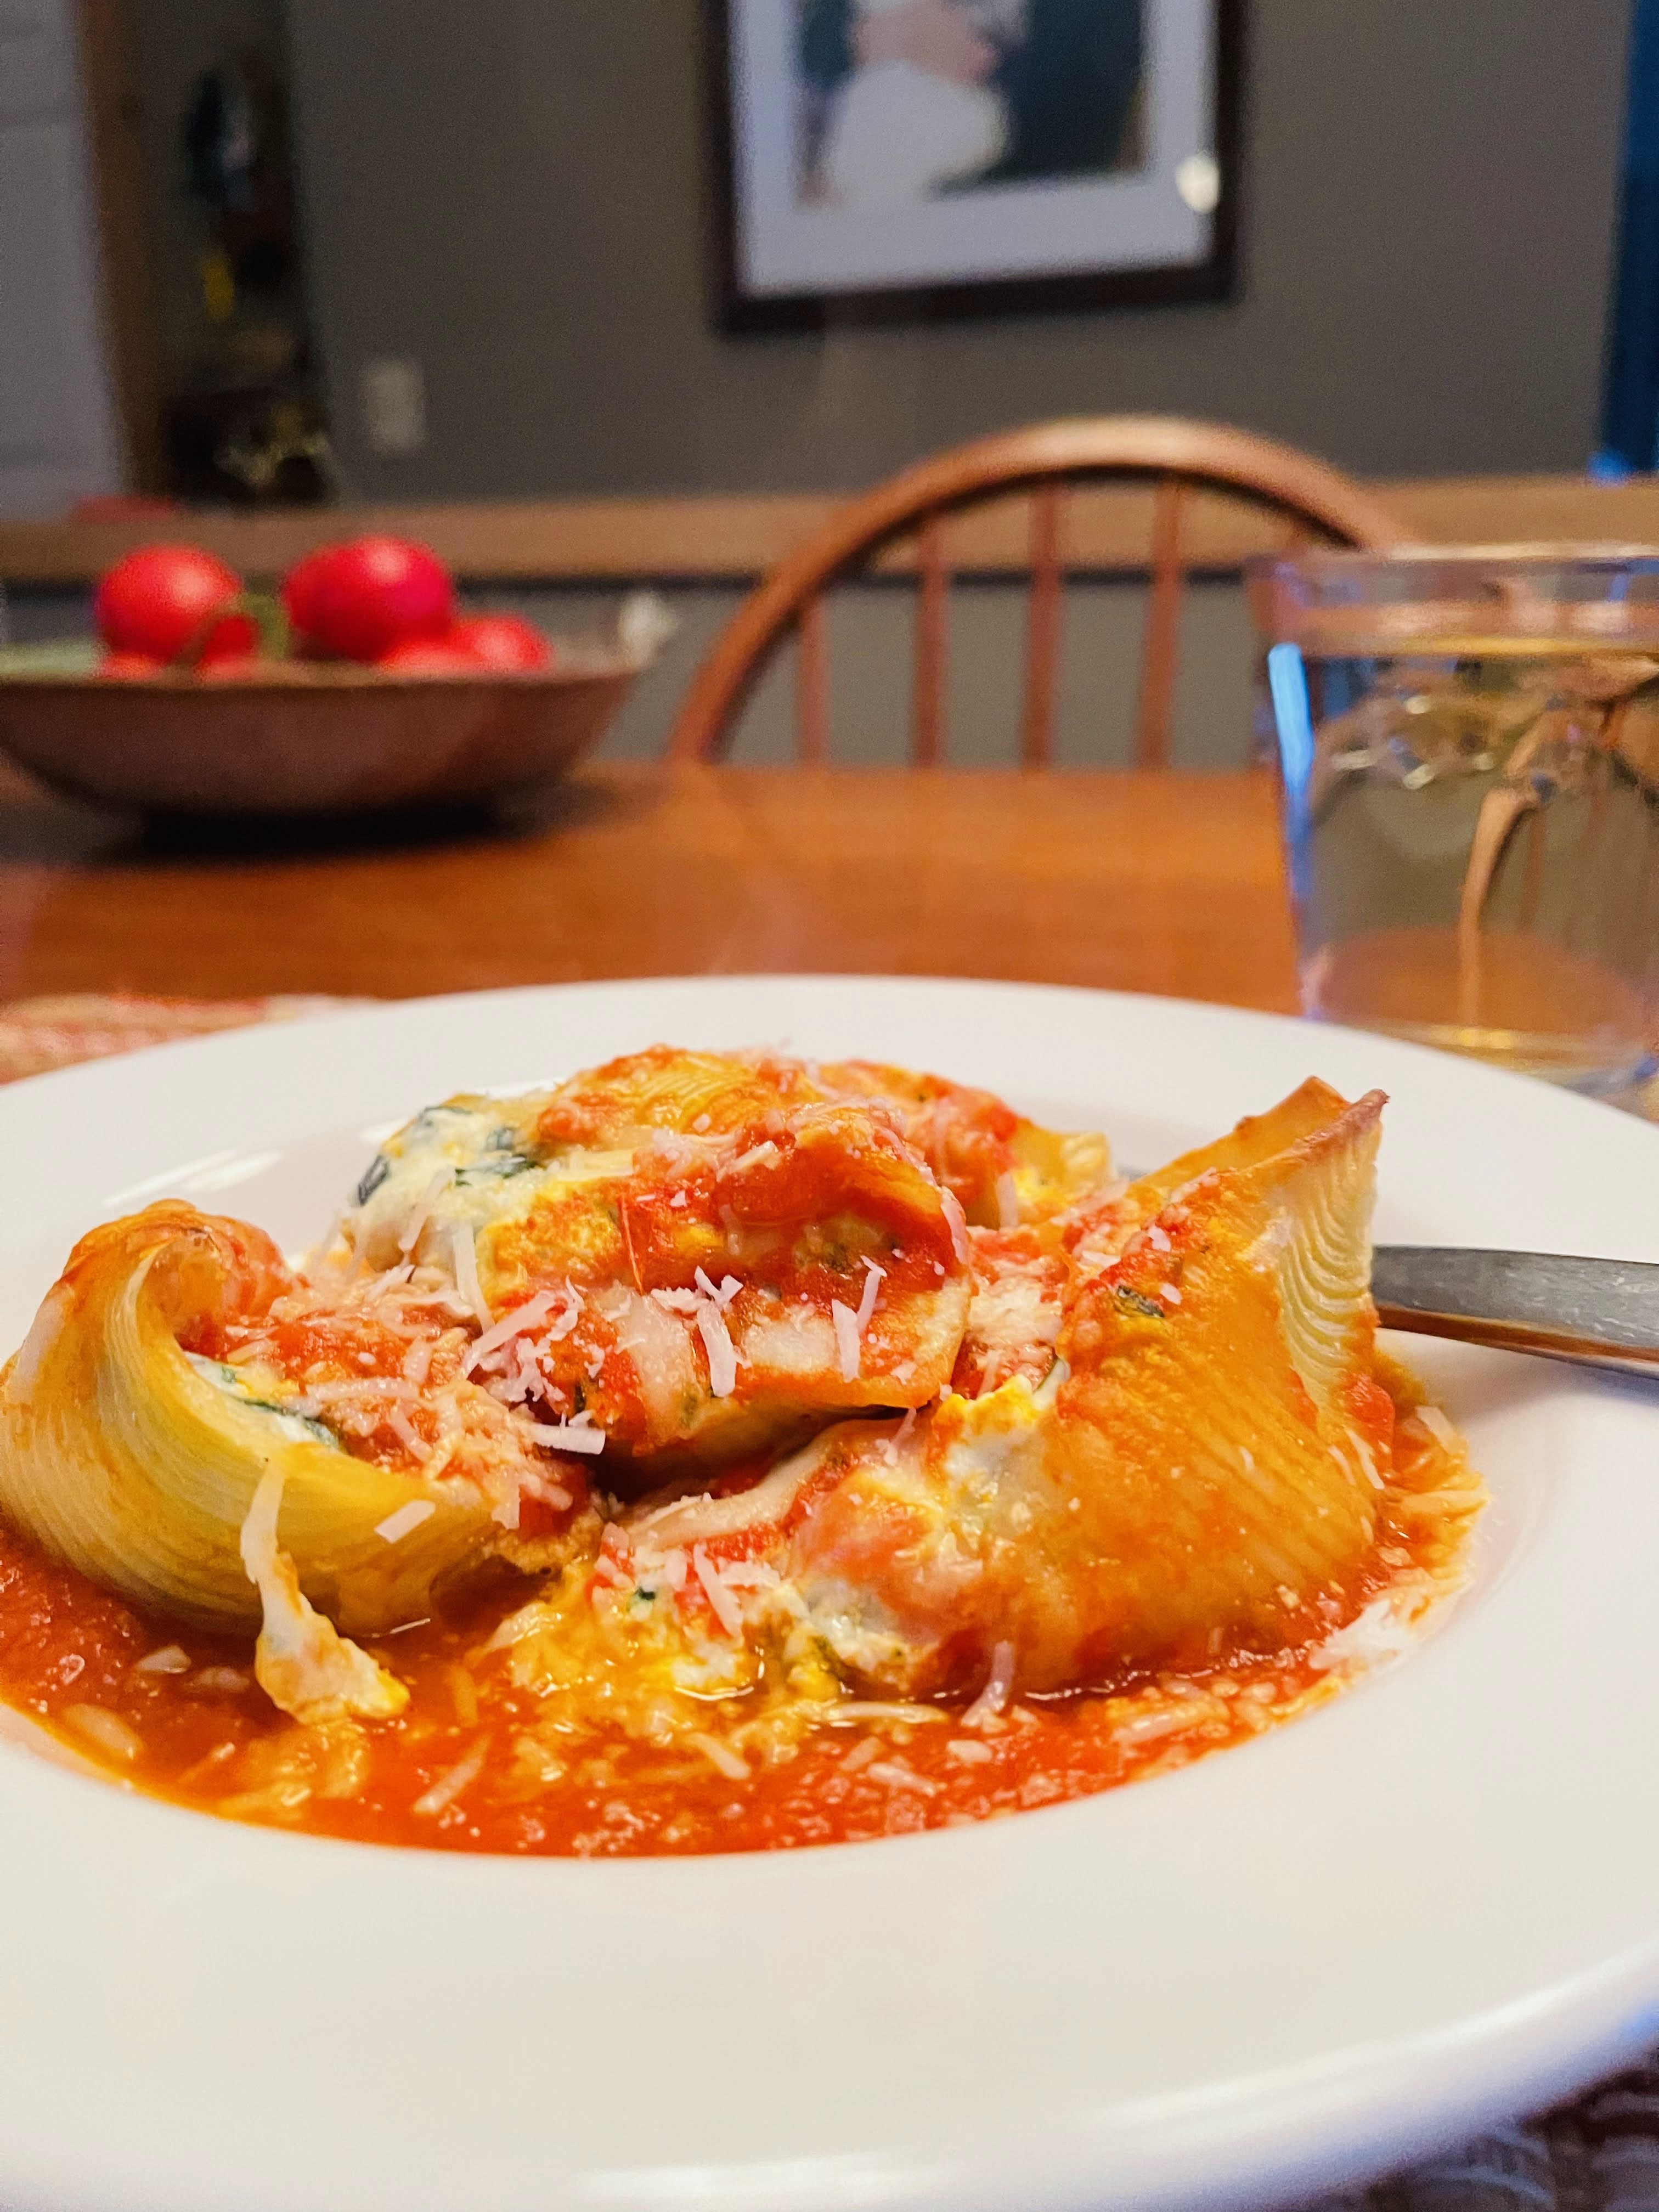
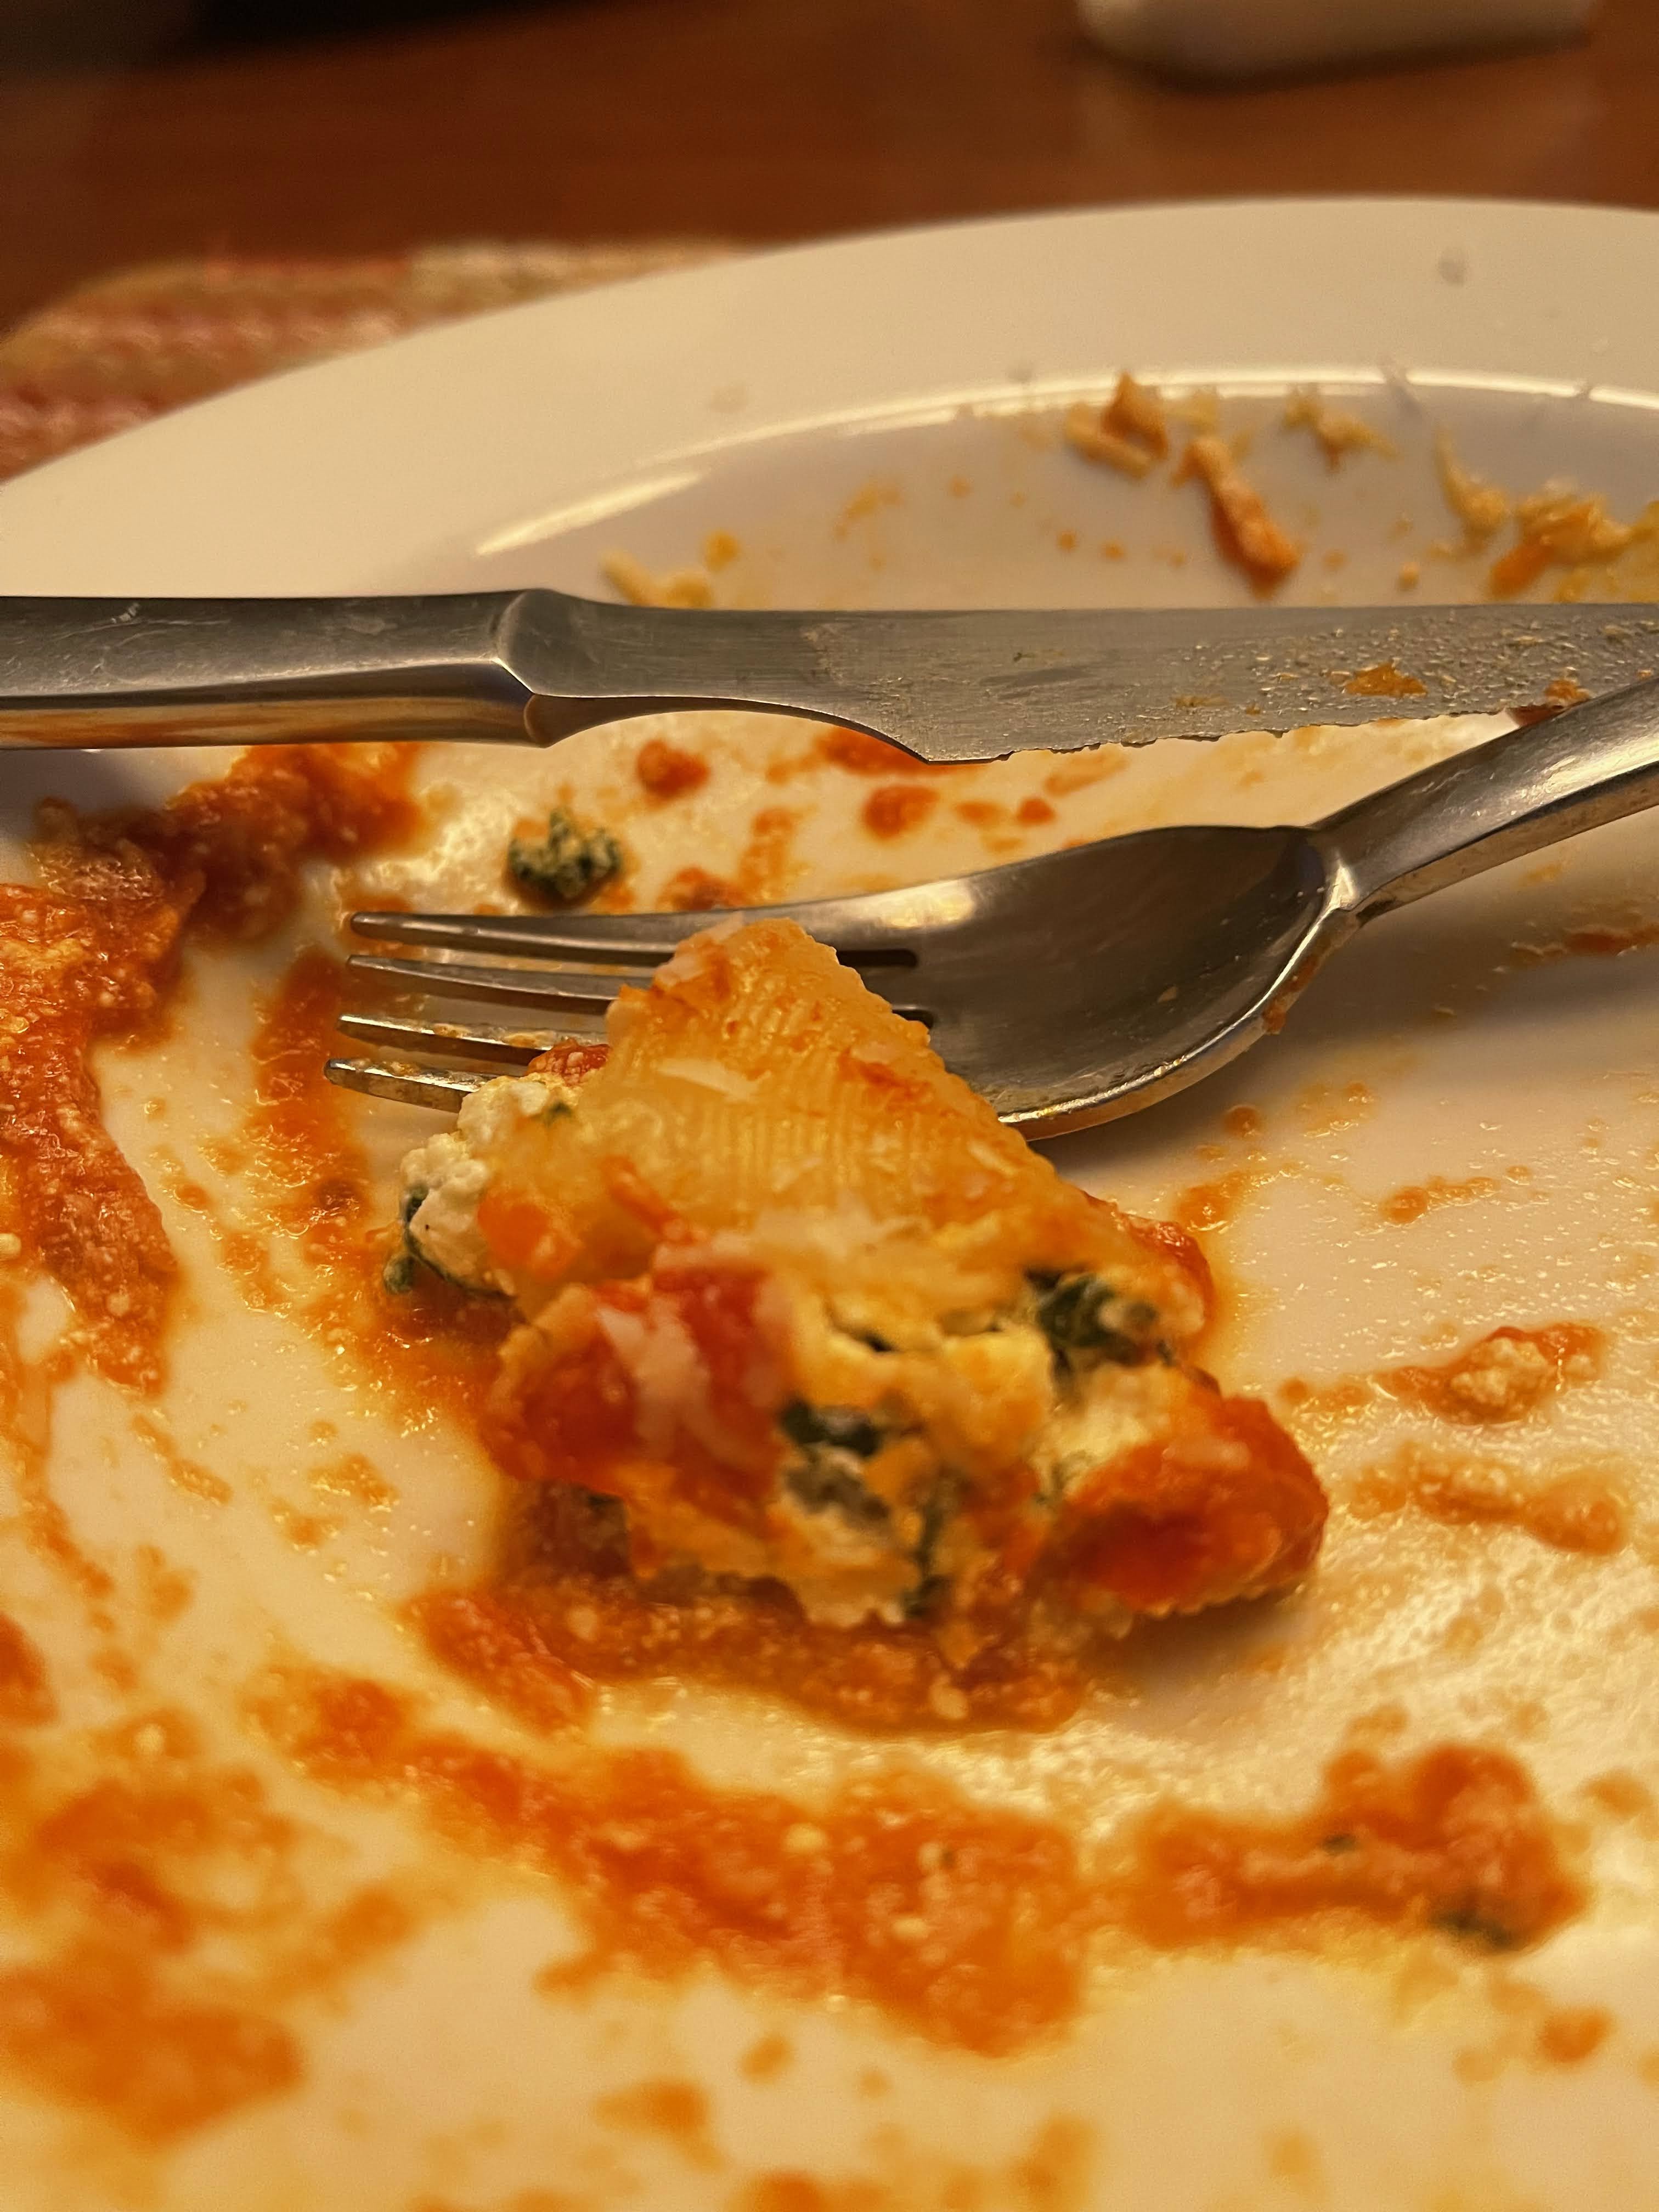
We all enjoy comfort food in the winter, but sometimes we want our dishes to look, well, pretty. Maybe it’s a special event like a birthday or anniversary, and we have a few more mouths to feed and our time is limited. I have the answer! This dish can be made in advance, it’s attractive to serve and will feed 4-6 people. It even freezes well if you want to make a double batch. Even picky eaters seem to enjoy it, and you can sneak a green vegetable in like spinach, to make the filling more interesting. Any guesses? I’m talking about jumbo pasta shells stuffed with spinach, ricotta and pecorino cheese.
Those of you who have followed this blog for a while know I’m keen on putting up tomato sauce during our growing season on the farm. However, you can save time by using a good quality marinara sauce of your choice. Make sure to read your labels and make sure that it doesn’t have a lot of added sugar. You want savory not sweet sauce. If you want more heat, add a few red pepper flakes and/or minced garlic to your sauce, or maybe some fresh basil or parsley. There are many ways to amp these commercial sauces to suit your personal preferences. You can also fill each shell easily by putting your filling in a sandwich bag and snip a corner. That way you can simply pipe in the filling in each shell without making a mess of it.
STUFFEDPASTA SHELLS WITH SPINACH AND RICOTTA
INGREDIENTS:
20-22 jumbo pasta shells
Extra-virgin olive oil, for drizzling
1 16 ounce bag of frozen chopped spinach, thawed and excess moisture squeezed out
16 ounces whole milk ricotta
1/4 cup grated pecorino cheese, plus more for sprinkling
2 garlic cloves, grated
1 teaspoon dried oregano
1/4 teaspoon red pepper flakes
Lemon zest from 1/2 fresh lemon
1 egg
3/4 teaspoon sea salt, plus more for pasta water
Freshly ground black pepper to taste
1 16 ounce (2 cups) jar marinara sauce
1/2 cup shredded mozzarella cheese
Chopped parsley or basil, for serving
INSTRUCTIONS:
Preheat oven to 425 degrees F.
In a large pot of heavily salted boiling water, cook the pasta shells for 10 minutes, until al dente. Drain and drizzle a little olive oil to keep them from sticking together.
Place the drained and squeezed spinach in a medium bowl. Combine with the ricotta, pecorino, garlic, oregano, lemon zest, red pepper flakes, egg, sea salt and several grinds of fresh black pepper. Spoon into a plastic sandwich bag (I put the bag in a quart canning jar to hold it upright). Cut the corner of the bag when ready to pipe filling into shells.
Spread 3/4 (1 1/2 cups) of marinara sauce in the bottom of a 9 x 13 baking dish. Pipe the filling into each shell and place in baking dish. Repeat until all your shells are filled. Spoon a little marinara sauce over each shell and sprinkle with mozzarella cheese. Cover with foil and bake for 20-25 minutes.
Let stand for 5 minutes. Sprinkle with basil or parsley.
Serves 4-6
“Sometimes a little comfort food can go a long way.” –Benjamin Bratt
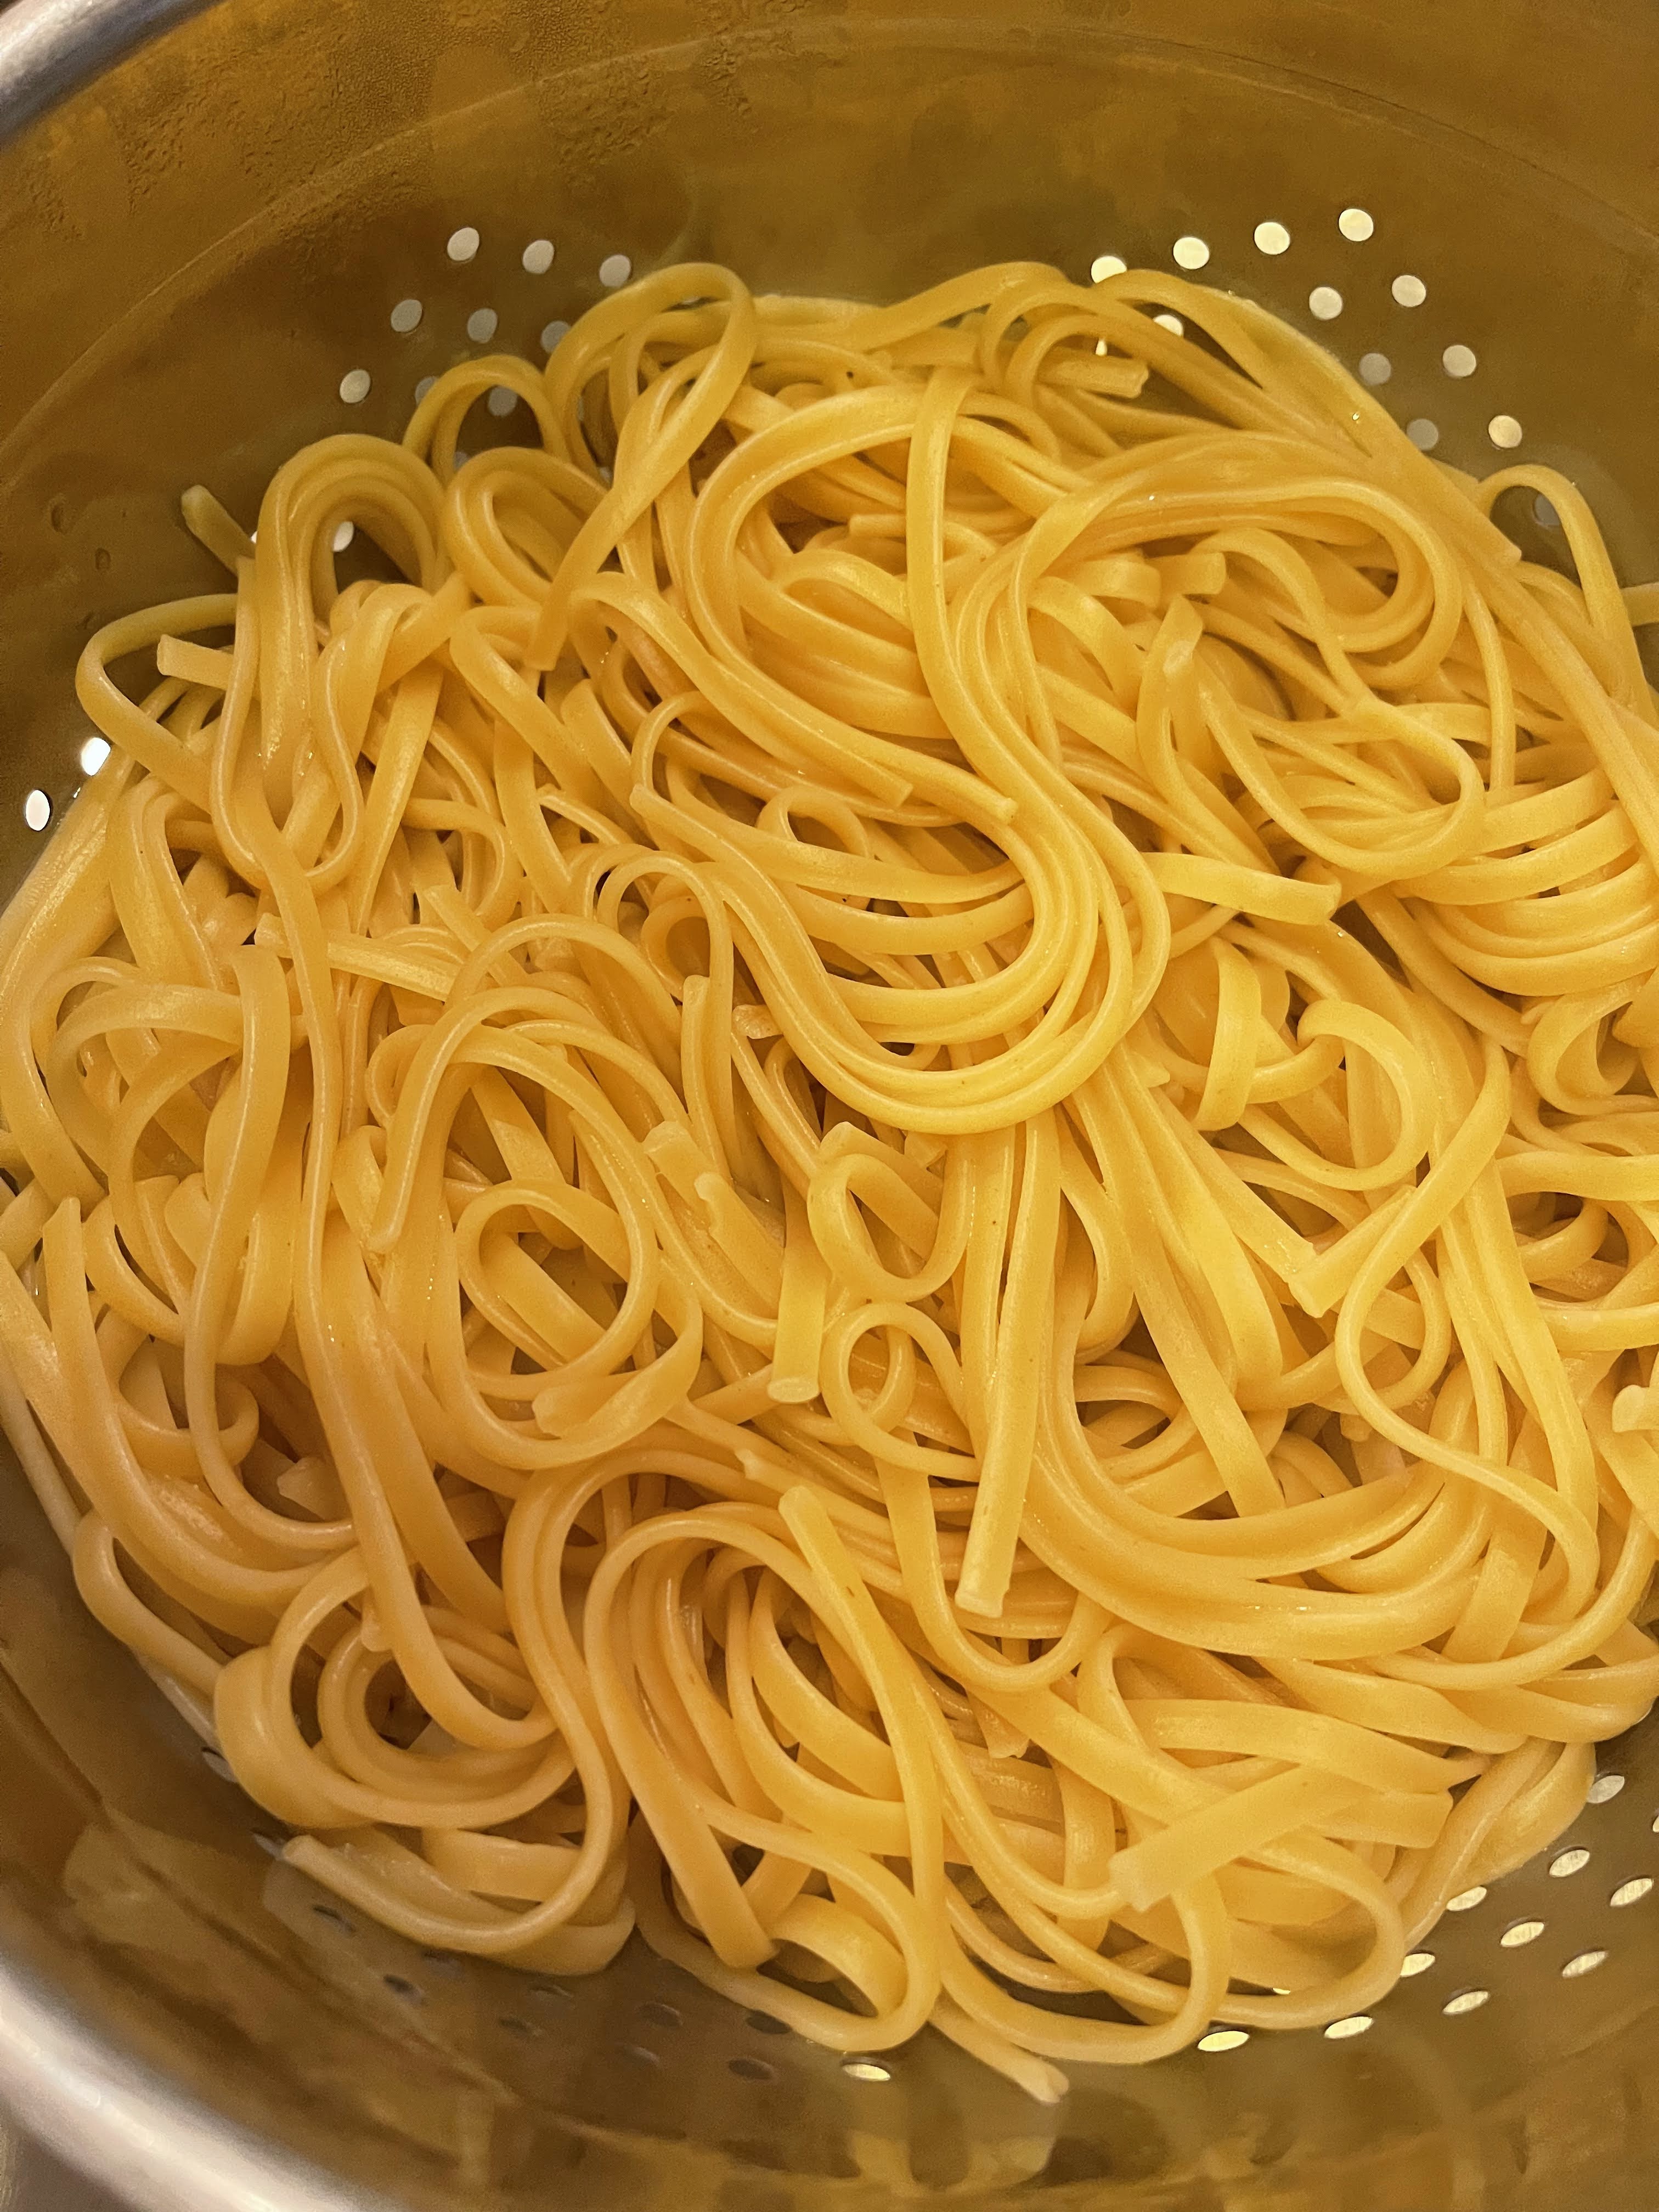
I love pasta. I can typically put together a pasta dish in under 30 minutes. This dish came together with ingredients I routinely have in my refrigerator and pantry, which makes it super convenient. But the real deal is how incredibly delicious it was with only 5 ingredients. All those taste sensations are covered, salty pancetta, acidic lemon, and the richness of pecorino. This can easily be doubled to feed a crowd. Add a salad and a crunchy baguette and you have yourself a deeply satisfying meal. You won’t believe how rich it is without using cream.
Don’t use marinated artichokes for this recipe, as their flavor is too sharp and tangy. After draining the artichokes, make sure to pat them dry so they caramelize when added to the pot. Don’t forget to reserve about 2 cups of the cooked pasta water before draining the noodles. You will need it for pureeing the artichokes and building the sauce.
LINGUINE WITH ARTICHOKES, LEMON & PANCETTA
INGREDIENTS:
1 pound linguine or fettuccini
Kosher salt and freshly ground black pepper to taste
1 tablespoon extra-virgin olive oil, plus more t serve
4 ounces pancetta, chopped
2 14-ounce cans artichoke hearts, drained, patted dry and quartered if whole
Zest from one lemon, plus 3 tablespoons lemon juice
1 cup finely grated pecorino or Parmesan, plus more to serve
1/2 cup finely chopped fresh flat-leaf parsley, OR chives, OR basil
INSTRUCTIONS:
In a large pot, bring 4 quarts of water to a boil. Stir in the pasta and 1 tablespoon salt, then cook, stirring occasionally, until al dente, about 10 minutes. Reserve about 2 cups of cooking water, then drain.
In the same pot over medium, heat the oil until shimmering. Add the pancetta and cook, stirring, until crisp, about 3-4 minutes. Using a slotted spoon, transfer to a small plate; set aside. Add the artichokes to the pot and cook, stirring, until beginning to brown at the edges, 3-4 minutes. Remove the pot from the heat. Transfer half the artichokes to a small bowl; add the remainder to a blender. Reserve the pot.
To the artichokes in the blender, add 1/2 cup cooking water, the lemon juice and 1/4 teaspoon each salt and pepper; puree until smooth. In the same pot over medium, bring 1 cup of the remaining cooking water to a simmer, scraping up any browned bits. Add the artichoke puree, the pasta, lemon zest, pancetta, cheese and parsley. Cook, tossing to combine, just until the noodles are heated through, 1-2 minutes; add more reserved water as needed to make a silky sauce. Taste and season with salt and pepper. Transfer to a serving bowl and top with the reserved artichokes, along with additional oil and pecorino or Parmesan.
Serves: 4-6
“Silence more musical than any song.” –Christina Rossetti
It’s been quite a week. I’ve roasted and canned 15 pints of cherry tomato soup, along with roasted sauce and whole paste tomatoes. I absolutely love putting up food and canning. It is peaceful and steady work. As I fill up our larder we consider ourselves fortunate to grow the food we will enjoy this winter. Every time I can or freeze something I reduce the times I need to leave the farm. As we all know Covid-19 is alive and well. We really don’t know what the future holds. Staying fluid and flexible is the order of the day. So putting up food seems like a practical way to prepare for the very real possibility of staying home for much of the winter months.
The idea of being home this winter is actually something that feels welcoming. After we put the farm to bed for the season, winter is the time that our home truly becomes of haven. We read, we dream, play board games, cook, bake and of course talk. Enjoying each other never gets old, even though we are together pretty much 24/7. It used to surprise me, but now I’m just plain grateful. If there’s an upside to Covid, it’s slowing down and taking the time to decide what is important to us. I have begun to realize that those of us who feel satisfied with the simple joys of life do a little better with isolation. After several years of health trauma and loss, simple feels good.
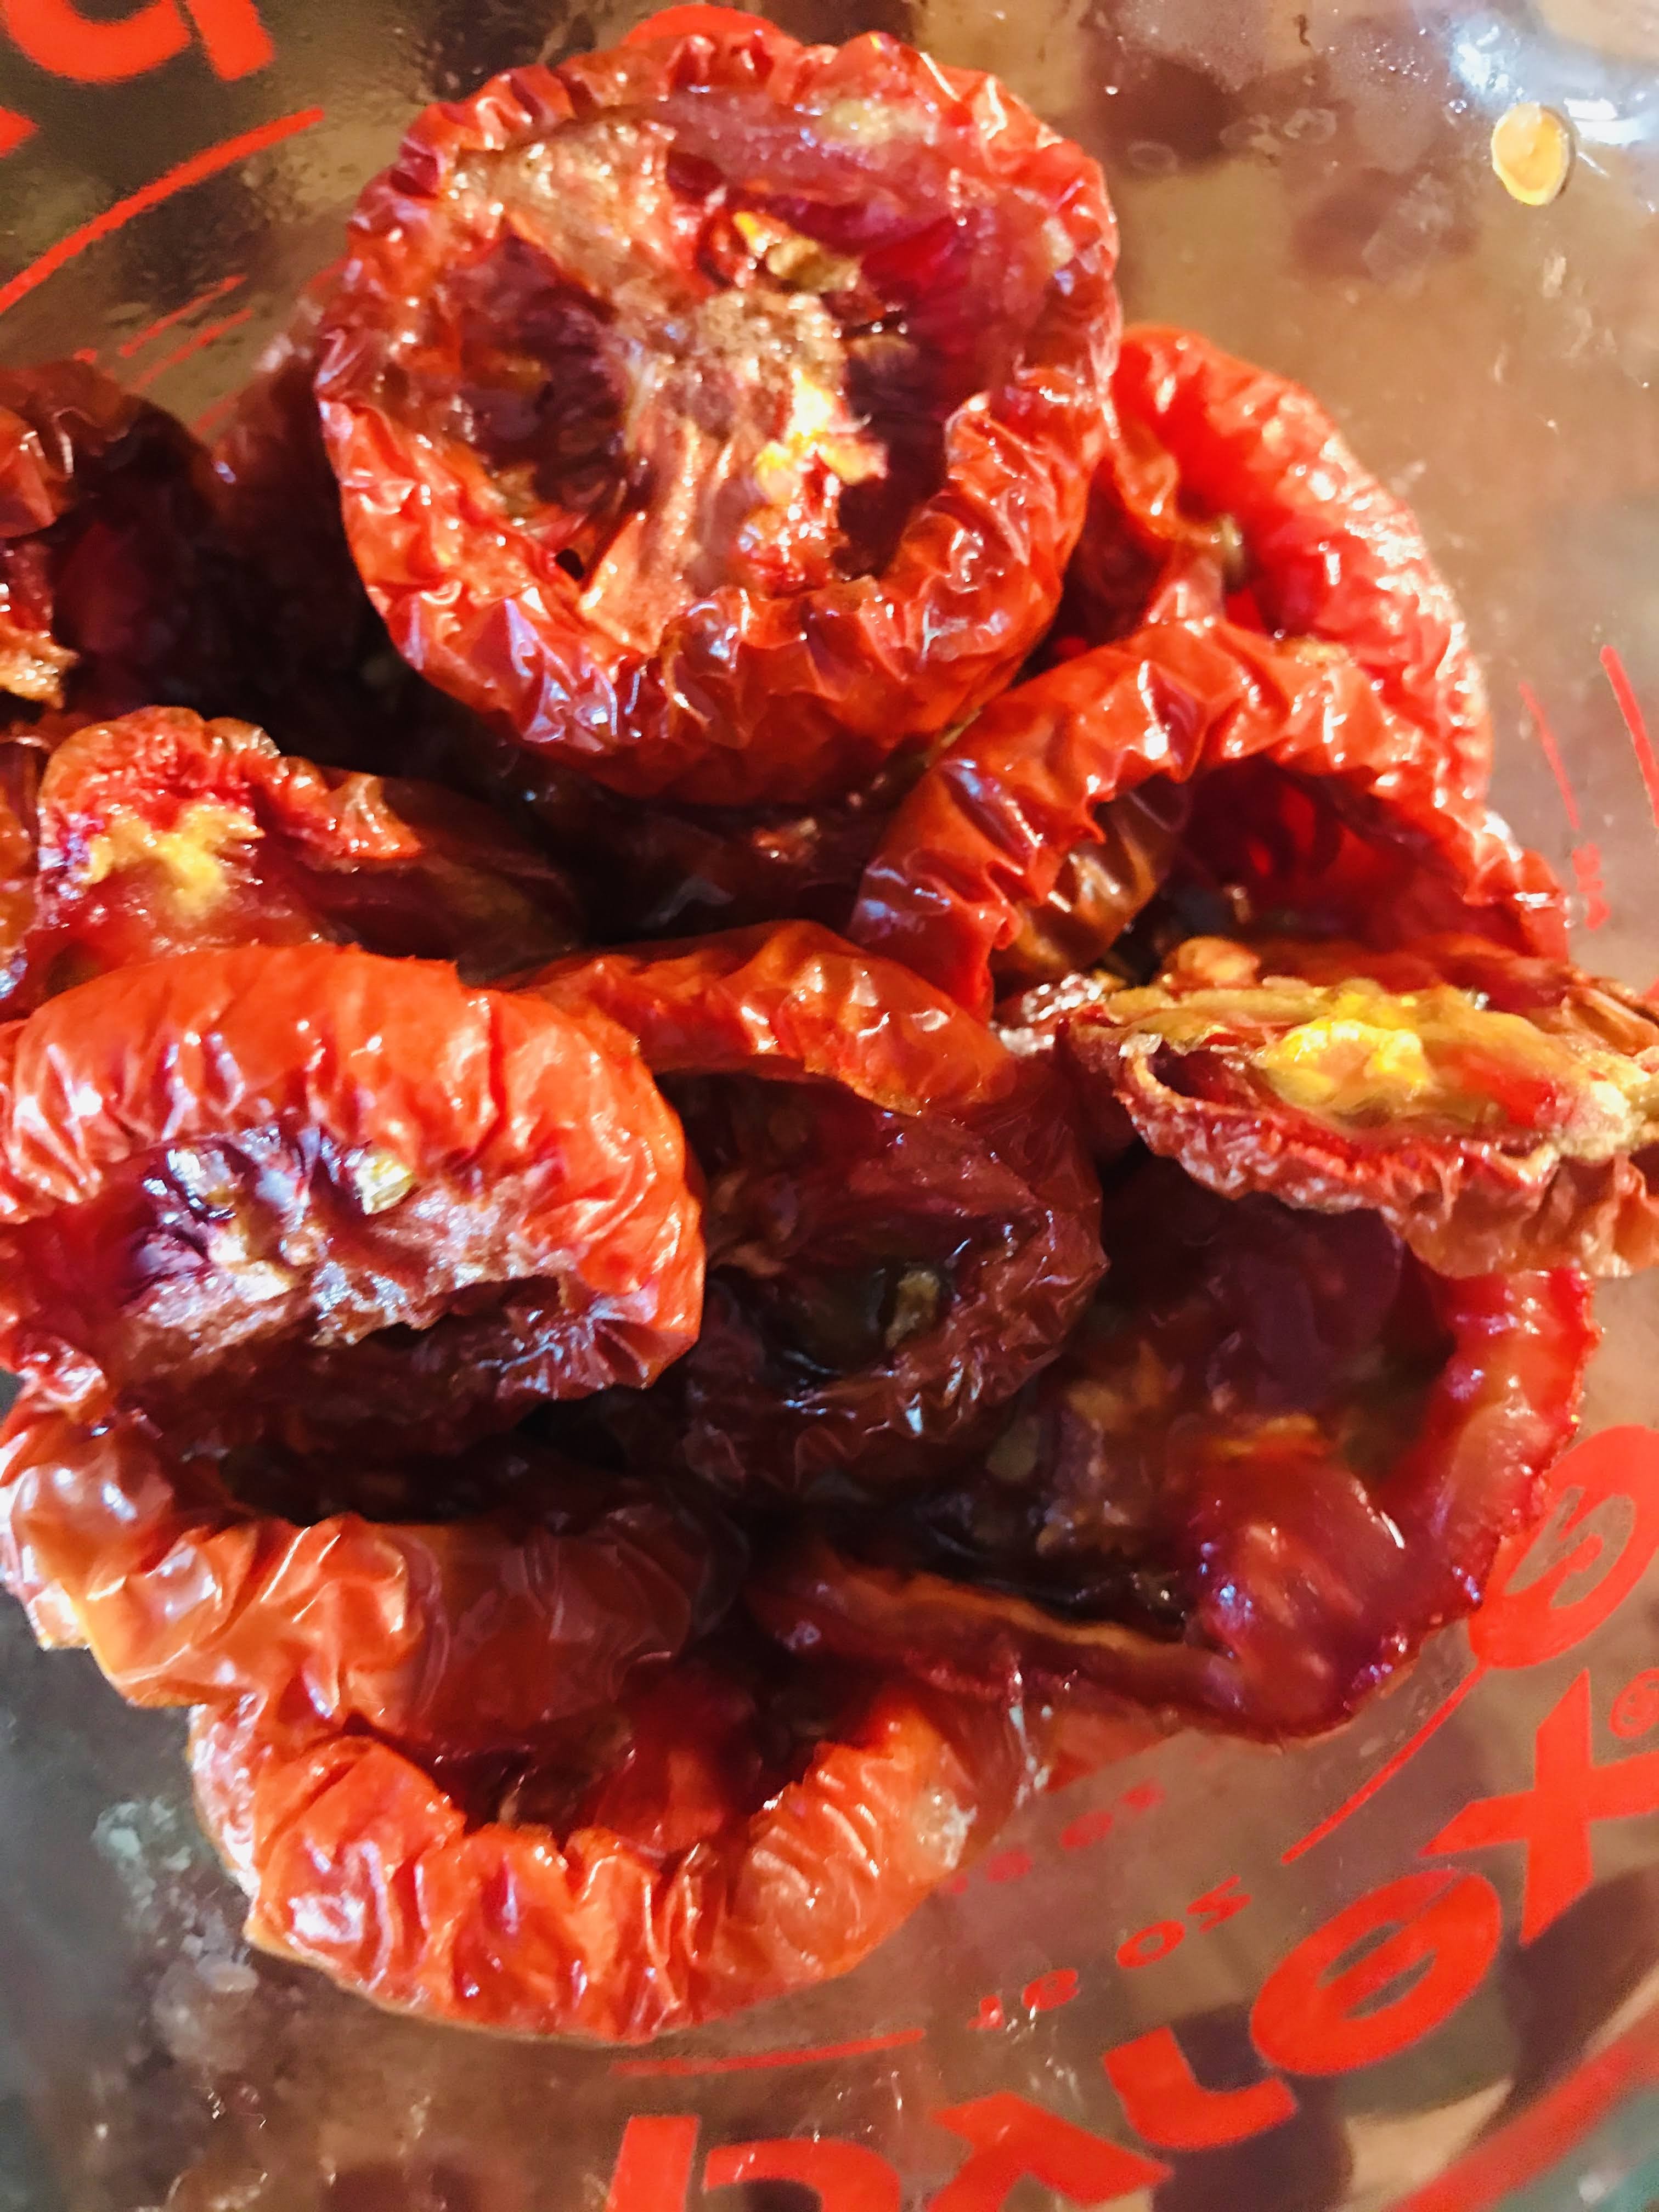
This week I’m offering up Tomato Conserva and a wonderful recipe Spaghetti with Tomato Conserva, Pancetta and Pecorino, from my cookbook Twisted Basics: Laugh, Cook, Eat. The Italians look upon conserva in several ways. To ‘store’ to ‘save’ to ‘keep’; preserving the harvest in some way, be it sweet or savory. Sweet conserva’s might look like jam, marmalade or preserves; savory might look like roasting, dehydrating, freezing or canning. When paste tomatoes are in abundance, my favorite conserva is roasting slices of these meaty vegetables low and slow. Thick slices of plum tomatoes tossed with olive oil, garlic and flake salt (I use Maldon), result in something altogether different; rich, meaty and marvelous. Think pasta, sandwiches, salad or pizza.
Thick slices of paste tomatoes ready for roasting.Six hours later.
TOMATO CONSERVA
INGREDIENTS:
4 pounds of plum/paste tomatoes (I found that for 2 large rimmed baking sheets you need 24 tomatoes).
4 cloves of garlic for each sheet, peeled and smashed
1/2 cup extra-virgin olive oil
Kosher or Maldon salt, and freshly ground black pepper to taste.
INSTRUCTIONS:
Position racks in the upper and lower thirds of the oven and heat the oven to 350 degrees F. Line two large rimmed baking sheets with parchment paper.
Slice each paste tomato into 1/2 inch slices (you will get 3 slices per tomato and 35 slices per sheet). Place slices next to each other on baking sheets. Drizzle olive oil over slices, then sprinkle with flaked salt and freshly ground black pepper.
Place the baking sheets into the oven and lower the temperature to 225 degrees F. Slowly roast, switching the trays from upper to lower each hour, until the tomatoes look like juicy sun-dried tomatoes; wrinkly and slightly browned in spots, 5-6 hours.
Let the tomatoes cool for at least 10 minutes before using or serving. I use one whole sheet for the following recipe. The additional sheet will fill 3 half pint mason jars. Drizzle some additional olive oil over them for freezing, about 3 tablespoons. They will keep in the refrigerator for up to a week and in the freezer for 2-4 months.
2 cups (one sheet) of slow roasted paste tomatoes
SPAGHETTI WITH TOMATO CONSERVA, PANCETTA AND PECORINO
Bring a large pot of well-salted water to a boil and cook pasta according to package directions. Reserve about 1 cup of hot pasta water and drain the pasta.
Meanwhile, heat 3 tablespoons of the oil in a 12-inch skillet over medium-high heat. Add the pancetta and cook, stirring occasionally, until golden brown, about 3-5 minutes.
Add the tomato conserva, red pepper flakes, and 1/2 cup of the pasta water, and toss to combine. Add the drained pasta and cook, tossing until heated through about 3 minutes.
Turn the heat to medium-low and add the remaining 2 tablespoons olive oik, and 1/2 the pecorino and parsley. Toss, adding more pasta water, if needed, to loosen the sauce. Season to taste with salt and pepper.
Sprinkle the remaining 1/2 of reserved pecorino. Serve in shallow bowls topping with toasted breadcrumbs if using.
Serves 4-6
“Food is the most primitive form of comfort.” —Sheila Grahm
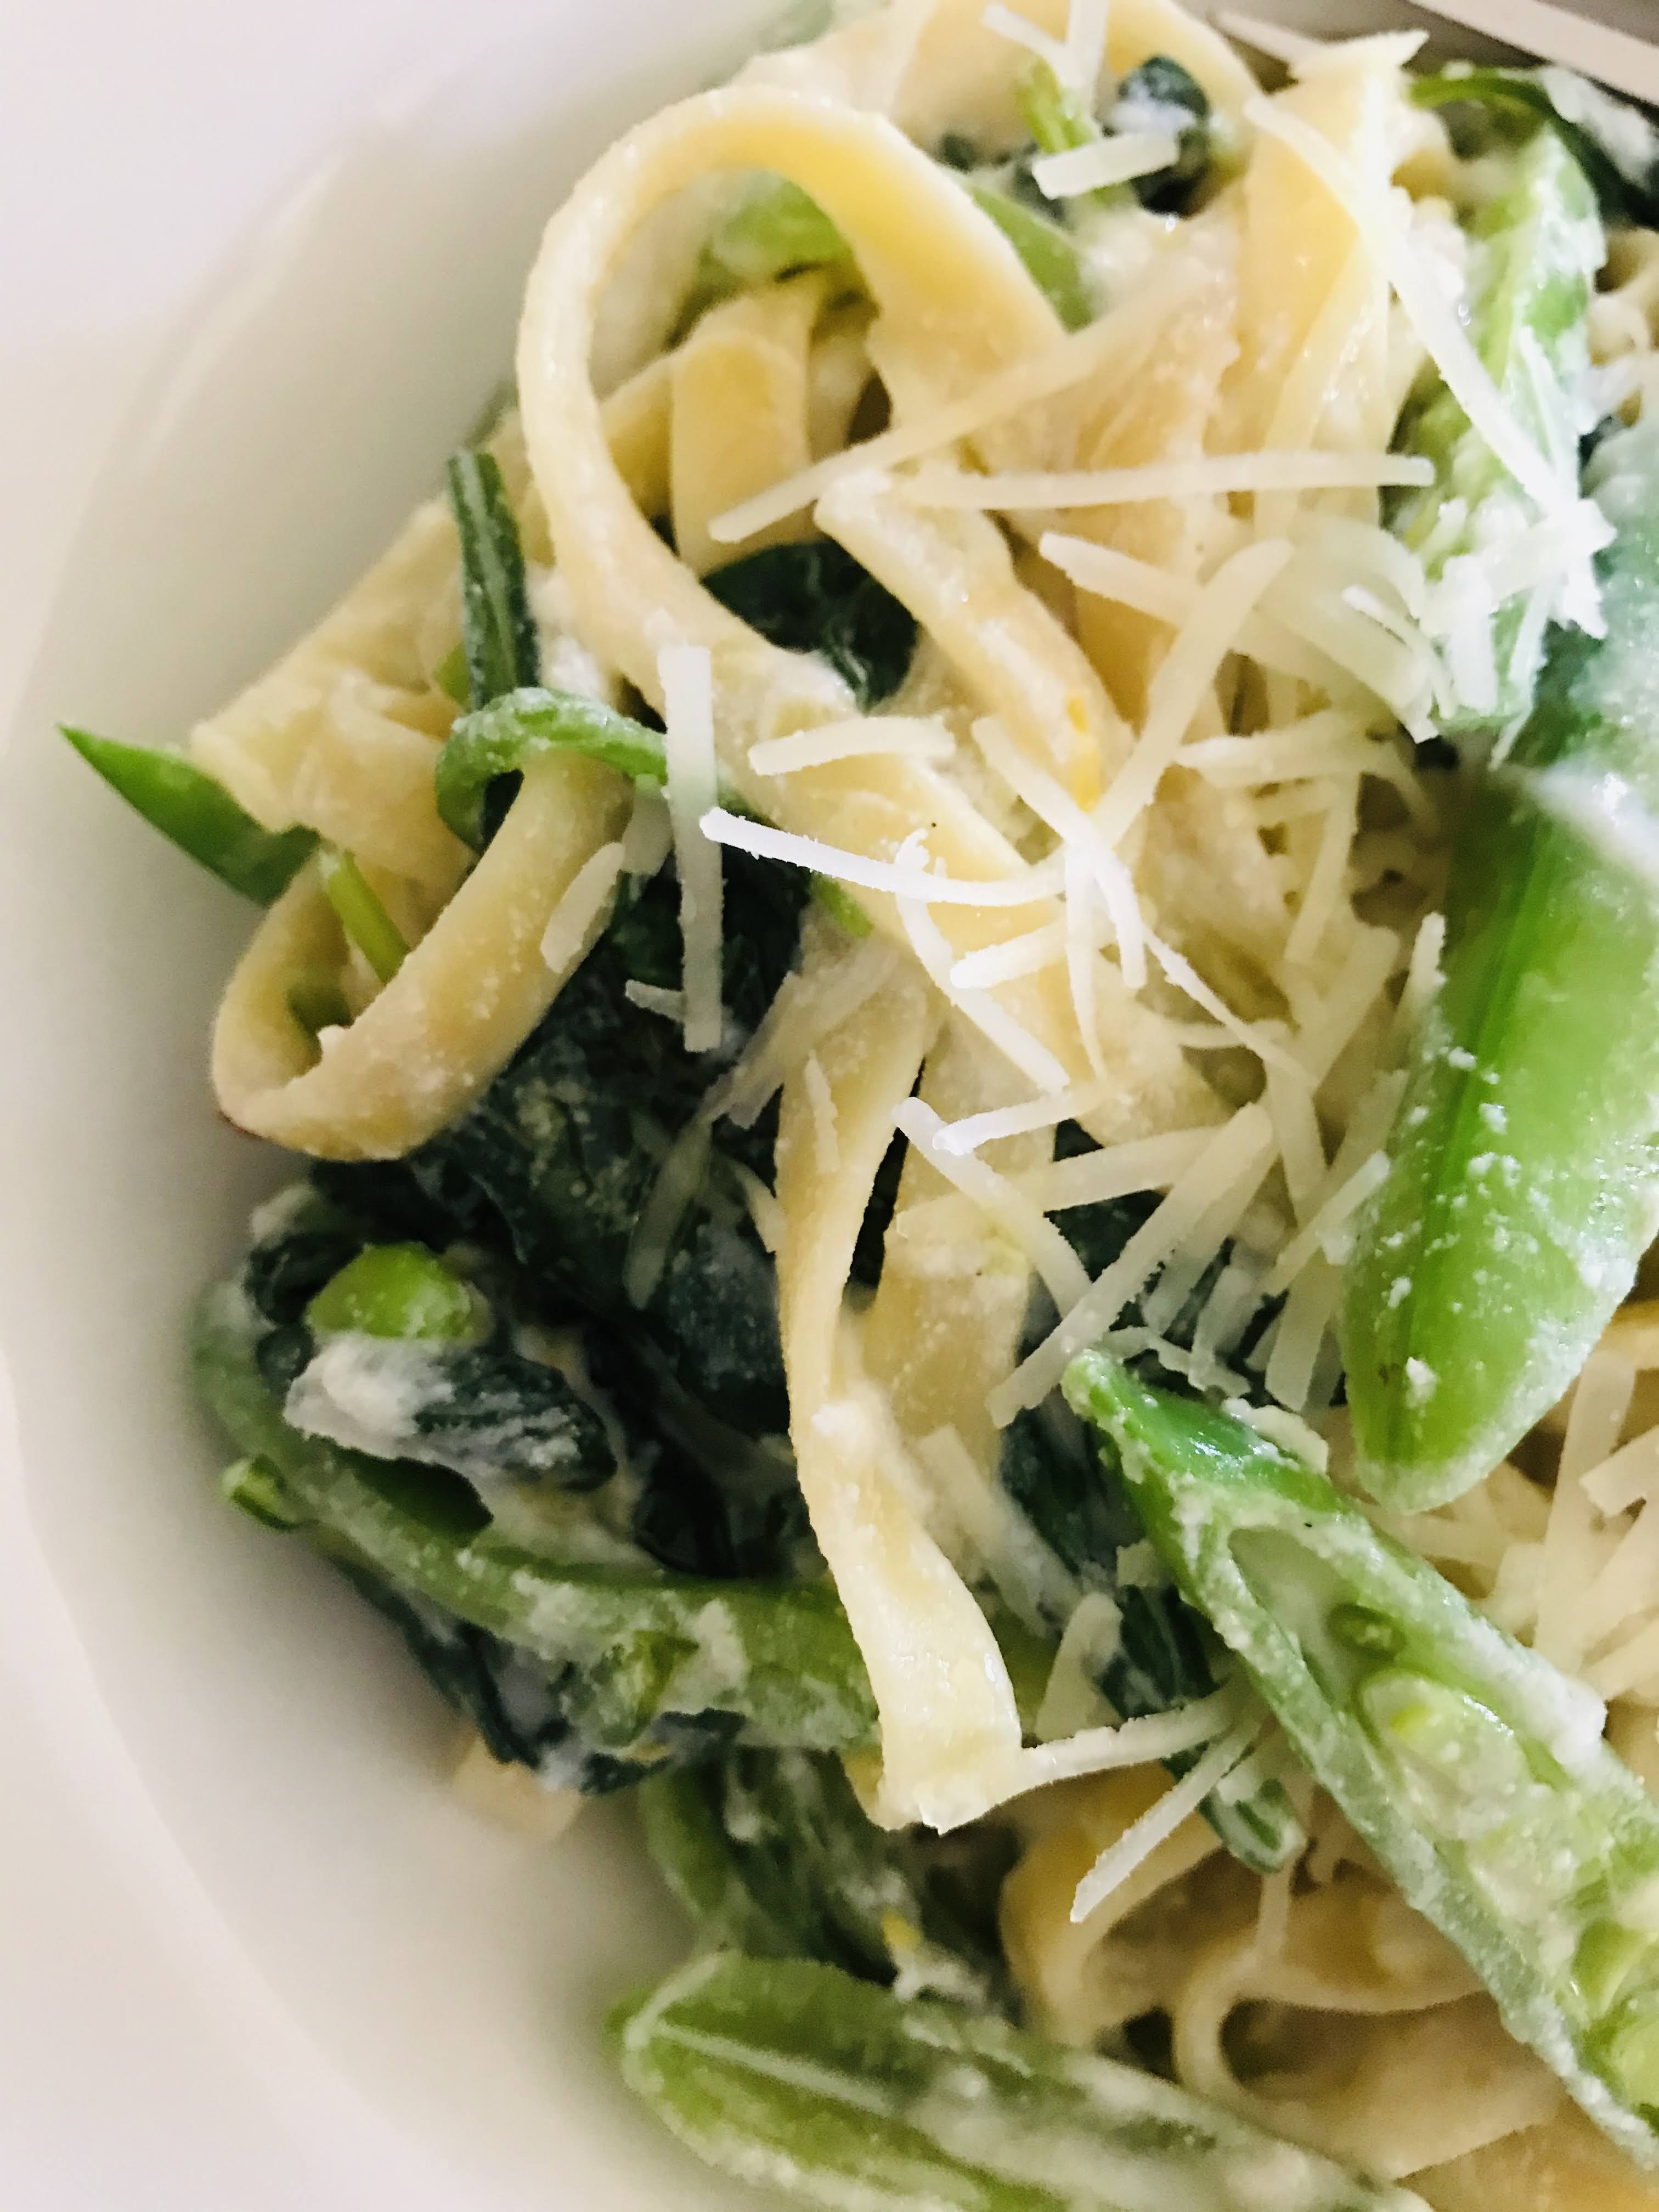
Summer is officially here, and it’s hotter than the hubs of hell. Although I’m still obsessed with turnips, it’s time to move on to other vegetables. Typically when it is this hot I turn to lighter fare. The heat saps me so I want something that is quick and easy to make, and uses seasonal produce. I also like options that allow you to use what might be on hand. This pasta dish comes together quickly (than 20 minutes). Although I have used fresh spinach and sugar snap peas, you could just as easily use shelling peas, asparagus or cherry tomatoes. I’m finding a lot of uses for ricotta these days. I find it refreshing and lighter than a sauce using heavy cream. Spaghetti or linguine are you best pasta choices, but feel free to use what you have on hand. Remember when you add your vegetable to the pasta water, that you want to barely blanch them. I suggest 1 minute so the freshness of the vegetable comes through. The tartness of the lemon is the perfect contrast to the ricotta and vegetables. This recipe can be doubled if serving 4 or more people.
PASTA WITH SPRING VEGETABLES AND LEMON RICOTTA
INGREDIENTS:
8 ounces pasta, such as linguine or spaghetti
1 cup whole-milk ricotta
1 teaspoon fresh chives, chopped
1/4 teaspoon red pepper flakes
8 ounces fresh baby spinach
8 ounces sugar snap peas, sliced vertically in 3 pieces (it’s a nice way to expose the interior of the peas)
1/3 cup Parmesan or pecorino cheese, grated
1 unwaxed lemon, zest and juice, plus a few extra wedges to serve
1 tablespoon extra-virgin olive oil, plus extra for drizzling
2 garlic cloves, grated
Kosher salt and freshly ground black pepper to taste
INSTRUCTIONS:
In a large pot of boiling salted water, cook pasta according to package directions. Meanwhile make the ricotta sauce.
In a medium bowl, combine ricotta, olive oil, cheese, garlic, lemon zest and juice, red pepper flakes and salt and pepper to taste. Stir to combine, taste and adjust seasoning to you preference.
In the last minute of the pasta’s cooking time, add spinach and snap peas to the pot. Stir and push the vegetables into the boiling water.
Drain after 1 minute, making sure to reserve 1/2 cup of the cooking water (you will use this to thin you sauce if needed.)
Return pasta and vegetables to the same pot, add the ricotta sauce and a few tablespoons of hot pasta water (you will not use all of it!). Stir well to evenly coat the pasta in sauce, you want a smooth and creamy texture.
Serve immediately, drizzling extra-virgin olive oil over each bowl; add a sprinkle of extra cheese.
Serves 3
“There is nothing that is comparable to it, or as satisfactory or as thrilling as gathering vegetables one has grown.” —Alice Toklas
There are days that start out well, then take an unexpected turn; like yesterday for example. I went to bed a little early and woke up abruptly when I heard a crash. I ran into the bathroom to find Val laying unconscious in a large pool of blood. I’m normally a steady Eddie in a crisis, but ever since Val’s brain surgery two years ago, our mantra has been don’t hit your head! I immediately called 911 to call an ambulance. As I followed the ambulance in my car I thought “Jeez she hasn’t been off our farm since March 9th because of Covid-19, and now we’re off to the emergency room!” After having a cat-scan it was determined that Val broke her nose and suffered a concussion. The good news was I brought her back home at 4:00 a.m. this morning. The lesson learned was don’t take a power slide on a tile floor. Floor 1, Val 0.
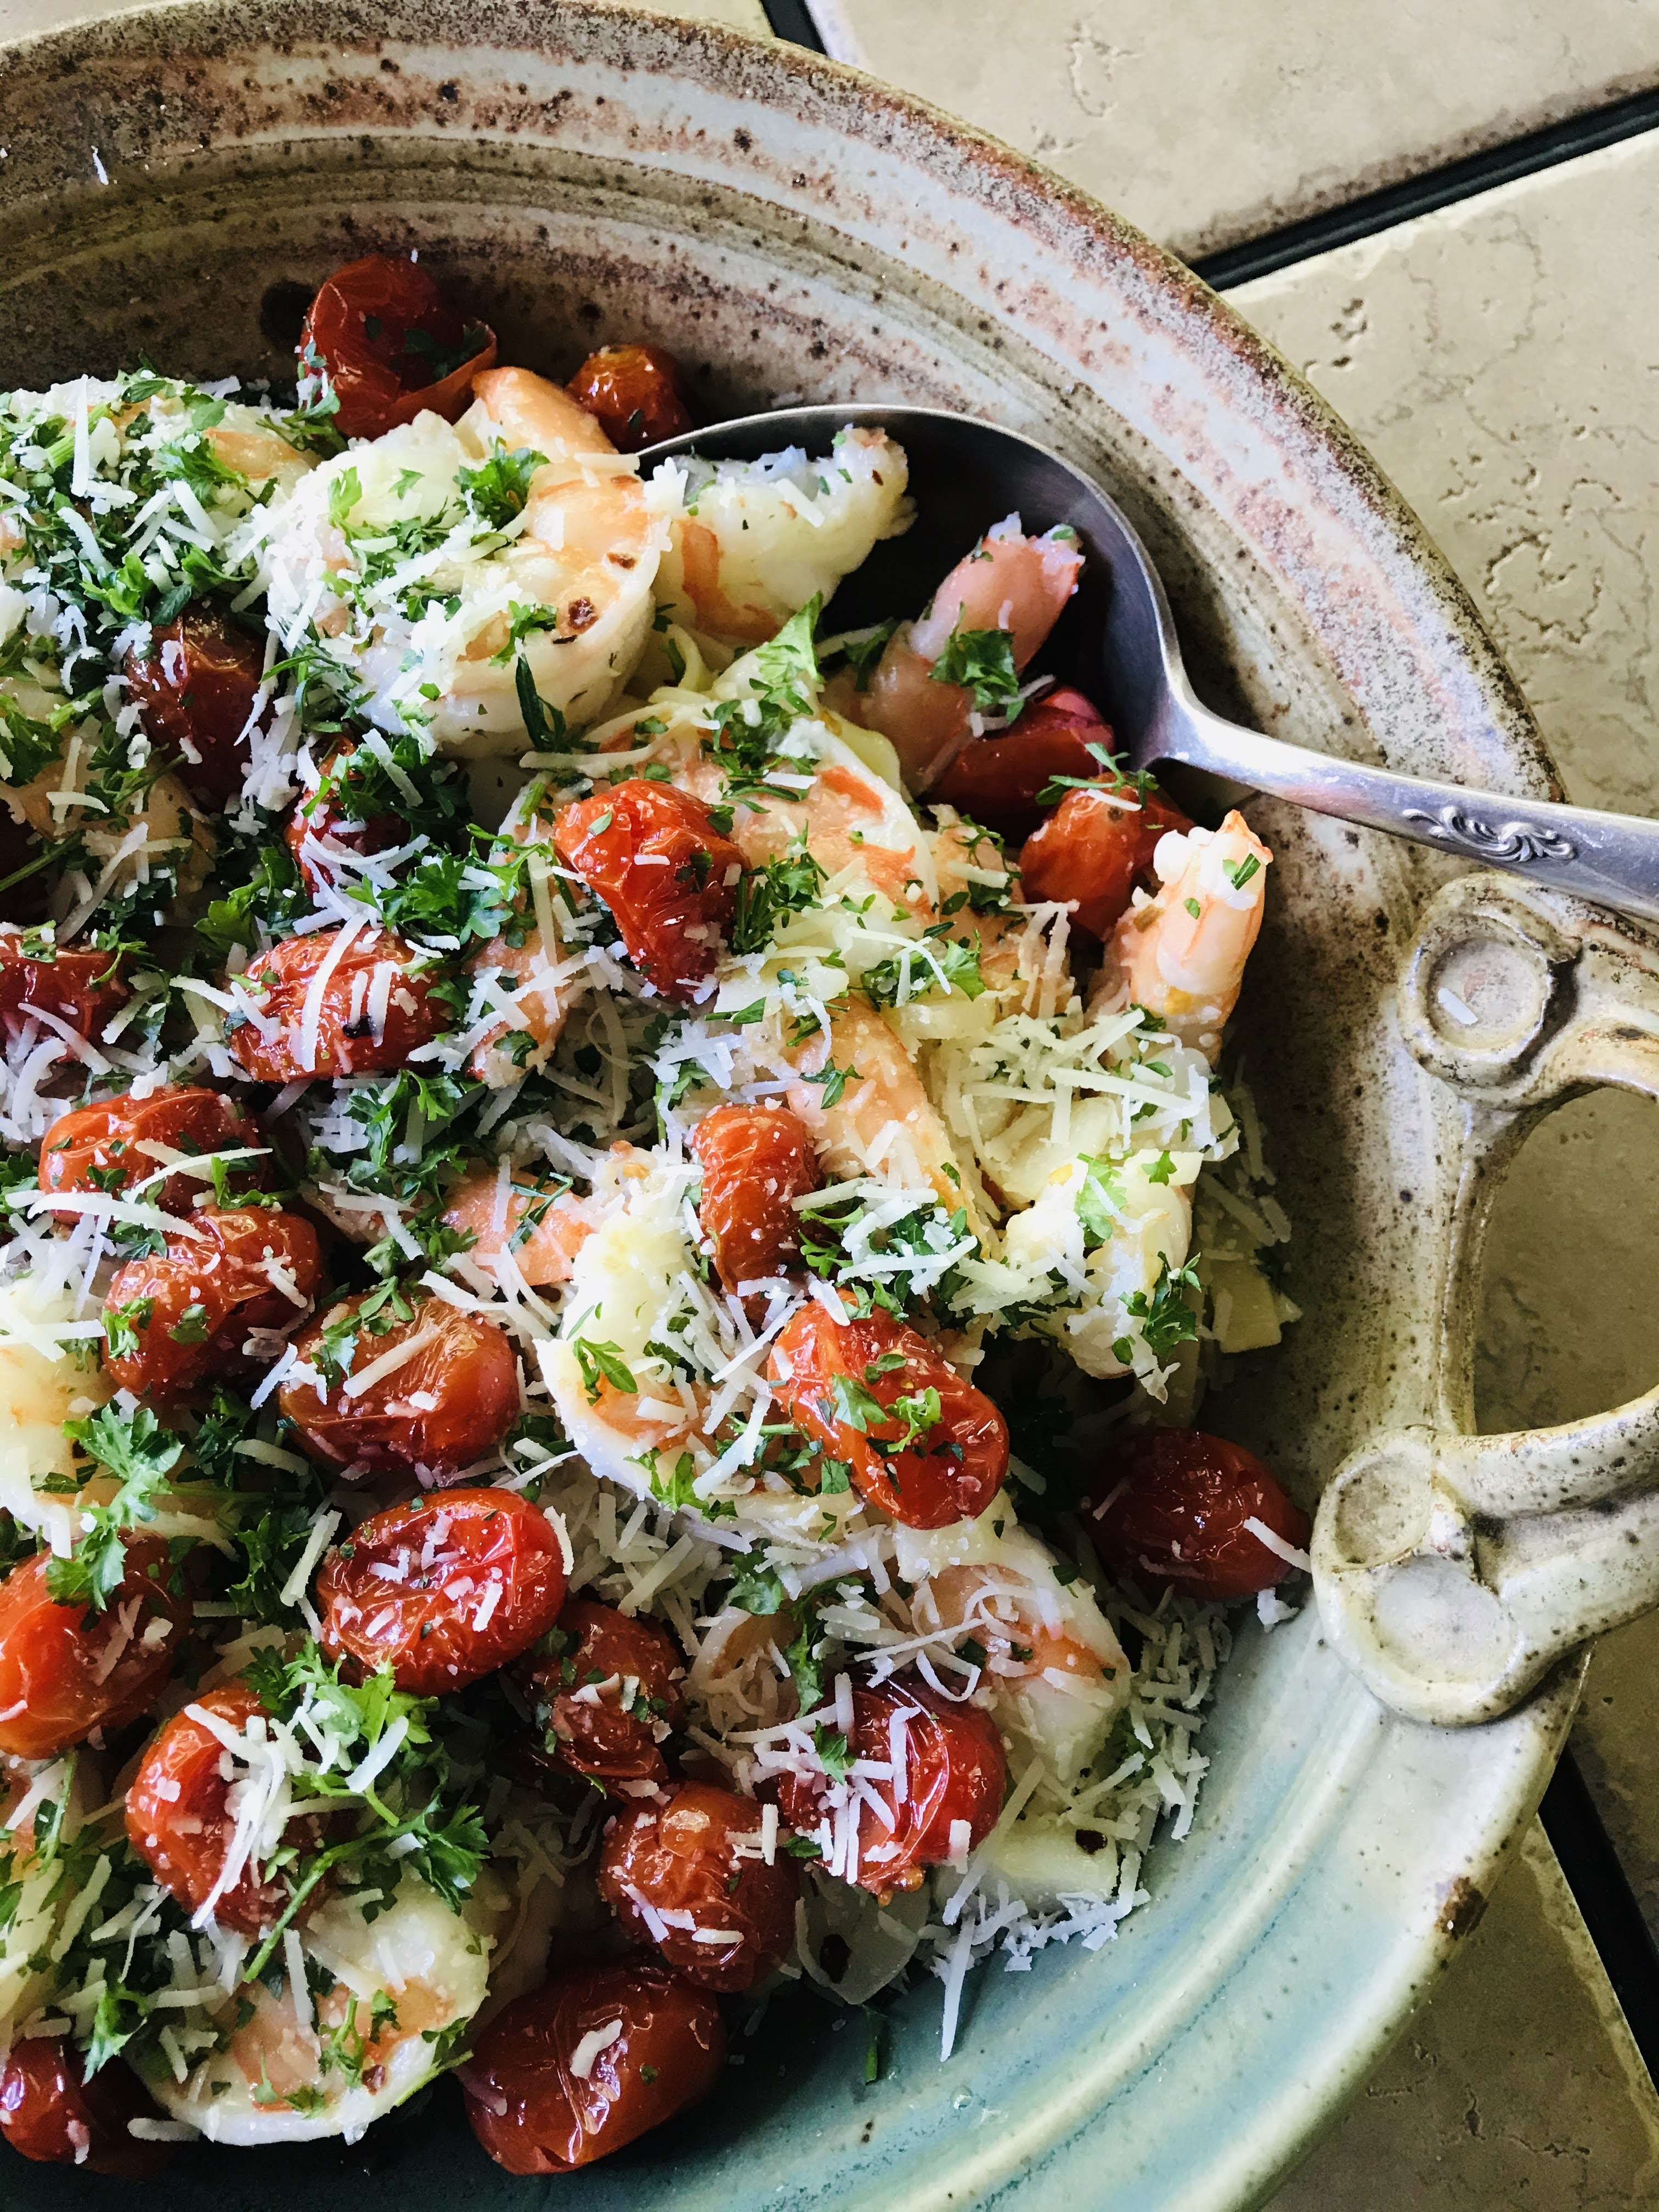
There are some punches that I can appreciate; like the first fresh garlic of the season. My go to recipe is Iberian Garlic Shrimp and boy does it pack a punch! Combine 2 heads of fresh garlic with roasted cherry tomatoes and sauteed shrimp and you have yourself a bowl full of yummy! Make sure you have a baguette to sop up all that goodness.
IBERIAN GARLIC SHRIMP
INGREDIENTS:
1 pint cherry tomatoes
2 heads fresh garlic, cloves peeled and thinly sliced
1/2 teaspoon red pepper flakes
1/2 cup extra-virgin olive oil
2 pounds large raw shrimp (13-15 count) shelled and de-veined
Juice and zest from one lemon
16 ounces linguine, cooked in salt water according to package directions
1/4 cup fresh parsley, chopped
1/4 cup finely shredded pecorino
INSTRUCTIONS:
Preheat your oven to 400 degrees F. Place cherry tomatoes on baking sheet lined with foil. Pour 2 tablespoons olive oil over them and roll them around with your hands. Sprinkle with flake, or sea salt. Roast in upper 1/3 of oven for 25-30 minutes.
Place a large pot of salt water to boil. Cook linguine according to package directions. Drain.
In a large pan over medium-high heat, combine olive oil, red pepper flakes and garlic. Saute garlic until softened, but not brown, about 2-3 minutes.
Add shrimp and saute, tossing frequently until just done, about 2-3 minutes. If you think it needs additional time, take it off! It will continue to cook off heat.
Place drained pasta in a large serving bowl. Top with shrimp and oil; then with roasted cherry tomatoes. Sprinkle with lemon juice and zest, then chopped parsley and pecorino cheese.
Serves 4-6
“Instead of giving up in the face of adversity, you should face it with a positive attitude and a smile.” —Anurag Prakash Ray
As we enter week 9 of self-sheltering, it’s interesting to learn what ingredients in your pantry you find absolutely necessary. Of course we all need an assortment of canned and frozen vegetables when fresh are not available, along with flour, yeast, pasta, rice, beans and an assortment of dried herbs and spices. I can’t live without, garlic, onions, olive oil and olives; but the one thing that surprised me to be near the top of my list was ‘capers’. I use them in so many ways, from chicken salad, pasta dishes, pizza, potato salad, to top fish, deviled eggs, and fresh relishes.
I buy them in 32 ounce jars from our local Mediterranean grocery store. They simply pack a punch, adding texture and tanginess when added to a variety of recipes. Capers have long been a favorite in the Mediterranean region. They are well-known for being a star ingredient in Italian, French and Spanish recipes.
One of the easiest and tastiest dishes you can make with capers is Chicken Piccata. The sauce is a combination of creamy, tart and lemony and is wonderful served with rice or pasta and comes together quickly. The chicken breasts are lightly breaded and pan-fried which assures that you control the cooking time so they stay moist. Two halved and butterflied breasts will easily feed four.
SILKY CHICKEN PICCATA
INGREDIENTS:
12 ounces of linguine
2 large chicken breasts, butterflied and halved
1/3 cup all-purpose flour
Kosher salt and freshly ground black pepper to taste
3 tablespoons extra-virgin olive oil
1 tablespoon garlic (3-4 garlic cloves), grated on a micro planer
1 1/4 cups + 1 tablespoon chicken stock (homemade if you have it)
1 1/2 teaspoons cornstarch
2 tablespoons fresh lemon juice, plus 1 tablespoon zest
1 tablespoon butter
1/4 cup heavy cream
1/4 cup fresh parsley, chopped
3 tablespoons capers, rinsed
INSTRUCTIONS:
Boil salted water and cook 12 ounces of linguine according to package directions. Drain and lightly toss with a little olive oil.
After butterflying your chicken breasts, let them rest at room temperature for 10 minutes. Mix together flour, salt and pepper to taste in a zip lock bag. Add chicken breast pieces and shake to distribute flour.
Heat olive oil in a 12-inch non-stick skillet on medium high. Add chicken pieces to skillet. Sear chicken, undisturbed until brown on the bottom, about 4-5 minutes. Turn chicken over and cook opposite side until golden brown. You may need to adjust heat a little lower, for an additional 4-5 minutes (internal temperature should be 165 degrees). Remove from heat and tent with foil to keep warm.
Add garlic to pan (add a little olive oil if necessary). Saute until slightly golden. Add 1 1/4 cups chicken stock. Bring to a boil, while scraping the bottom of the pan to release any browned bits. Allow stock to simmer till reduced by half, about 5 minutes.
Whisk together remaining 1 tablespoon of stock with cornstarch, add to skillet along with lemon juice and zest. Allow to simmer until thickened slightly then remove from heat.
Stir in butter and cream. Season with salt and pepper. Add chicken pieces back into sauce to reheat for 3 minutes.
To serve, place a portion of pasta in a shallow bowl. Top with chicken, then sauce. Sprinkle capers and parsley on top.
Serves 4
“We can do no great things…only small things with great love.” —Mother Teresa
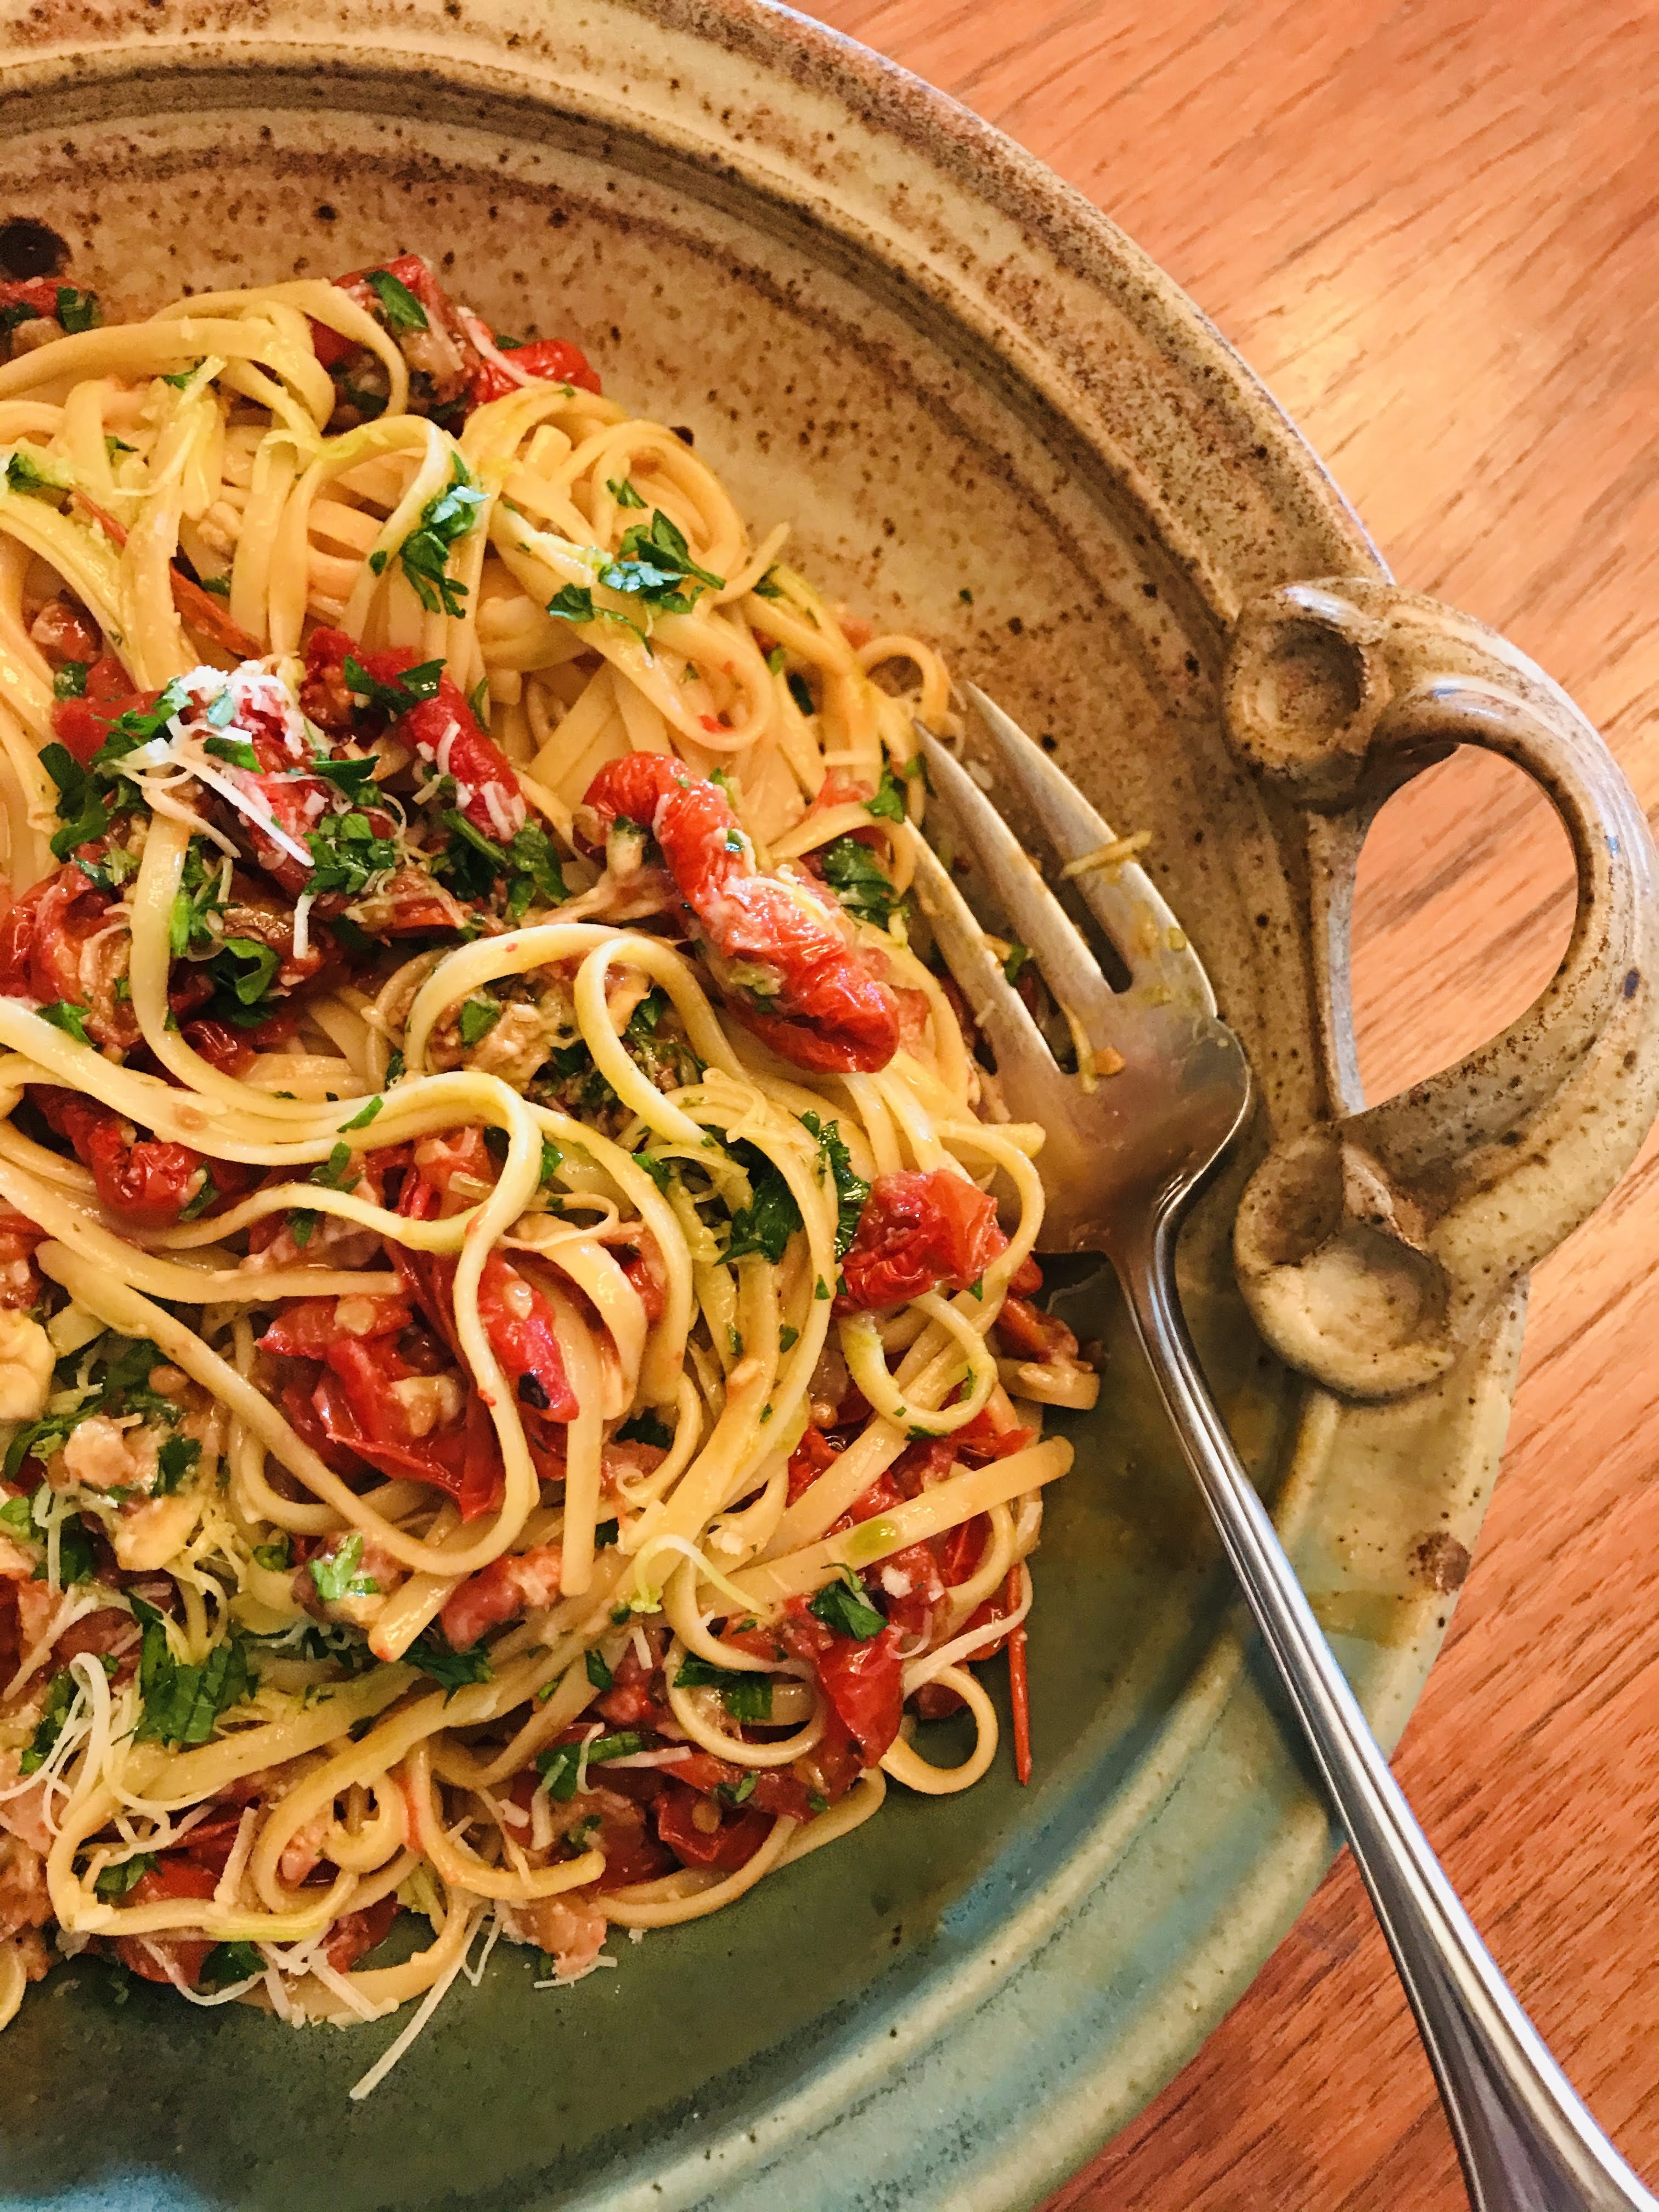
I know….another tomato post. I’m slightly obsessed; this is what happens when you pull hundreds of pounds of them from the field several times a week. In the summer I live for two things: garlic and tomatoes. Focusing on my two loves helps me to deal with what I don’t love, which is the heat and humidity. When I’m in my happy place (the kitchen) it makes it all worthwhile.
This particular dish, which ends up being two dishes in one; brings tears to my eyes the first time I make it each year. I don’t think there is anything that compares to this simple sauce that can only be made when tomatoes are at their peak. The reason it ends up being two dishes in one is I take a portion of it out and use it for a bruchetta topping. I know that means tomatoes for the appetizer and tomatoes for dinner, but so far no one has ever complained. Although it is slightly labor intensive, it is worth every delicious mouthful!
Start with about 30 dead-on ripe paste tomatoes. This will serve 4 for dinner and enough bruchetta topping for a loaf of French bread. Don’t be fooled by the simplicity of the ingredients. I literally have friends begging me to make it for them. After all, it is the reason for the season!
INGREDIENTS:
30 ripe paste tomatoes
2 heads of garlic, peeled, separated and divided in half, grated on micro plane
1 tablespoon, plus 2 teaspoons sea salt, divided (I use Maldon)
1/2 – 1 cup good quality extra-virgin olive oil
1/4 cup fresh basil, coarsely chopped, divided
16 ounces linguine, cooked to package directions
2 cup grated pecorino cheese (optional)
ADDITIONS FOR BRUCHETTA:
1/2 cup red onion, finely chopped
1/4 cup capers, drained
1/2 cup Kalamata olives, sliced
1 loaf fresh French bread (baguette)
DIRECTIONS:
Place a large pot on high, 3/4 filled with water and bring to a boil. With a sharp knife, cut an “X” on the top of each tomato, through the core. Fill your kitchen sink with cold water. Carefully place groups of 8 in the boiling water. Set a timer for 3 minutes. With a large slotted spoon, pull blanched tomatoes from boiling water and place in sink with cold water. Repeat this process until you have blanched all your tomatoes.
Assemble the following: large cutting board, paring knife, serrated knife, two large bowls. Cut the top of a tomato about 1/2 inch from top and throw in your bowl of scraps. Next with your paring knife, peel off the skin (it should come of with ease if your tomatoes were ripe). With your serrated knife, cut the tomato in half lengthwise; scoop out the seeds with your thumb and place it in the other bowl. Repeat this process until you have peeled and seeded all your tomatoes over the bowl. You will strain this later to collect your juice.
Take each tomato half and chop it in small pieces. Place pieces in large ceramic or pottery bowl. I generally use 2/3 of tomatoes for sauce and the other 1/3 of the tomatoes for the bruchetta. In a 4 cup Pyrex measuring cup, strain your tomato scraps through a wire mesh strainer. This will give you approximately 1 cup of juice.
To the large bowl add the following: 1 head of grated garlic, 1 tablespoon sea salt (do NOT be afraid of the salt), half of the basil, and 2/3 of your reserved juice. Next start with 1/2 cup of extra-virgin olive oil in your large bowl. Stir gently but thoroughly. You want it to be fairly soupy. Add up to 1/4 cup more olive oil if needed. Let macerate on your counter for at least 2 hours, up to 4 hours. DO NOT REFRIGERATE!
Cook your linguine according to package directions and drain. In a large pasta bowl, place the drained pasta and top it with the sauce. Pass cheese.
FOR BRUCHETTA:
In your smaller bowl add the garlic, capers, olives, red onion, basil, salt and remaining reserved juice. Pour approximately 1/4-1/2 cup extra virgin olive oil over tomatoes. Stir gently but thoroughly. Again you want it somewhat soupy. The liquid will delightfully soak into your grilled bread slices. Let this macerate on your counter for the same amount of time.
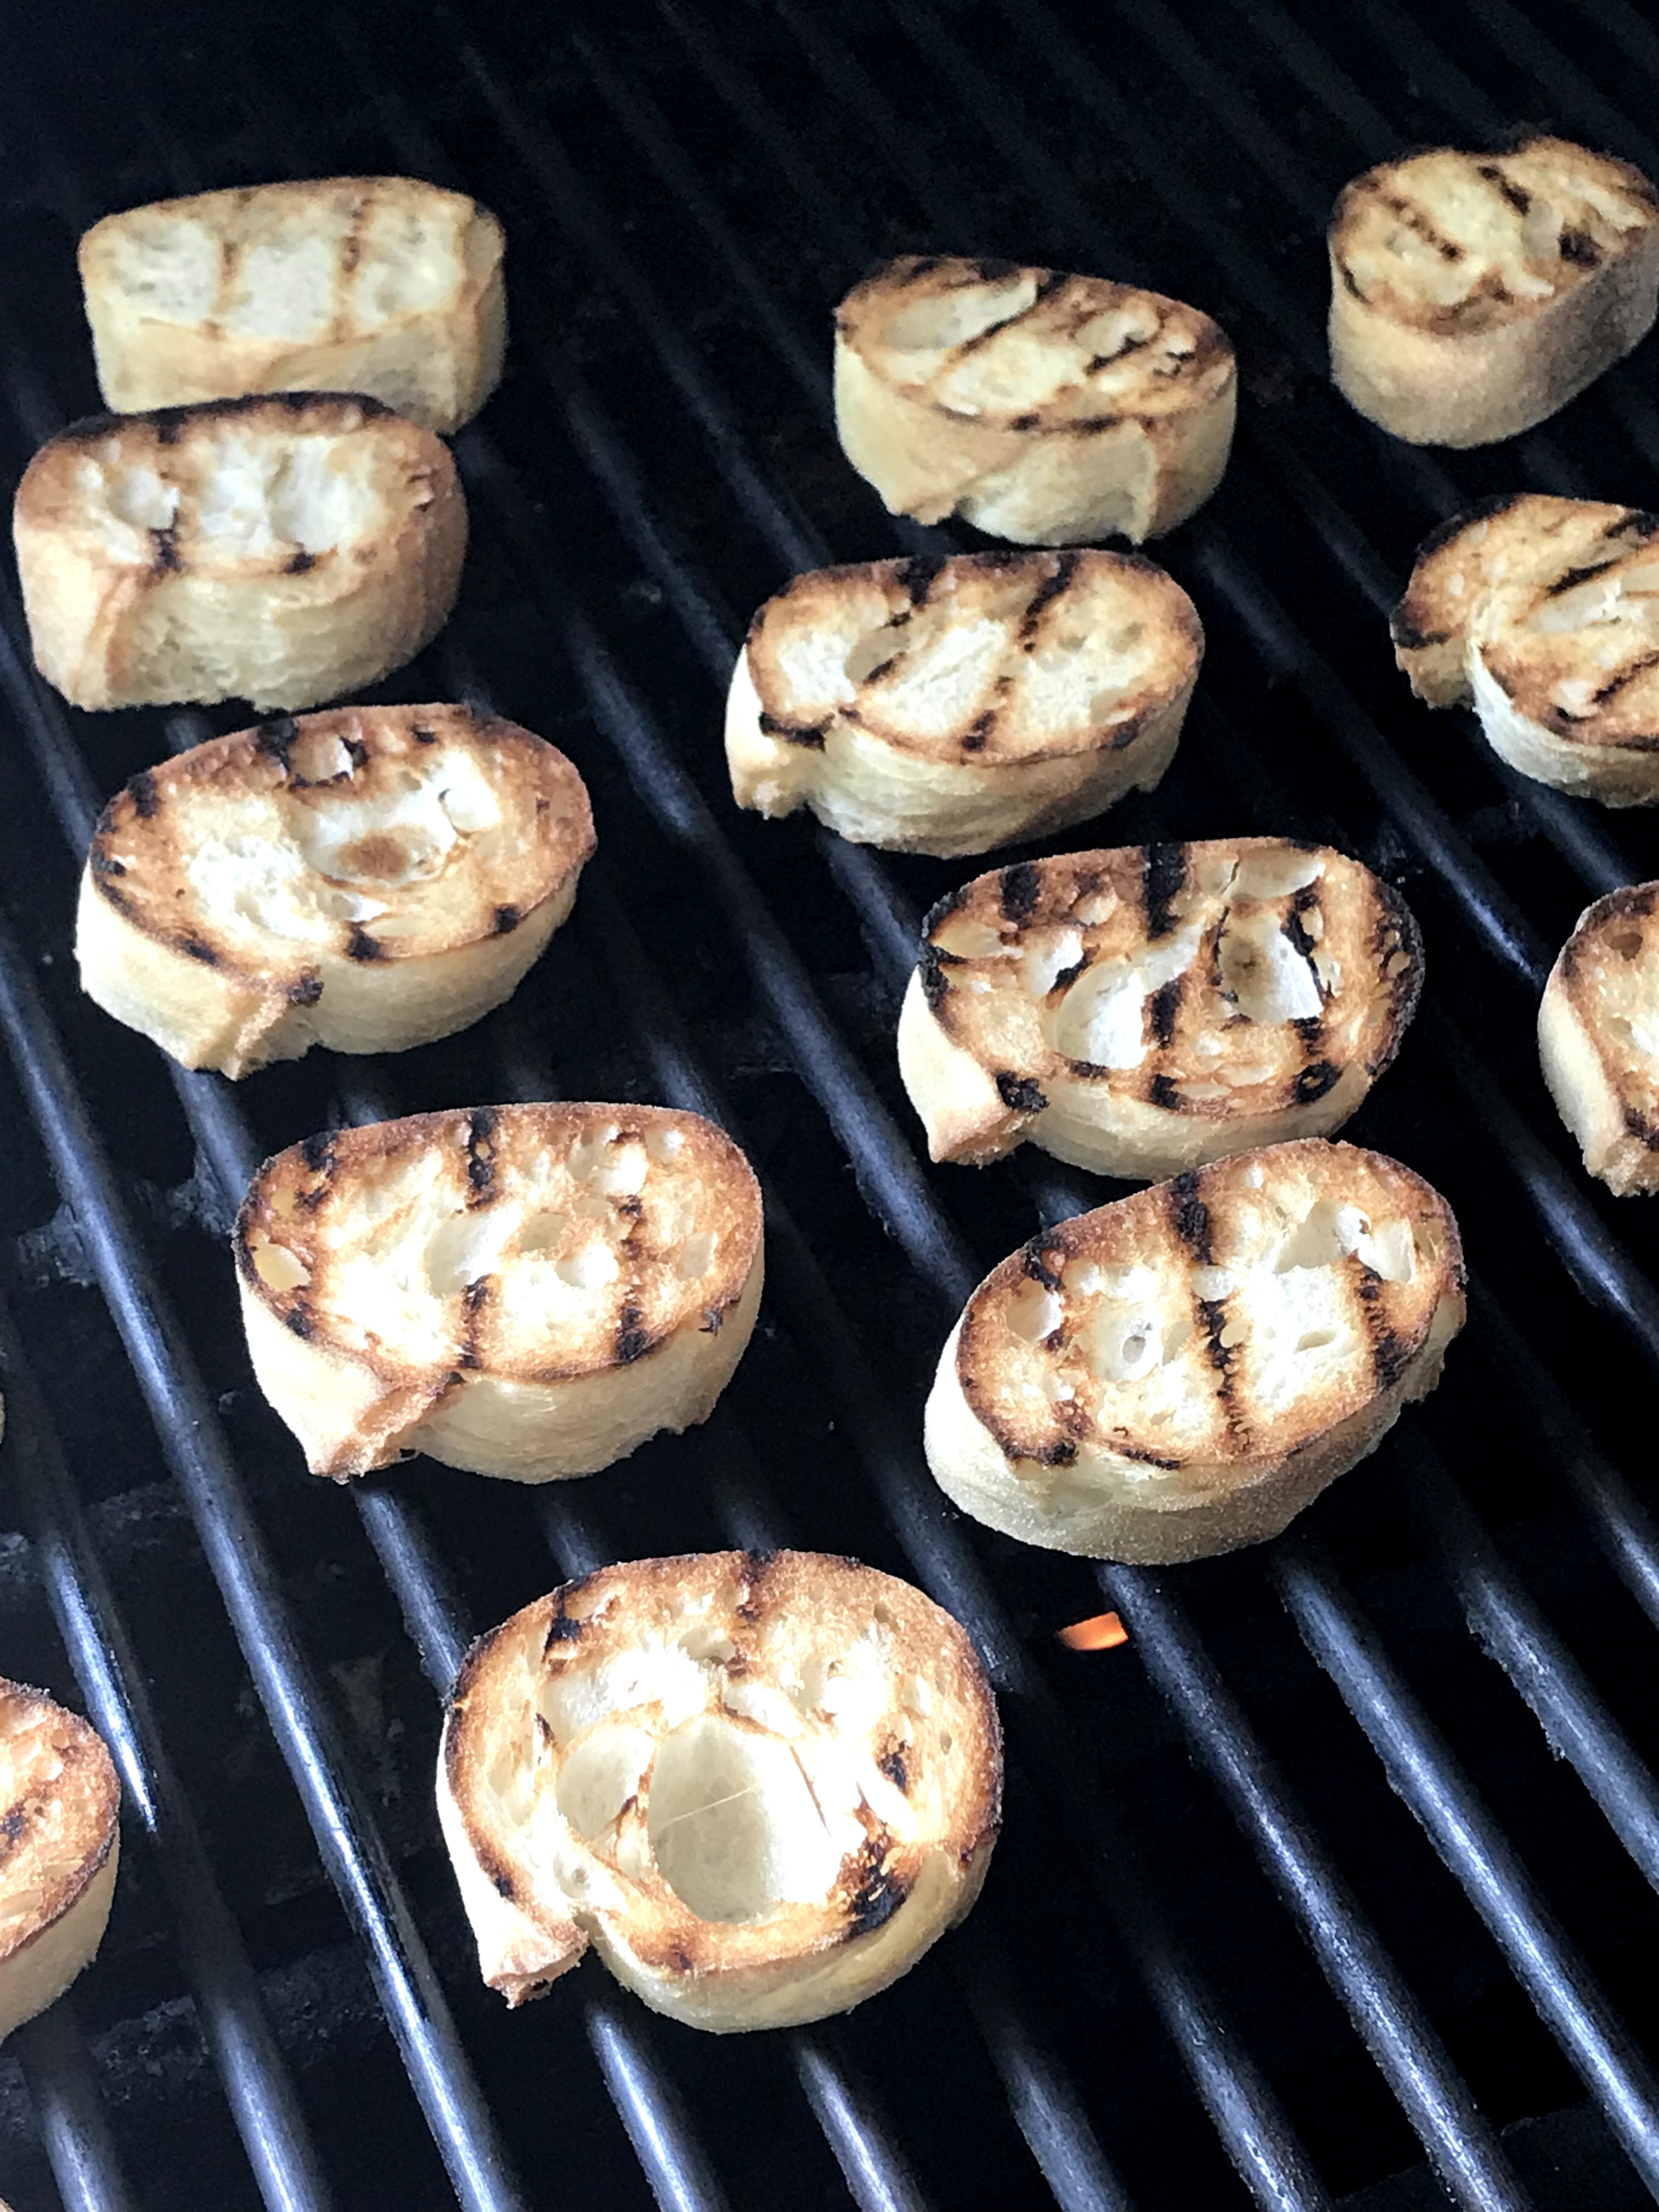
Slice up your baguette in 1 inch pieces. Heat a gas grill on high, then turn down to medium. Place your slices on grill for about 3-5 minutes. Turn over and grill the other side. You are simply looking for some nice grill marks. This can be done ahead of time.
When you are ready to eat your bruchetta, top each piece with relish, making sure your are generous with the liquid.
Serves 4
“Nothing is work unless you’d rather be doing something else.” –Peter Pan
What is it about walls that seems to bring out a collective reaction of distaste? Let’s face it our political discourse has taken on a polarized view of such things. But the wall I’m referring to is a wall we can all agree on. Brickyard Farms uses “The Wall” to showcase our amazing hard-neck garlic. The first week we have German White and the next week is for Music (yes the hills are alive). It is incredibly satisfying to sell about 2500 head of garlic each of those weeks. For those of you not familiar with hard-neck garlic, it is distinctly different from the soft-neck garlic you purchase in your local grocery store. Most soft-neck garlic is grown in China and is required by law to be refrigerated during overseas transport. When garlic is refrigerated it changes the sugars to starch and makes the garlic bitter. It also signals to the garlic that spring has arrived and it needs to grow. This is why you typically find a green sprout in the center of each clove.
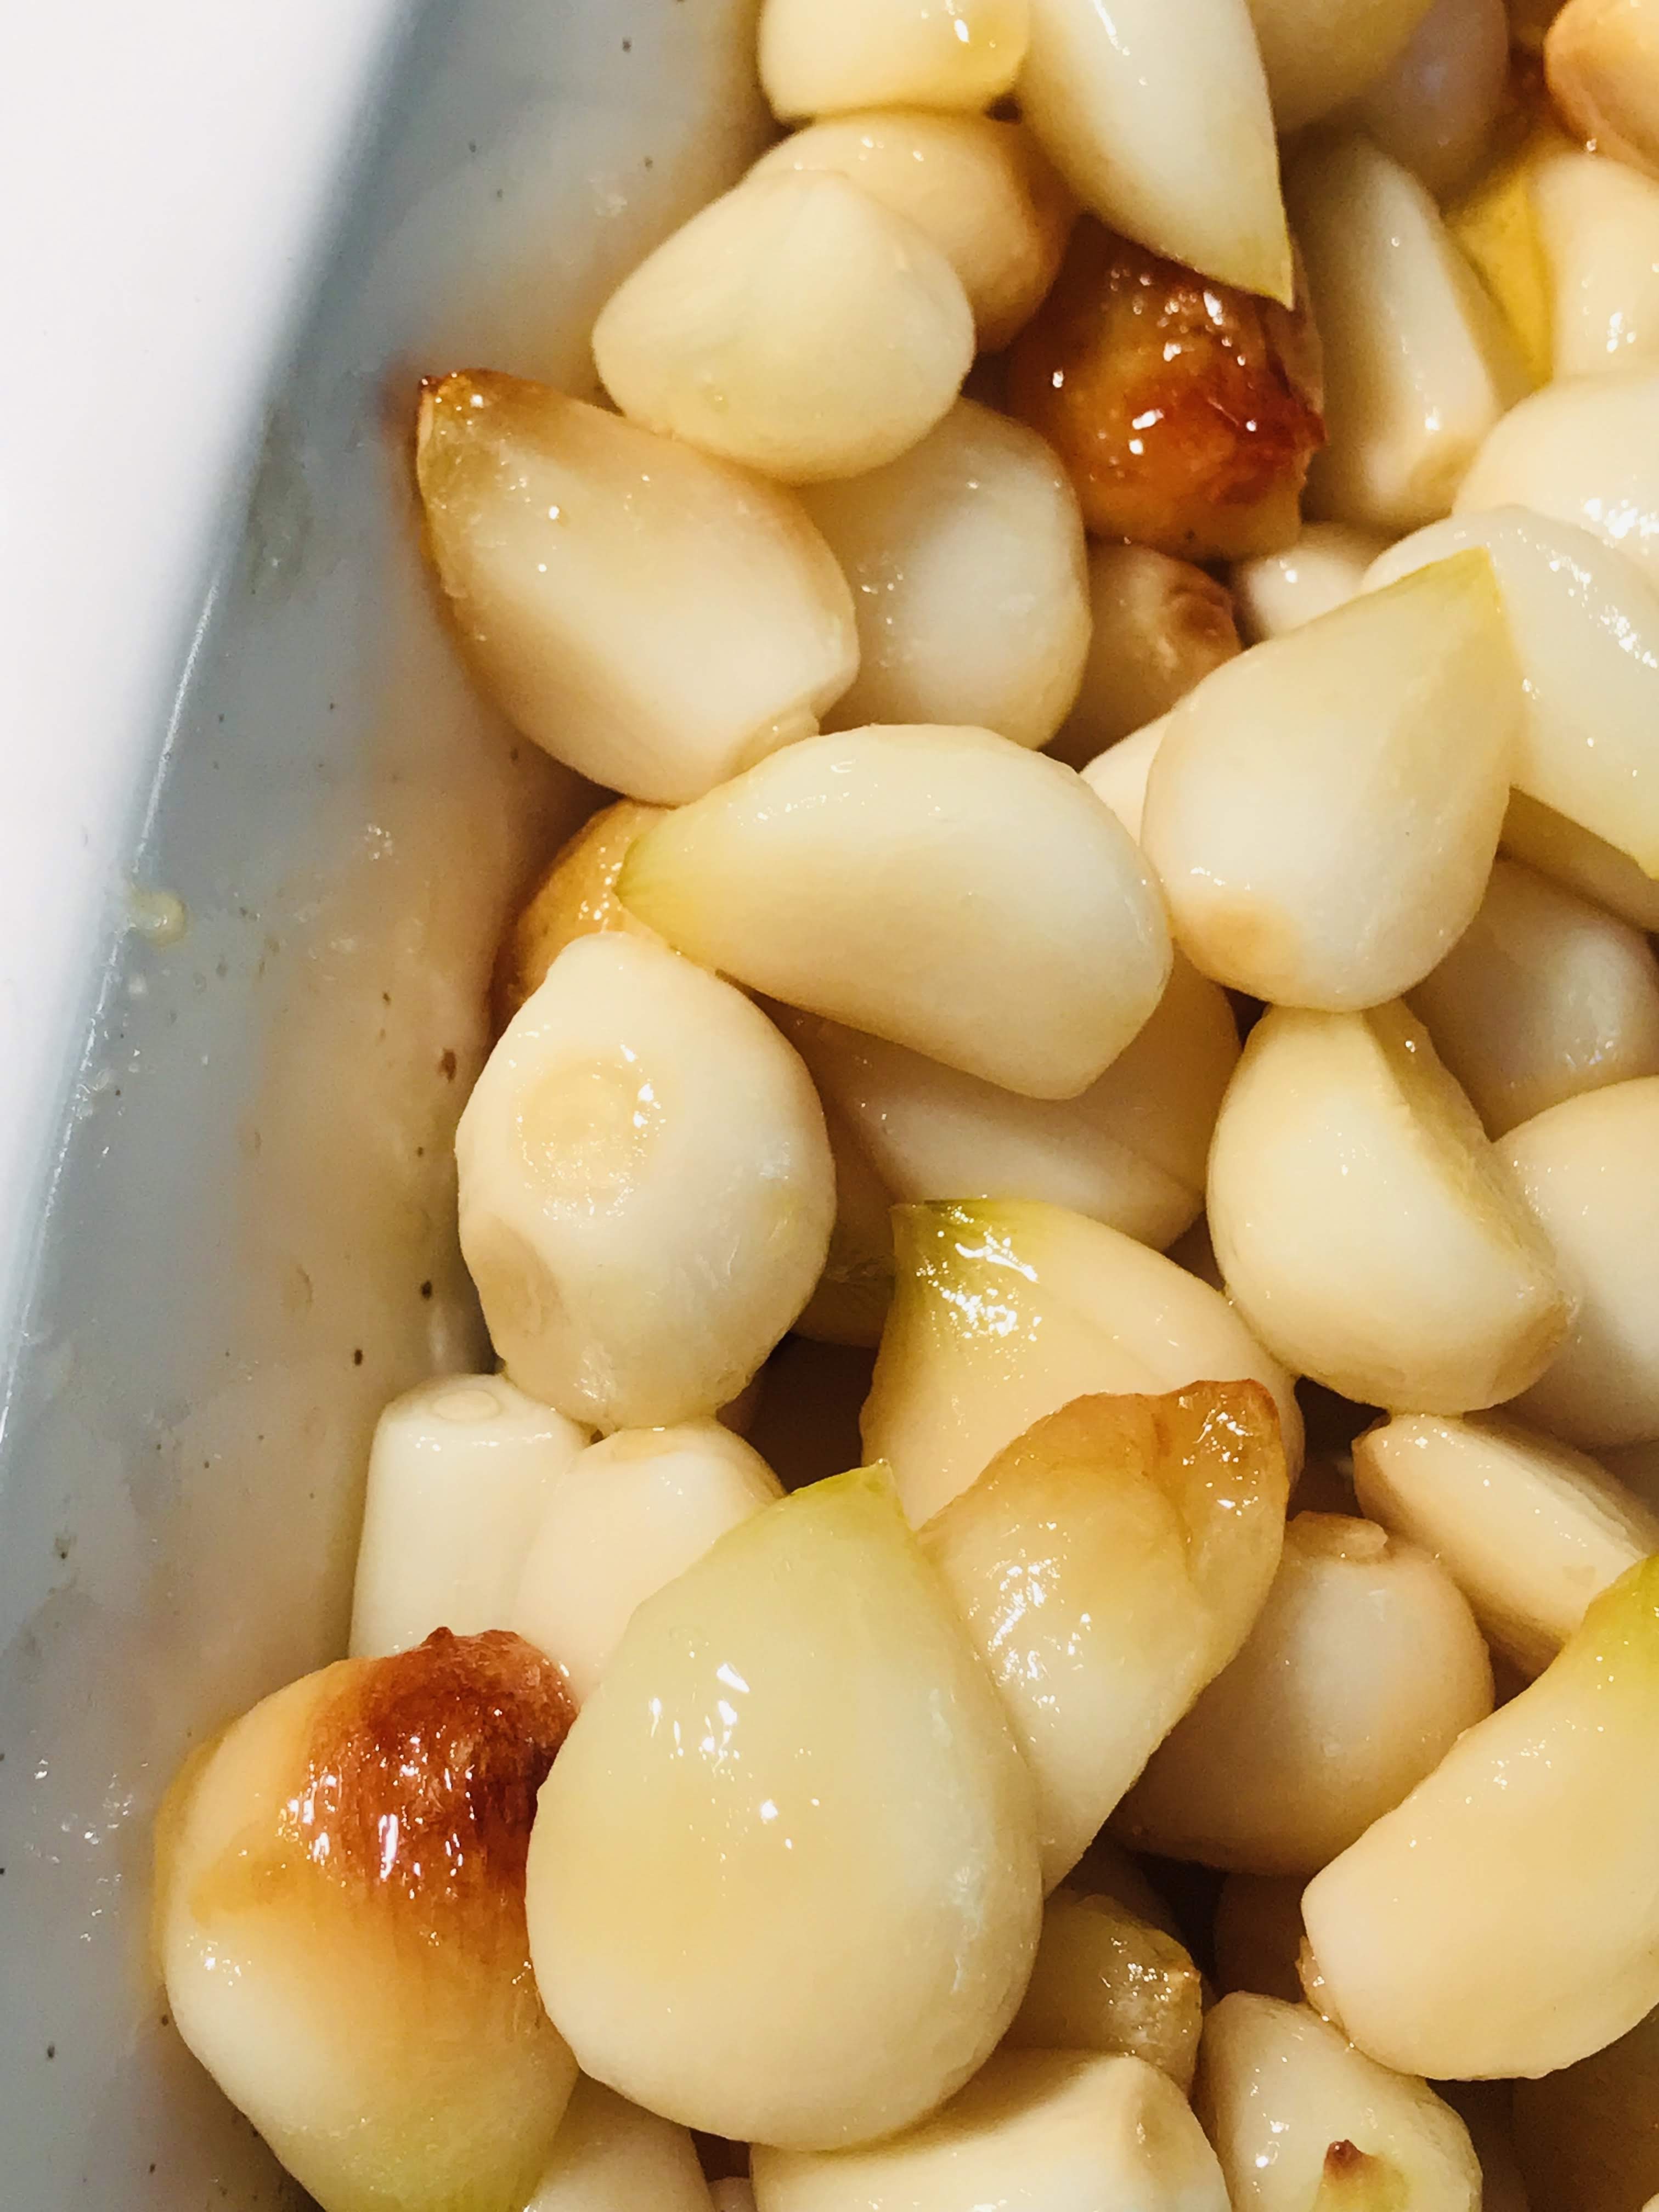
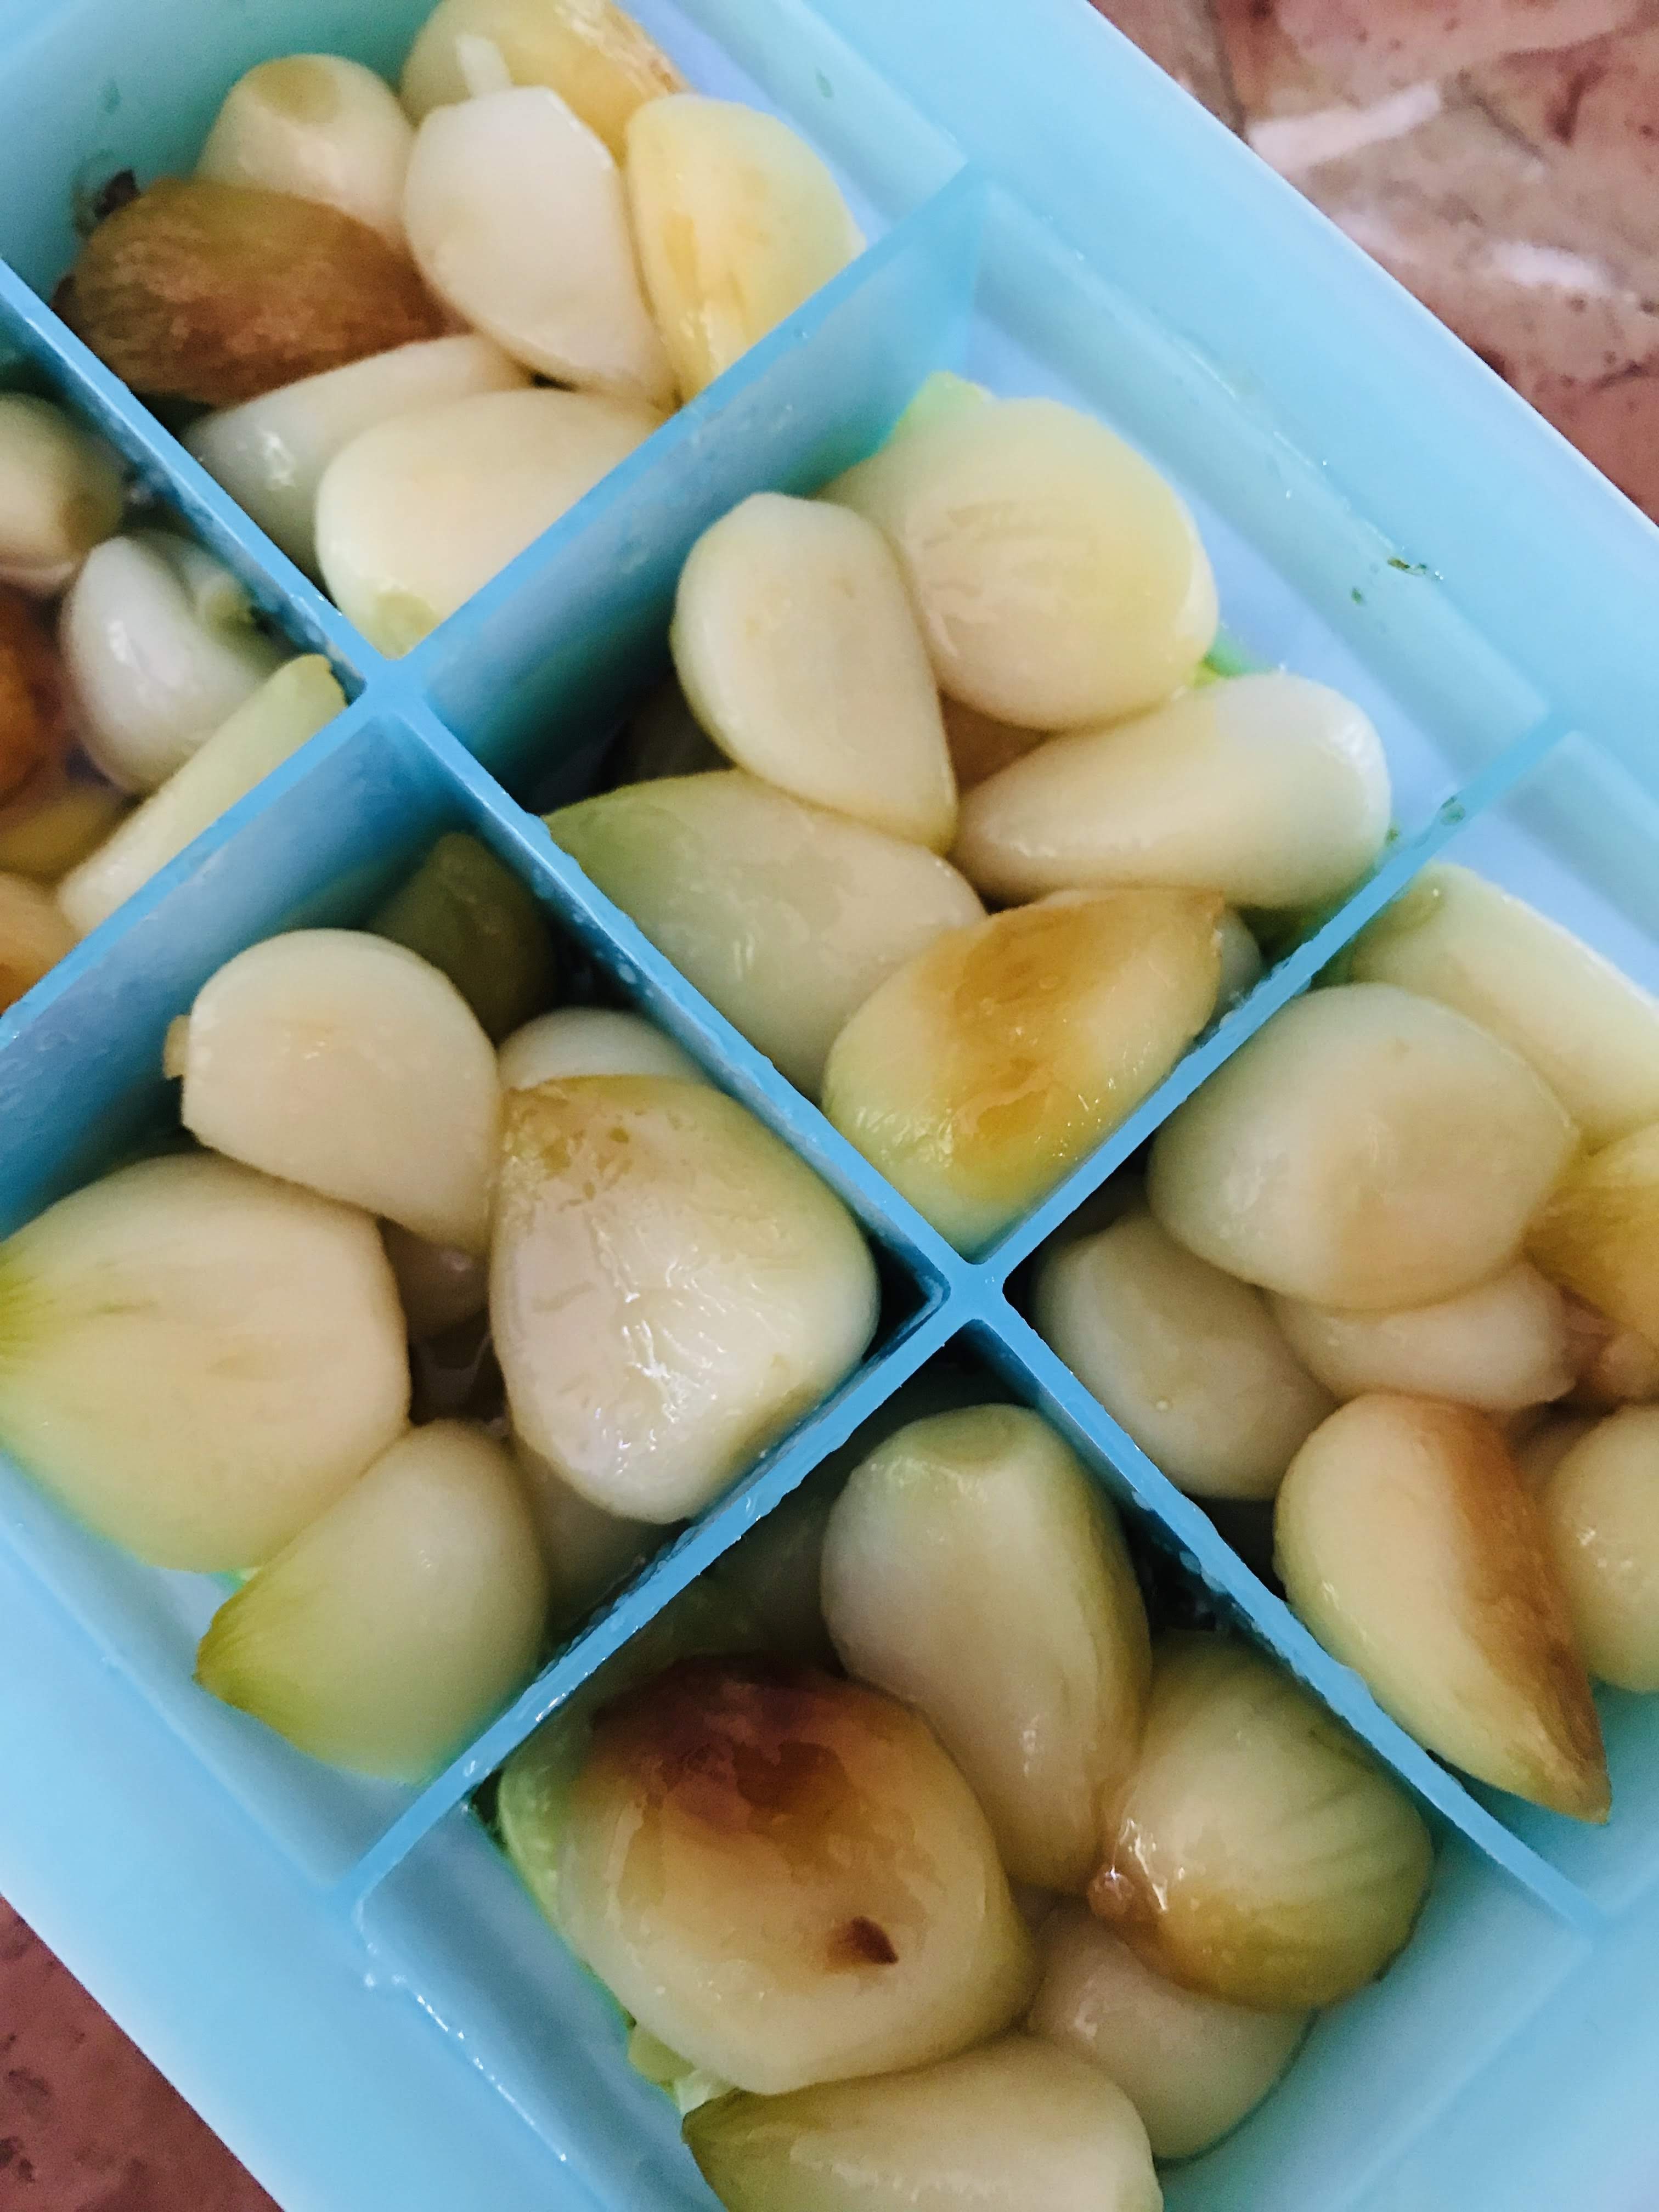
Many of our customers purchase in bulk; anywhere from 60-250 at a time. We are humbled by the support and enthusiasm over the years for this savory allium. We typically store 200 heads for our personal consumption. In addition to this I roast an additional hundred head to use in soups and stews. When garlic is roasted it becomes beautifully sweet and nutty. Typically garlic is roasted as a whole head with most of its papers in tact. You simply cut the tips of each clove, baste it with olive oil, wrap it in foil and roast it in a 375 oven or on your grill for 50-60 minutes. This works well when you are thinking of a luscious appetizer; but I want to freeze it for future use. The method I describe here will yield two six-cube silicone ice cube trays of roasted garlic; each cube being the amount of one large head of garlic (although you can purchase bulk quantities of pre-peeled garlic I would NOT recommend it). My suggestion is that you go to your local farmers market and stock up! Fresh garlic season is usually July-August; and if you’ve never had fresh garlic you are in for an incredible treat! Once they’re frozen, you just pop out the cubes and place them in a zip-lock freezer bag or container and they’re ready for something yummy when you are.
Roasted Garlic In Quantity
Ingredients:
15-20 medium size heads of garlic (remember, fresh is best)
Good quality extra-virgin olive oil
1 teaspoon coarse sea salt (I use Maldon)
METHOD:
Preheat oven to 375 degrees F. Peel all your garlic and place in an 8×8 or 9×9 ceramic dish.
Pour enough olive oil in the dish to cover the garlic cloves halfway. Toss to coat.
Sprinkle coarse salt over garlic and cover with aluminum foil.
Roast in oven for 30 minutes, then remove foil. Roast for an additional 30 minutes or until soft and slightly golden. Let cool. Place in ice cube trays using any oil in the dish to cover each cube (I use a teaspoon in each one, then cover with additional oil if needed).
Freeze overnight. Remove from trays and put in zip lock bags or freezer containers.
“There is no such thing as a little garlic!” —Arthur Baer