Tag Archives: preserving

Notch It Up!

I’m sure many of you have made something for your families that needed something extra, but you’re not quite sure what it is. Well, I may have the answer for you: Roasted Sweet Pepper and Tomato Sauce. This sauce has it all; it’s sweet, yet piquant, savory and adaptable to so many dishes. The secret is in the roasting. Roasting as we know deepens the flavor of all vegetables and this is no exception. Roasting is so helpful that you can make this sauce even with greenhouse peppers and tomatoes. For me, if I’m going to go through the process, why not make enough to put up? This sauce can be canned in a water bath for 15 minutes, or frozen in half-pint jars. If you roast one sheet pan of peppers, and one sheet pan of tomatoes and garlic it will yield about 5-6 half pints.

But the real deal is just how many uses you will have for it! I’m fond of plating a sauce under an entre like lamb meatballs (next week’s recipe) or cauliflower cake. You can spoon it over a piece of toast or an English muffin and top it with a poached egg. Spoon it over scrambled eggs, or hard boiled eggs or on a sandwich instead of mayo. You are only limited by your imagination!

Sweet peppers ready to be roasted
Halved tomatoes and garlic ready for roasting.

ROASTED SWEET PEPPER AND TOMATO SAUCE

INGREDIENTS:

  • 2 sweet peppers, your choice of color, but include one red, halved vertically and seeded
  • 2 tomatoes, cored and cut in half horizontally
  • 4 tablespoons extra virgin olive oil
  • Kosher salt and freshly ground black pepper to taste
  • 1 head of garlic, tops trimmed just enough to expose cloves
  • 1 1/2 tablespoons red wine vinegar
  • 1 teaspoon pure maple syrup
Roasted peppers
Roasted tomatoes

INSTRUCTIONS:

  1. Preheat your oven to 425 degrees F.
  2. Line a large sheet pan with aluminum foil (if you are preparing a batch of quantity, line two baking sheets; using one for peppers and one for tomatoes). Place peppers, tomatoes and garlic on sheet pan.
  3. Baste vegetables with olive oil, then add your salt and pepper. Place in oven and set your timer for 20 minutes. Rotate trays from top to bottom and roast an additional 20 minutes. Remove the tomatoes and roast the peppers for approximately 20 minutes more. You want the peppers charred in various places. If doing a single batch place everything on one sheet pan and roast for 35 minutes.
  4. Let cool slightly, then with a paring knife, carefully pull off the skins of tomatoes, then repeat with the peppers. Discard skins. Squeeze the garlic out of its papery skins.
  5. In a blender or food processor, place your tomatoes, peppers, garlic, red wine vinegar, maple syrup and some additional salt and pepper. Blend or pulse for about 1 minute. Add an additional 3 tablespoons of olive oil and process again until smooth. Taste and adjust seasoning adding more vinegar, salt and pepper if needed.
  6. Pour into half pint jars and can or freeze.

Yield: 1 half pint

Roasted red pepper and tomato sauce just blended.

“An ounce of sauce covers a multitude of sins.” —Anthony Bourdain

Jamming…

During this time of the year, preserving food is my passion. Personally, I am obsessed with tomatoes. When I find myself up to my armpits in these delightful orbs, I consider it my mission to put up the bounty in many variations. Soup, roasted sauce, whole pastes, confi, juice, Bloody Mary mix, chutney and jam line our pantry shelves. Tomatoes are so versatile. It’s a great way to experience summer in a jar all winter long.

In the past we have grown as many as 3,200 tomato plants. Val has always found it challenging to scale back the farm, but aging and this year’s Covid pandemic has forced us to cut back out of necessity. So we settled on 850 plants, hoping it was enough for our personal needs and sharing with friends who also preserve food during high season. Why I worried that it might not be enough was beyond me! We had enough and then some.

If you haven’t tried a savory jam before, this is the recipe for you. No far out ingredients, easy to make and delicious on roasted chicken or beef. You can also spread it on a wheel of Brie or Camembert cheese, pop it in the oven at 350 degrees F for 20 minutes and you have a tasty and beautiful appetizer to spread on cracker or crusty bread. Or if you really want to push the envelope a little, my dear friend Dana suggests you slice sweet potatoes into disks, brush with olive oil and roast at 400 degrees F for 25 minutes; allow to cool. Place a small slice of Brie on each disk and top with tomato jam. One big mouthful of yum!!

TOMATO JAM

INGREDIENTS:

  • 4 pounds paste tomatoes, cored and cut into 1-inch pieces
  • 1 cup granulated sugar
  • 1 tablespoon red wine vinegar (you can also try white wine or tarragon vinegar)
  • 1 teaspoon kosher or sea salt
  • 4 cloves garlic, minced
  • 1/2 teaspoon red pepper flakes
  • 1 tablespoon chopped fresh thyme leaves

INSTRUCTIONS:

  1. Toss tomatoes, sugar and salt together in a large, heavy bottomed pot. Let sit at least 30 minutes or up to overnight, tossing to coat periodically to dissolve sugar. (I let it macerate overnight, to release as much juice as possible.)
  2. Add the vinegar to the tomatoes, and bring to a boil over medium heat, and cook for 10 minutes. Add the garlic, red pepper flakes and thyme leaves.
  3. Increase the heat to medium-high, and cook the jam. Using a wooden spoon or silicone spatula, stir the jam occasionally, then more frequently as the jam starts to thicken. Do this until most of the liquid has evaporated and the tomatoes have begun to break down, and the mixture resembles a very thick, shiny tomato sauce, 45-60 minutes. It’s important at this stage to keep stirring constantly along the bottom of the pot to prevent scorching and sticking.
  4. To test for thickness, spoon a bit of jam onto a chilled plate, return it to the refrigerator and chill for 2 minutes. Drag your finger through it. It should hold its shape on either side without appearing watery or runny. If not continue cooking jam and check every 10 minutes.
  5. It this point you can water bath can in 1/2 pint or 1/4 pint jars, leaving 1/4 inch head space for 15 minutes or refrigerate for up to 3 weeks.

Yield: 4 half pints

“Autumn….make a double demand. It asks that we prepare for the future–that we be wise in the ways of garnering and keeping. But it also asks that we learn to let go–to acknowledge the beauty of sparseness.”

—Jean Abernethy

Never Enough

The memories that mark time seem to speed up as we age. Nine years ago in 2011, when our tomato production for market was at its height, we were faced with a dilemma; what do we do with all the imperfect tomatoes we could not sell at market? Val was sick of dividing them between our chickens and our compost pile. I remember her telling me, “Figure it out!” So figure it out I did and created our delicious roasted tomato sauce. This is one recipe that went into both of my cookbooks. I give it out dozens of times at market each season. In the winter, when you go into your pantry and open a quart of this luscious stuff, you smell the sun. I put up about 28 quarts of this per year, as there are uses galore.

Why do we literally swoon over this stuff? I have never tasted a commercial product that compares to it. I use six different heirloom varieties that have different colors and flavor profiles, lots of fresh garlic, olive oil and Maldon salt. The result is something not only delicious, but a sauce you will feel proud to serve your family and company. Every two hours I ladle out the liquid that is released from the tomatoes and can this as well; adding it to risottos and soups making it a win, win! You can either water bath can it for 15 minutes or freeze it for later use. Depending on the volume of tomatoes you roast will determine the length of you roasting time. You want a thick concentrated sauce as your end result.

There are things I have learned along the way about this sauce. When removing the liquid for later use, be sure you strain it through a small mesh colander to remove unwanted seeds. Also, many people don’t mind the rustic quality of the finished sauce. However, I choose to put it in my Vita-mix blender for a few minutes before heating or adding to your recipes. You will end up with a velvety sauce that has a stunning orange-red color which I find much more pleasing to the eye and the palate. You’re welcome!

BRICKYARD FARMS ROASTED TOMATO SAUCE:

INGREDIENTS:

  • A minimum of 20-30 pounds of tomatoes (I recommend a half bushel), consider a mix of many different varieties. This will add depth to your sauce.
  • 1-2 heads Brickyard Farms garlic, peeled and sliced
  • 1 tablespoon Kosher salt (although I highly recommend Maldon)
  • 1/2 cup extra-virgin olive oil

img_6842

INSTRUCTIONS:

  1. You will want to set up a “station” of sorts: sharp knife, cutting board, large stainless steel bowl, and your roasting pan.  This is when I say many hands make light work. Val and I can prep one 1/2 bushel in about 40 minutes.
  2. Next slice your tomato crosswise deep enough to eliminate the core in one step. Next hold trimmed tomato in your hand over the bowl and twist gently to remove some of the seeds.  No need to be perfect; the idea is to reduce some of the liquid. Next cut the tomato in half from top to bottom, then each half in quarters or sixths, depending on the size of your tomato.  Repeat this process until your roasting pan is heaping with tomatoes (don’t worry they will cook down considerably).
  3. Preheat your oven to 300 degrees F. Sprinkle your garlic slices and salt over the tomatoes; pour olive oil over tomatoes. Stir gently to combine.
  4. Set your timer for one hour.  Remove roasting pan from oven and with a soup ladle, press down gently so that the juices fill you ladle.  Each time you have 4 cups, strain and fill a quart canning jar until full, leaving 1 inch head space. This juice is gold. I use it for risottos, soups, chili and stews; it’s filled with tomato and garlic flavors.  Return your roasting pan to the oven and set timer for another hour. Repeat. You will do this until the tomatoes have reduced and there is about a quart of juice left in the pan.  At this point it should be pretty thick. This should take roughly 3-4 hours (don’t be concerned if it takes a little longer).
  5. When your sauce in finished, fill quart canning jars leaving 1 inch head space. You now can choose to freeze the jars or water bath can them for 15 minutes.  When ready to use, either thaw frozen jars or open canned jars and place in a blender. Blend for about 2 minutes, or until all the skins and seeds are incorporated into the sauce.  Use in your favorite recipe.

Yields: 4-6 quarts sauce, 2-3 quarts stock

ROASTED TOMATO VODKA SAUCE:

INGREDIENTS:

  • 1 quart roasted tomato sauce
  • 1 tablespoon extra-virgin olive oil
  • 1 medium onion, sliced thin vertically
  • 3 cloves garlic, thinly sliced
  • 1 teaspoon dried basil
  • 1/2 teaspoon red pepper flakes
  • 1/4 cup vodka, (additional for sous chef)
  • 1/2 cup heavy cream
  • Kosher salt and freshly ground black pepper to taste
  • 8 ounces dried pasta of your choice

INSTRUCTIONS:

  1. Place your quart of sauce in a blender and puree for about 2 minutes or until smooth.
  2. Meanwhile, prepare pasta according to package directions. Drain.
  3. Place olive oil in a large saucepan over medium-high heat, add onions and saute until soft and translucent, about 3-4 minutes.
  4. Add garlic, basil and red pepper flakes, stir to combine and cook for additional 3 minutes.
  5. Add vodka and reduce by half.
  6. Add blended roasted tomato sauce and simmer until hot, about 4-5 minutes.
  7. Stir in heavy cream. Place drained pasta in decorative bowl. Top with sauce and toss gently to combine.

Serves 4

img_2926

“There ain’t nothing better in life than true love and a homegrown tomato!”

A Self-Sheltering Pantry

As we approach week 10 of self-sheltering, I started to contemplate the future in terms of preparedness. I’m hardly a conspiracy theorist, nor am I a doom and gloom kind of person. I am however a planner. My father used to instruct, “Fail to plan, plan to fail.” After being caught off-guard during the beginning of the Covid-19 pandemic, I wanted to create a pantry that would sustain us if the predictions of a ‘second wave’ come to fruition this fall and upcoming winter. The idea is to have provisions for a 4 month stay-at-home if necessary.

At the beginning of my recent cookbook Twisted Basics: Laugh, Cook, Eat! I have a section called A Well-Stocked Pantry. It was an attempt to combine a balance between fresh and convenience. When approaching non-growing seasons (late fall and winter) and the desire to leave the confines of our homes as little as possible, it’s important to take a closer look at what to have on hand for our families.

Before I get into this, the other point I want to make is the same one I make in my cookbook: cooking together creates intimacy and better relationships. After all, if we need to self-shelter, why not focus on the upside which is obviously more time. During our current episode, I’ve taken up bread baking. I have been intimidated by the mere thought of it for decades. To my surprise, I couldn’t be more pleased with the results! Whether you live together as a couple, or have children, cooking together has enormous potential to add richness to your life. Sitting down together to a meal prepared with your own hands, rather than opening a box gives you the satisfaction of making mealtime more meaningful. Cooking done with care is an act of love.

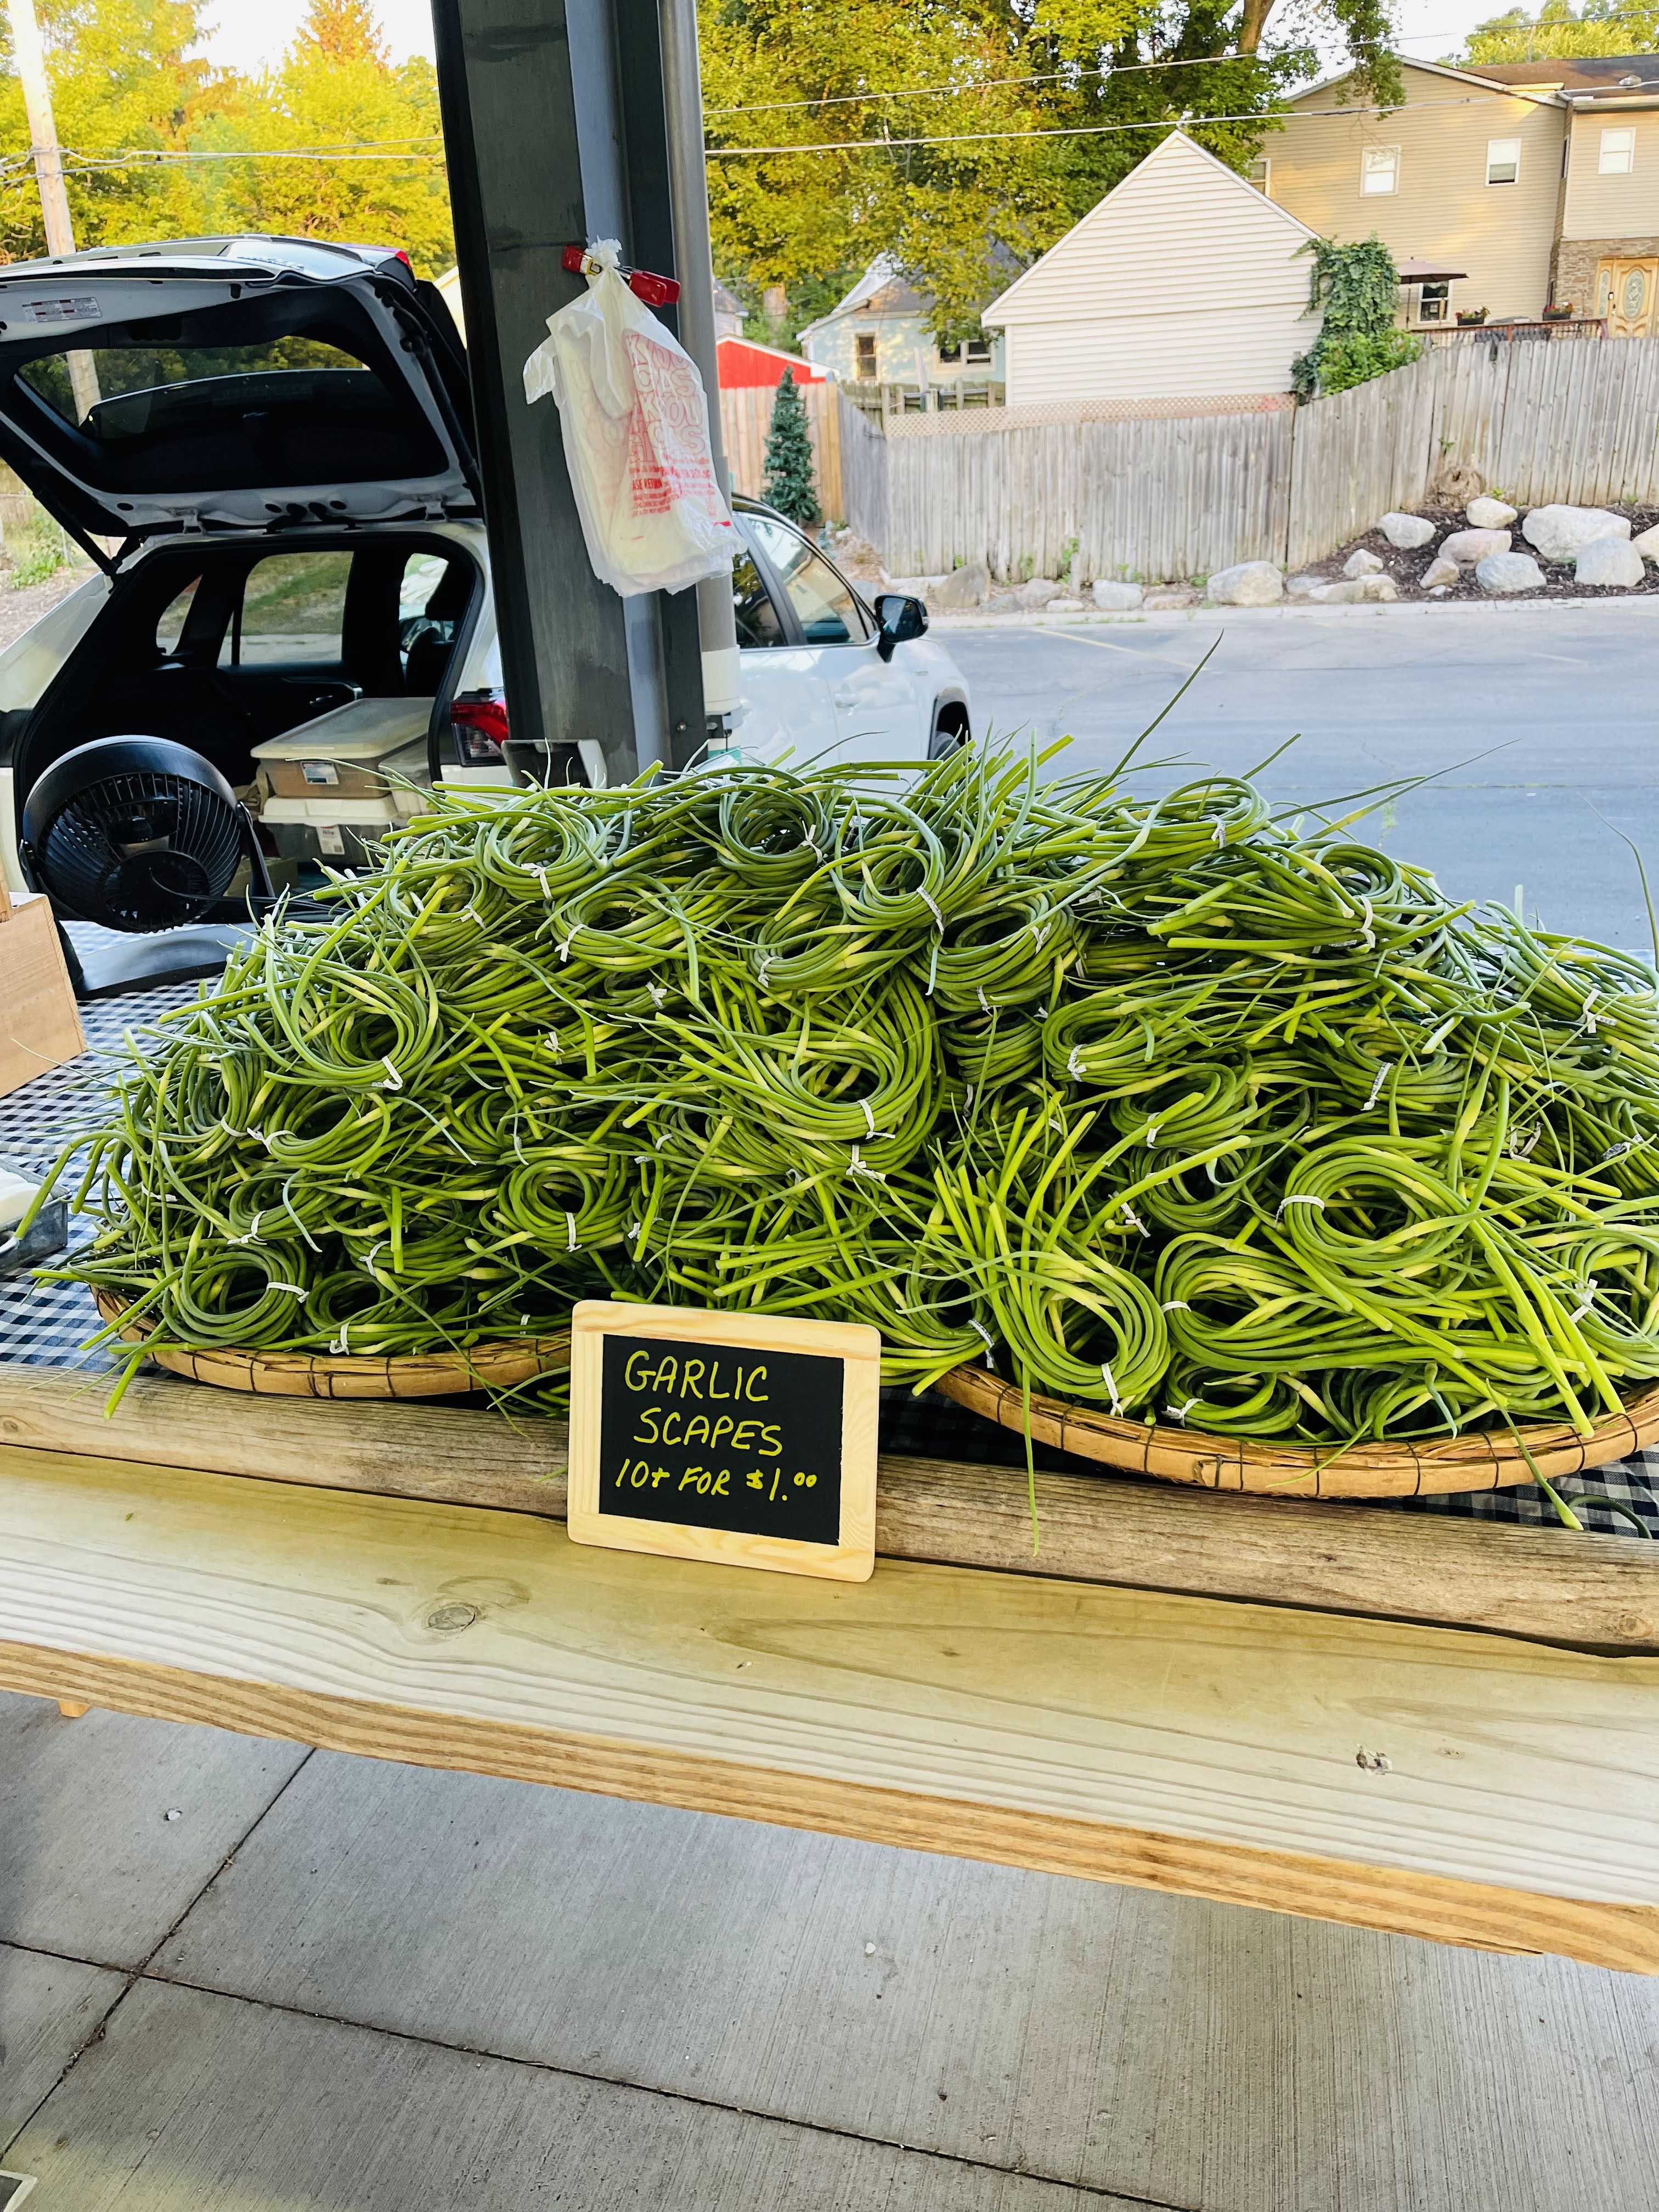
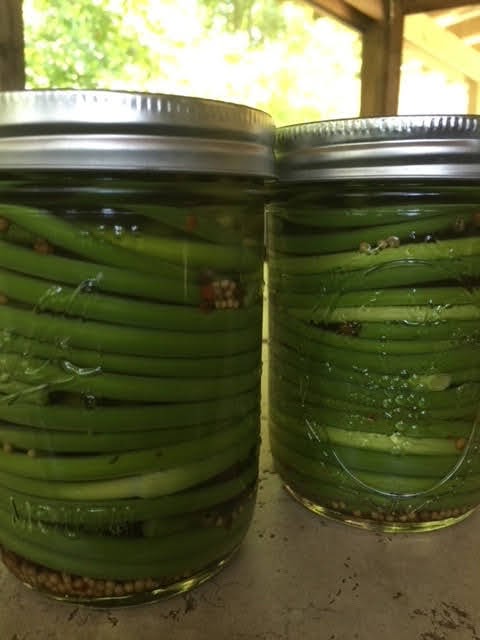
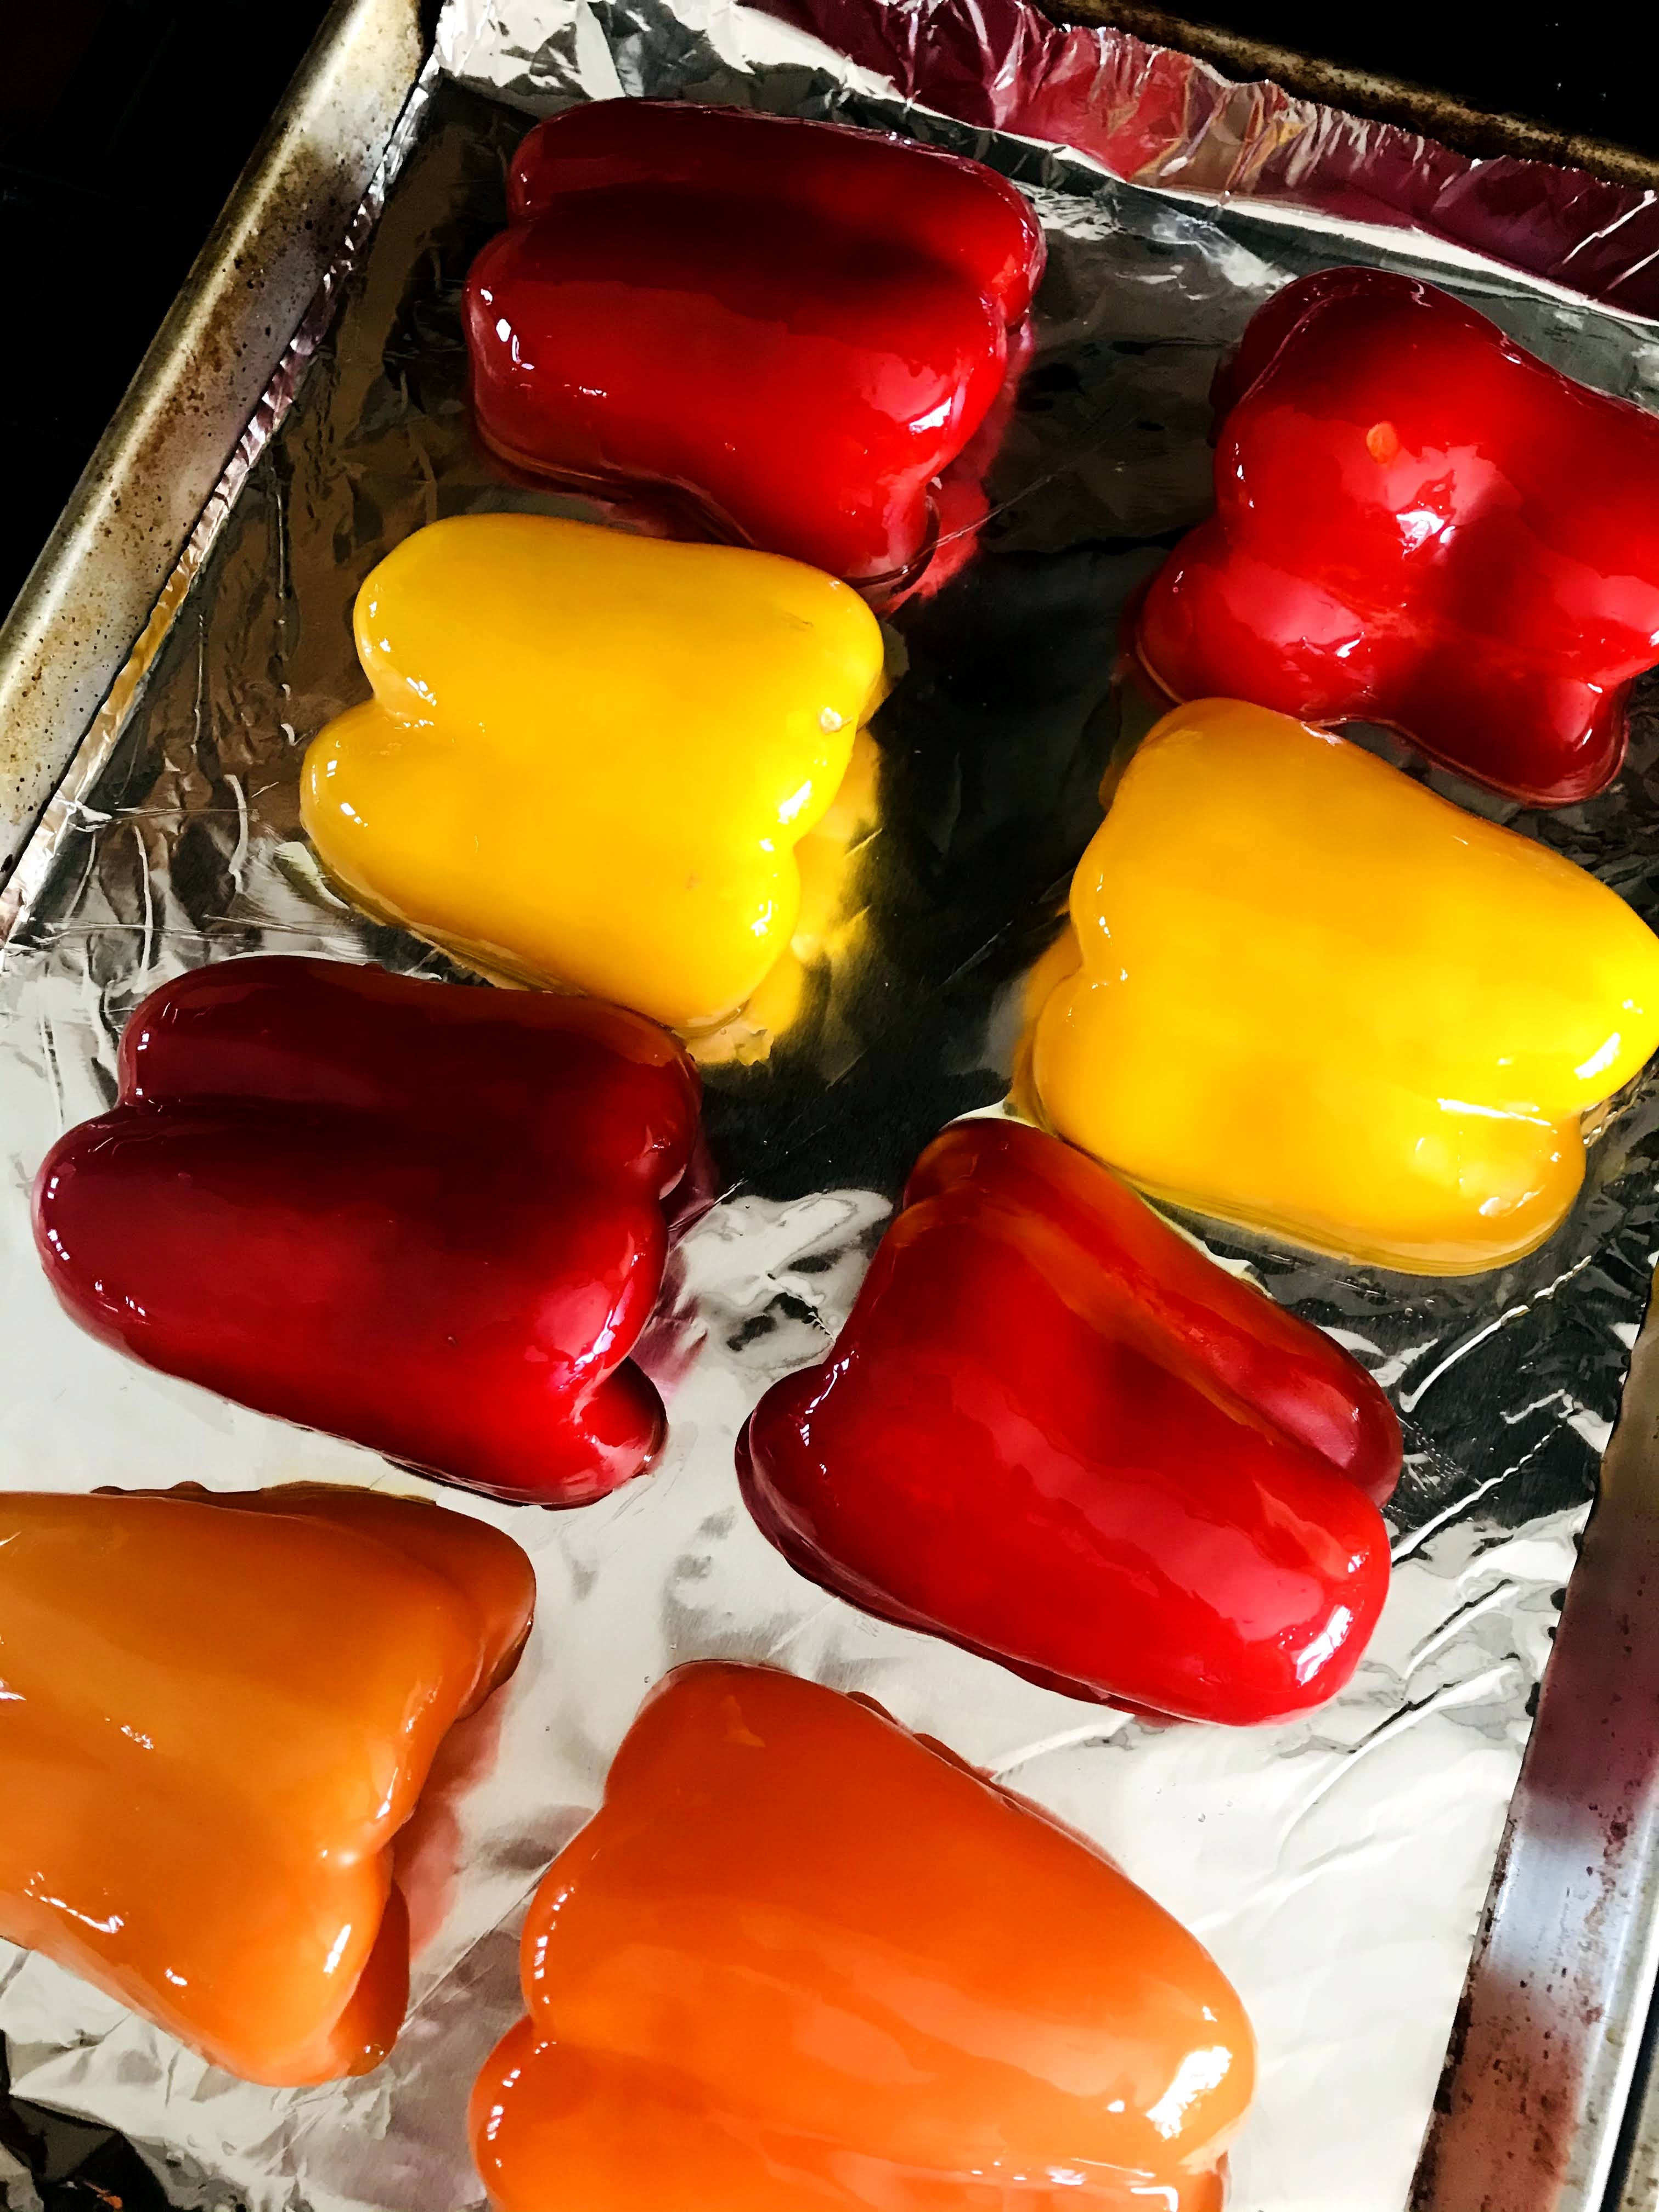
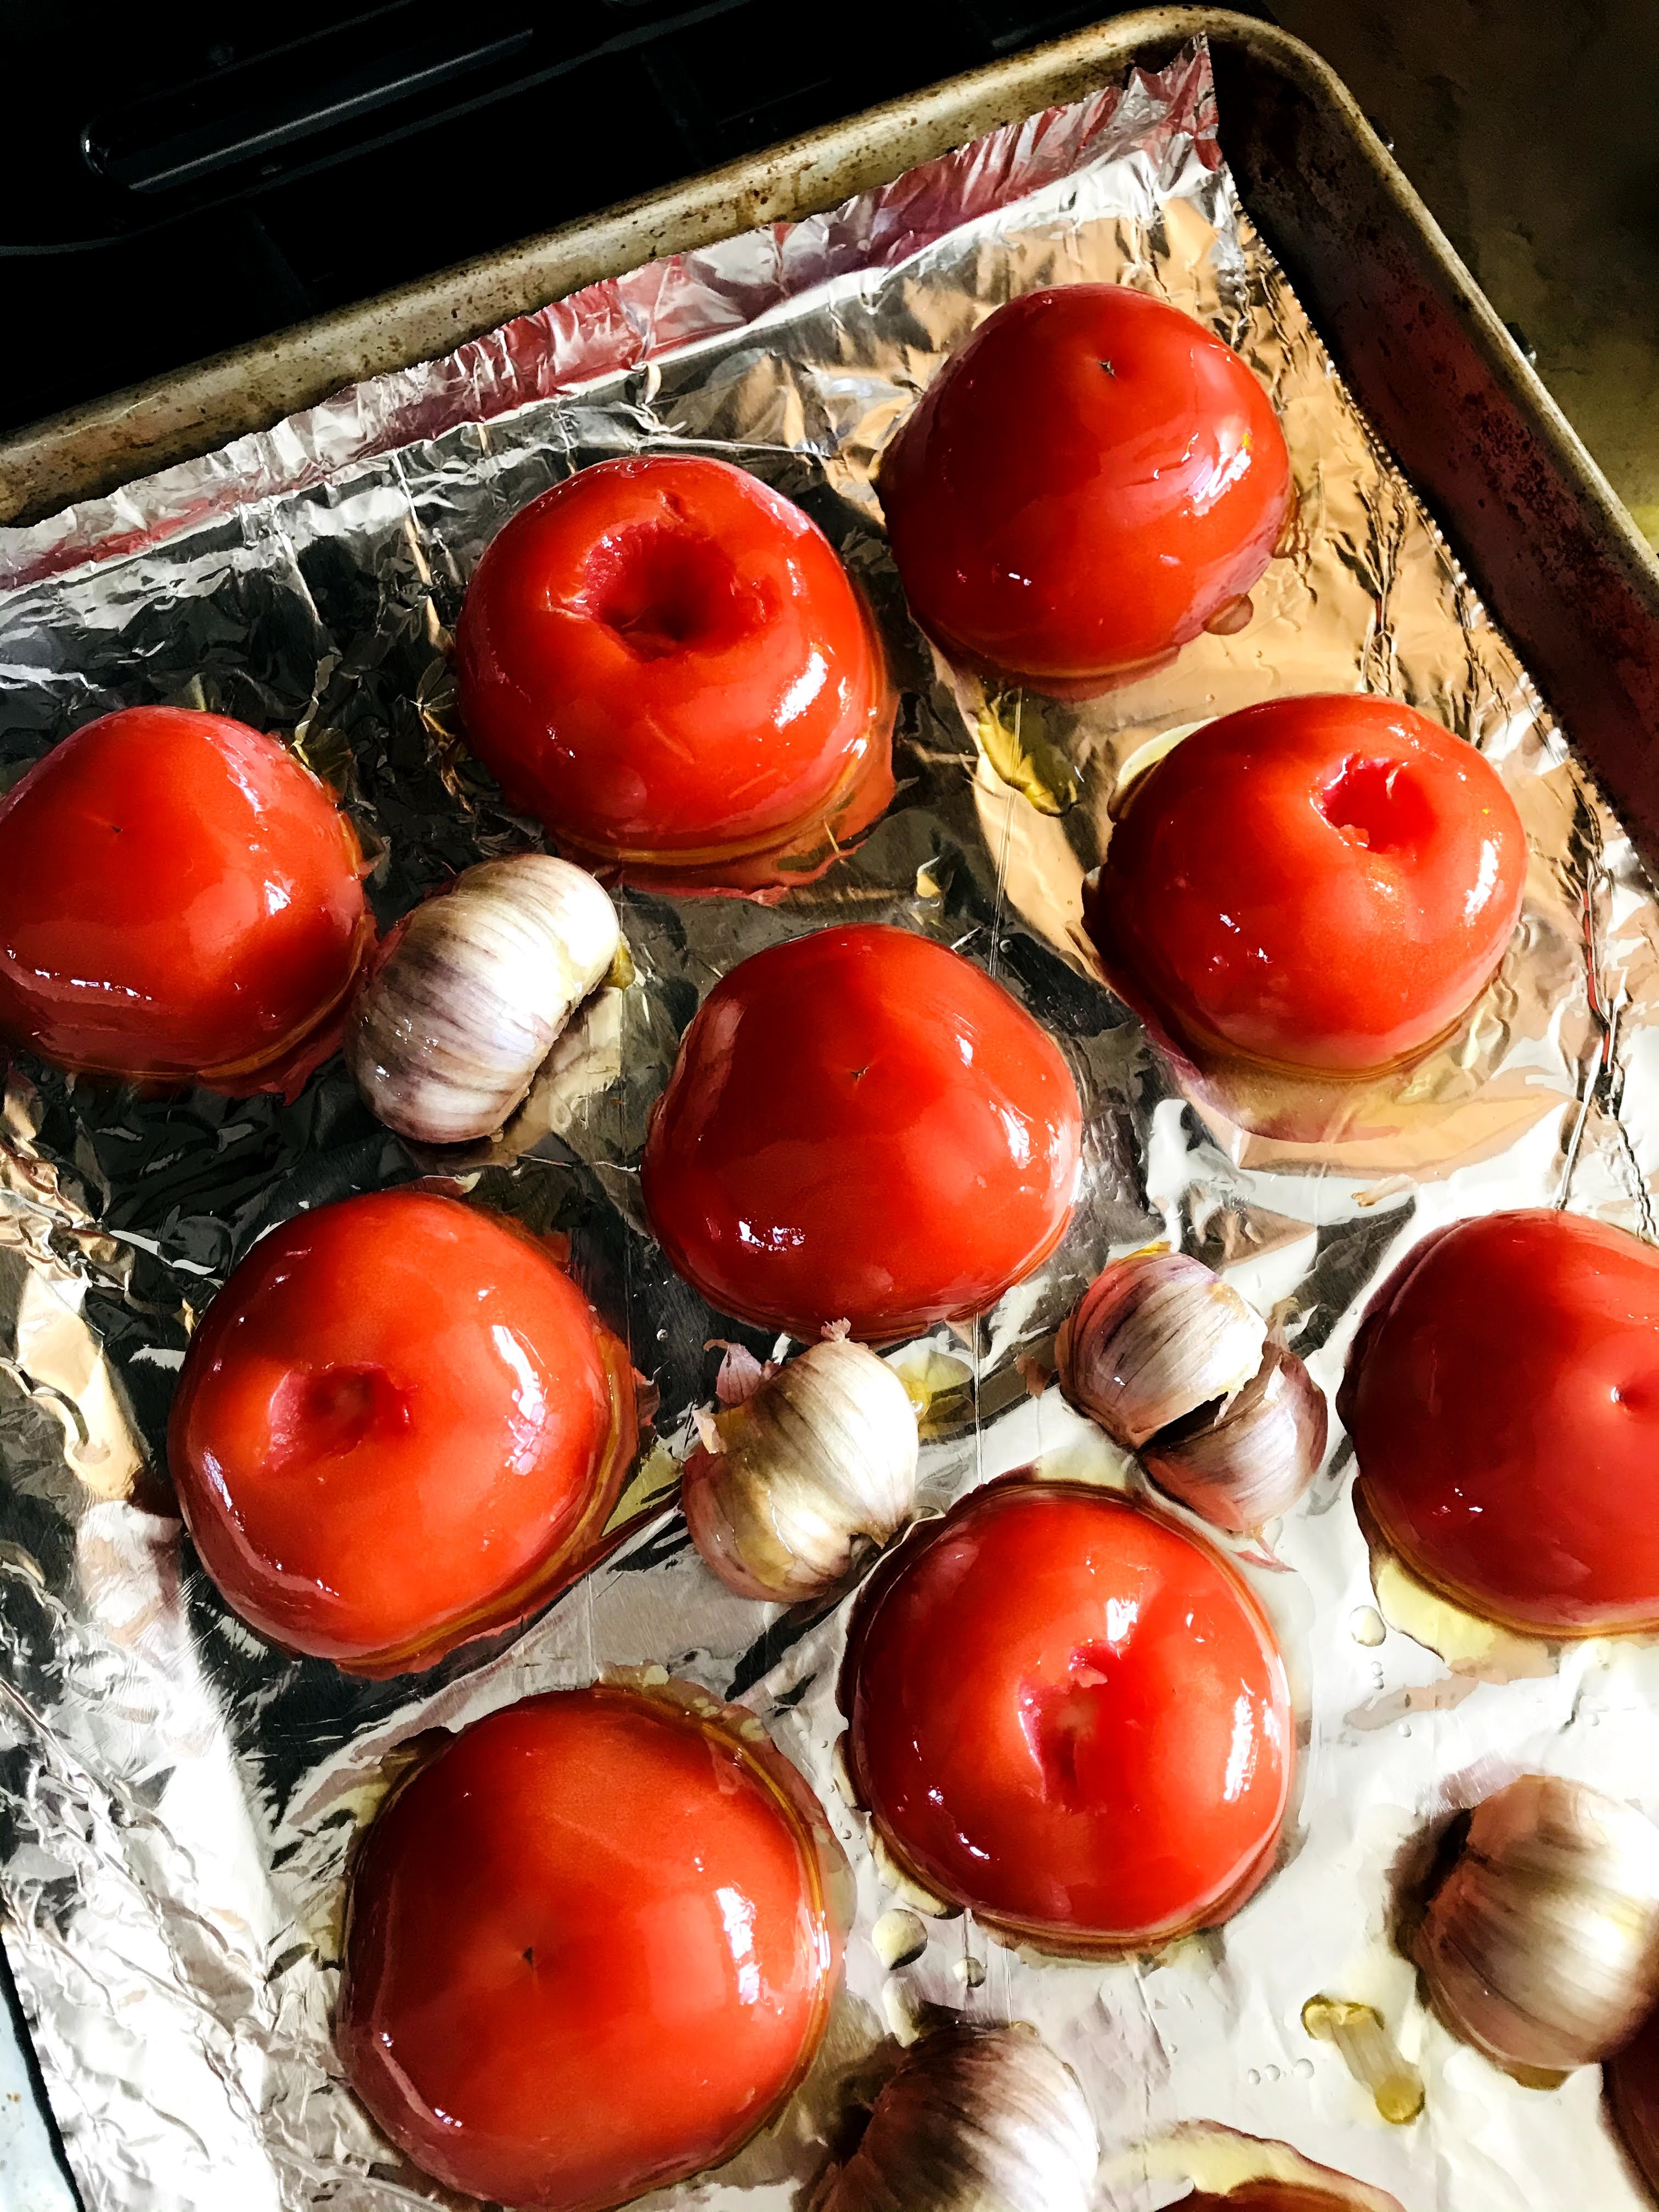
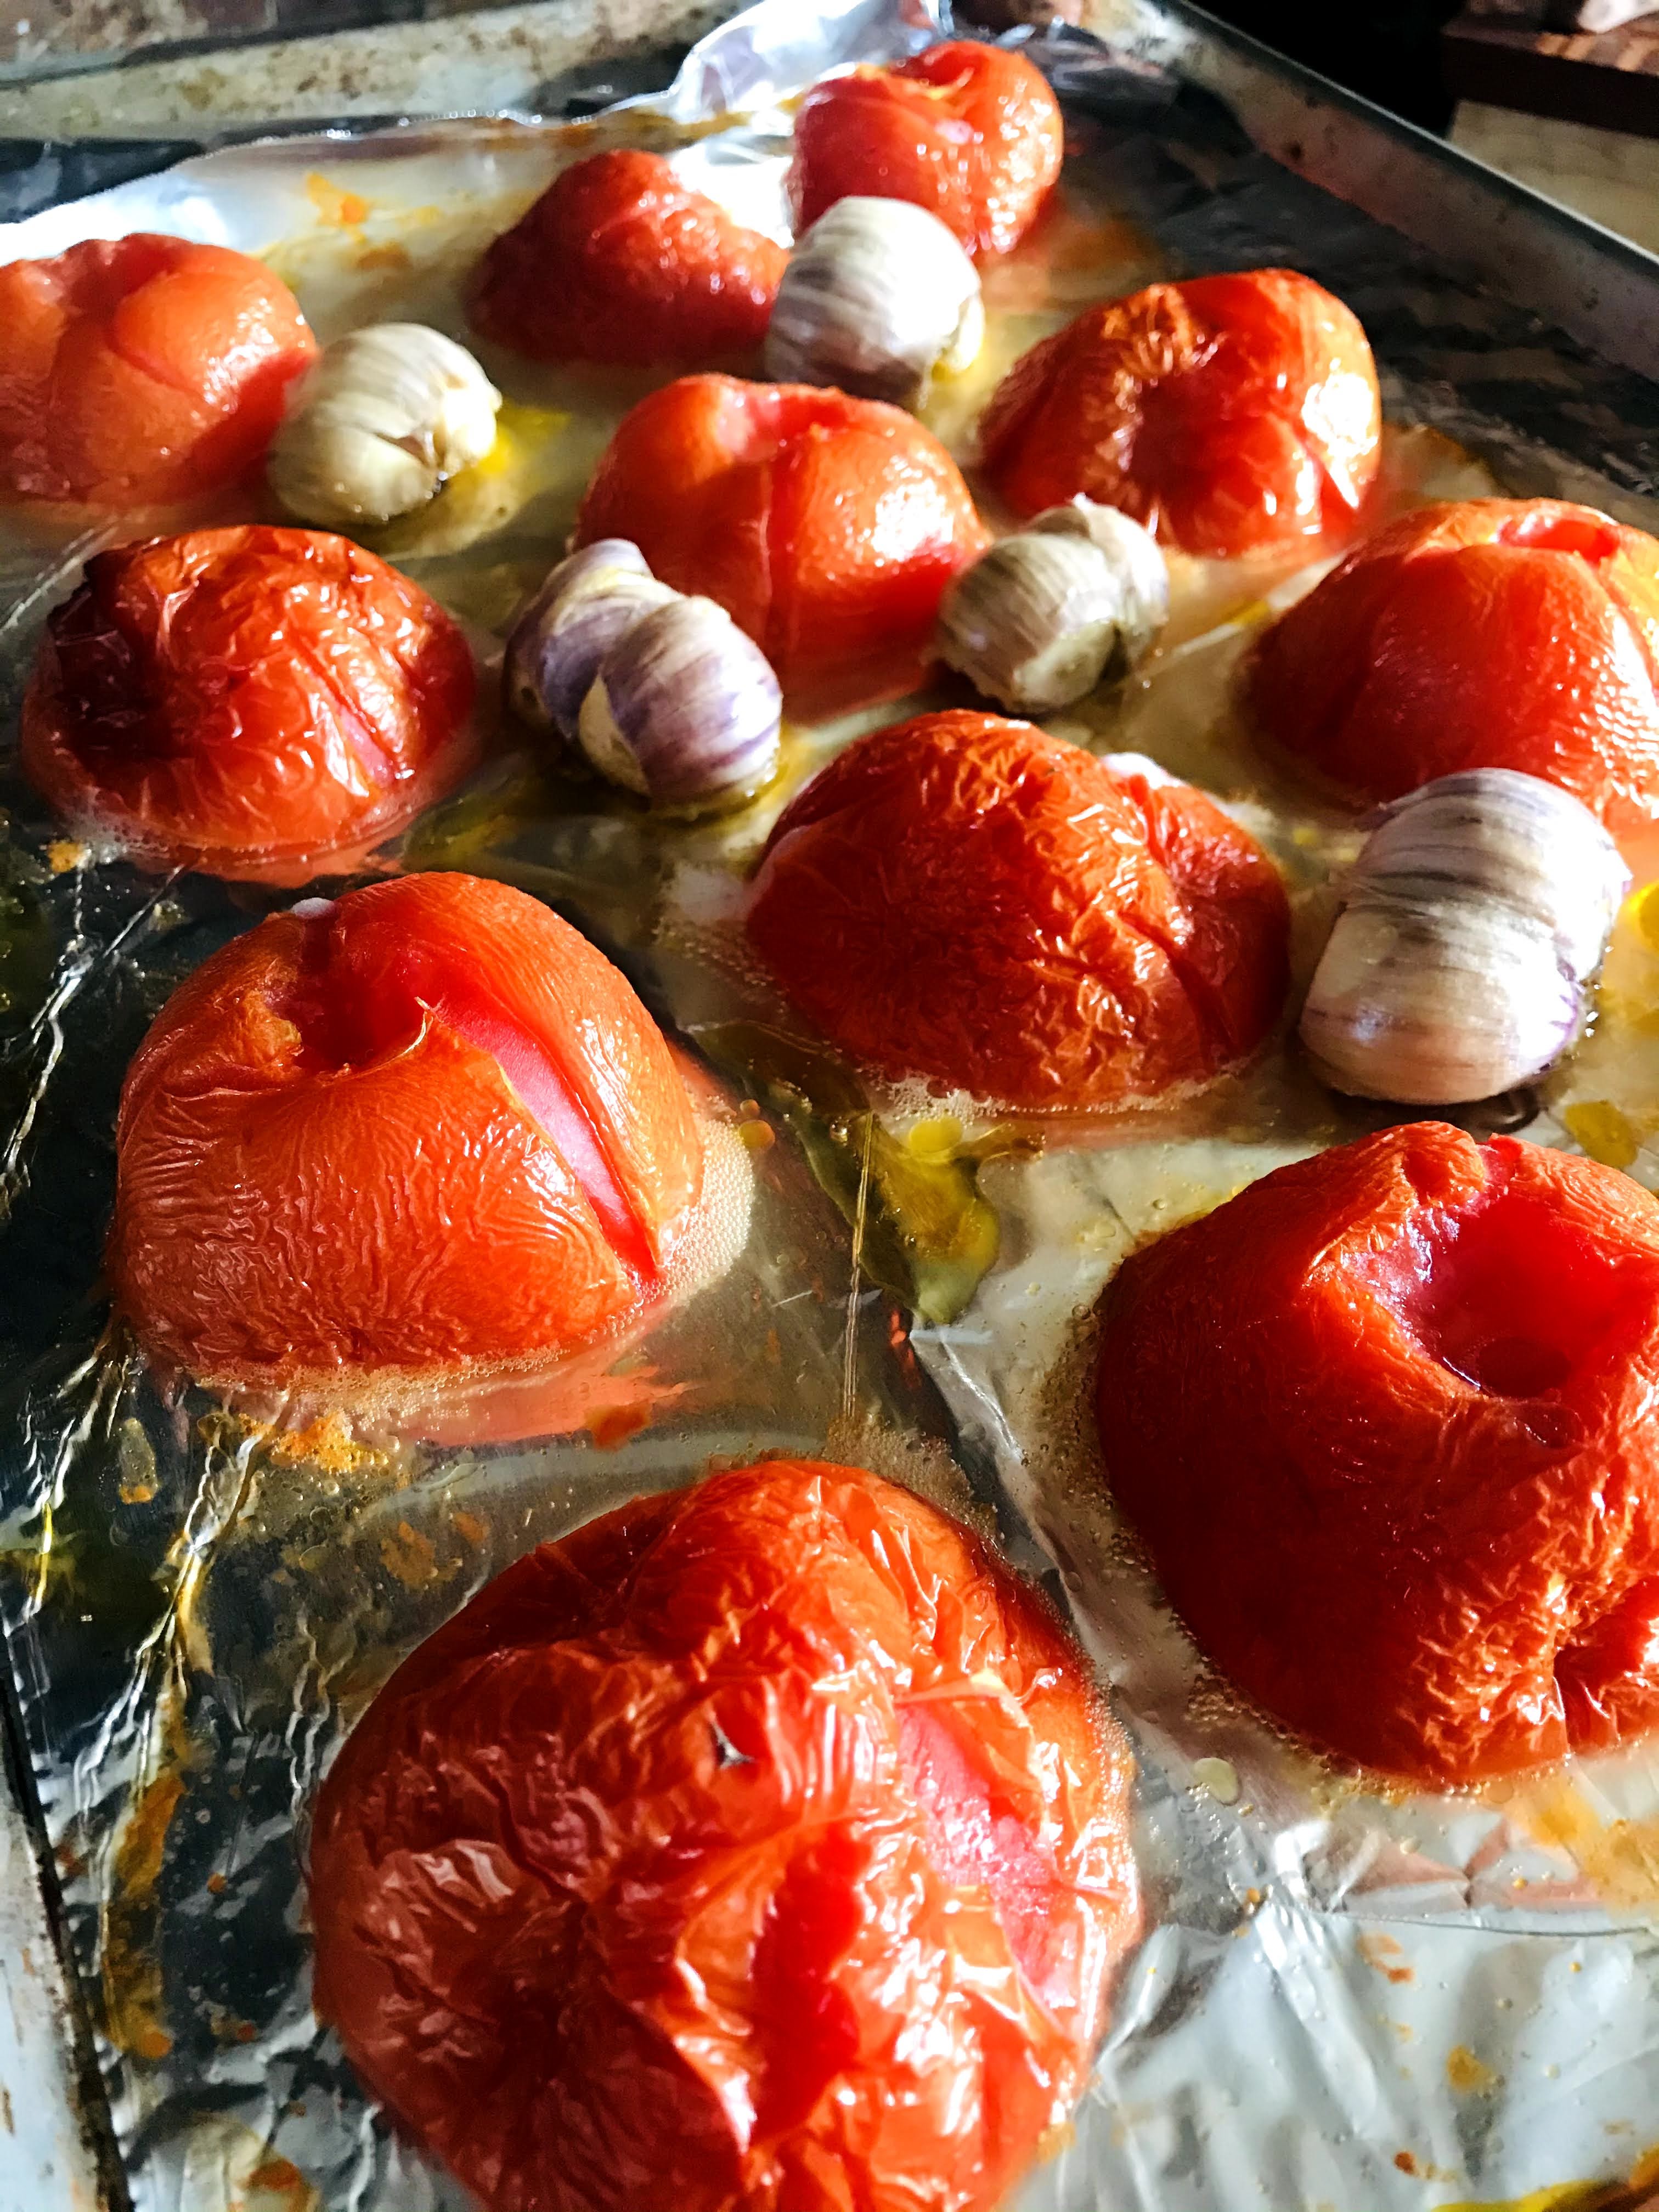
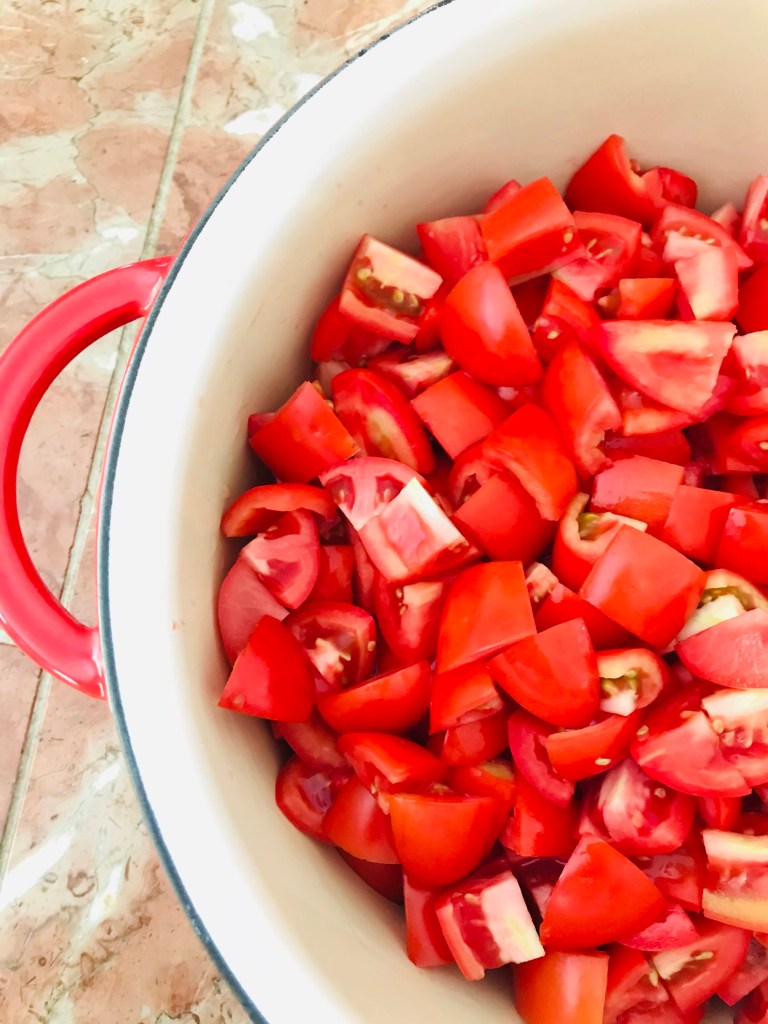
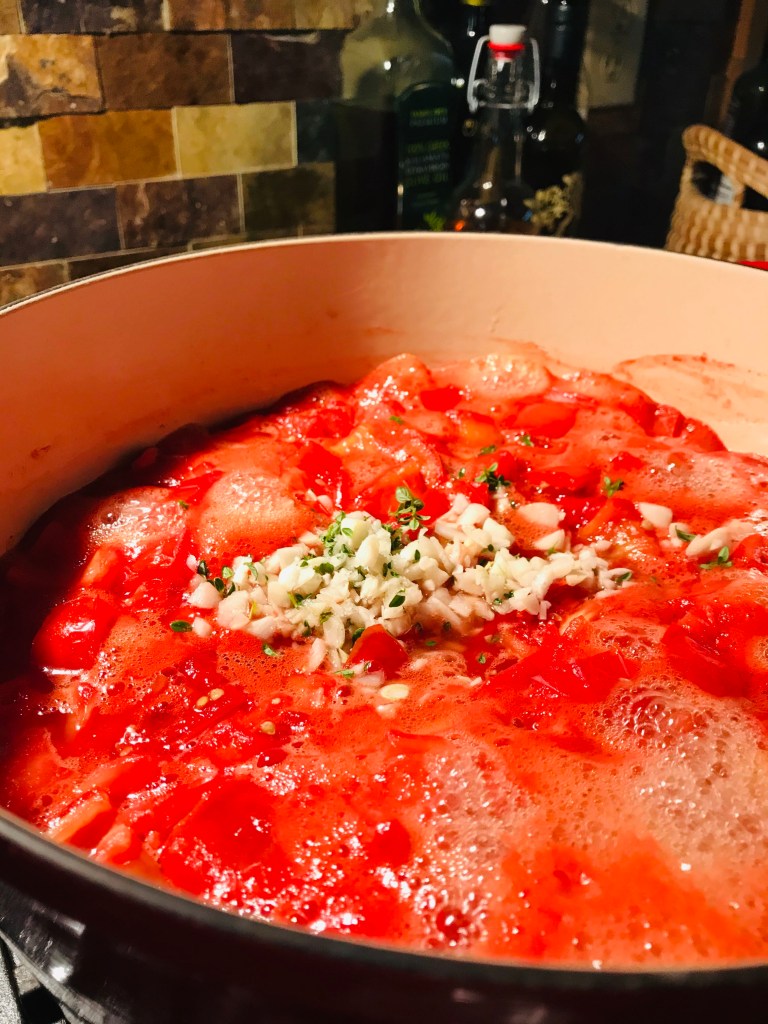
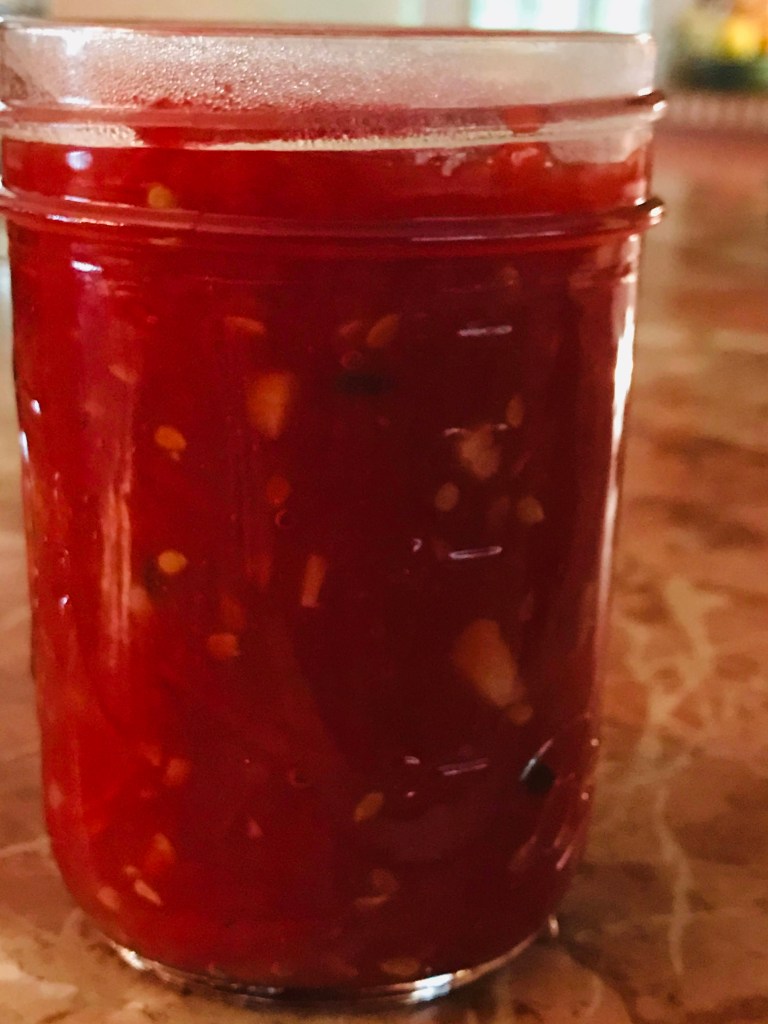
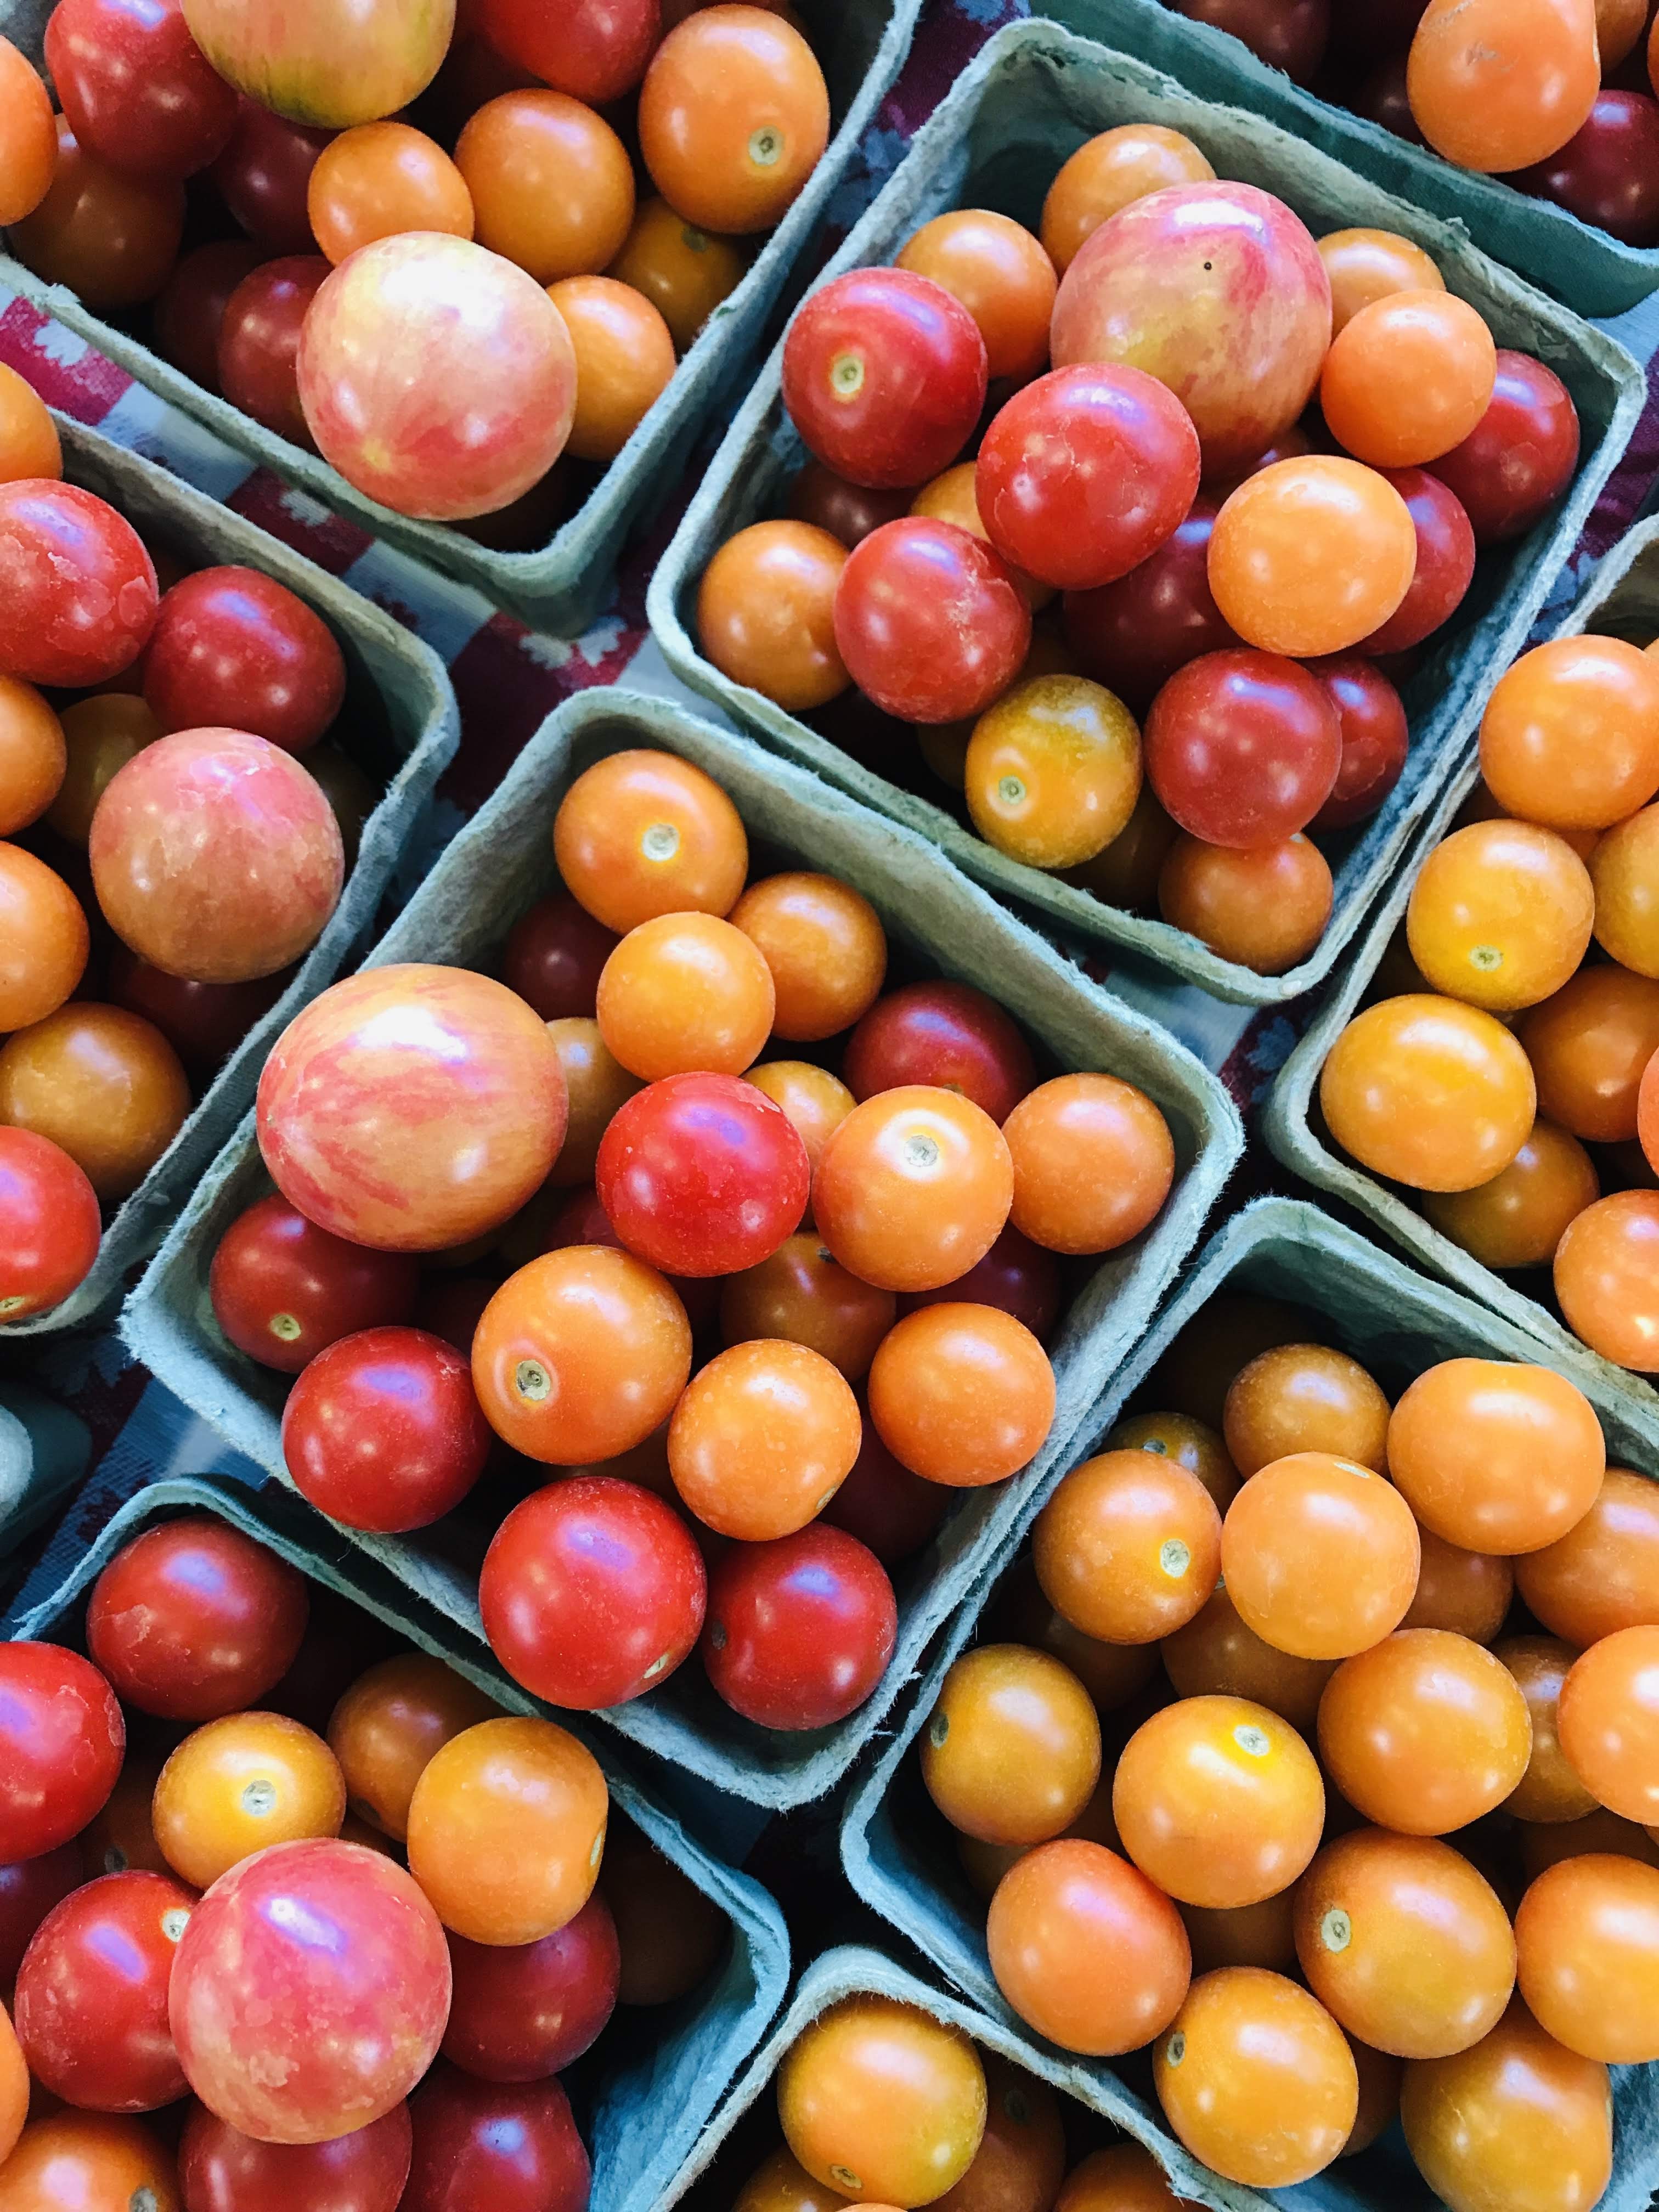
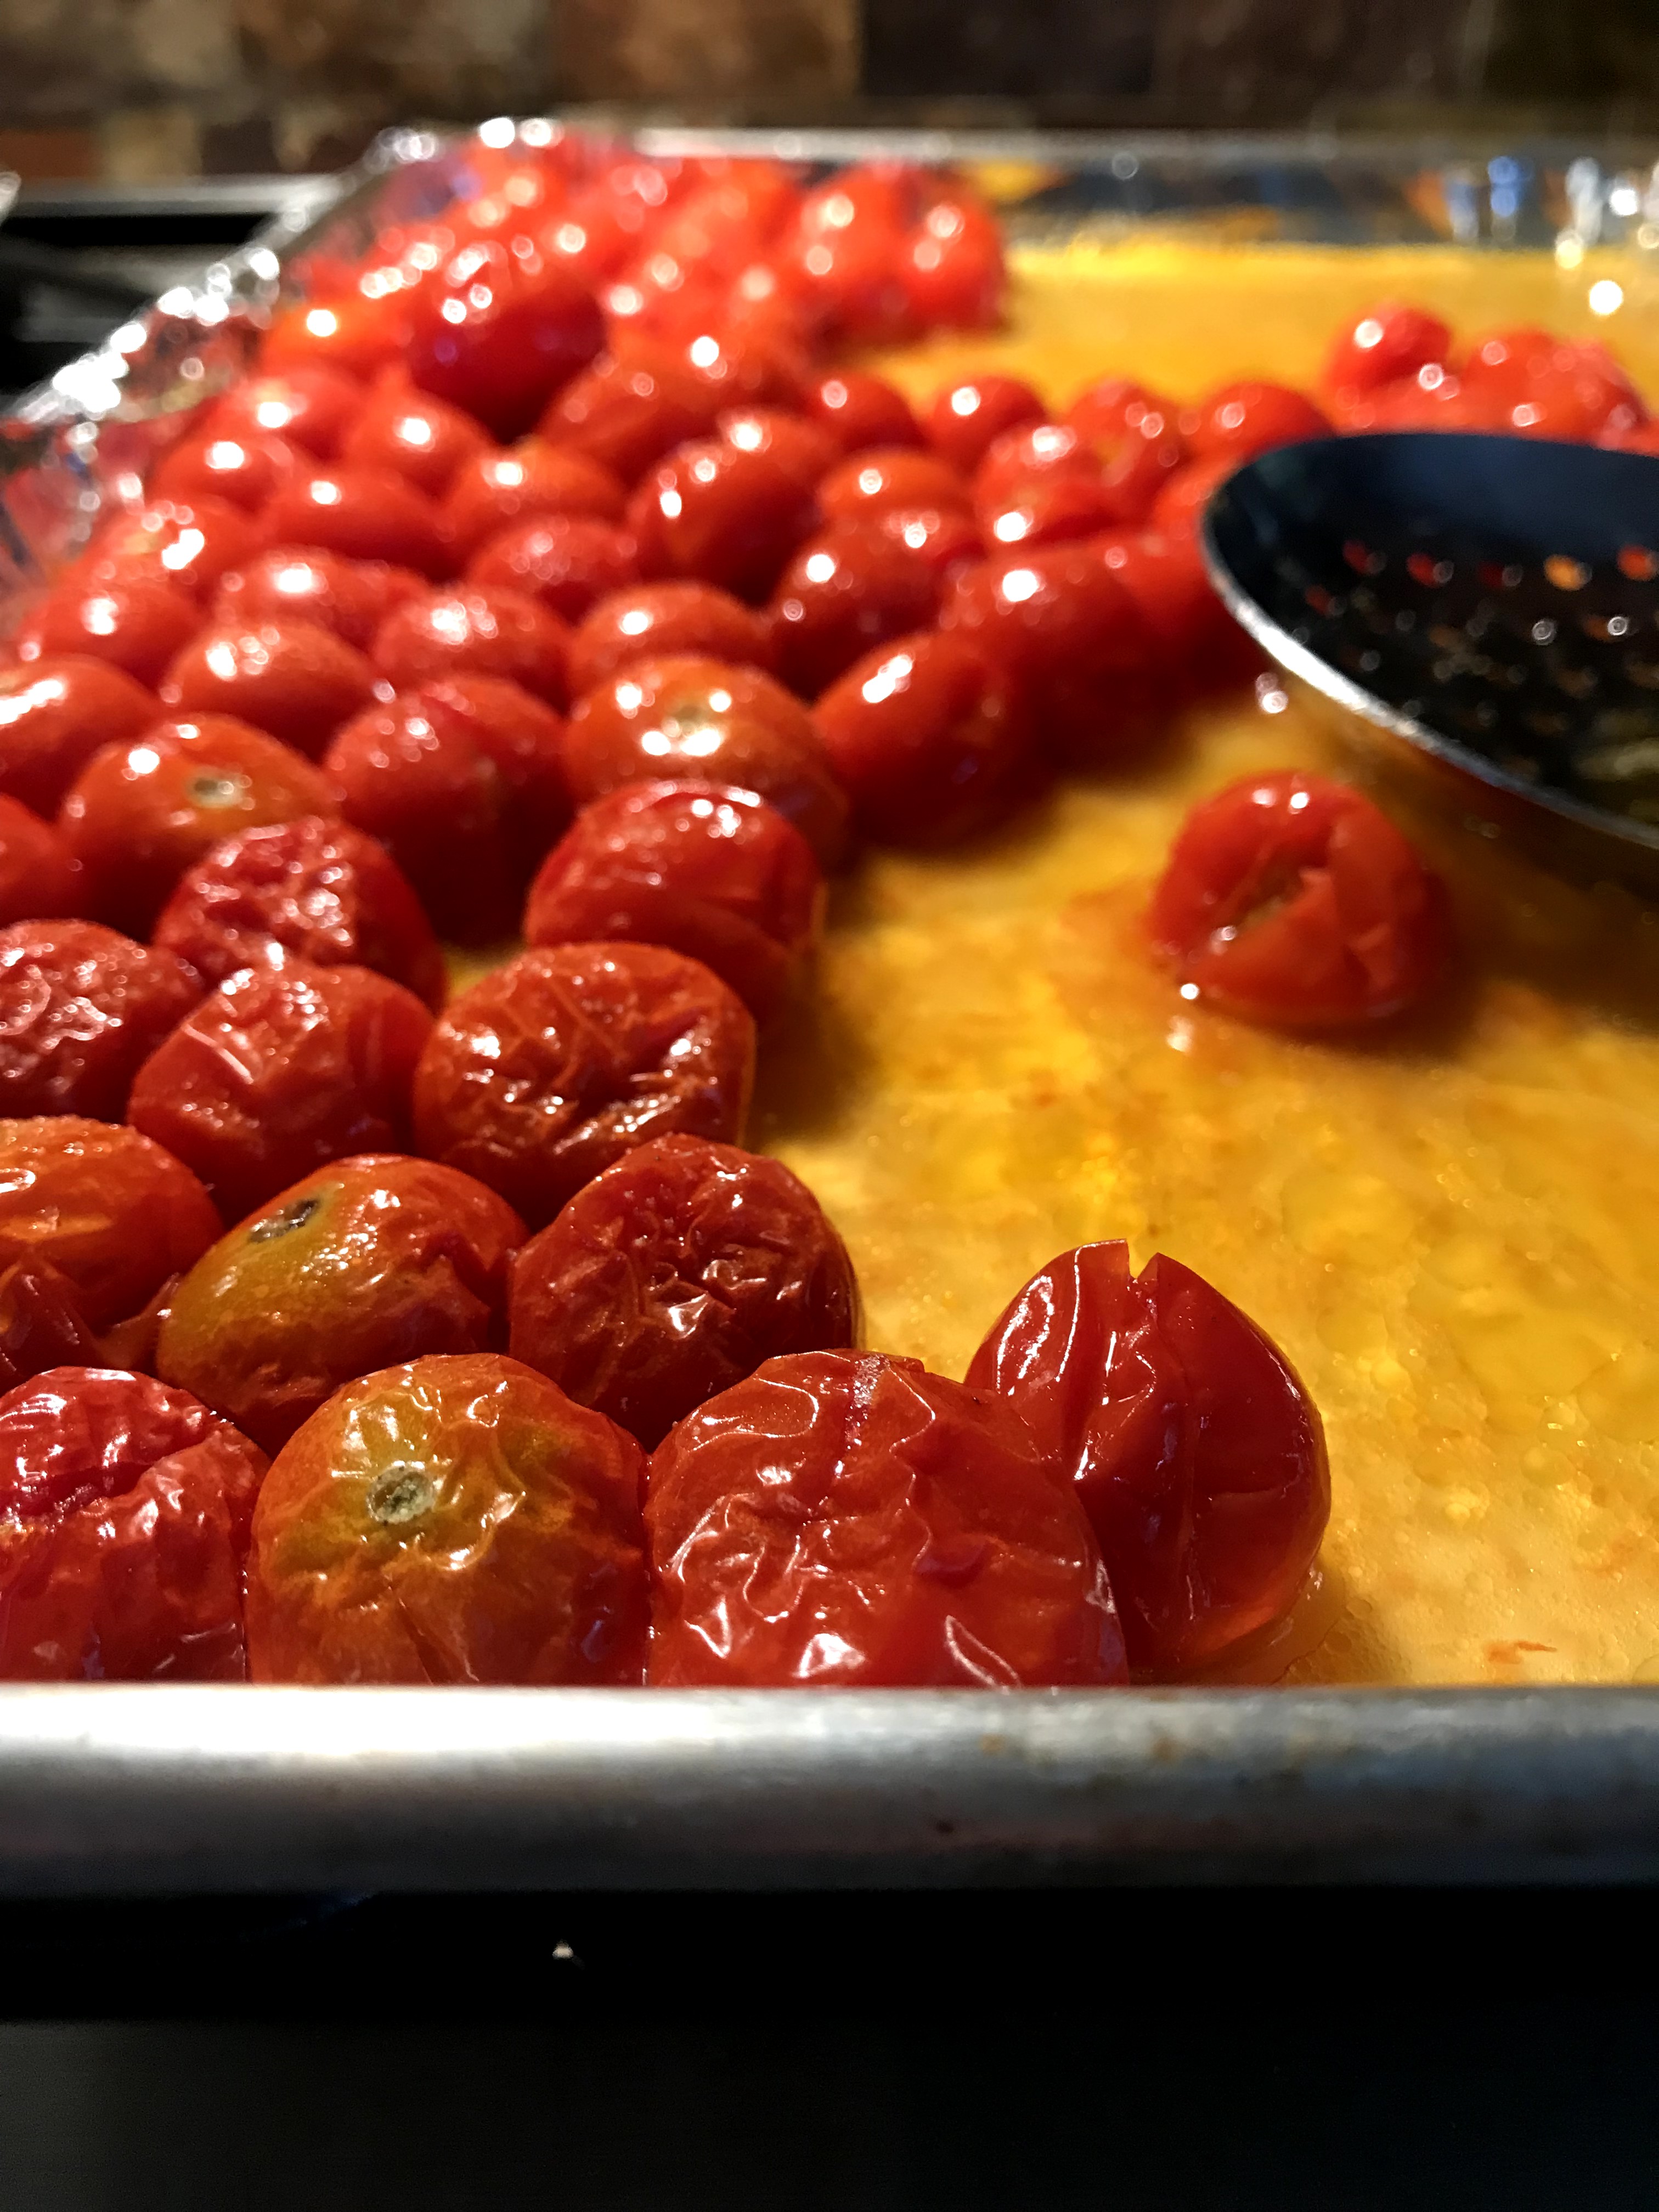
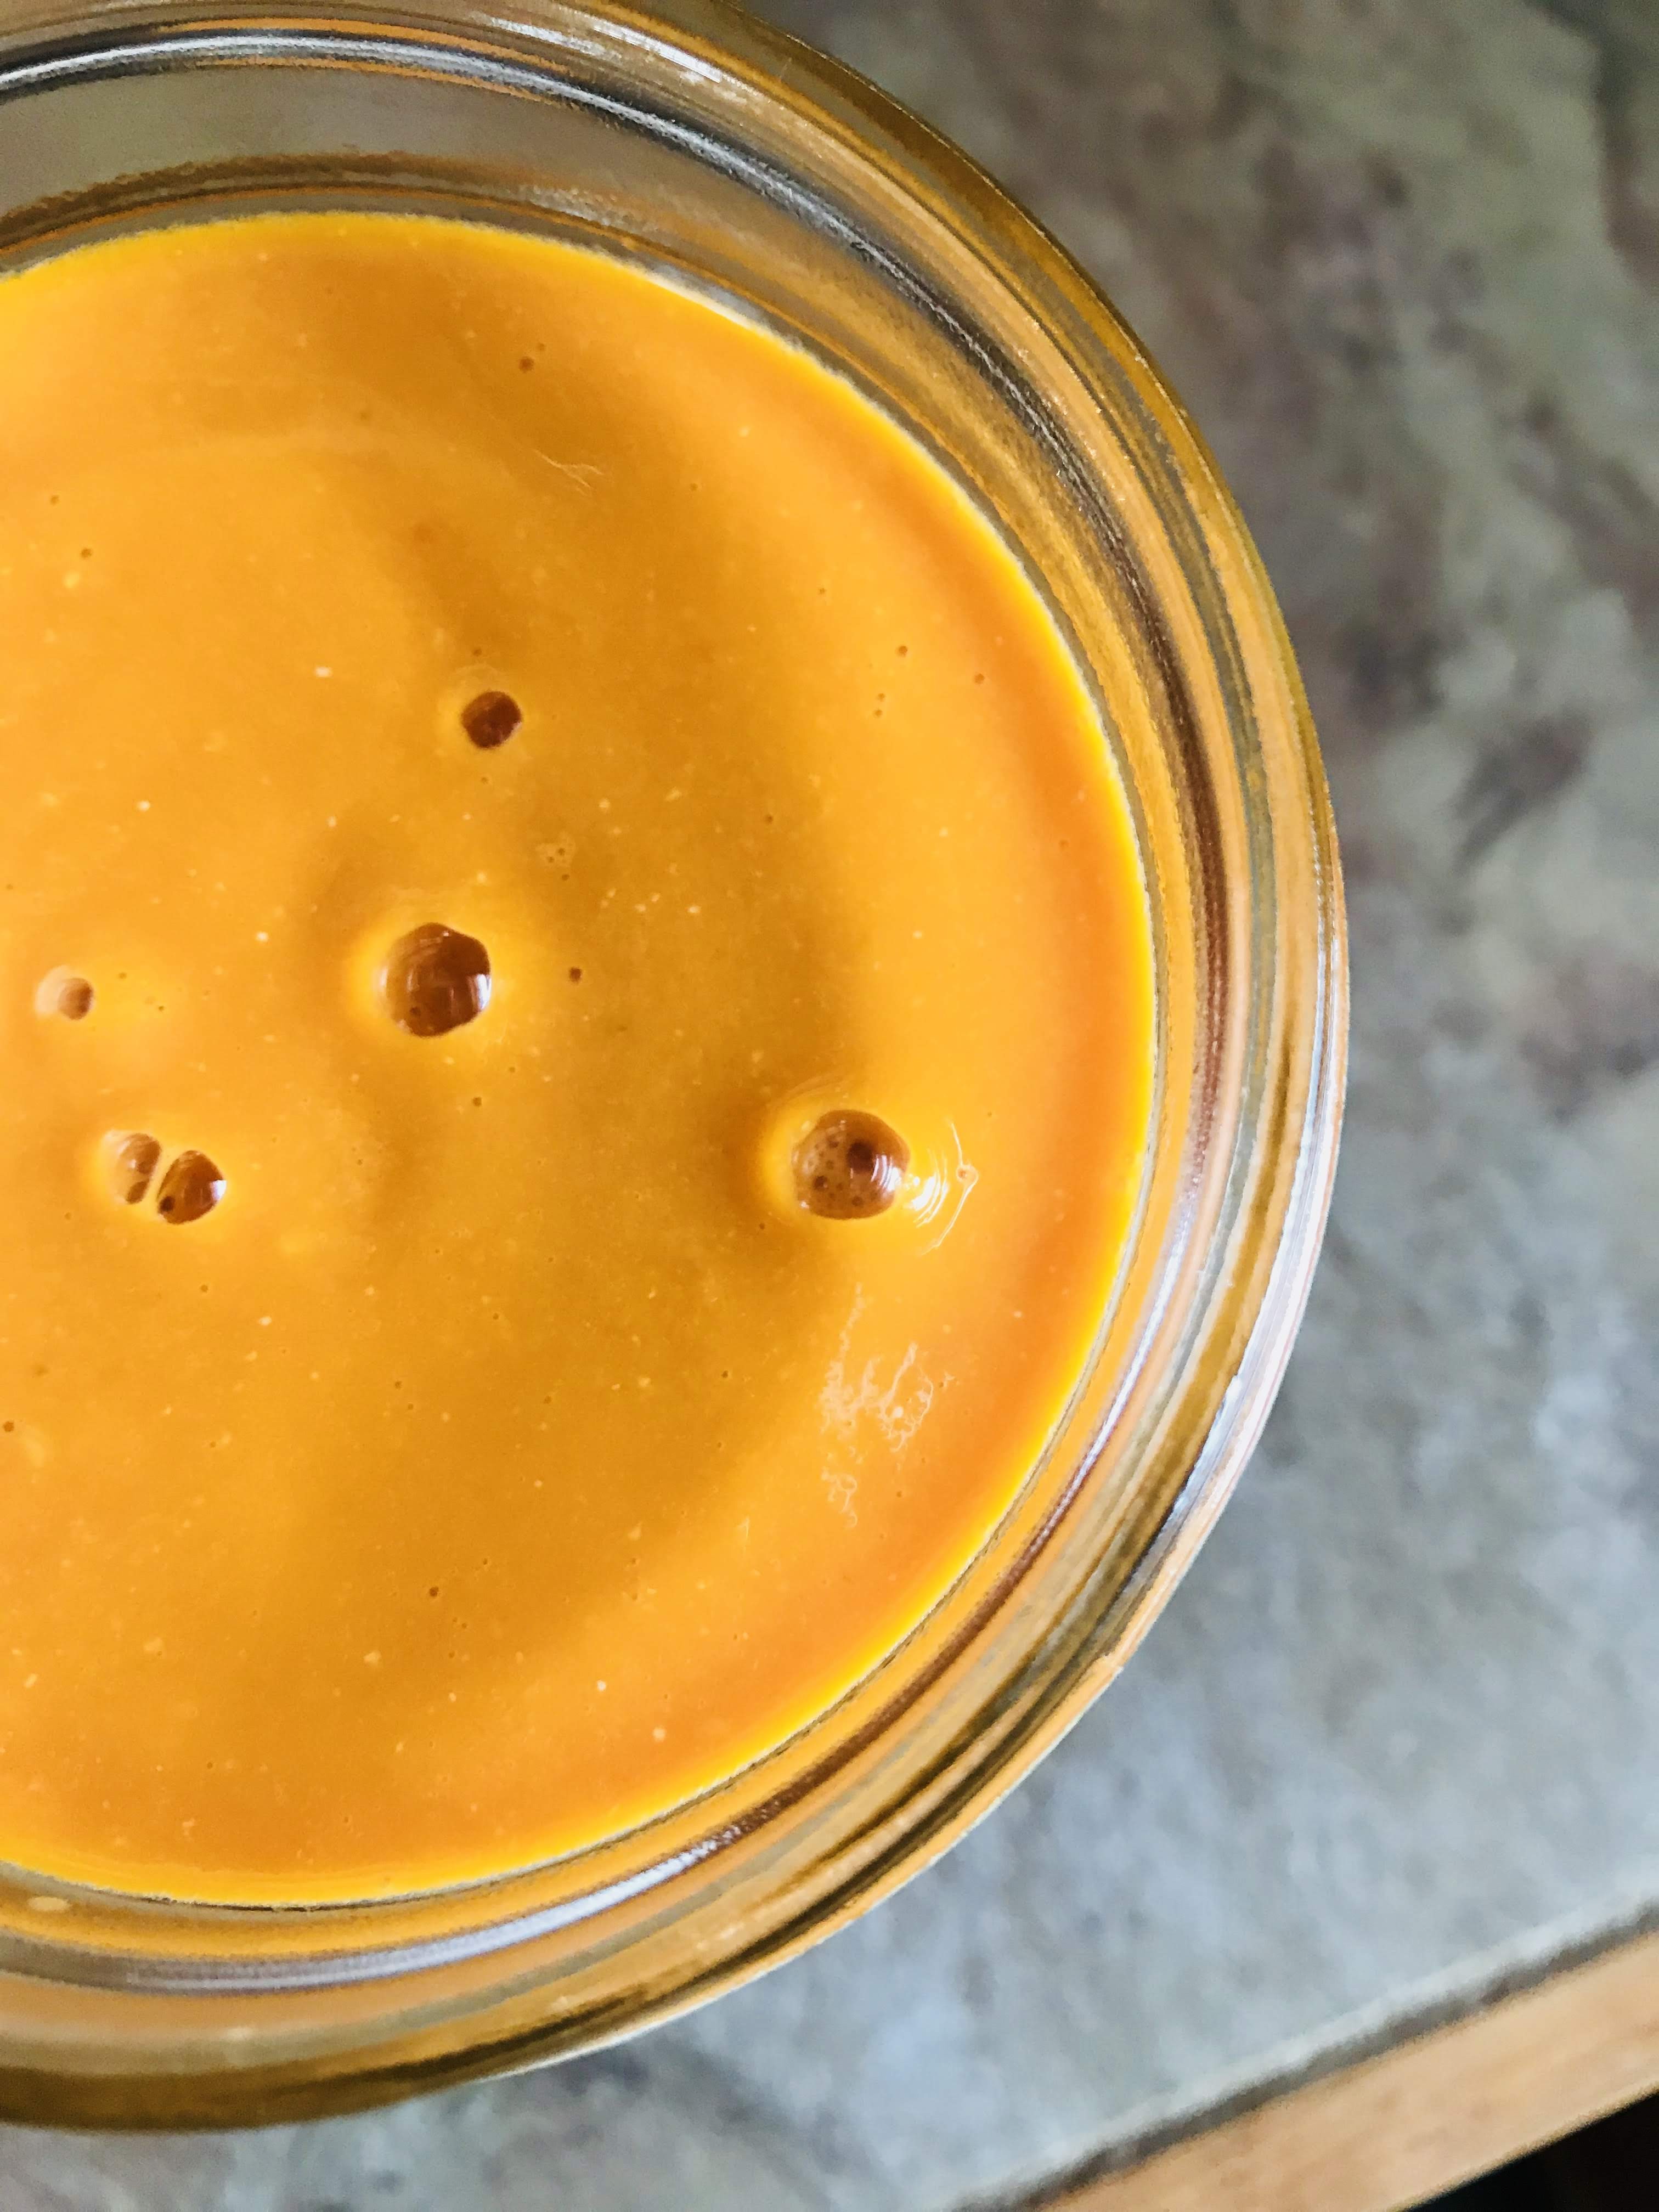
The following suggestions for a Self-Sheltering Pantry are by no means exclusive; feel free to adjust them to your family’s needs and/or preferences. Quantities should be adjusted for the number of your family members. A note about the cost of products; if income is limited, focus on non-perishable items first. For example, rice, dried beans, pasta and frozen and/or canned vegetables will give you the biggest bang for your buck! I would also consider discovering water-bath canning to take advantage of the fresh produce available during the summer months. I put up roasted tomato sauce, whole paste tomatoes, Asian pear sauce and chutney, pickled beets, tomato juice and cherry tomato soup. The quality of home-canned products is wonderful, and you get the added satisfaction of doing it for your family. 

When we think about refrigerator basics it’s important to keep in mind that the goal is to leave our homes as little as possible. This means that milk, and buttermilk for example should be powdered rather than fresh. I use half and half in my coffee, so I would switch to evaporated milk. These are the kind of choices that will allow you to stay safe in your home as much as possible. Certain aged cheeses have a long shelf-life so consider Parmesan, Pecornio, cheddar and/or Jarlsberg.

  • Plain yogurt, both regular and Greek (these products are good long after their fresh dates)
  • Unsalted butter (you can freeze butter without issue to extend its shelf life)
  • Aged cheeses (should not be frozen, but shredded cheese can be frozen)
  • Eggs
  • Jarred pesto
  • Carrots
  • Celery (consider chopping and freezing this vegetable to extend its shelf-life)
  • Citrus (lemons, limes and oranges) the zest is as beneficial as the juice

Let’s think about freezer basics. We want to remember that vegetables in frozen bags are preferable to boxes, as you remove the quantity you need and re-freeze. I prefer frozen vegetables to canned, but there are times that stores run quantity prices on canned, so be a smart shopper. Also, if you make your own stock, this too can be frozen, so do not throw away those roasted chicken carcasses! Consider what animal protein your family prefers and stock up on them during the summer. A note about meat: due to the current issues with commercial processing plants, you might consider purchasing from your local farmer that offers beef, pork, lamb and/or poultry

  • Frozen vegetables (corn, broccoli, spinach, hash browns, peas)
  • Frozen berries
  • Bacon
  • Animal protein of your choice
  • Sausage in bulk (such as Italian or breakfast)
  • Smoked sausage
  • Pizza crusts (homemade pizza is sooo much better than pre-made)

On to canned and jarred items. Even though I water-bath can a ton of tomatoes, I also have commercial canned tomatoes and beans on hand. We cook so much with these items I need the quantity. Although I do have canned beans on hand, I am an advocate for dried beans. They have a very long shelf-life, and once you learn how to cook them you will be amazed at the difference in quality. Many broths and stocks now come in cartons rather than cans. I purchase stock rather than broth due to the sodium content. Keep in mind how easy it is to make your own stock for pennies.

  • Canned tomatoes (whole, diced fire-roasted and crushed)
  • Tomato paste
  • Stock
  • Beans (cannellini, chickpeas, black beans, kidney)
  • Roasted red peppers
  • Olives (Kalamata and green)
  • Full fat coconut milk (for curries and soups)

When we think about grains and/or legumes we can think in a much more expansive way, as their shelf-life in almost indefinite. I’m a cookbook collector, but the internet is loaded with recipes using any of these suggestions. Don’t be afraid to try new recipes and ideas. Food even during a pandemic can be an adventure.

  • Quick cooking polenta
  • Stone-ground cornmeal
  • Oats
  • Jasmine and brown rice
  • Arborio rice for risottos
  • Pearl barley
  • Lentils (green, brown and red)
  • Beans! (black, chickpea, kidney, pinto)
  • Wild rice
  • Dried pastas (spaghetti, penne, rigatoni, fettuccine, lasagna & orzo)
  • Plain dried bread crumbs
  • Quinoa
  • Grits

I had to laugh the other day when I realized when I did my Well Stocked Pantry in my new cookbook, that I neglected baking supplies! I’ve always considered myself a cook, not a baker. However, since my foray into bread baking started, these ingredients are indeed paramount!

  • All-purpose flour
  • Bread flour
  • Yeast
  • Baking soda
  • Non-aluminum baking powder
  • Cane sugar
  • Brown sugar
  • Honey
  • Pure maple syrup
  • Salt
  • Ghee (clarified butter)
  • Powdered milk
  • Powdered buttermilk
  • Canned condensed milk
  • Cocoa

Now we are onto oils, vinegar’s, condiments and flavorings. These are unique to the way each of us eats. None the less, they are important items to have on hand for flavor enhancement for many dishes. You decide which are important to you.

  • Olive oil
  • Vegetable or avocado oil
  • Dijon mustard (both fine and coarse)
  • Mayonnaise
  • Anchovies
  • Ketchup
  • Worcestershire sauce
  • Barbeque sauce
  • Dried herbs (dill, thyme, sage, oregano, Italian seasoning blend, bay leaves)
  • Spices (such as chili powder, cumin, cinnamon sticks, ground cinnamon, curry powder, ground mustard, ground ginger, nutmeg, paprika, crushed red pepper flakes, cayenne pepper, black pepper)
  • Toasted sesame oil
  • Capers (I personally cannot live without them)
  • Vinegar (balsamic, red-wine, white-wine, apple cider, rice and sherry)
  • Asian condiments: soy sauce, fish sauce, mirin, oyster sauce, gochujang sauce

Let’s consider what nuts, seeds and dried fruit to keep on hand. Consider using them in baked goods, salads and stews. They add interest, flavor and contrast.

  • Pecans
  • Walnuts
  • Almonds
  • Raisins (regular and/or golden)
  • Dried apricots
  • Sun-dried tomatoes
  • Sesame seeds
  • Tahini
  • Nut butters
  • Prunes, cherries and cranberries
  • Dates

Pantry vegetables are a little tricky as their shelf-life can vary depending on their quality and your ability to keep them in a cool, dry, and well-ventilated place. I suggest you keep only hardy vegetables on hand. Potatoes and garlic should not be refrigerated; keep them in baskets or bins. Do not store them in plastic, which will encourage mold. Keep onions, shallot and garlic separate; it’s especially important to keep potatoes and onions apart since they can cause each other to spoil.

  • Onions
  • Shallots
  • Potatoes
  • Sweet potatoes
  • Fresh garlic

Last but not least is the miscellaneous section. We all have items that are not negotiable during stressful times.

  • Coffee
  • Tea
  • Booze
  • Cocktail ingredients
  • Chocolate

Remember when contemplating what to have on hand for your family, you know them best. This list is by no means meant to be a complete rendering of everything you might need, but it certainly will help.

“If ever there was a time for Twisted Basics it’s now.”

Cherry….Cherry Baby!

Here at the farm, we try to use whatever the land serves up; whether perfect, imperfect or abundance overload.  As we wait somewhat impatiently for our summer slicing tomatoes, we are totally excited that our cherry tomatoes are producing their delicious little orbs.  When they come on strong, as they are now, we take tons to market; but the real excitement is when I start roasting them for cherry tomato soup!  I love to stock the larder each year, and this is often where I start.  Using Sun Gold and Sweet 100’s separately or combined will offer up some of the best tomato soup you have ever tasted, and it uses only 4 ingredients! As a farmer I will have to say that the variety of cherry tomatoes does matter.  Taste your produce before purchasing to make sure yours are sweet and flavorful.  For those of you not inclined to can your produce, this soup freezes well in pint containers.  I roast two large sheet pans at a time, which will yield 5 pints of soup.  This is also when you can use your frozen roasted garlic cubes (from a previous blog post) adding it to your blender for additional depth.

When the weather gets cold (and it will get cold!) it is a real pleasure to open up a pint of this soup; top it with homemade croutons or basil oil as a starter.  And of coarse you will never go wrong with a white cheddar grilled cheese sandwich to dunk in a steaming bowl of this deliciousness for lunch!

img_4872

ROASTED CHERRY TOMATO SOUP

INGREDIENTS:

  • 8 pounds of cherry tomatoes (a pint is a pound the world round)
  • 2 heads of garlic, cloves separated, peeled and divided (skip this step if using your frozen roasted garlic cubes
  • 1/2 cup extra-virgin olive oil, divided
  • 2 teaspoons sea salt (I use Maldon), divided

DIRECTIONS:

  1. Preheat oven to 400 degrees F.  Using two large rimmed baking sheets, place 4 pounds of cherry tomatoes in each one.  Sprinkle one peeled and separated head of garlic on each sheet pan.
  2. Sprinkle 1/4 cup olive oil over each pan and with the palms of your hands, roll the tomatoes around until they are all evenly coated with oil.
  3. Sprinkle 1 teaspoon of sea salt over each sheet pan.
  4. Roast for 30-40 minutes or until tomatoes are slightly colored and bursting; turning sheets from top to bottom halfway through.  Remove from oven and let cool.
  5. Prepare 5 pints for canning or freezing.  If you have a Vita Mix use it.  I can usually get one sheet pan per blender batch.  If you are using your frozen roasted garlic cubes, add one cube per batch.  Blend thoroughly and taste for salt.  Add more if needed.  In a large bowl with a wire mesh strainer over it; pour half the tomato mixture into the strainer and scrape a silicone spatula over the bottom to remove  skin and/or seeds.  (you can skip this step if the seeds don’t bother you; I like my soup with a silky texture)  Pour into pint jars leaving 1/2 inch headroom or freezer containers leaving 1 inch headroom.  Repeat process with second sheet pan.
  6. Water bath pints for 15 minutes or freeze.

img_3106

img_3108

Yields: 5 pints

“There is nothing that tomato soup and a grilled cheese sandwich can’t fix!”


Swimming In Heirloom Tomatoes!

Rich, roasted tomato sauce!

Rich, roasted tomato sauce!

This just seems like the right time to re-blog this post, since we are at the height of tomato season!  After making a “double” batch of roasted sauce today, the yield was 4 pints of tomato stock (I use this for soups or risotto) 8 pints and 3 quarts of rich tomato lusciousness!

Basics with a Twist

I know….it’s my third tomato post, but what in the world is August for if not tomatoes?  When I returned home from market on Friday and unloaded the van, I went into the barn to find every available surface covered with tomatoes.  I went about pulling and packing for the following market day.  We have a large garbage can for the fruit that has ‘gone south’ and can’t be used.  This gets divided between our chickens and our compost pile.  The tomatoes that are merely bruised or damaged in some way I put to the side to roast in slices and freeze.  By the time I was finished sorting for Saturday, I had a whole tub of heirlooms.  I realized that these would take way too much time to roast in slices.  I needed to do something different.  I was staring at the vibrant colors of Caspian Pinks, Cherokee Purples…

View original post 493 more words

Never Too Much!!

We’ve all heard by now the growing importance and benefits of fermentation.  During the growing season when cucumbers, zucchini and other vegetables are so abundant you might be tempted to drop them anonymously on your neighbors doorsteps; it’s a great time to think about the winter larder.  I enjoy putting up food.  There’s nothing better than opening a jar of summer in the middle of winter.  It helps me to appreciate the life we’ve chosen and the obvious health benefits.

I enjoy both the color and flavor of pickled squash.  This recipe is flexible enough to use any squash that seems to be coming out of your ears.  Summer squash, zucchini (any variety) or my favorite, patty-pan.  I select small or medium sized squash as you don’t want the seed cavity to become to large, otherwise your pickles become mushy.  I also don’t use the amount of sugar typically recommended in many recipes; I find the brine way too sweet for my taste.  I typically triple this recipe if I’m hauling out all the canning stuff anyway. These little gems have become family favorites.

Fresh and abundant

Fresh and abundant

Patty-Pan Squash Pickles:

  • 4-6 patty-pan squash, washed, halved vertically and sliced 1/4 inch thick (approximately 12 cups)
  • 2 medium sweet onions, halved vertically and sliced in 1/4 inch thick half moons
  • 2 red, orange, yellow or combination, seeded and sliced in 1/4 inch pieces equally 4 cups
  • 1/3 cup pickling salt
  • Ice cubes
  • 2 cups white vinegar (5% acidity)
  • 1 cup can sugar
  • 1 tsp. mustard seeds
  • 1/2 tsp. celery seeds
  • 1/4 tsp. ground turmeric

Ready for the pint jars

Ready for the pint jars


Toss squash, onion and bell pepper strips with pickling salt in very large bowl.  Cover vegetables with ice cubes.  Cover and let stand for 3 hours.Sterilize pint jars, and prepare lids.  While jars are boiling, drain vegetables, but do not rinse, discarding brine and any unmelted ice.  Combine vinegar, sugar and spices in a small saucepan; bring to a boil over medium-high heat.

Pack squash into hot jars, leaving 1/2 inch head space.  Cover with hot brine leaving 1/2 inch head space.  Seal and process jars for 10 minutes.  Remove jars from water and let stand for 24 hours.  Make sure each jars seals by pushing in the middle of each lid.  They should not pop.  Refrigerate after openings.  Makes 4, 1 pint jars.

Healthy & delicious patty-pan pickles.

Healthy & delicious patty-pan pickles.


“There may be many metaphors for living…. but we have to do the living.”