Often times, during the growing season fatigue sets in at the end of the day and preparing a meal takes a back seat. For the past two farm seasons, I’ve been in the process of healing from a major intestinal bleed-out and have not be able to actively weed or harvest vegetables along side Val and our farm hand Zac. After two days at market, it literally takes the next four or five to rest and recover. Val my ever-ready bunny continues to be the mover and shaker at Brickyard Farms. She deals with the additional workload without complaint, always upbeat and positive. My “job” is to keep up with the bookkeeping, marketing and prepare a decent meal.
I’m embarrassed to admit in the past I have typically approached meal planning with what do I feel like cooking? Rather than, what do we have and how can I use it creatively? It has taken time to really grow into a sense of place on our farm. That left over feeling of entitlement from my previous life sometimes blocks recognizing the incredible abundance we have here. With 5.5 acres of chemical-free vegetables and easy access to local cheese and meat; why would I choose to cook anything else? So my current mission is to create meals using only the vegetables that we grow before anything else is considered. I allow myself a wide array of condiments and spices, but the foundation comes from the farm.
This week there are carrots, potatoes and tomatoes for starters, so I opted for a roasted concoction inspired by Yotam Ottolenghi. It was the first time I had added a dressing to warm veggies. The result made me weep with the realization that there is no lack of anything, only an overflowing abundance.

Warm out of the oven ready to be tossed with the dressing.
Roasted Vegetables With Caper Vinaigrette:
- 6 carrots, peeled and cut in 3 inches lengths (for larger carrots, halve lengthwise and quarter)
- 4 medium red onions, cleaned, peeled and quartered vertically
- 1/2 cup olive oil
- 4 fresh thyme sprigs
- 2 fresh rosemary sprigs
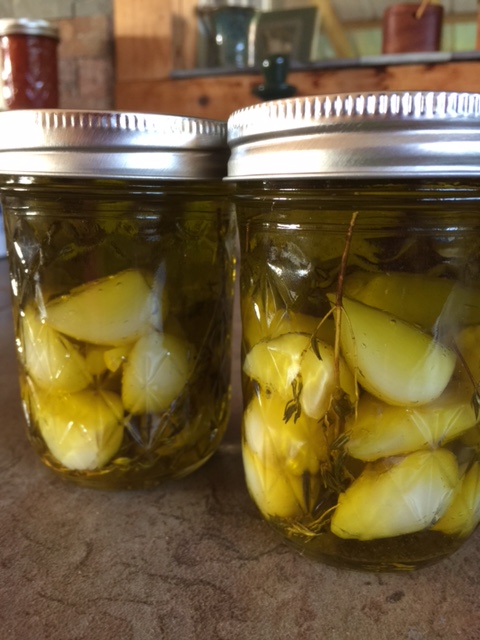
- 1 head of garlic, halved horizontally
- salt and freshly ground black pepper
- 3 medium red skinned potatoes, skin on and chunked or quartered depending on size
- 20 cherry tomatoes, halved
For the dressing:
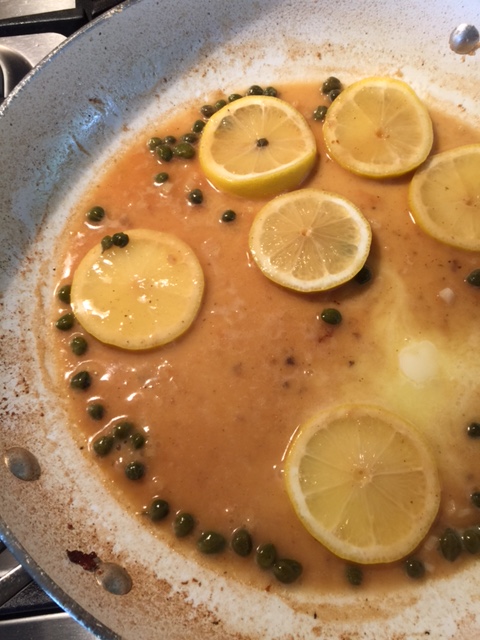
- 2 Tbsp fresh lemon juice
- 4 Tbsp capers, drained
- 2 tsp maple syrup
- 1/2 tsp Dijon mustard
Preheat oven to 375 F degrees. Place the onions and carrots in a large bowl and add the olive oil, thyme, rosemary, garlic, 1 tsp salt and a few grinds of fresh black pepper. Toss well and spread out on a large rimmed baking sheet. Roast for 20 minutes.
While the onions and carrots are roasting, prepare the potatoes. Add the potatoes to the pan and toss to coat. Return to the oven and roast for an additional 40-50 minutes. When the vegetables are cooked through and have taken on a golden color, stir in the halved tomatoes. Roast for an additional 10 minutes.
Meanwhile, whisk together the lemon juice, capers, maple syrup, mustard and 2 Tbsp of olive oil. Adjust seasoning with salt and freshly ground black pepper. Pour the dressing over the vegetables as soon as you take them out of the oven. Remove head of garlic. Place roasted vegetables in decorative bowl and sprinkle with coarse salt. Place garlic head on top. When serving break up head and squeeze garlic paste on each serving. Pass the Kleenex.

Unexpected lusciousness!
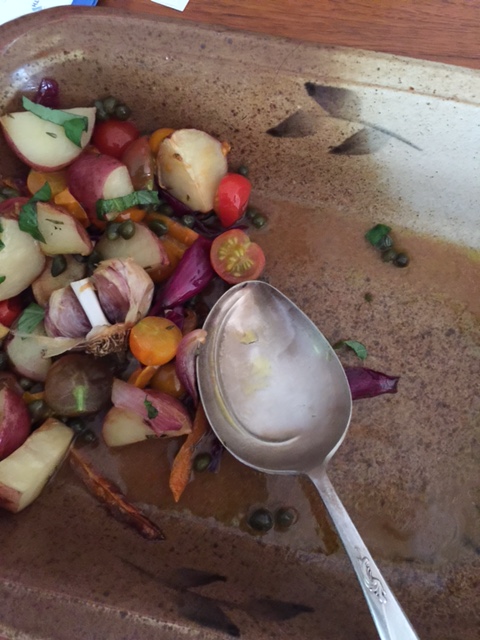
Don’t plan on leftovers.
“The key to abundance is meeting limited circumstances with unlimited thoughts.”
—Marianne Williamson