In the winter there is nothing better than soup, and this soup is soul-filling! There are many approaches to mushroom soup, and they will all give you satisfying results. This approach however, has a secret ingredient that not only thickens it with added protein, but gives it a rich and wonderful rustic feel. That ingredient is chickpea flour. What? That’s right, chickpea flour. Your are free to omit it, but you will end up with a much brothyer soup.
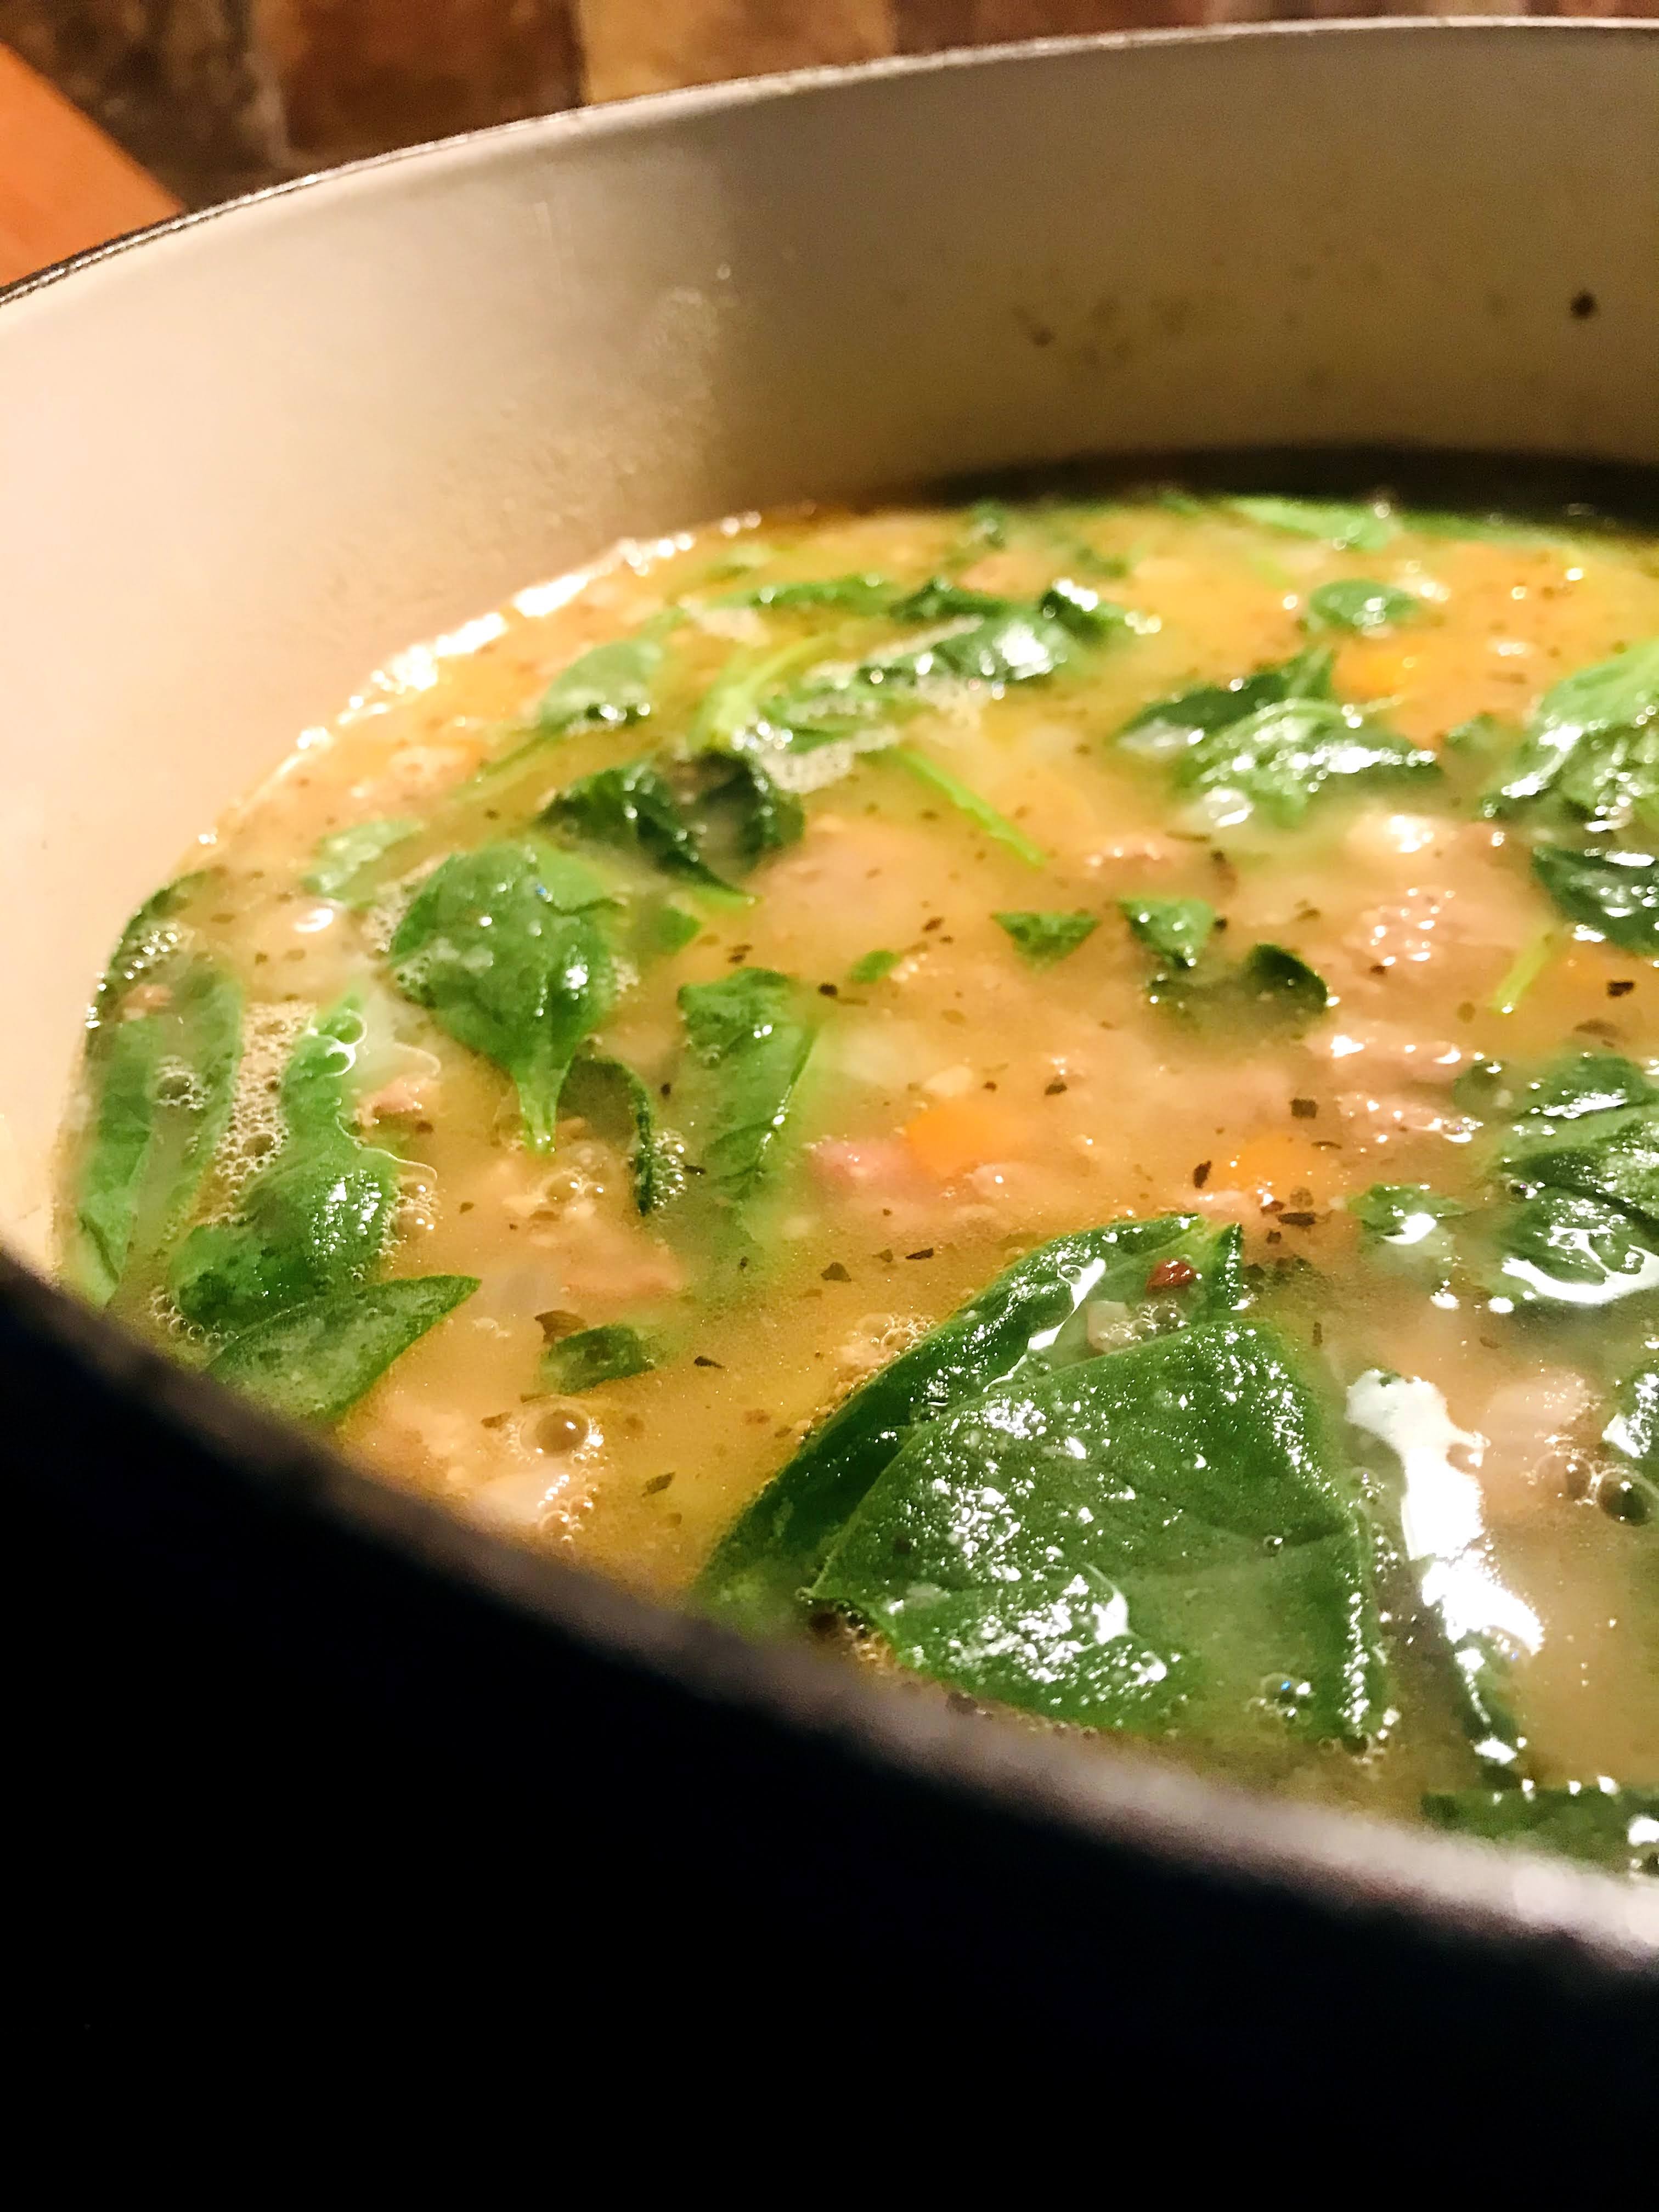
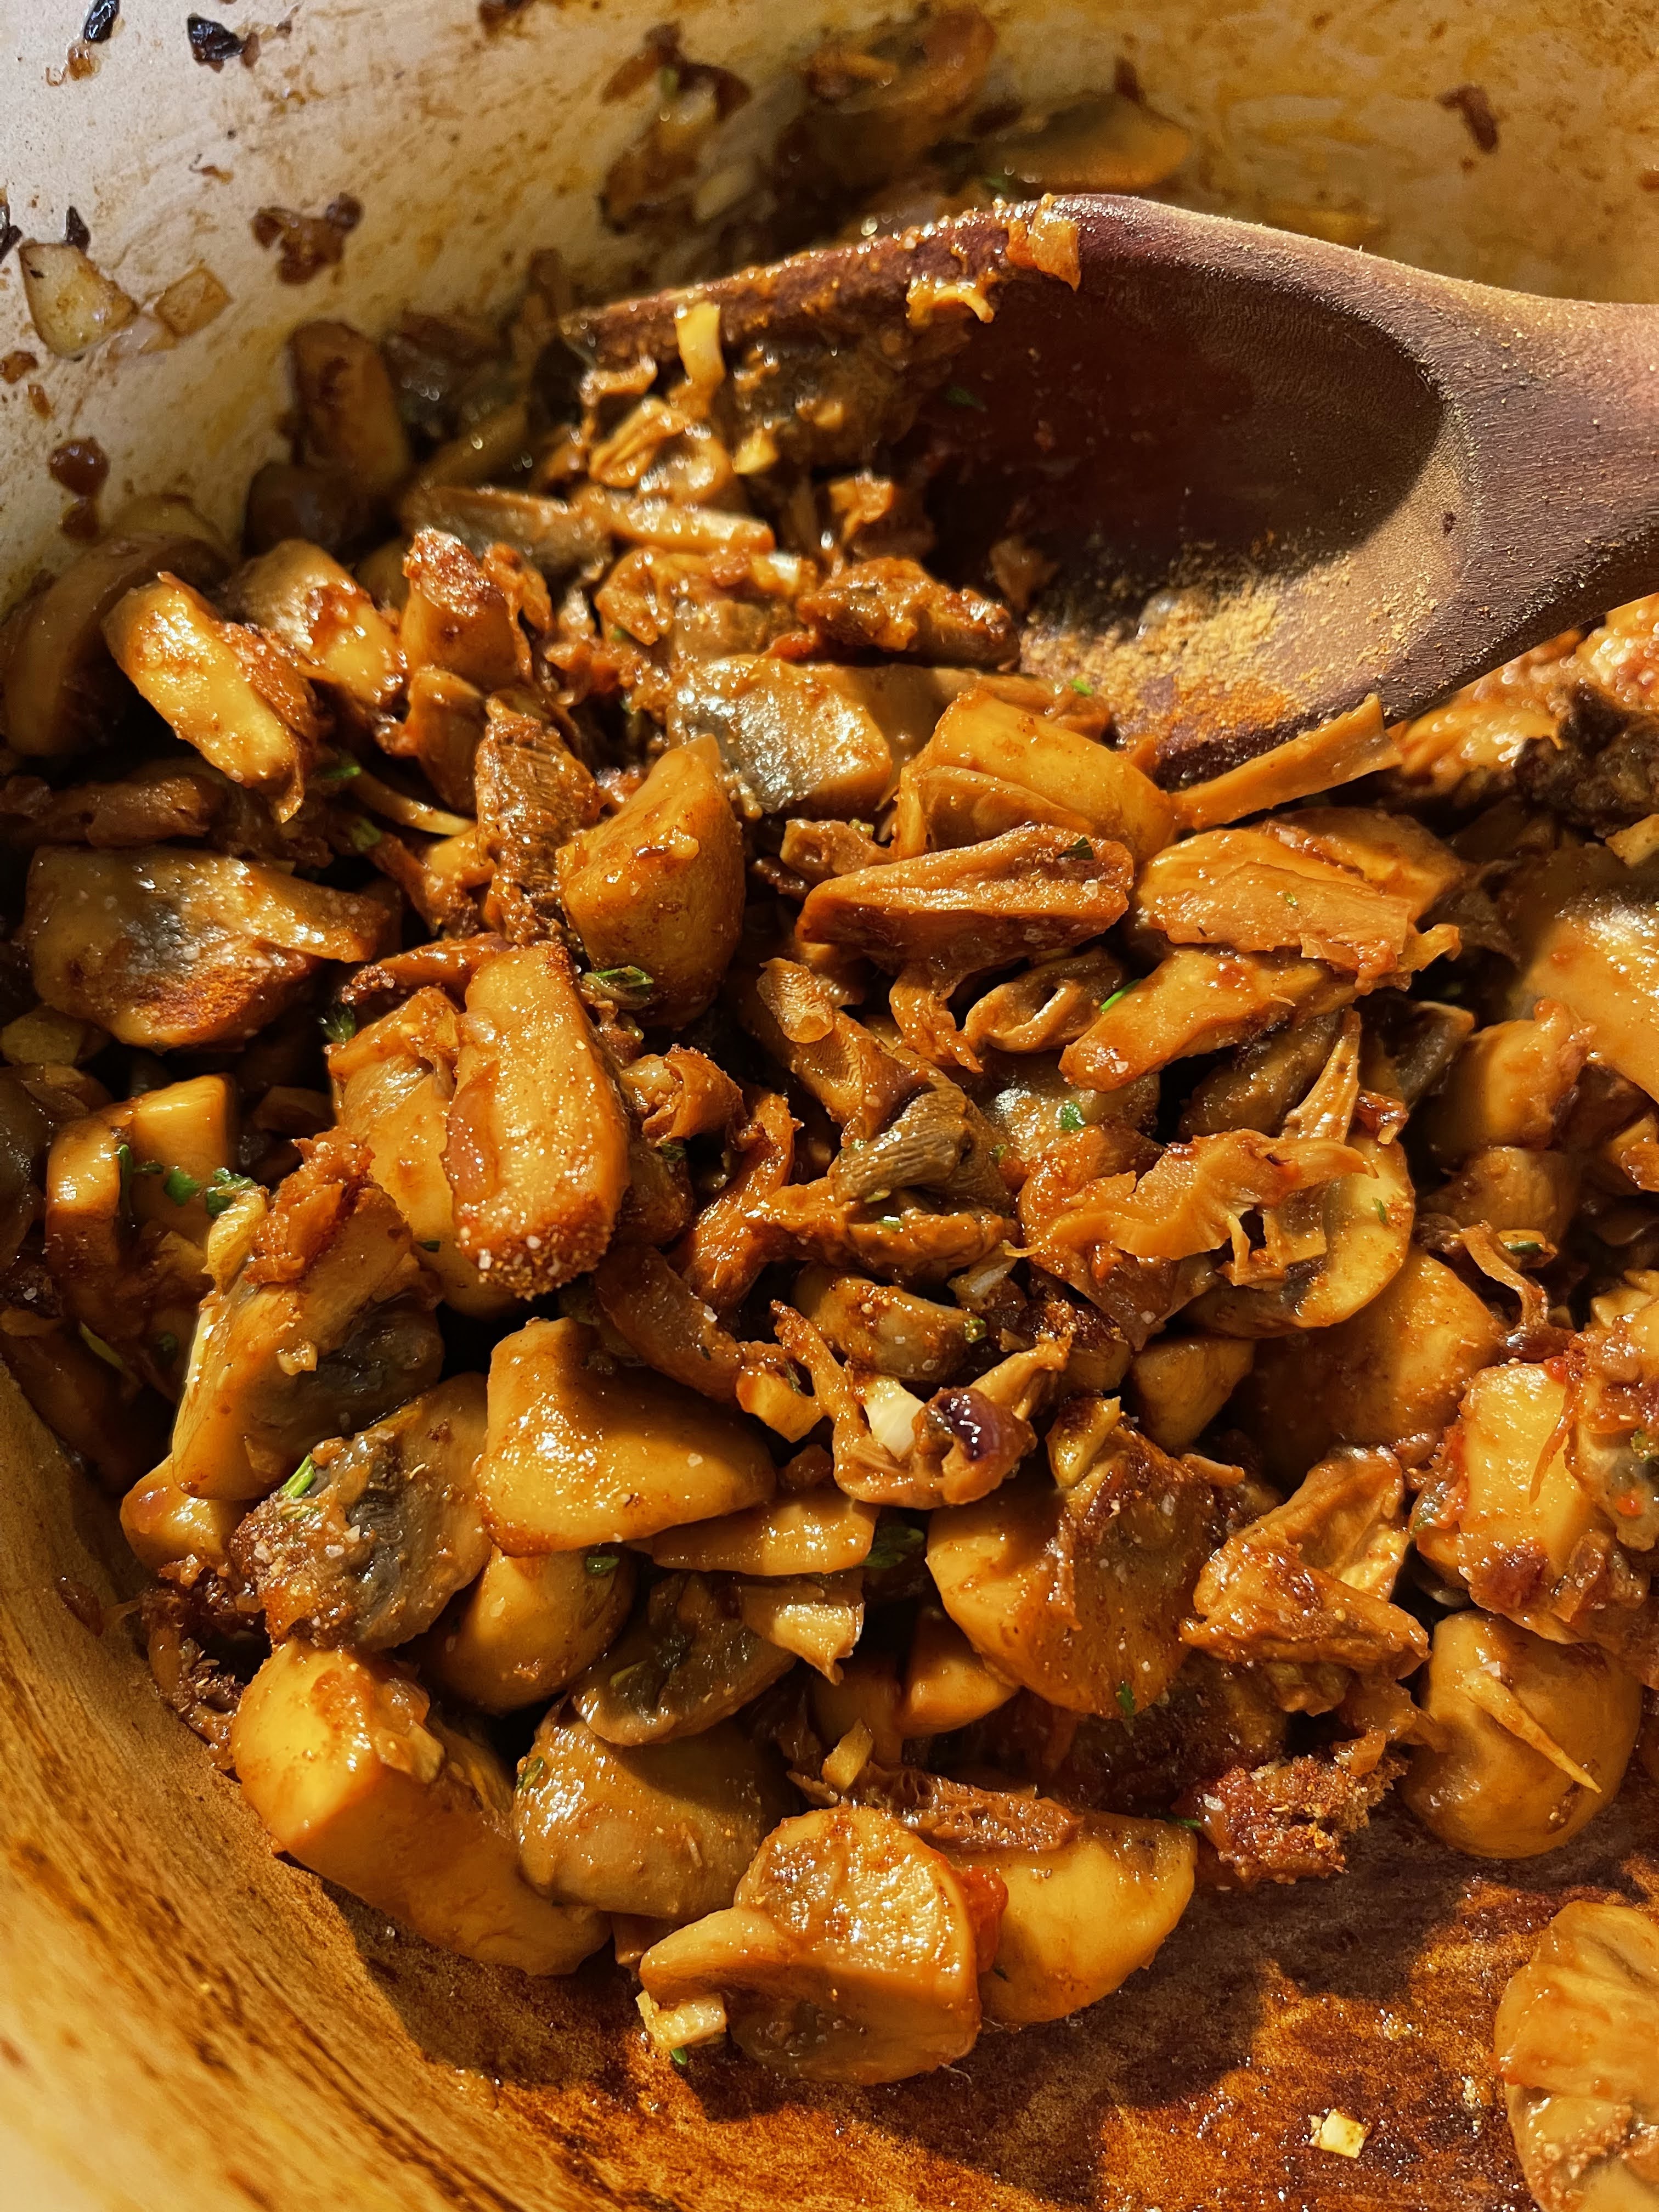
There are several elements to this soup that are equally important; homemade stock, a variety of fresh mushrooms, and making sure that you brown the mushrooms deeply, not just saute them. Each of these elements build on the other, giving you a opulent result you will feel proud to serve your family or guests.
SAVORY MUSHROOM SOUP
INGREDIENTS:
- 4 tablespoons (1/2 stick) unsalted butter, divided
- 2 tablespoons extra-virgin olive oil
- 1 1/2 pounds fresh mushrooms, (such as cremini, white mushrooms, shitake, oyster or portabellas), chopped
- 3/4 cup dried porcini mushrooms, soaked in 1 cup boiling water for 30 minutes, then finely chopped, straining steeping water through a fine mesh strainer. Set aside.
- 4 large shallots, diced
- 3 garlic cloves, grated on micro planer
- 1 tablespoon tomato paste
- 2 teaspoons chopped fresh thyme leaves
- 2 teaspoons chopped fresh rosemary leaves
- 2 teaspoons fine sea salt, plus more to taste
- 1/2 teaspoon ground coriander
- 1/2 teaspoon sweet paprika
- 1/4 cup chickpea flour
- 4 cups chicken or vegetable stock (I can’t empathize how important this is)
- 1/4 cup chopped fresh cilantro or parsley, for serving

INSTRUCTIONS:
- Pour 1 cup boiling water over porcini mushrooms and let sit for 30 minutes. Remove mushrooms and chop, set aside. Strain soaking water through a fine mesh strainer, set aside.
- Melt 2 tablespoon of the butter and 1 tablespoon of the olive oil in a heavy soup pot or Dutch oven. Stir in half of the shallots and mushrooms, and cook, stirring occasionally, until browned, about 10-12 minutes. Use a slotted spoon to transfer the shallots and mushrooms to a large bowl. Repeat with the remaining butter, olive oil, shallots and mushrooms.
- Pour all the mushrooms back into the pot, including the porcini’s, stir in the garlic and tomato paste, and cook until the garlic is fragrant, about 1-2 minutes. Then stir in the thyme, rosemary, 1 teaspoon of salt, coriander, and paprika and cook for 1 minute more.
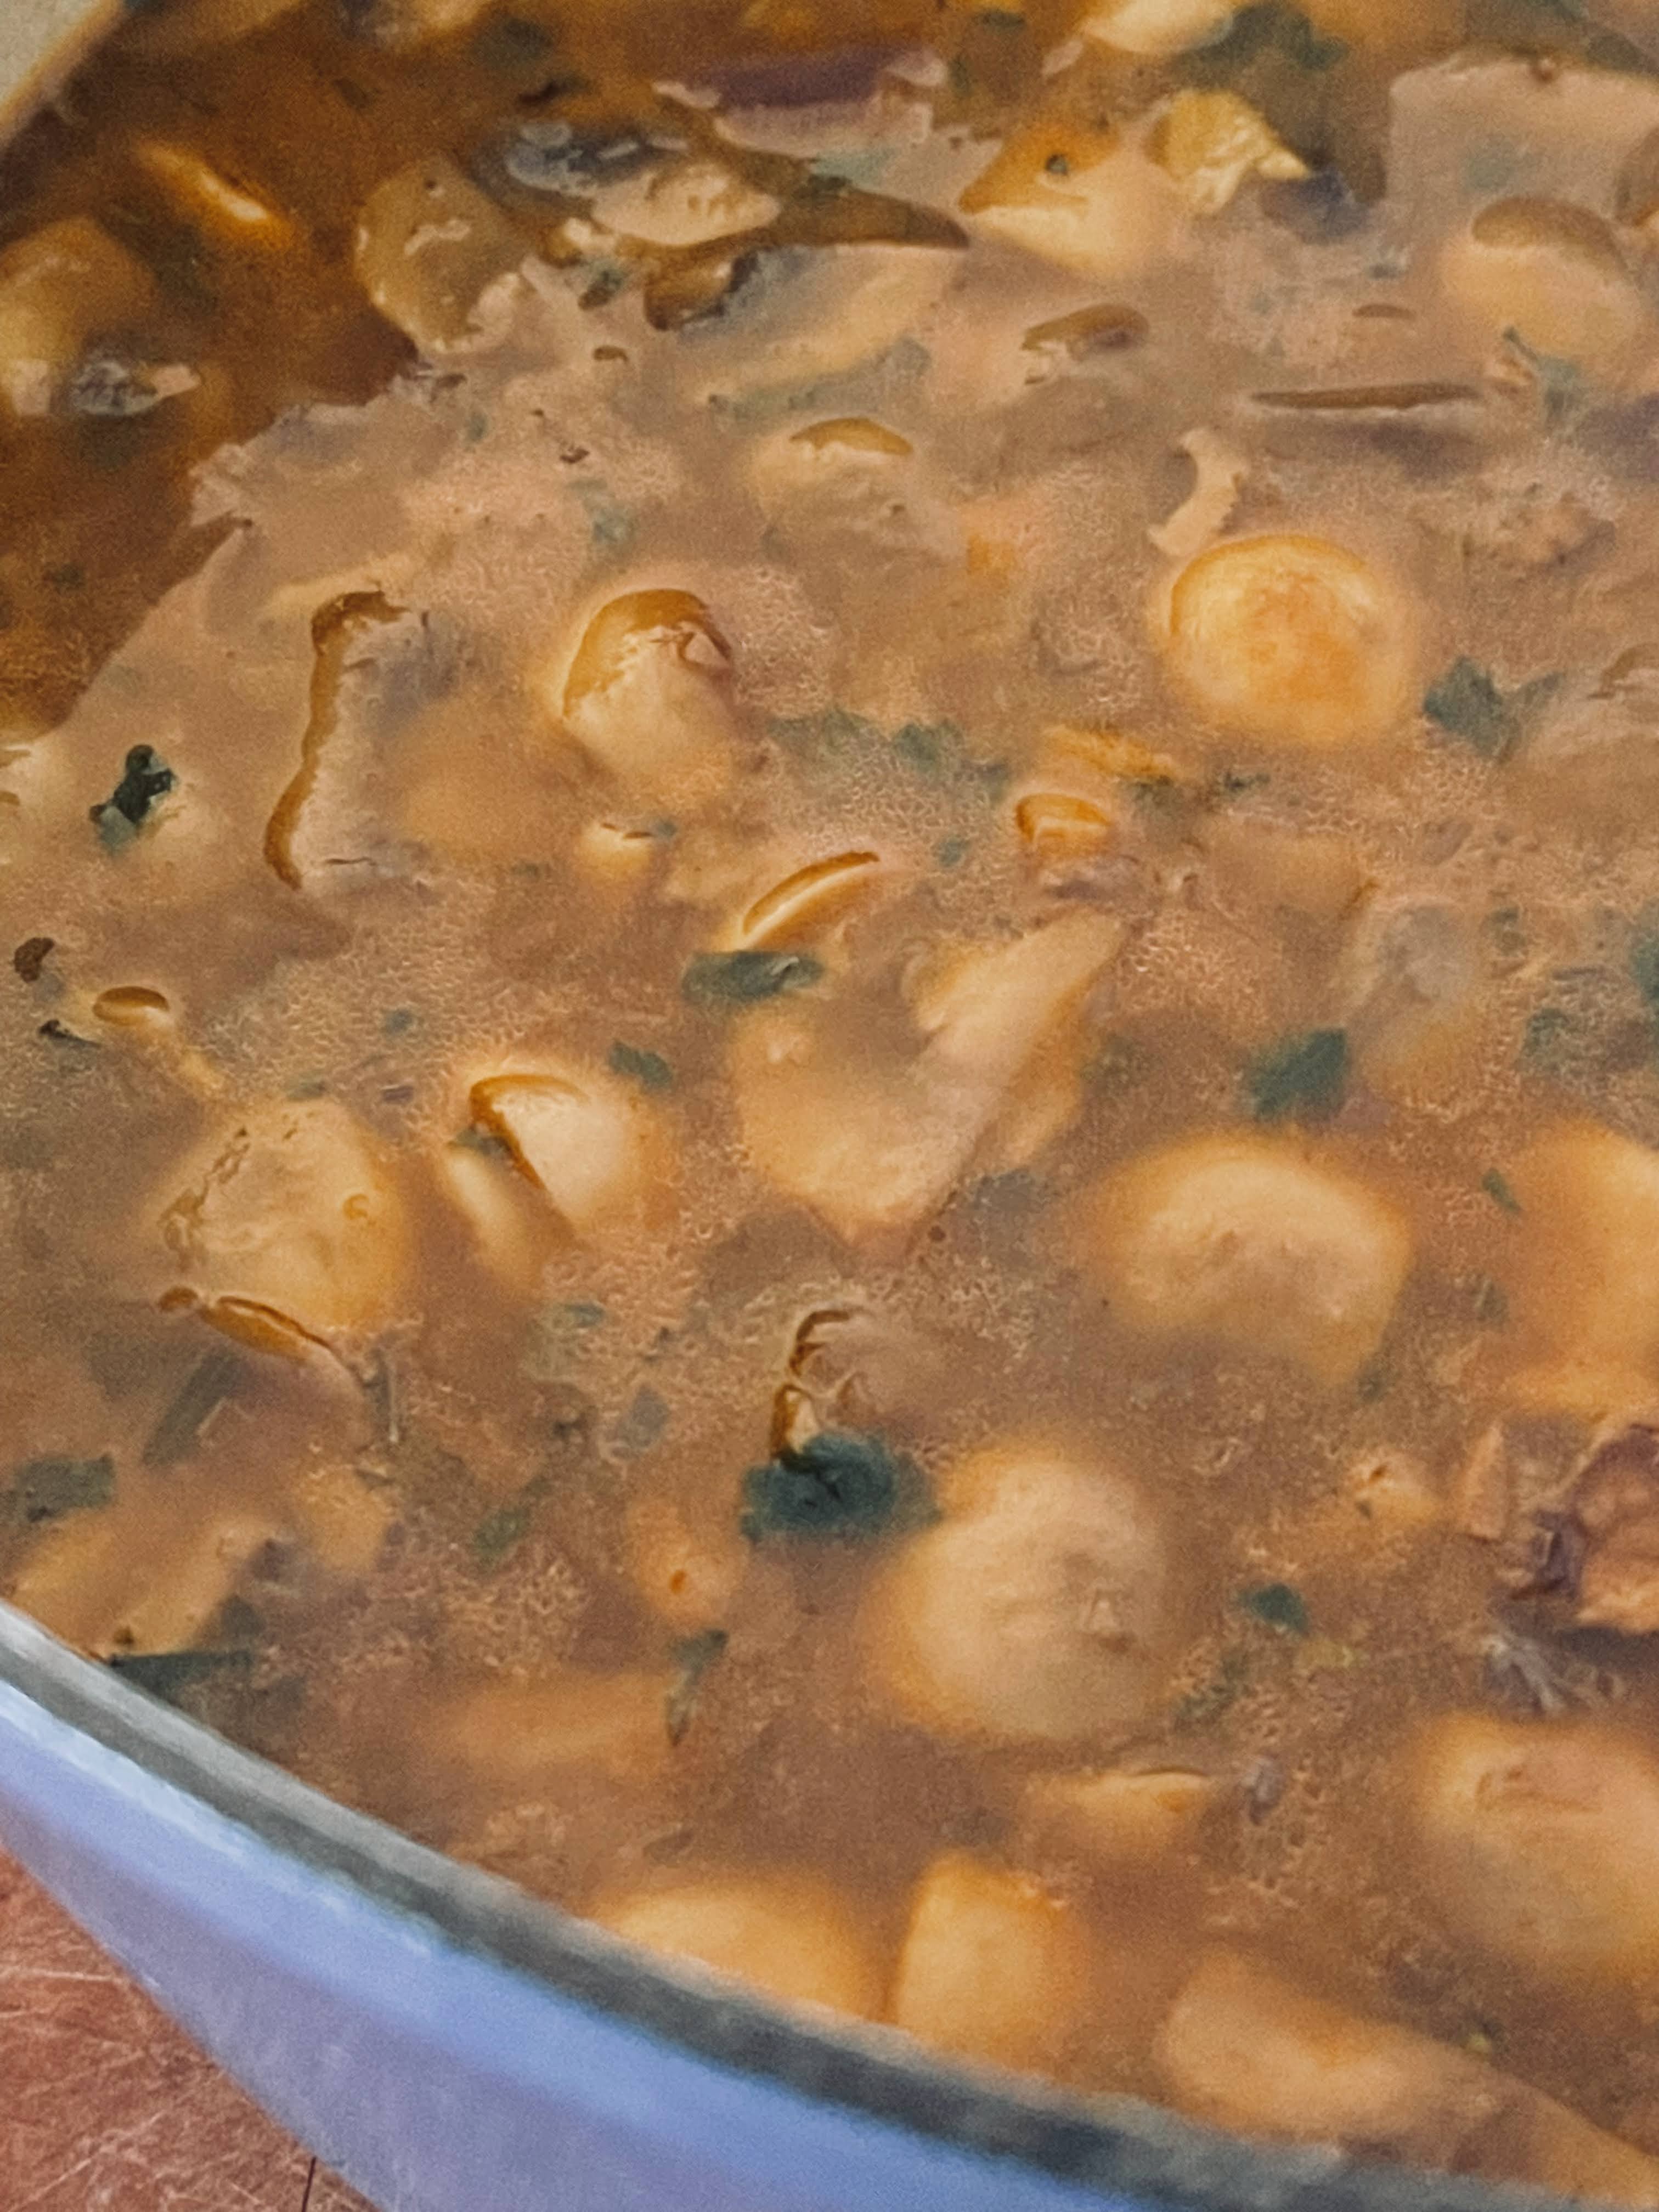
- Stir in the chickpea flour, and cook stirring for 1 minute. Stir in the stock of your choice, the reserved porcini water, and the remaining 1 teaspoon of salt. Let simmer for about 20 minutes. Taste and add additional salt if needed. Garnish with a sprinkling of paprika and chopped herbs.
Serves 4-6

“Nature alone is antique, and the oldest art is a mushroom.” –Thomas Carlyle.