Many of us cook foods on a seasonal rotation. I know I do. There are times when it’s healthy to get outside the box, and try something new. Ever since I started using Napa cabbage, I started digging a little deeper into Asian cooking, beyond stir-frys. We eat lot of soups during the winter, so when the temperature nosedived back into the 30’s the other day I decided to try my hand at a Chinese classic, Hot and Sour Soup. I’ve had it many times in restaurants, but have never tried to make it at home. Had I known how incredibly easy it is to make, I would have tried it sooner. You can keep it vegetarian using firm tofu, or you can make it with a 1/2 pound of cooked ground pork, or thinly sliced pork chops or pork loin. Either way, you will find it delicious!
HOT & SOUR SOUP
INGREDIENTS:
8 cups chicken or vegetable stock (using homemade stock will definitely give you a MUCH better result)
8 ounces shiitake or baby bella mushrooms, (I used bella’s), thinly sliced, stems discarded
1 (8 – ounce can) bamboo shoots, drained and julienned
1/3 cup rice vinegar, or more to taste
1/4 cup soy sauce (I use Bragg’s Liquid Aminos)
2 teaspoons ground ginger
2 generous teaspoons chili-garlic sauce
1/4 cup cornstarch
2 large farm-fresh eggs, whisked
8 ounces firm tofu*, compressed dry with paper towels, then sliced and cut into 1/4 inch cubes
4 green onions, thinly sliced
2 teaspoons toasted sesame oil
Kosher salt and white pepper
INSTRUCTIONS:
Set aside 1/4 cup or your chicken or vegetable stock to make a slurry for the soup.
Add remaining 7 3/4 cups of stock, mushrooms, bamboo shoots, rice vinegar, soy sauce, ginger, and chili-garlic sauce to a large stock pot, and stir to combine. Heat over medium heat until the soup reaches a simmer.
While the soup is heating, whisk together the 1/4 stock that was set aside with the cornstarch in a small bowl until completely smooth. Once the soup has reached a simmer, swirl in the cornstarch mixture pouring it in slowly. Continue to stir until soup has thickened, about 1-2 minutes.
Continue stirring the soup in a circular motion, then drizzle in the eggs in a thin stream as you stir the soup to create egg ribbons. Stir in the tofu, half of the green onions, and sesame oil. Season with salt and white pepper to taste.
Serve immediately, garnished with extra green onions.
Serves: 6-8
*NOTE: Consider freezing your tofu before using. This step will help release additional moisture from the tofu, making it firmer.
“Real soup is to the body what peace is to the soul.” ~ Isabel Allende
When I was a child, you could tell the day of the week by what we ate for dinner. My mother who worked full time relied on me to get things started in the kitchen. To this day I can’t look at meatloaf with any enthusiasm, although I will make it for my wife in a way that differs greatly from my mother’s recipe. The things we do for love! The other thing that will illicit a yuck from me is cream of mushroom soup from a can. Any can. I hate the stuff (and I love mushrooms)! All I can picture is it congealing around baked chicken breasts, and tasting, well, bland.
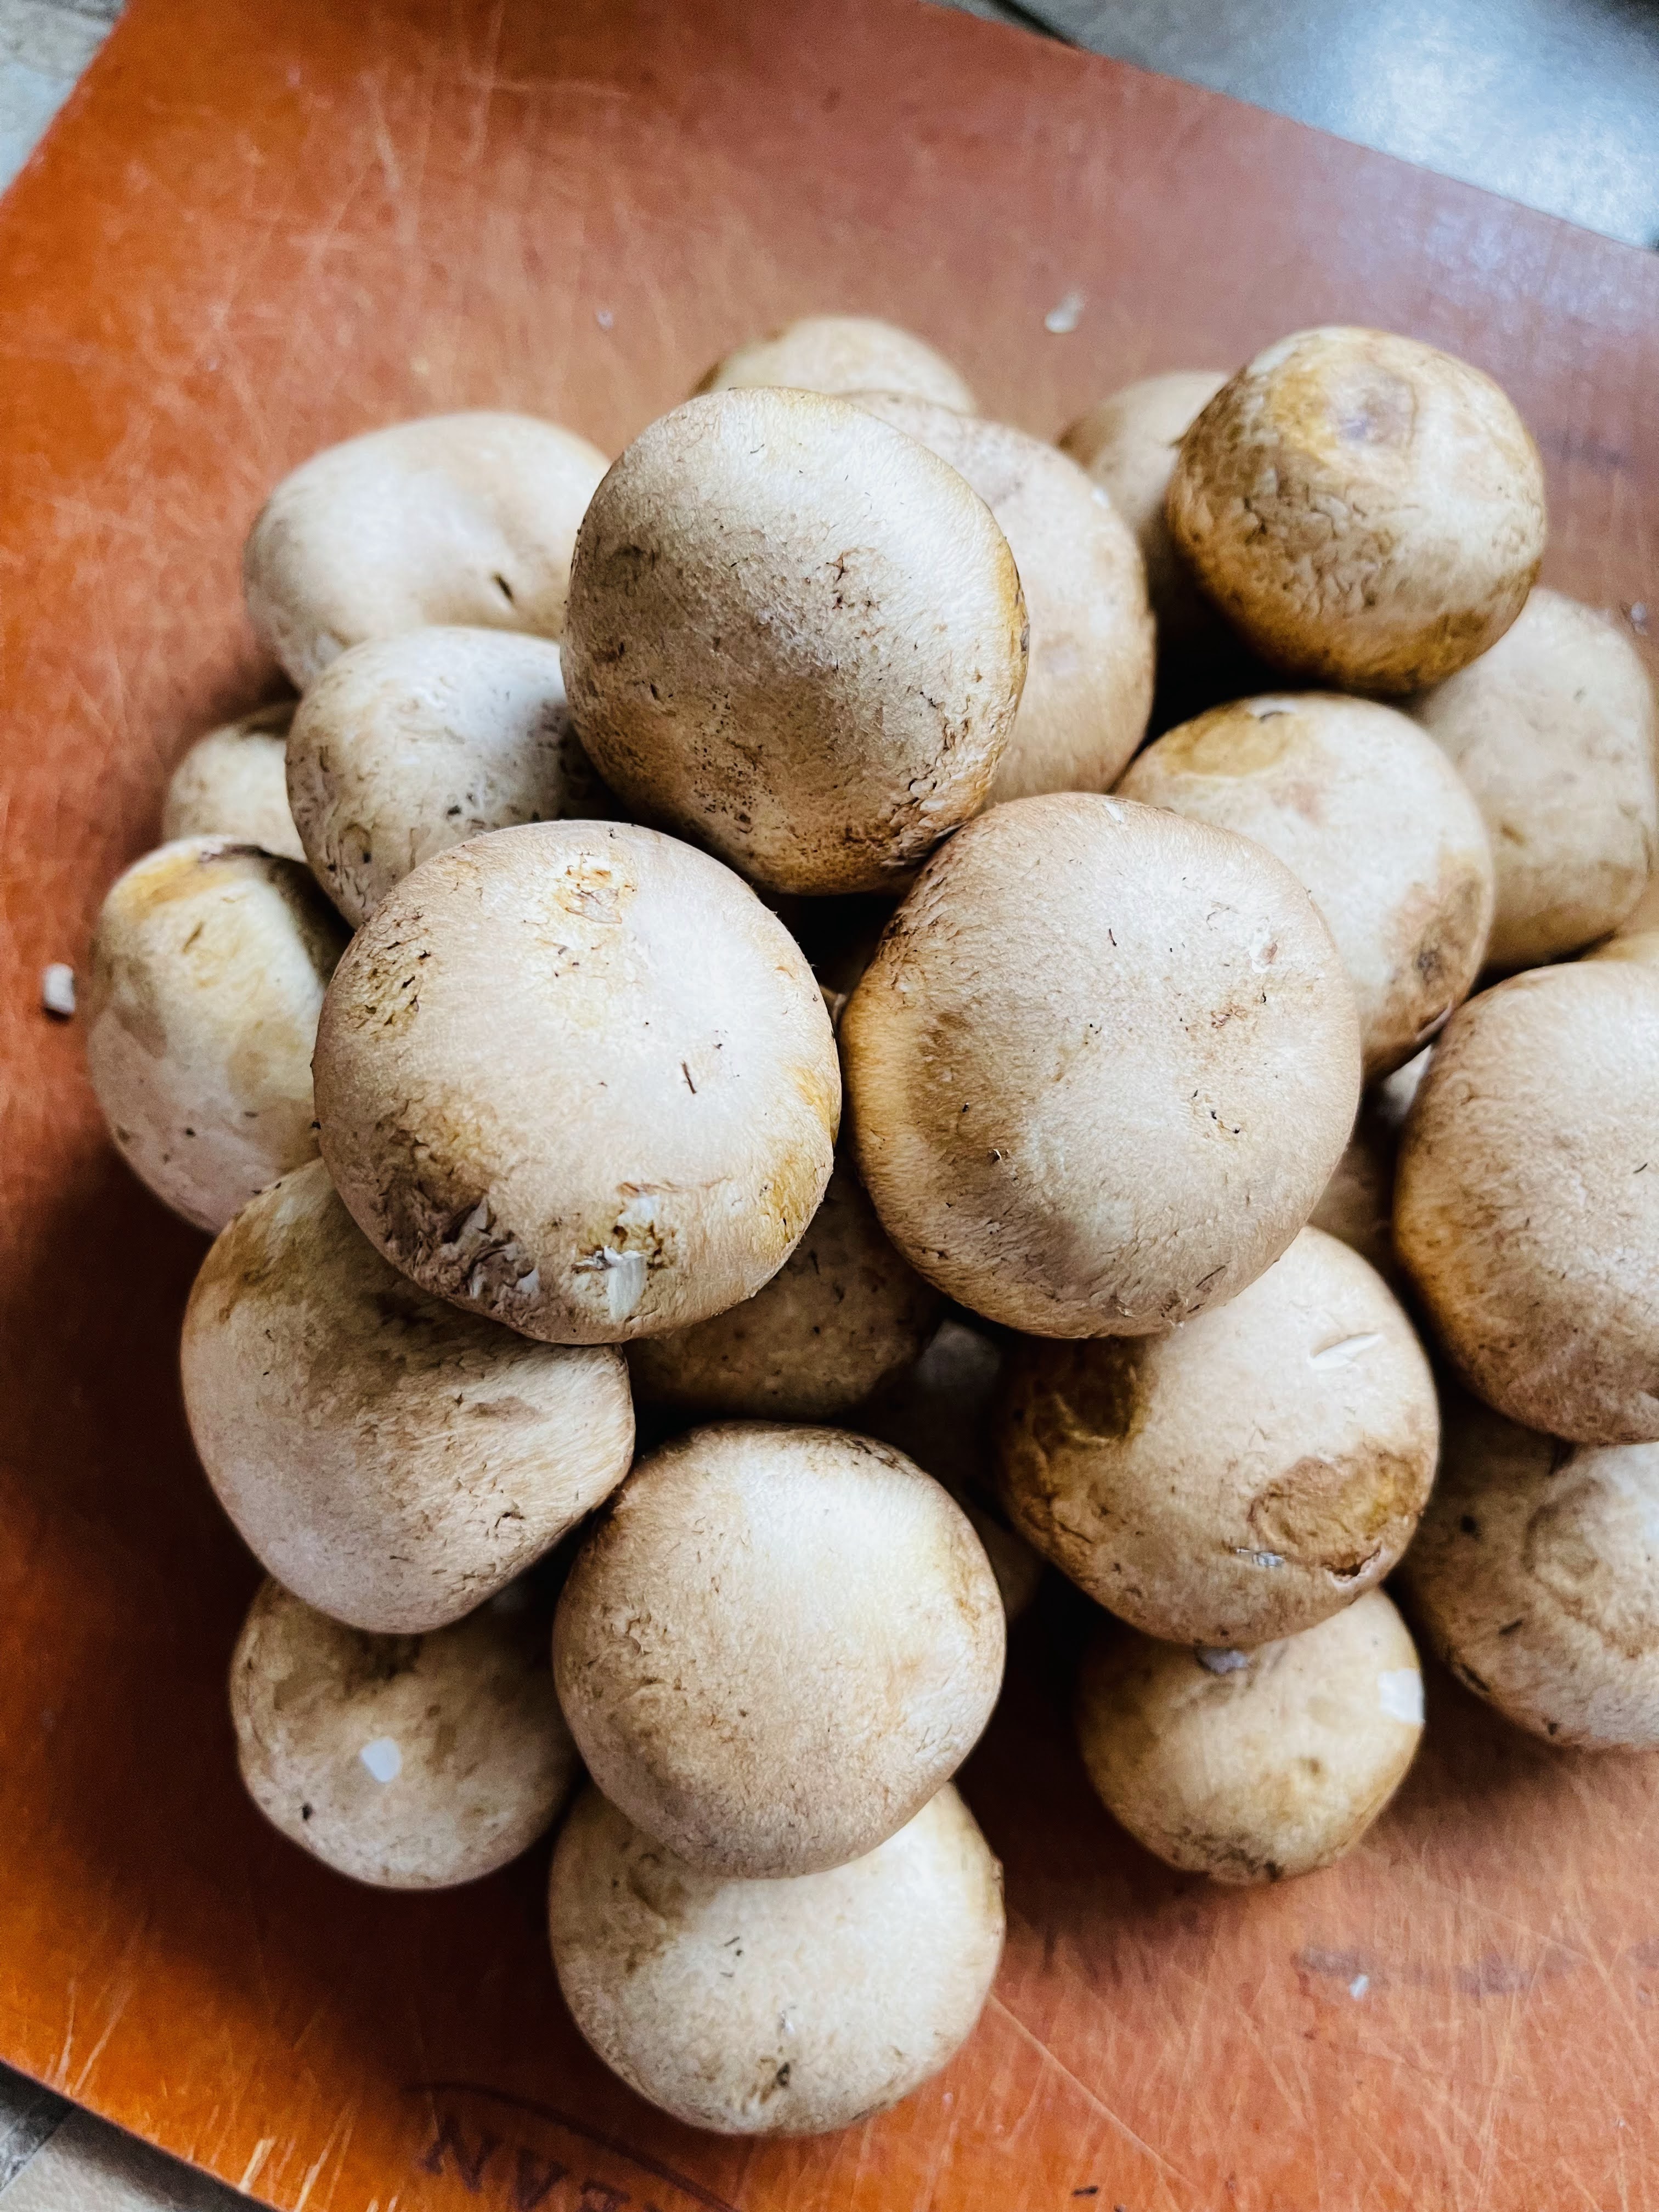
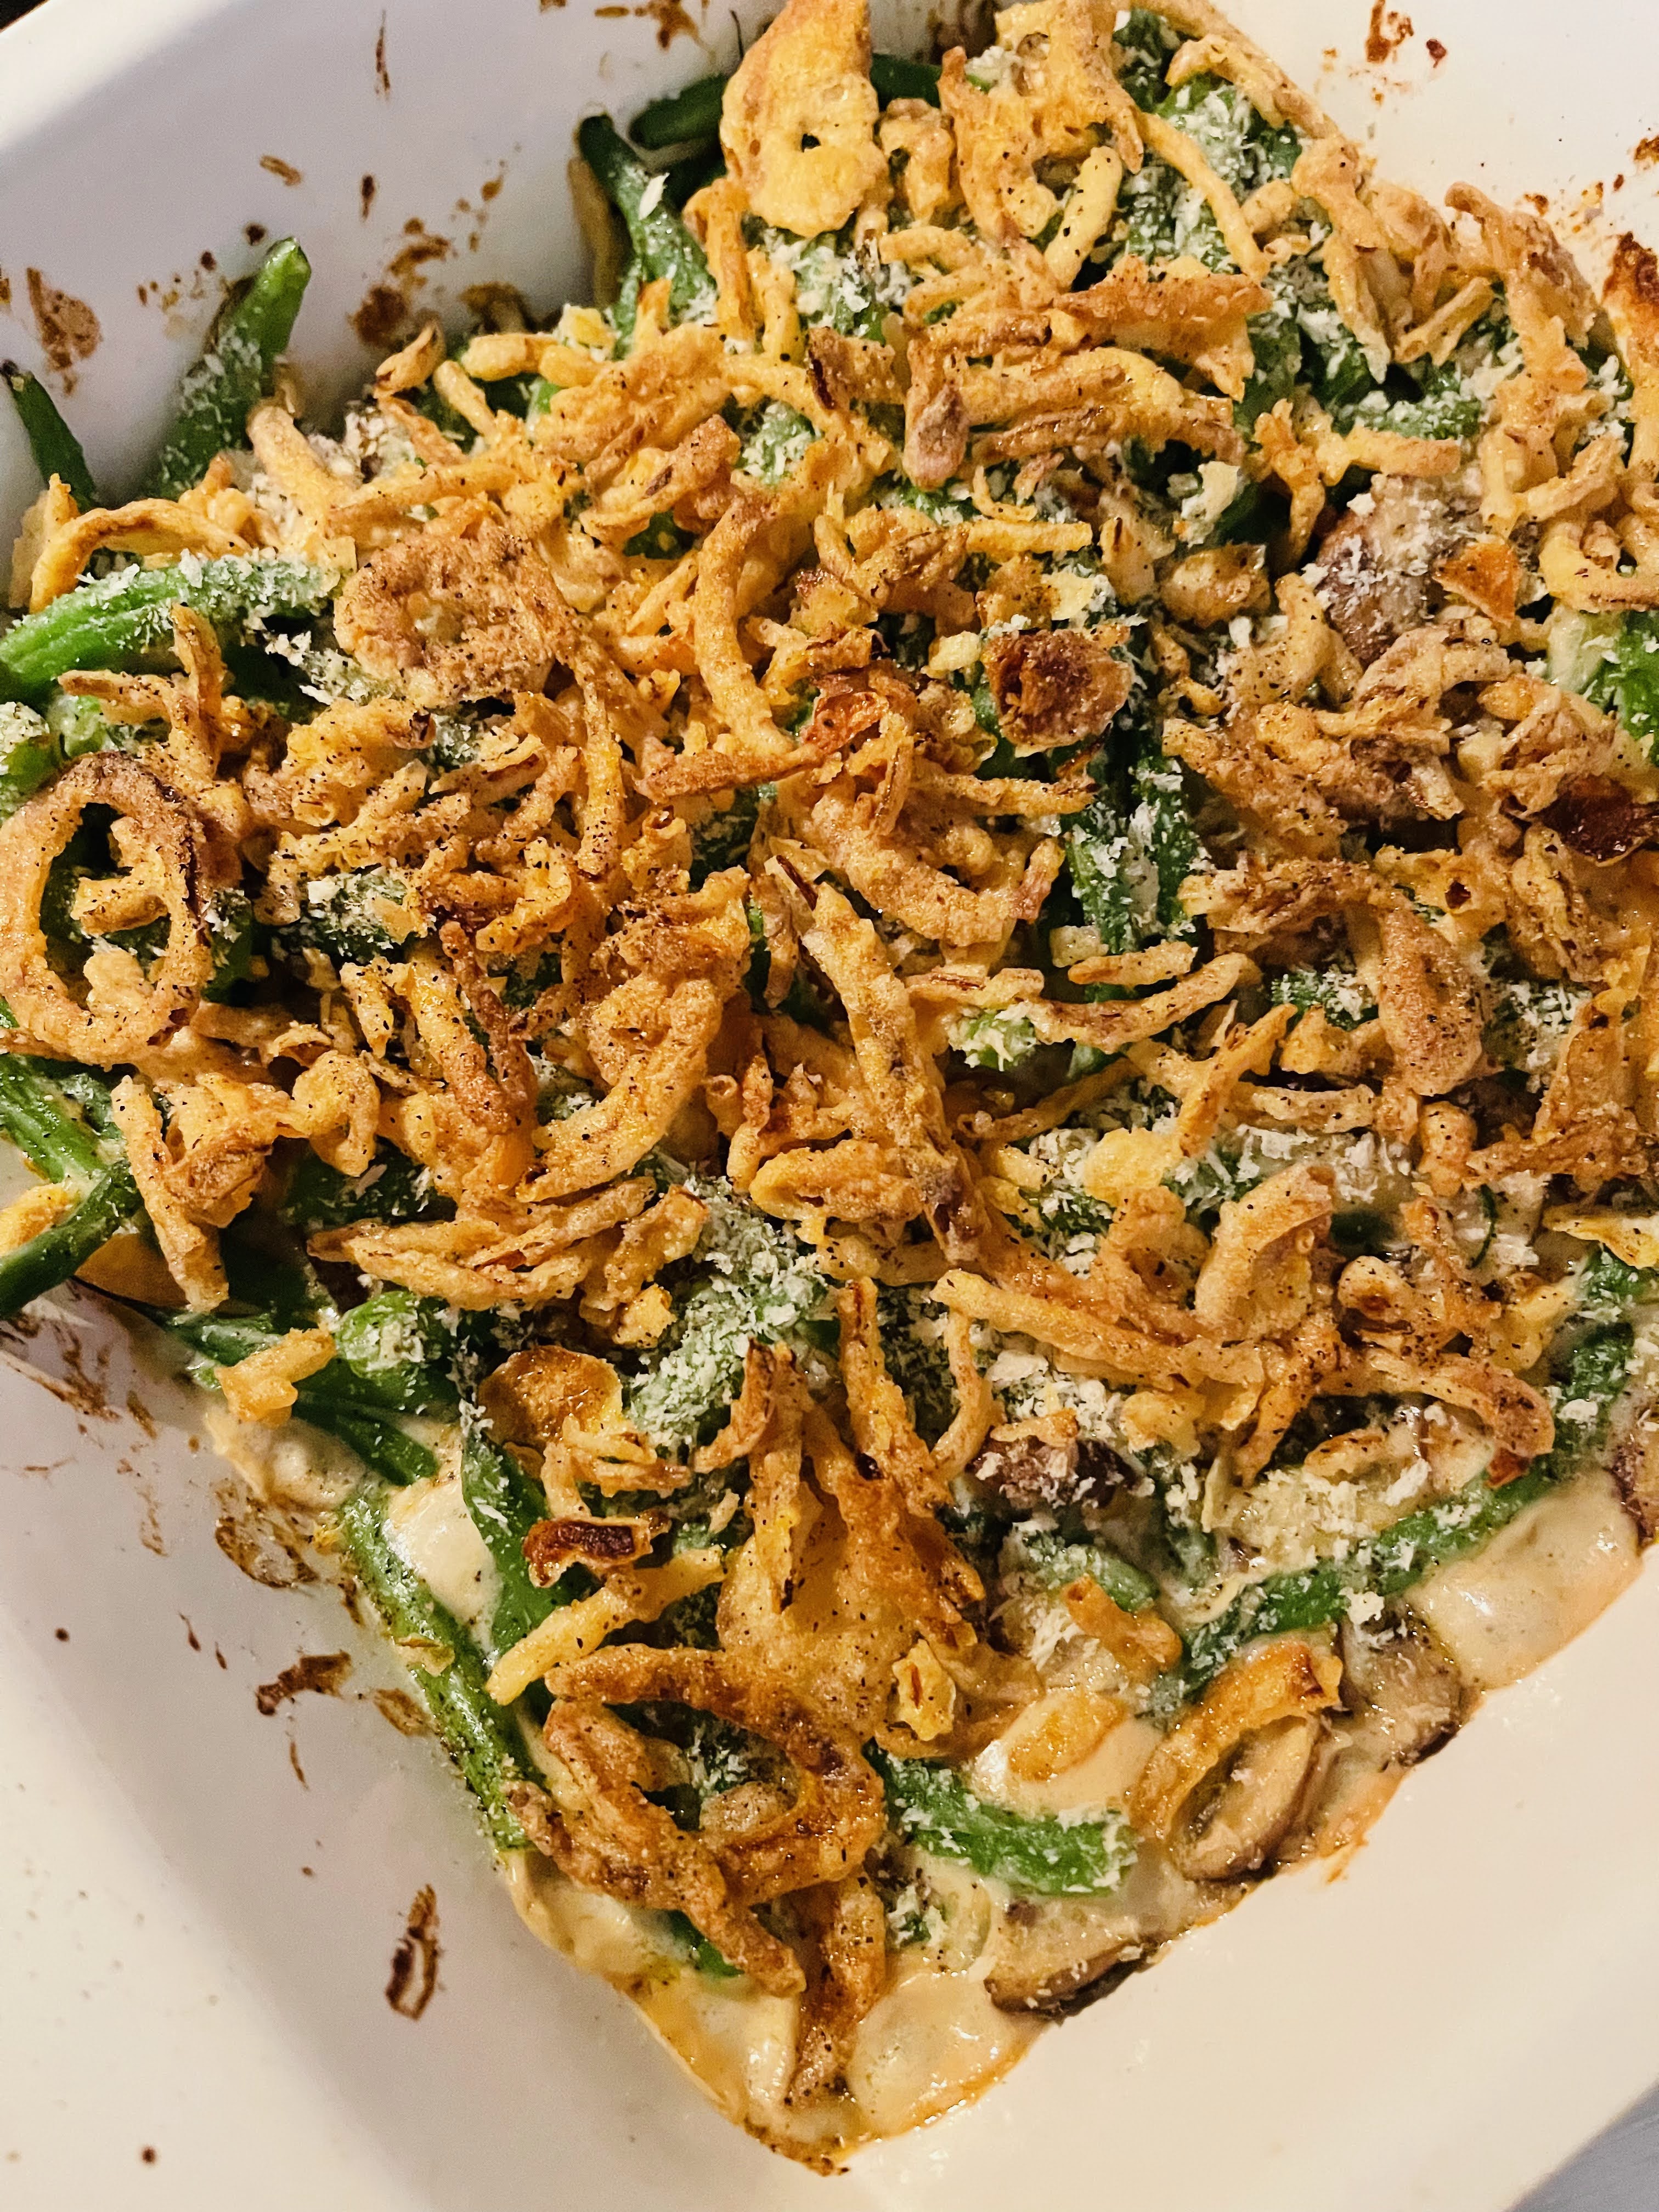
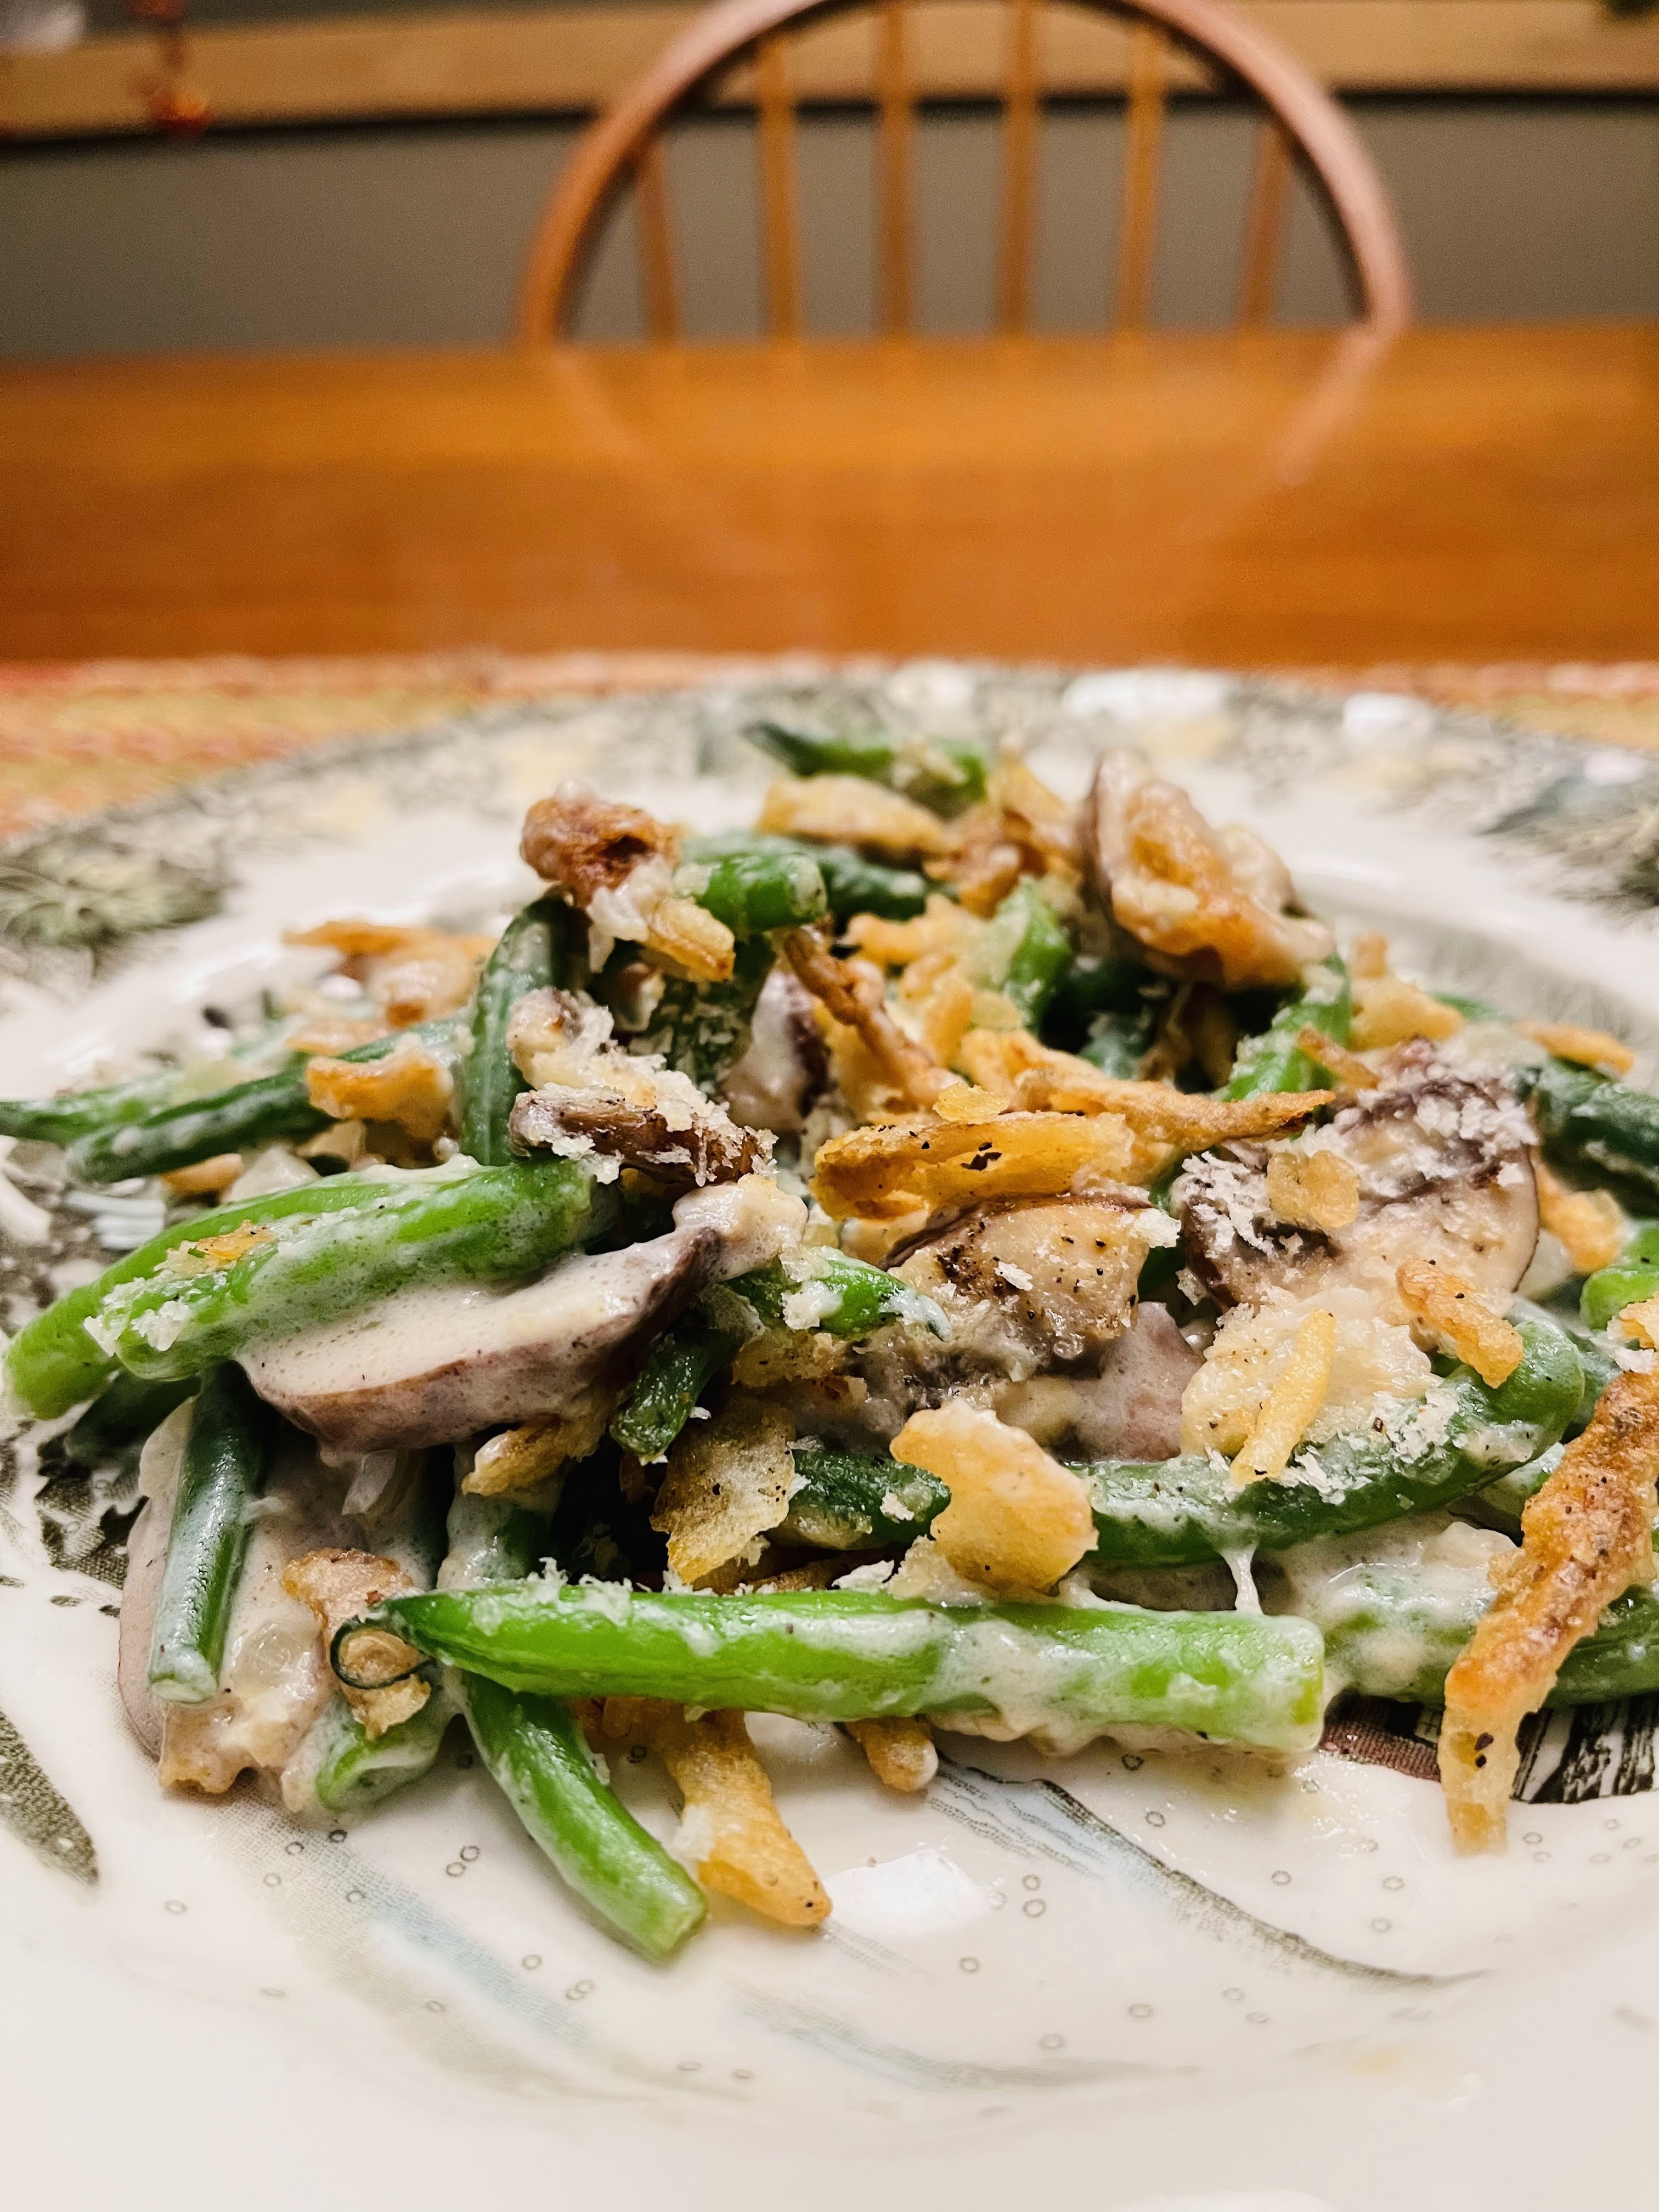
As we approach Thanksgiving, there are memories and traditions that families enjoy. A favorite side dish for many is green bean casserole. I love green beans and was on a mission to create a slightly different version of this beloved dish, minus that awful cream of mushroom soup. Fresh beans were a priority, along with fresh mushrooms. Onions, garlic, a flavorful roux of butter, flour, homemade chicken stock, and half & half, became something both old and new. Don’t forget the crispy french fried onions (my nod to tradition)! Afterall, we can’t completely through the baby out with the bath water!
INGREDIENTS:
2 pounds fresh green beans, rinsed, stemmed and cut in half
2 tablespoons unsalted butter
1 medium onion, finely chopped
3 large garlic cloves, minced
8 ounces cremini or white button mushrooms, stemmed and sliced
1 teaspoon Kosher salt
Freshly ground black pepper
2 tablespoons all-purpose flour
1 cup chicken stock (homemade really makes a difference here)
1 cup half and half
1/2 cup Panko bread crumbs
6 ounces french fried onions (I used French’s)
INSTRUCTIONS:
Preheat the oven to 375 degrees F. Heat a large pot of salted water to boil. Generously season with Kosher salt. Prepare a large bowl with ice water to stall the cooking of the blanched beans.
Blanch beans by adding them to the salted, boiling water a cook for 5 minutes. Drain beans in a colander and place in the ice bath. Once cooled, drain and set aside.
Melt the butter in a large skillet over medium-high heat. Add the onion and garlic, sauteing them for 4-5 minutes, or until the onion is translucent. Add the sliced mushrooms, salt and pepper to taste and cook for another 2-3 minutes.
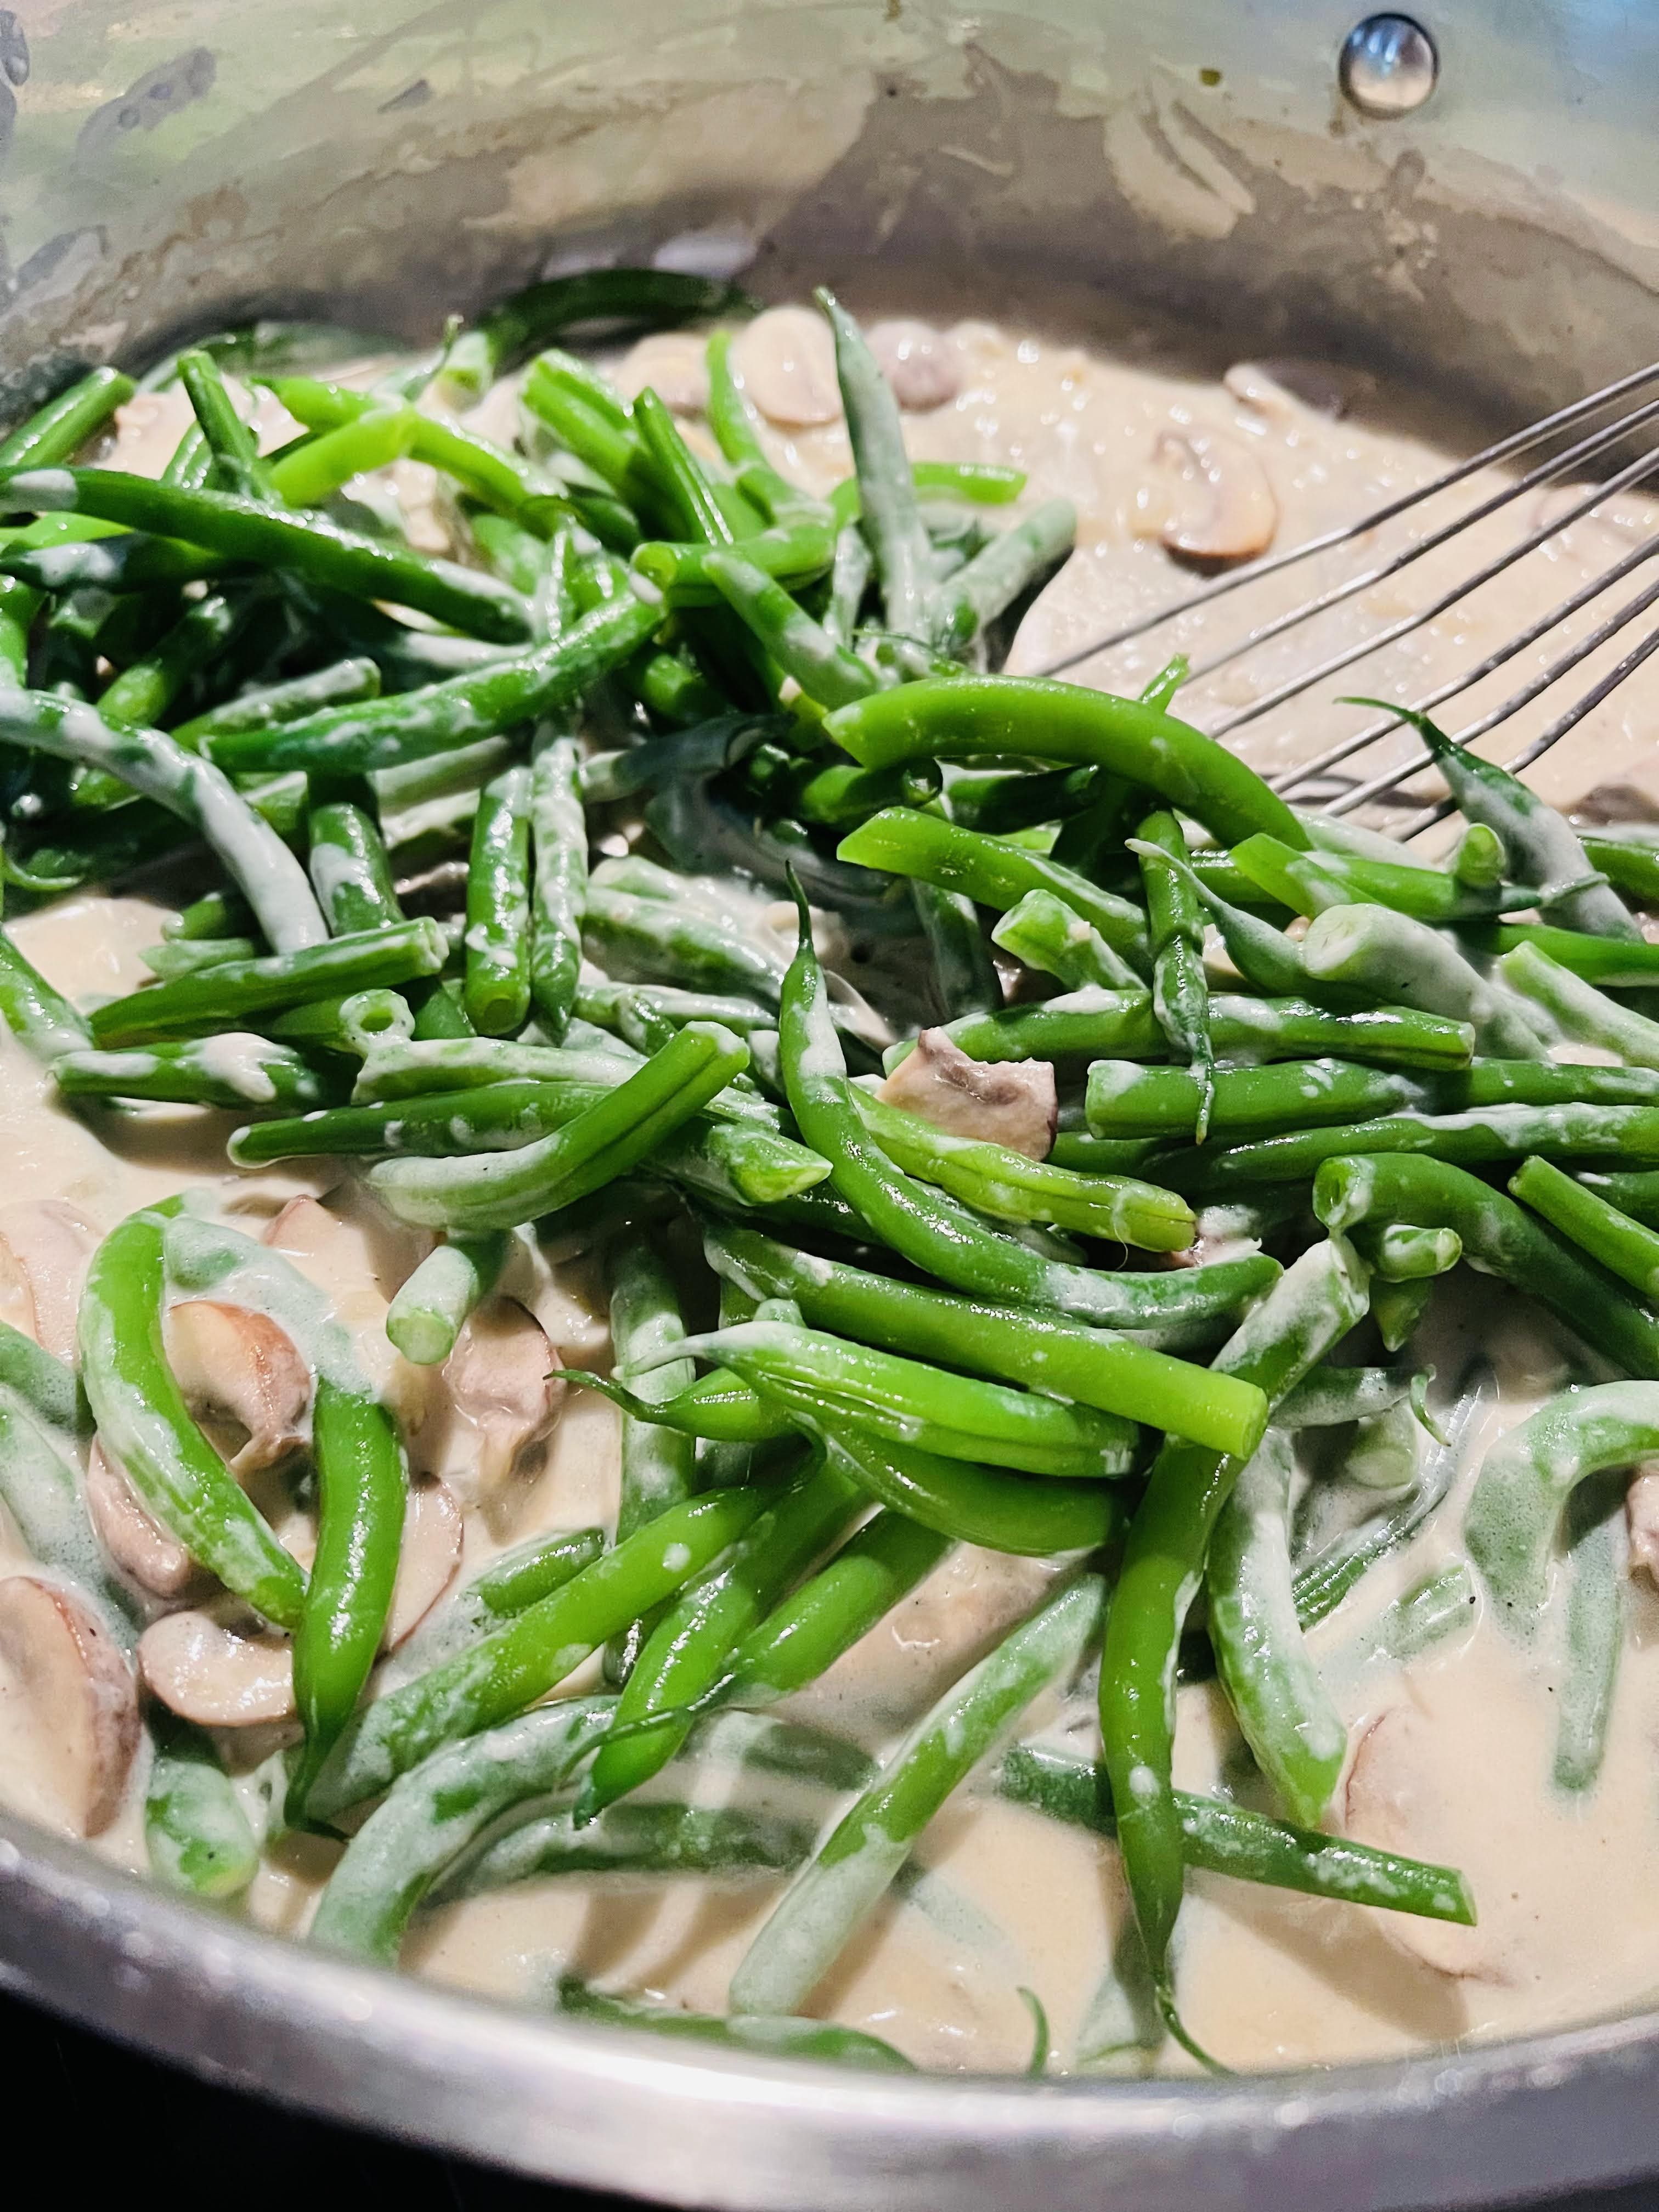
Sprinkle the flour over the onions and mushrooms, stirring to combine. Cook for about 2 minutes, then slowly whisk in the chicken stock, making sure there are no lumps. Slowly add half and half and continue to whisk. Cook until thickened about 6 minutes, stirring occasionally.
Add your blanched green beans and stir to combine, then transfer to a 9×13 casserole dish and sprinkle with breadcrumbs and french fried onions. Bake for 20 minutes until hot and bubbly.
Serves 6-8
“Tradition is a guide, not a jailer.” —W. Somerset Maugham
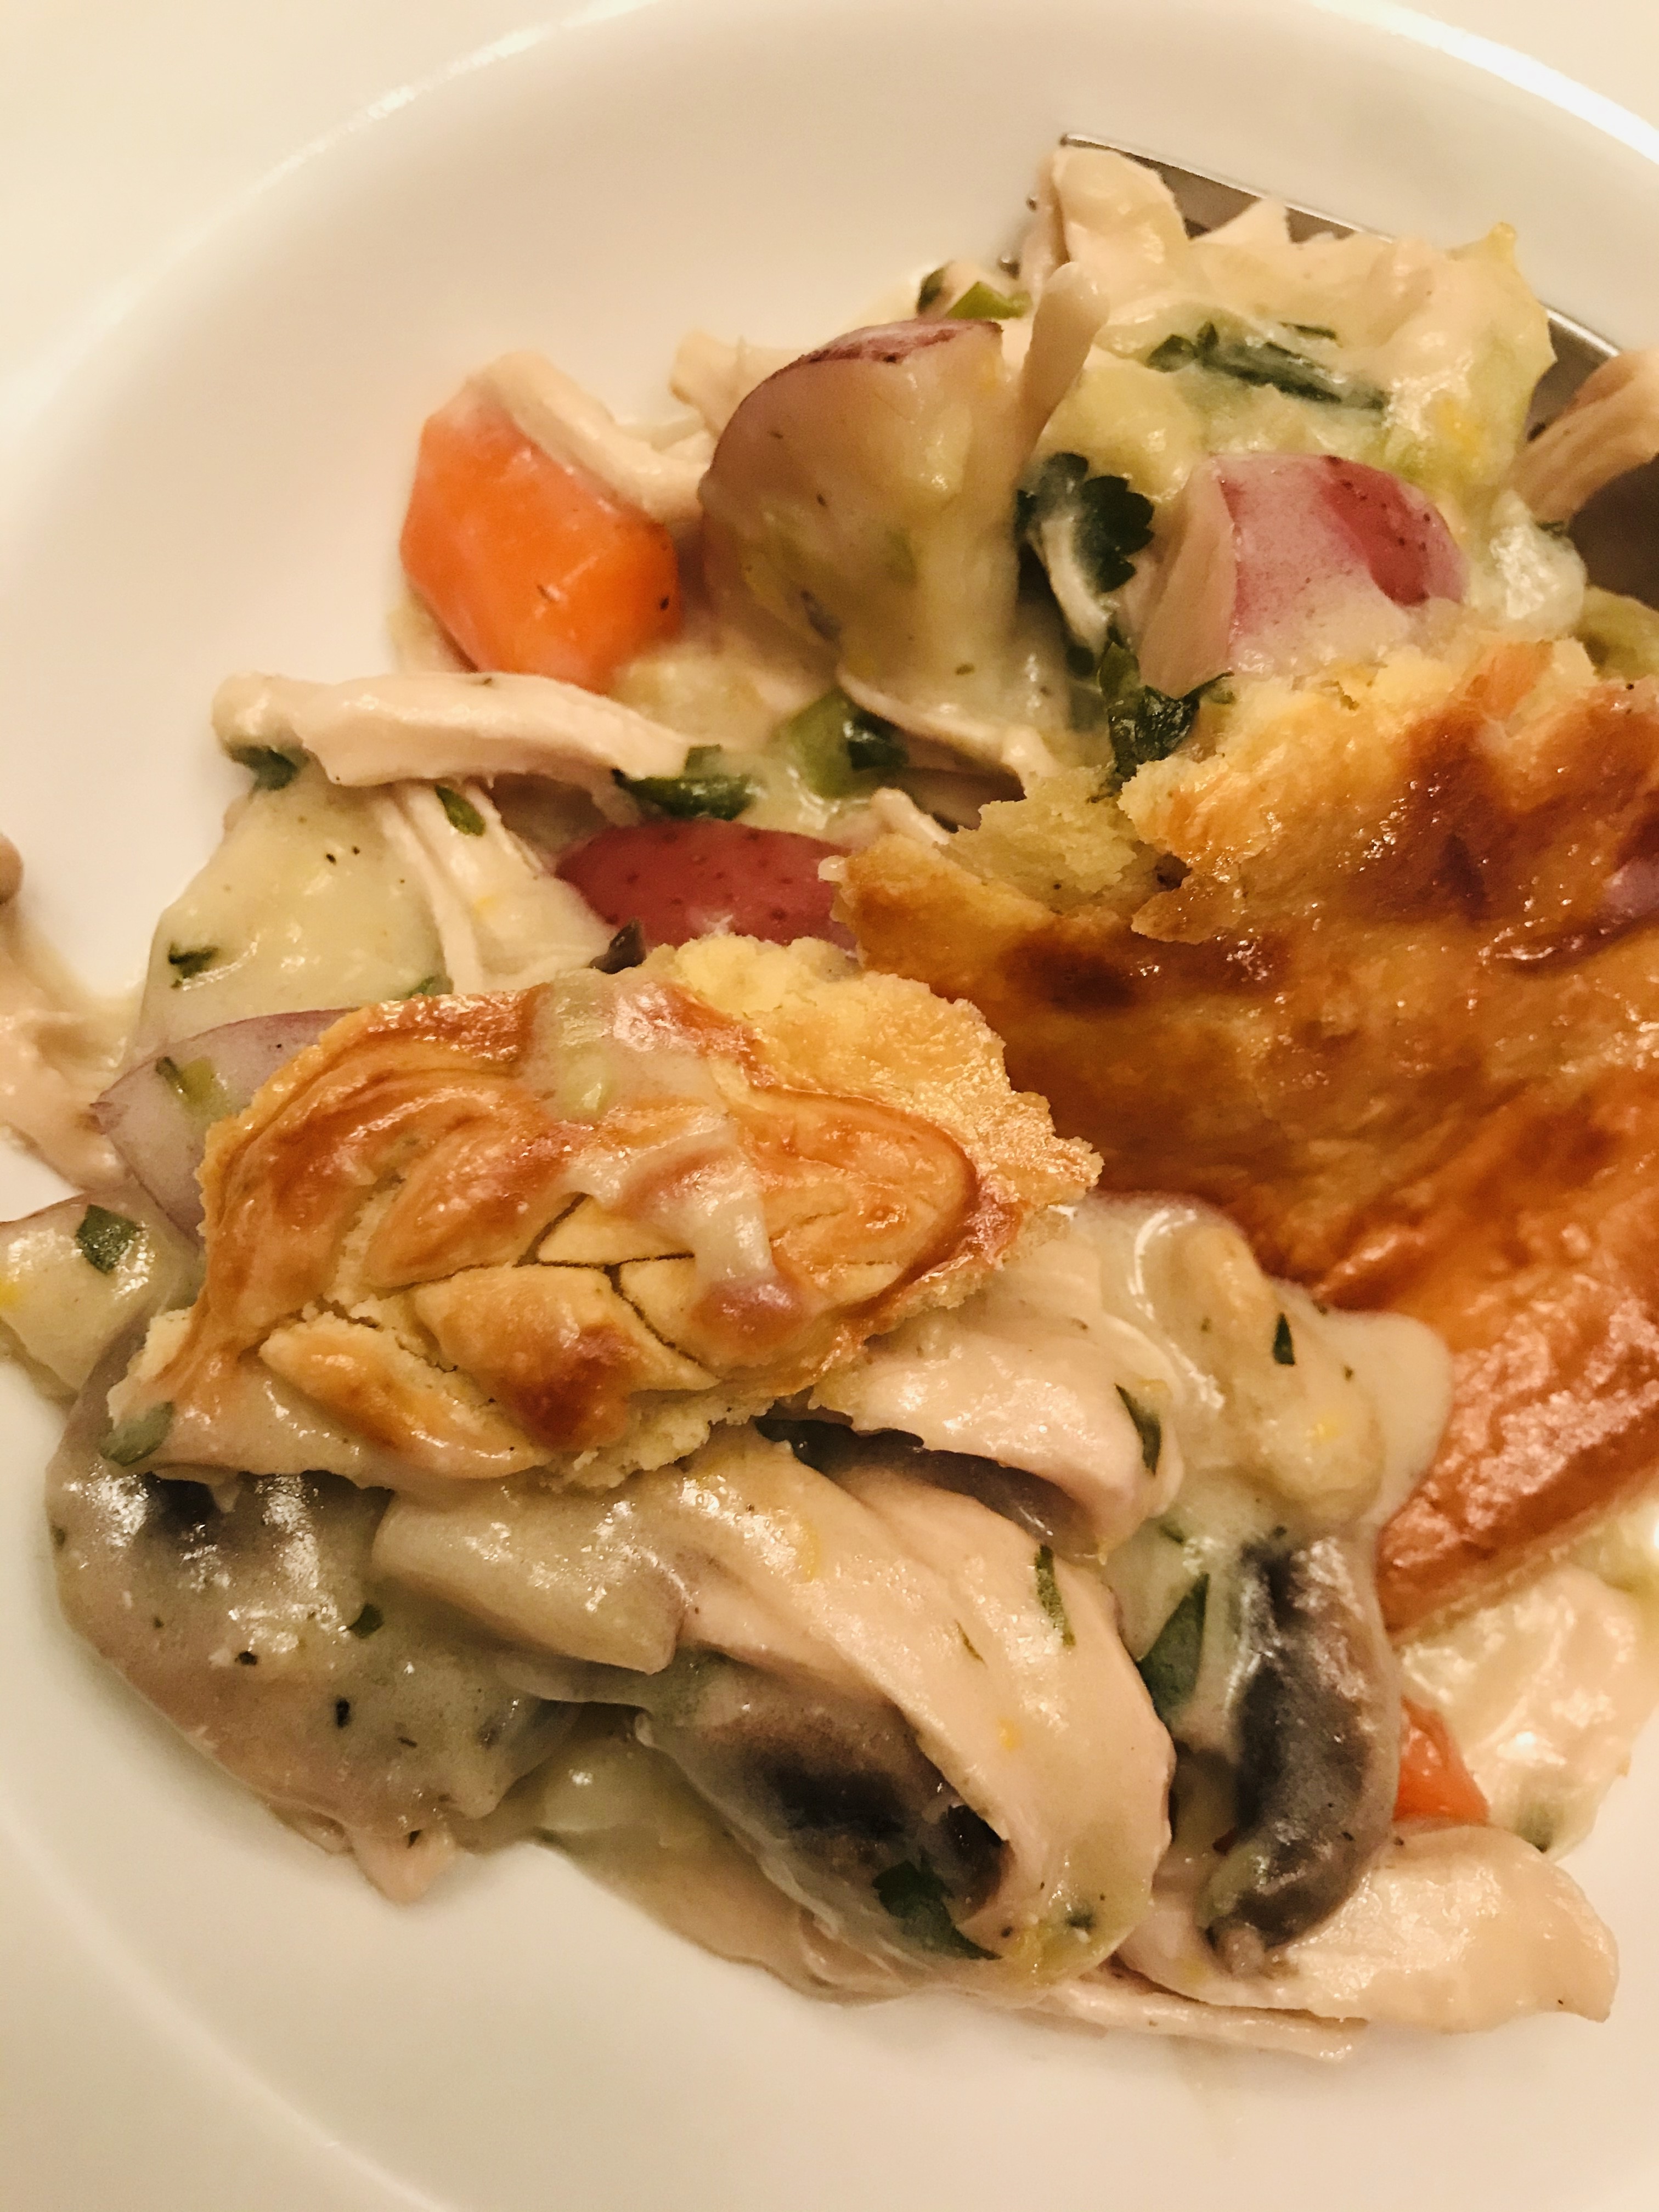
Comfort seems to be short supply these days. Climate change, avian flu, war, nasty politics, and the greyness of winter press in on us from all sides. I know when I’m tired of listening to all the noise, I head to my kitchen to fill it with the soothing scent of comfort food. Although Val and I have different opinions on what that looks like, we do agree that my Chicken Pot Pie is one of the top three. Featuring an easy homemade crust, basic ingredients, and leftover rotisserie or roasted chicken. Each ingredient adds to the savoriness of this warming and delicious pie. It may be cold outside, but you’ll be warm within.
BRICKYARD FARMS CHICKEN POT PIE
FOR THE PIE CRUST:
3 cups flour (I use Bob’s Red MIll Fine Pastry Flour)
1 tablespoon sugar
1 teaspoon salt
3/4 cups cold butter, cut in pieces
1/3 cup shortening, cut in pieces
1/2 cup ice water
INSTRUCTIONS:
Pulse the flour, sugar and salt in a food processor to combine. Add butter and shortening; pulse until crumbly. Slowly add ice water through feed tube and pulse until it forms a ball. Dust silicone baking mat with flour; place ball on mat and cut in half. Wrap one half in plastic wrap, then place in freezer for future use. Wrap remaining one and place in the refrigerator until ready for use.
FOR FILLING:
4 cups shredded rotisserie or roasted chicken
5 tablespoons unsalted butter
2 cups red-skinned potatoes, cut in 1/2 inch chunks
4 carrots, peeled and cut into 1/2 inch pieces on the diagonal
1 large leek, white and pale green parts only. sliced thin and washed
6 ounces cremini mushrooms, cut in 1/4 inch slices
Zest of 1 lemon
1 tablespoon fresh thyme leaves
5 tablespoons flour
1 cup whole milk or half and half
2 cups chicken stock, homemade if possible
1/4 cup flat leaf parsley, chopped
Kosher salt and freshly ground black pepper to taste
1 egg yolk
1 tablespoon heavy cream
INSTRUCTIONS:
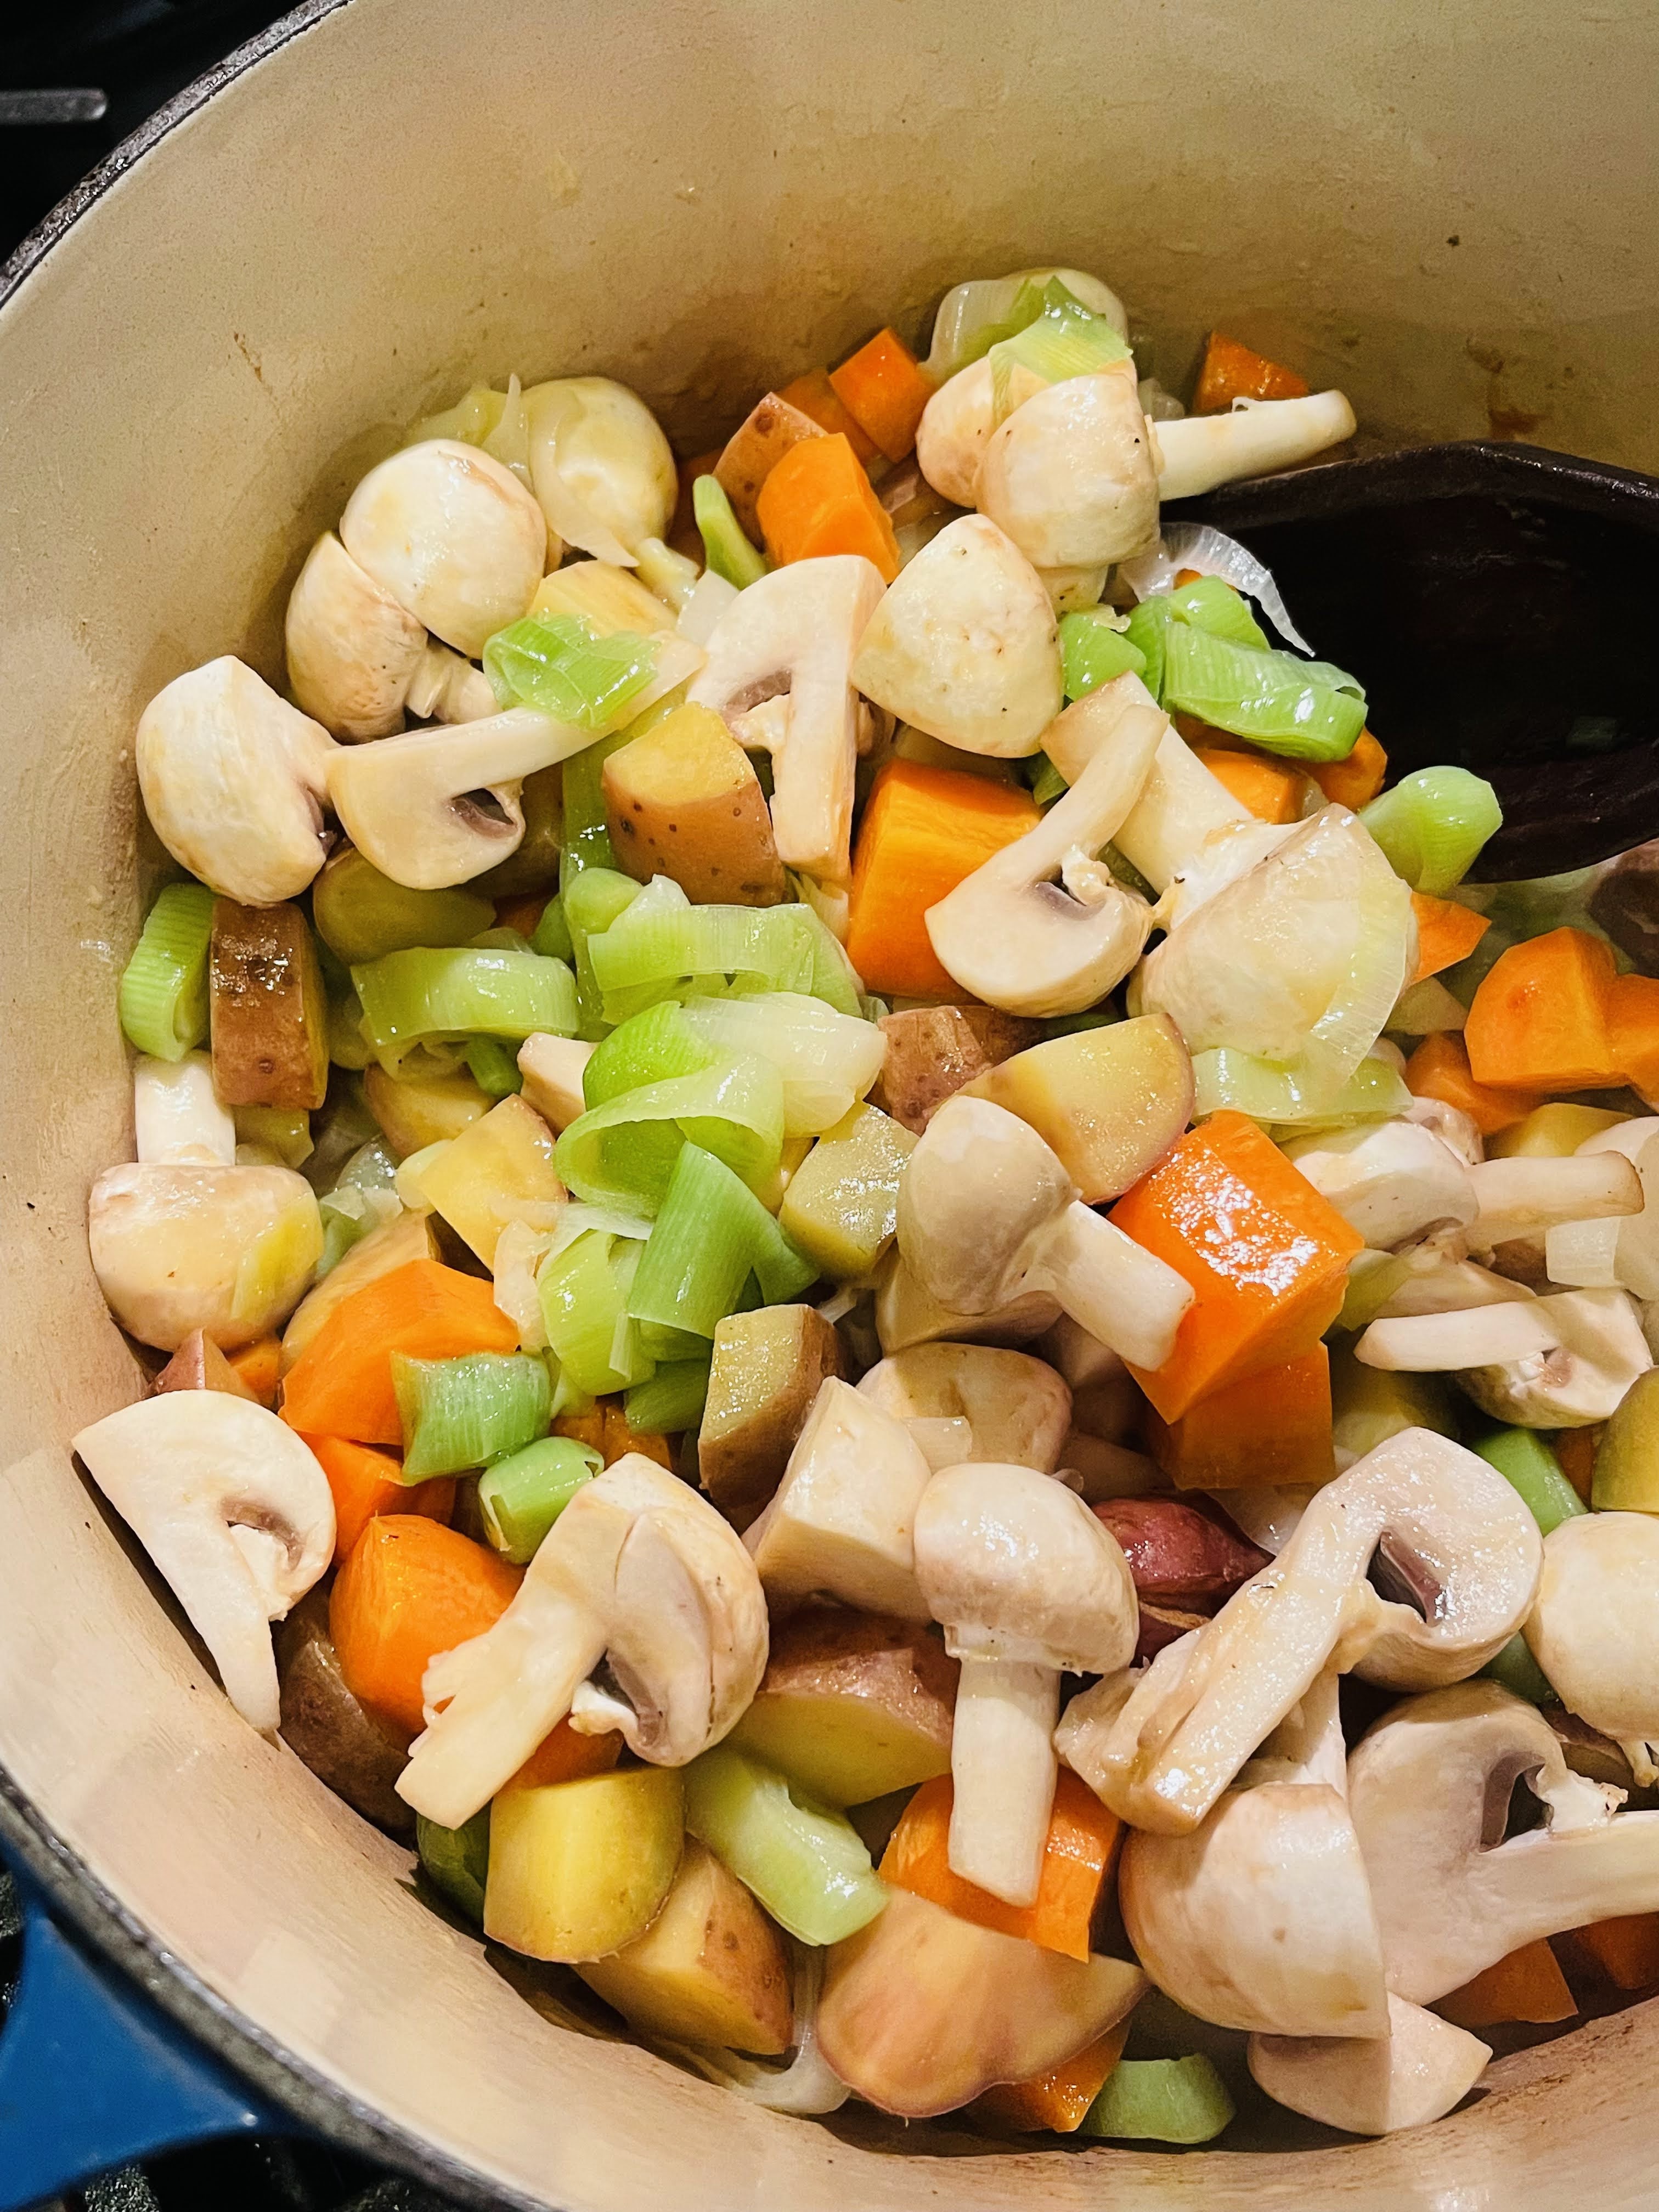
Pre-heat oven to 375 degrees F. In large, high-sided skillet, melt butter over medium-high heat. Add potatoes and cook, stirring occasionally for 4-5 minutes, or until the potatoes start to turn golden.
Add leeks, carrots and mushrooms, and cook for an additional 4-5 minutes more.
Add your flour and cook, stirring constantly for 1 minute. Add milk and chicken stock, then bring to a simmer. Cook until thick and bubbly, stirring constantly, about 3-4 minutes.
Add reserved chicken pieces, parsley, thyme leaves, lemon zest, kosher salt and freshly ground black pepper. Mix thoroughly.
Fill your souffle or ceramic dish with filling.
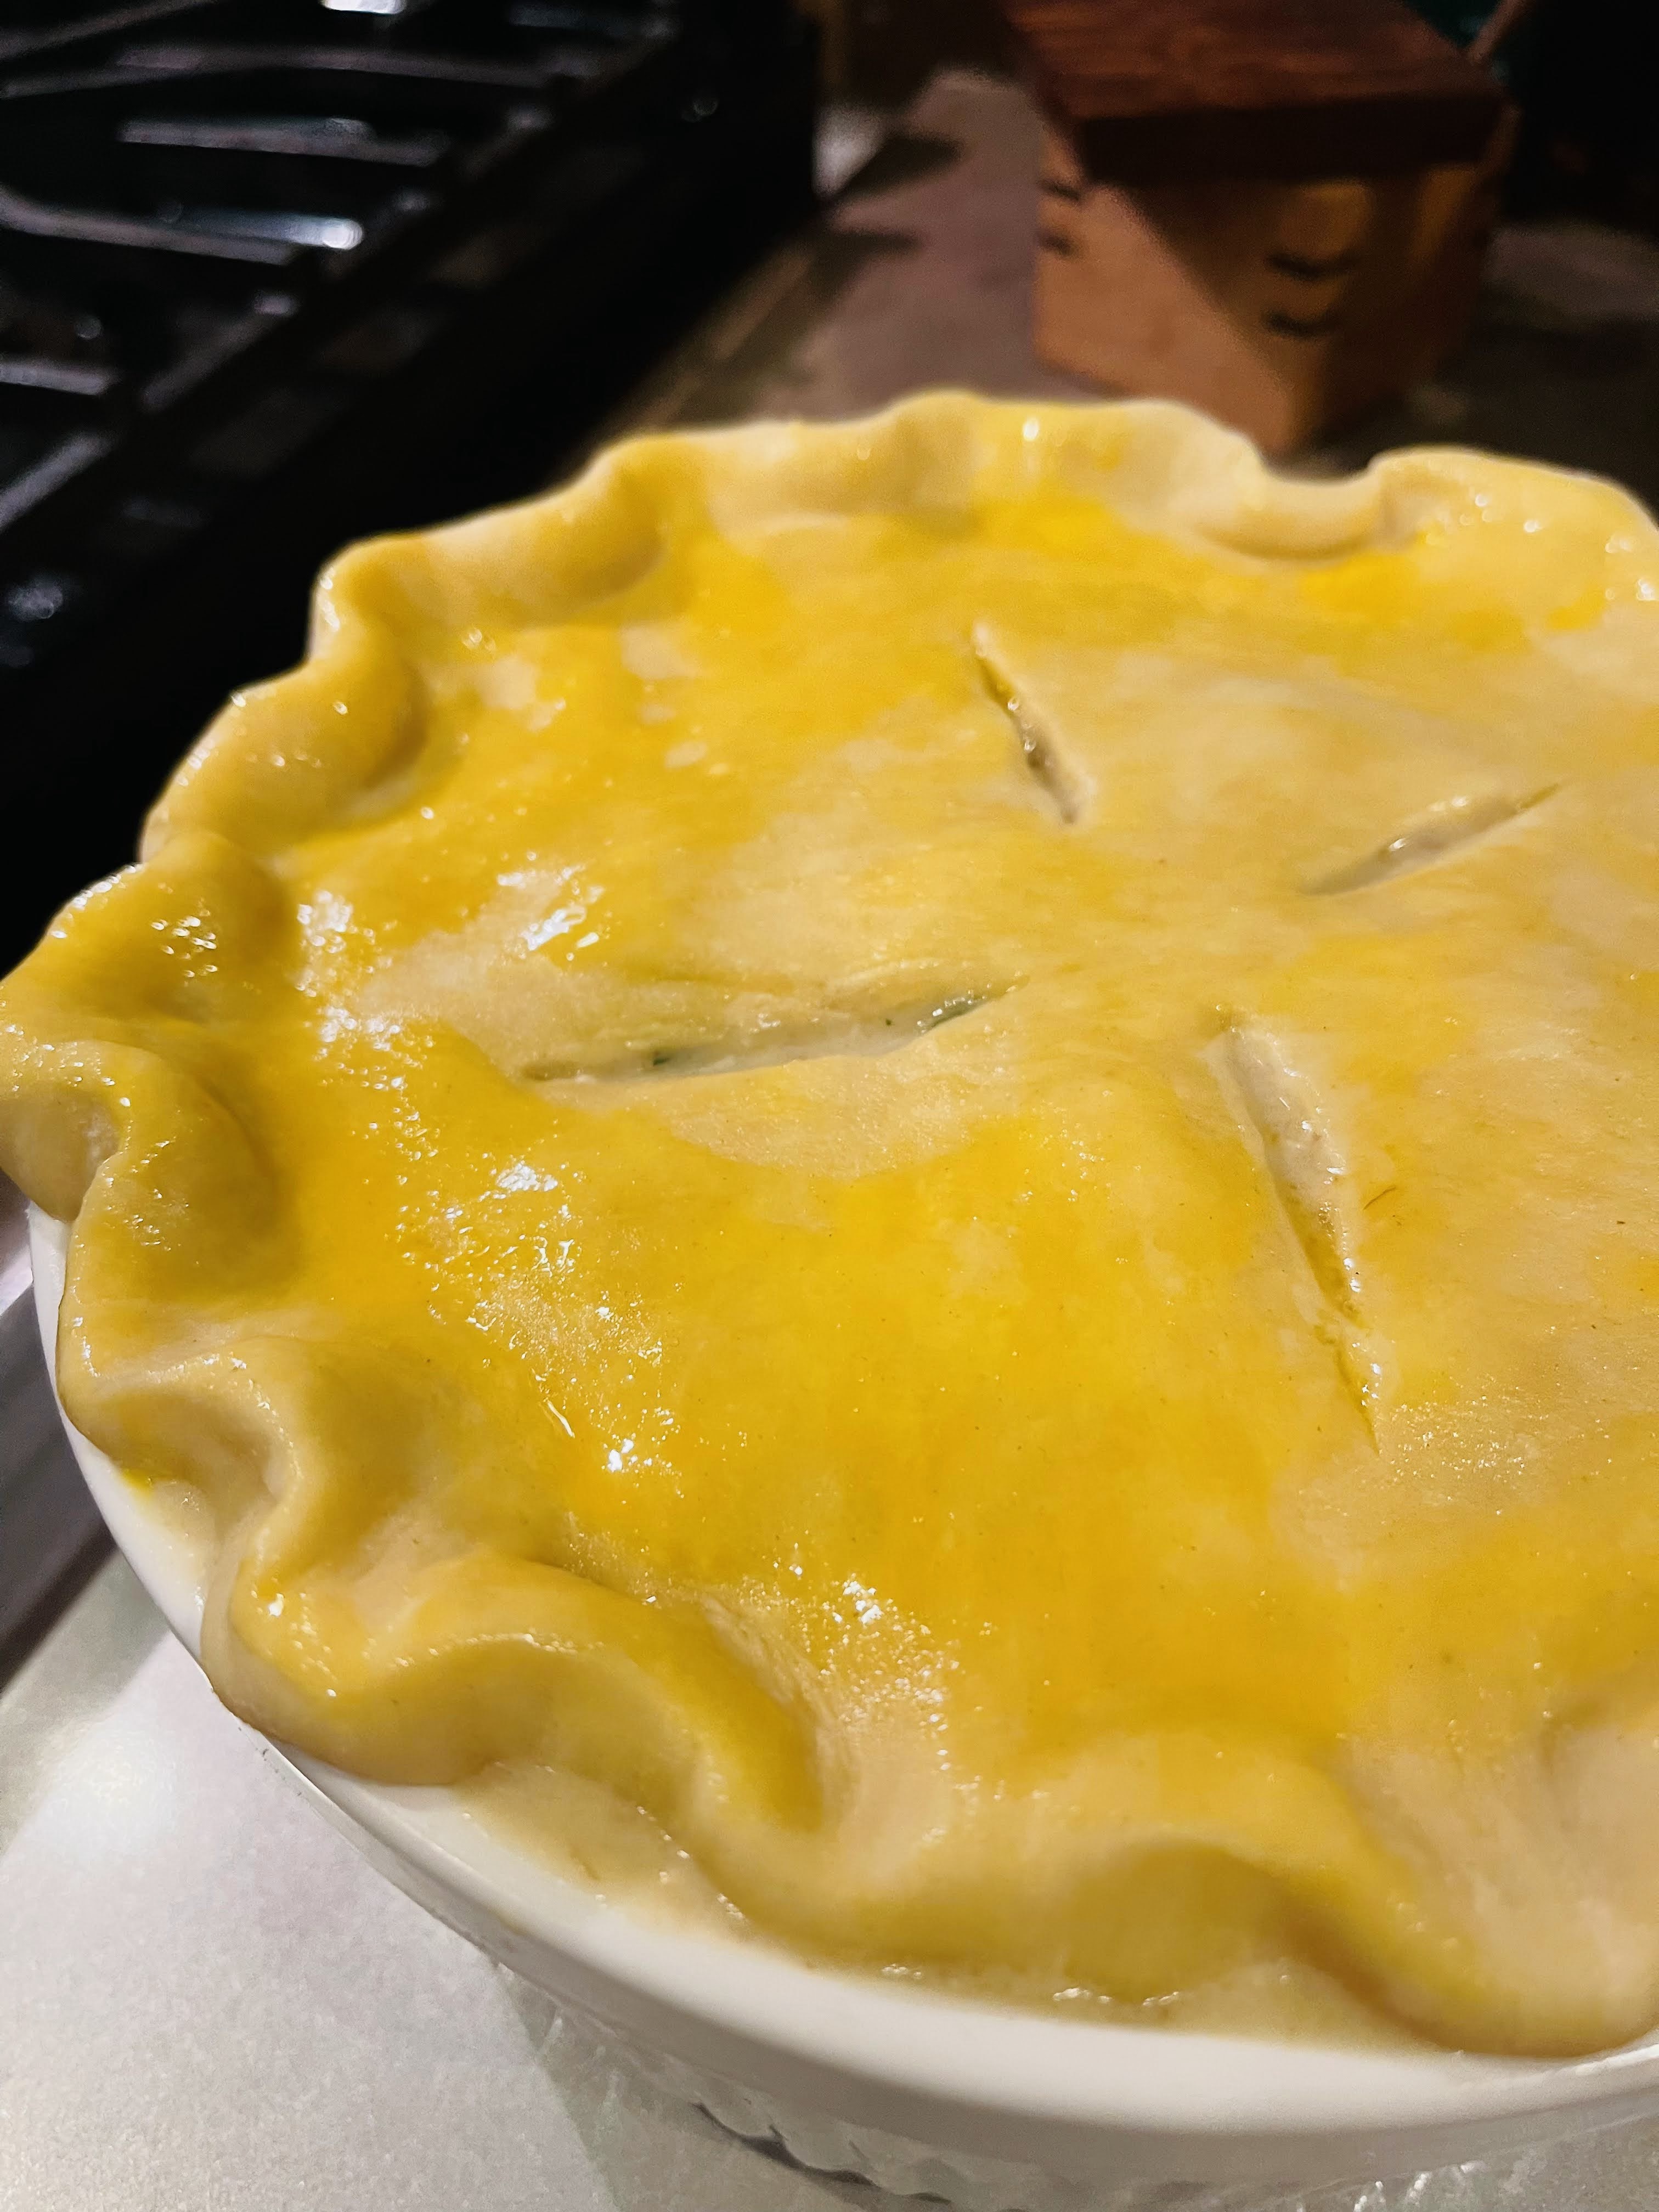
Roll out in a circle on silicone mat a little larger than the dish you are using for your pot pie. Cut a small opening with a sharp knife to let steam out. Roll loosely around your rolling pin and place on top of your pot pie.
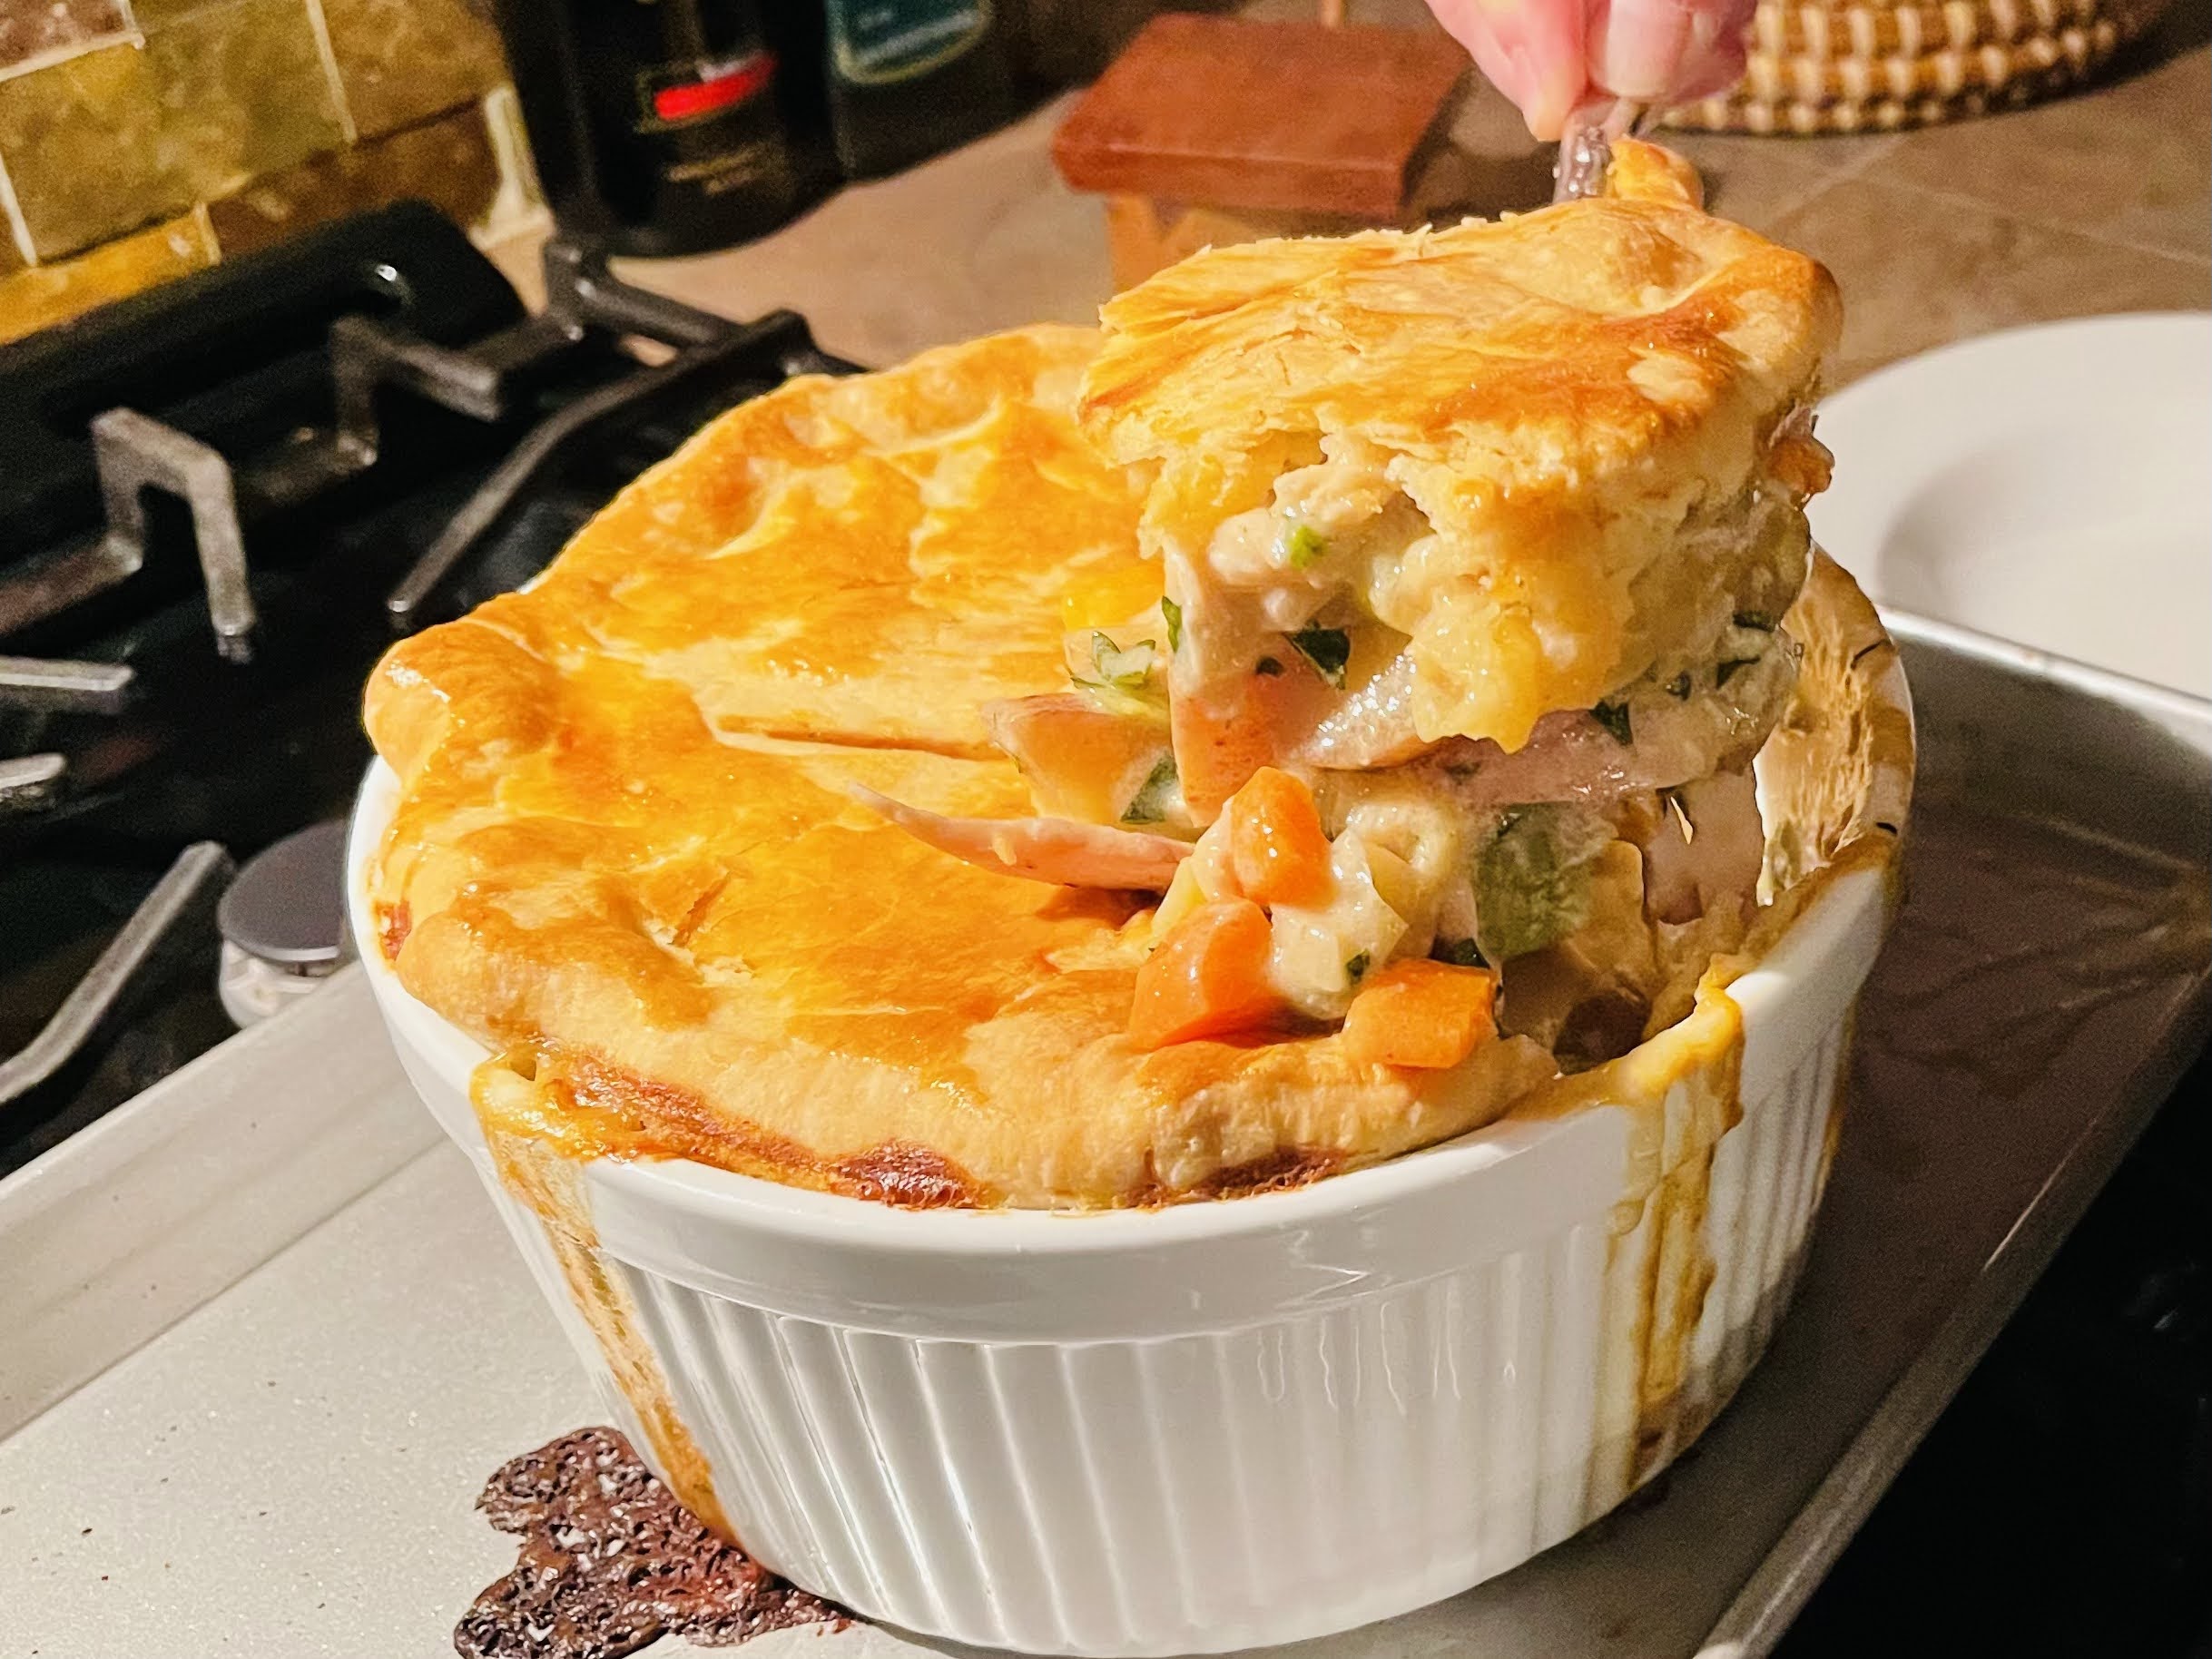
Make an egg wash of 1 egg yolk and 1 tablespoon heavy cream. Brush crust with egg wash. Place pie on baking sheet and bake for 35-40 minutes, until crush is golden. Remove from oven and let rest for 10 minutes. Serve hot.
I love comfort food – it’s the basis of everything.–Katie Lee
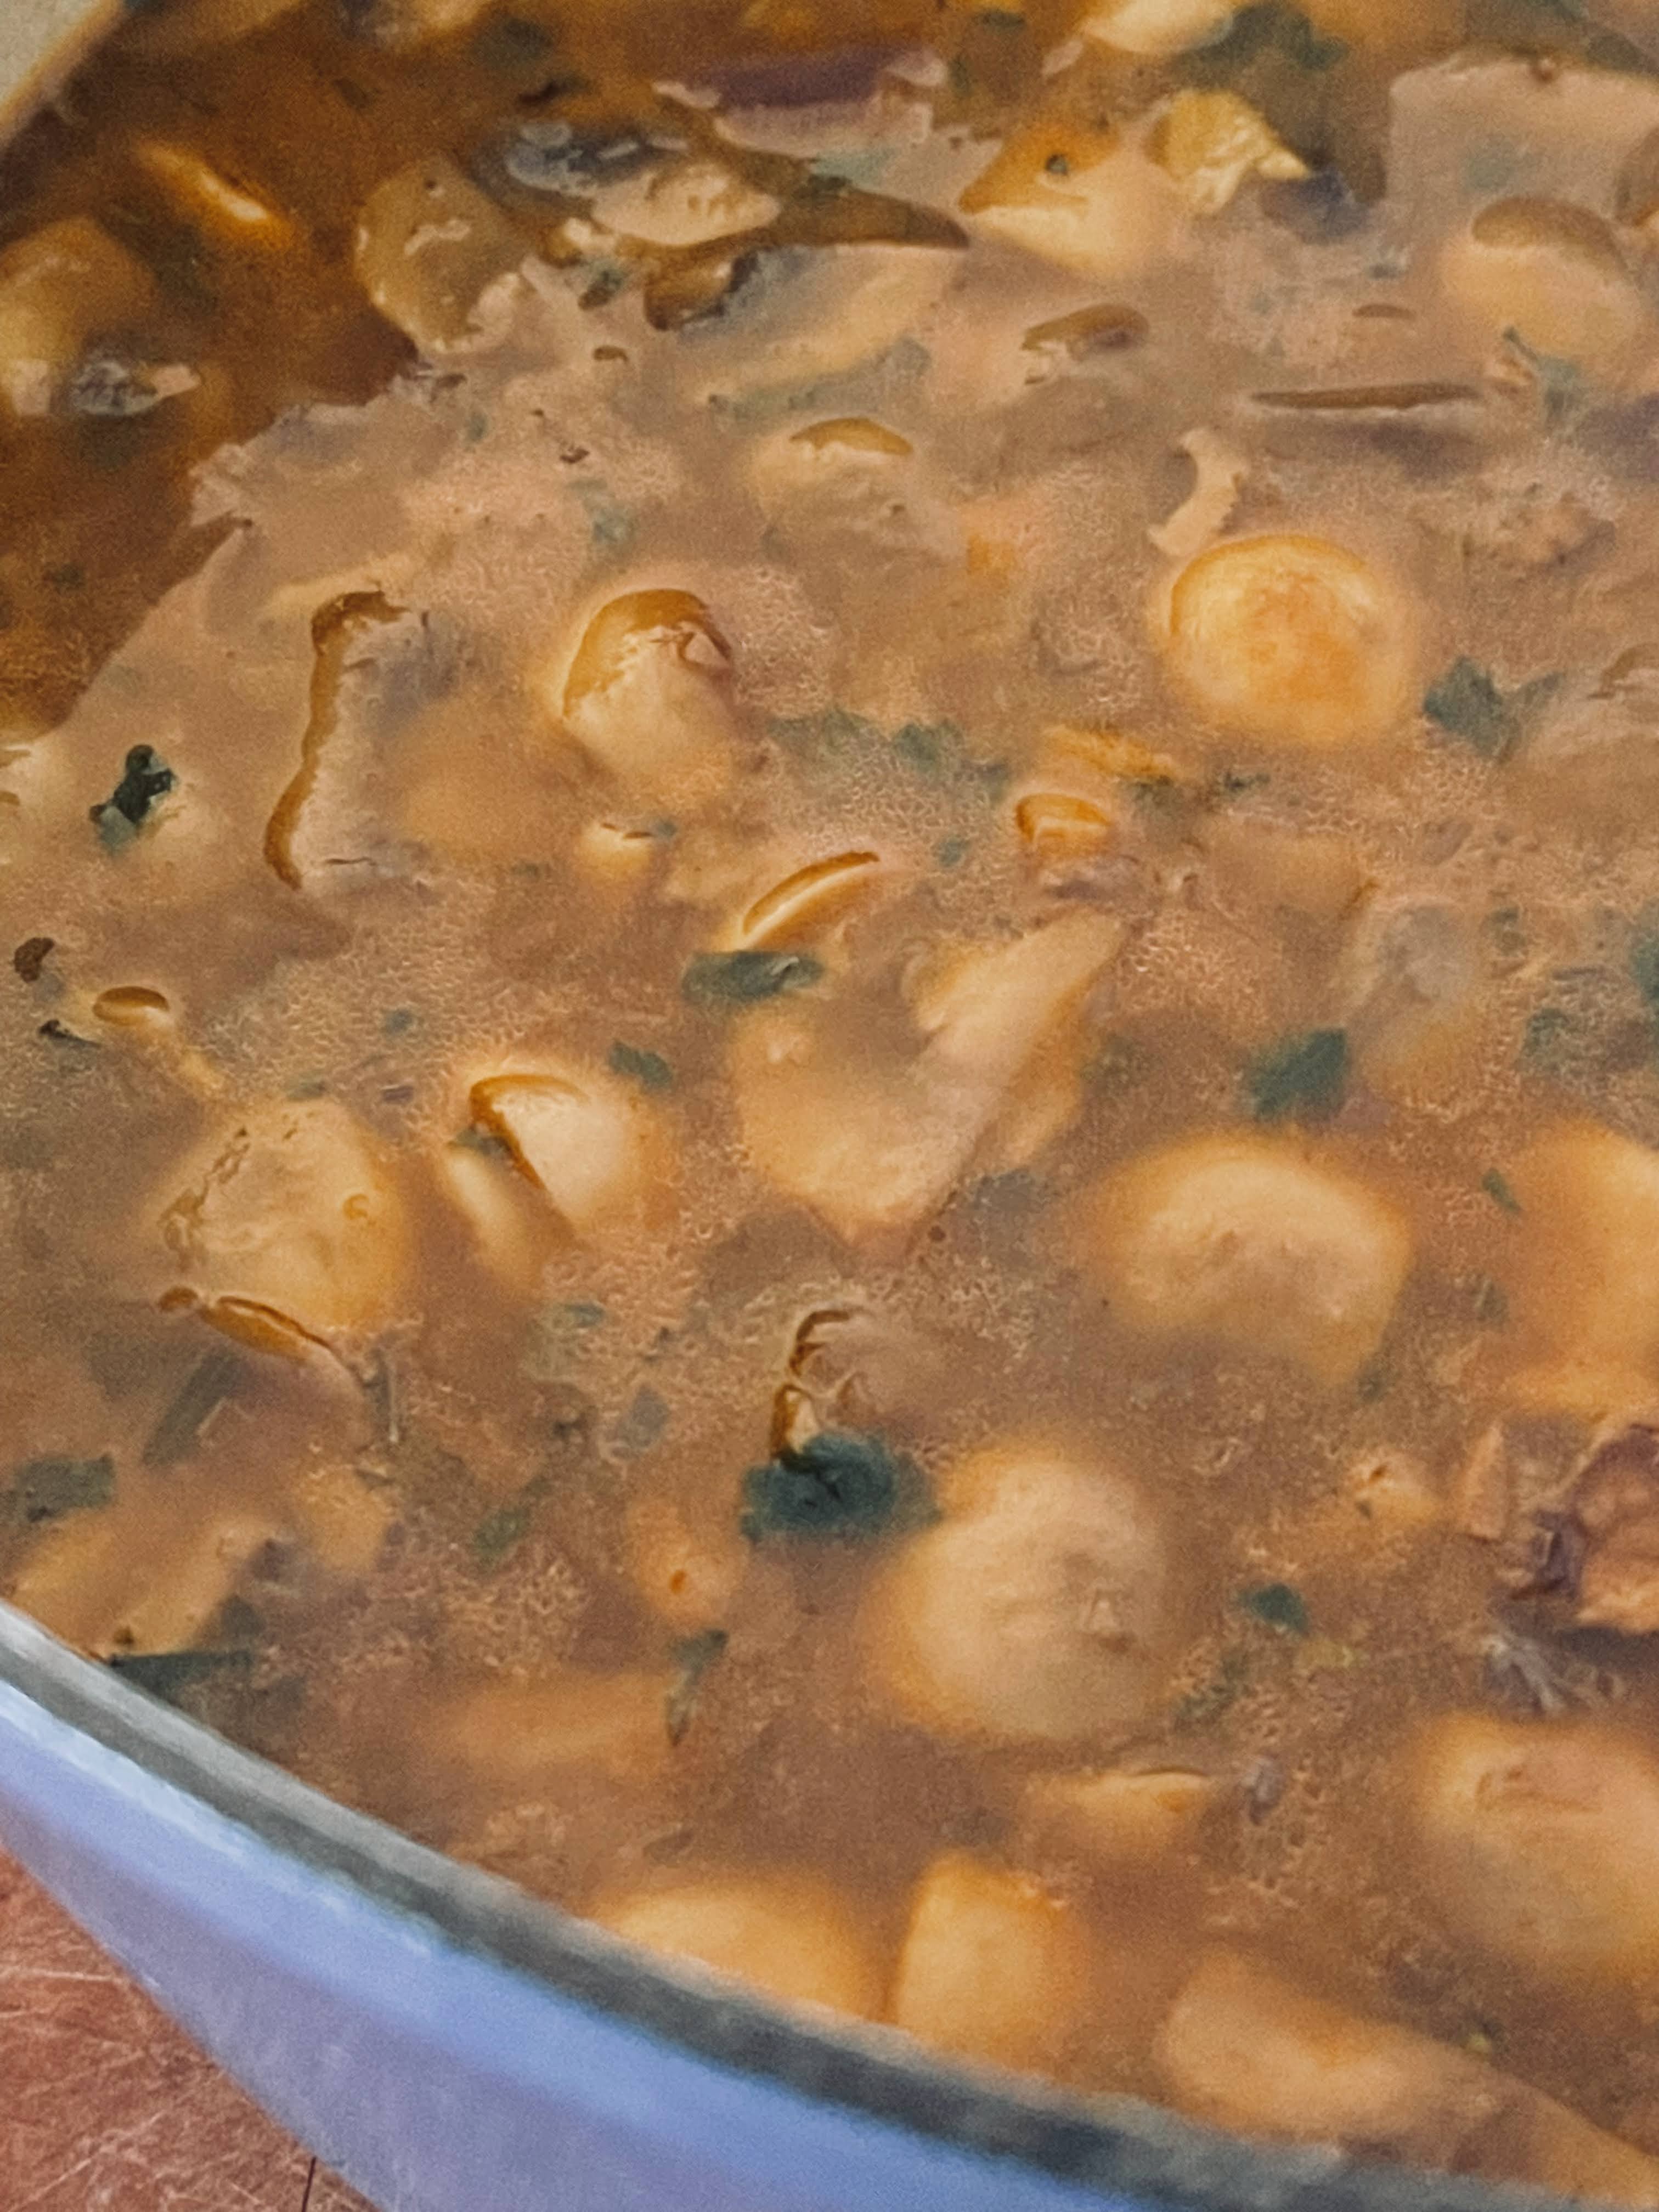
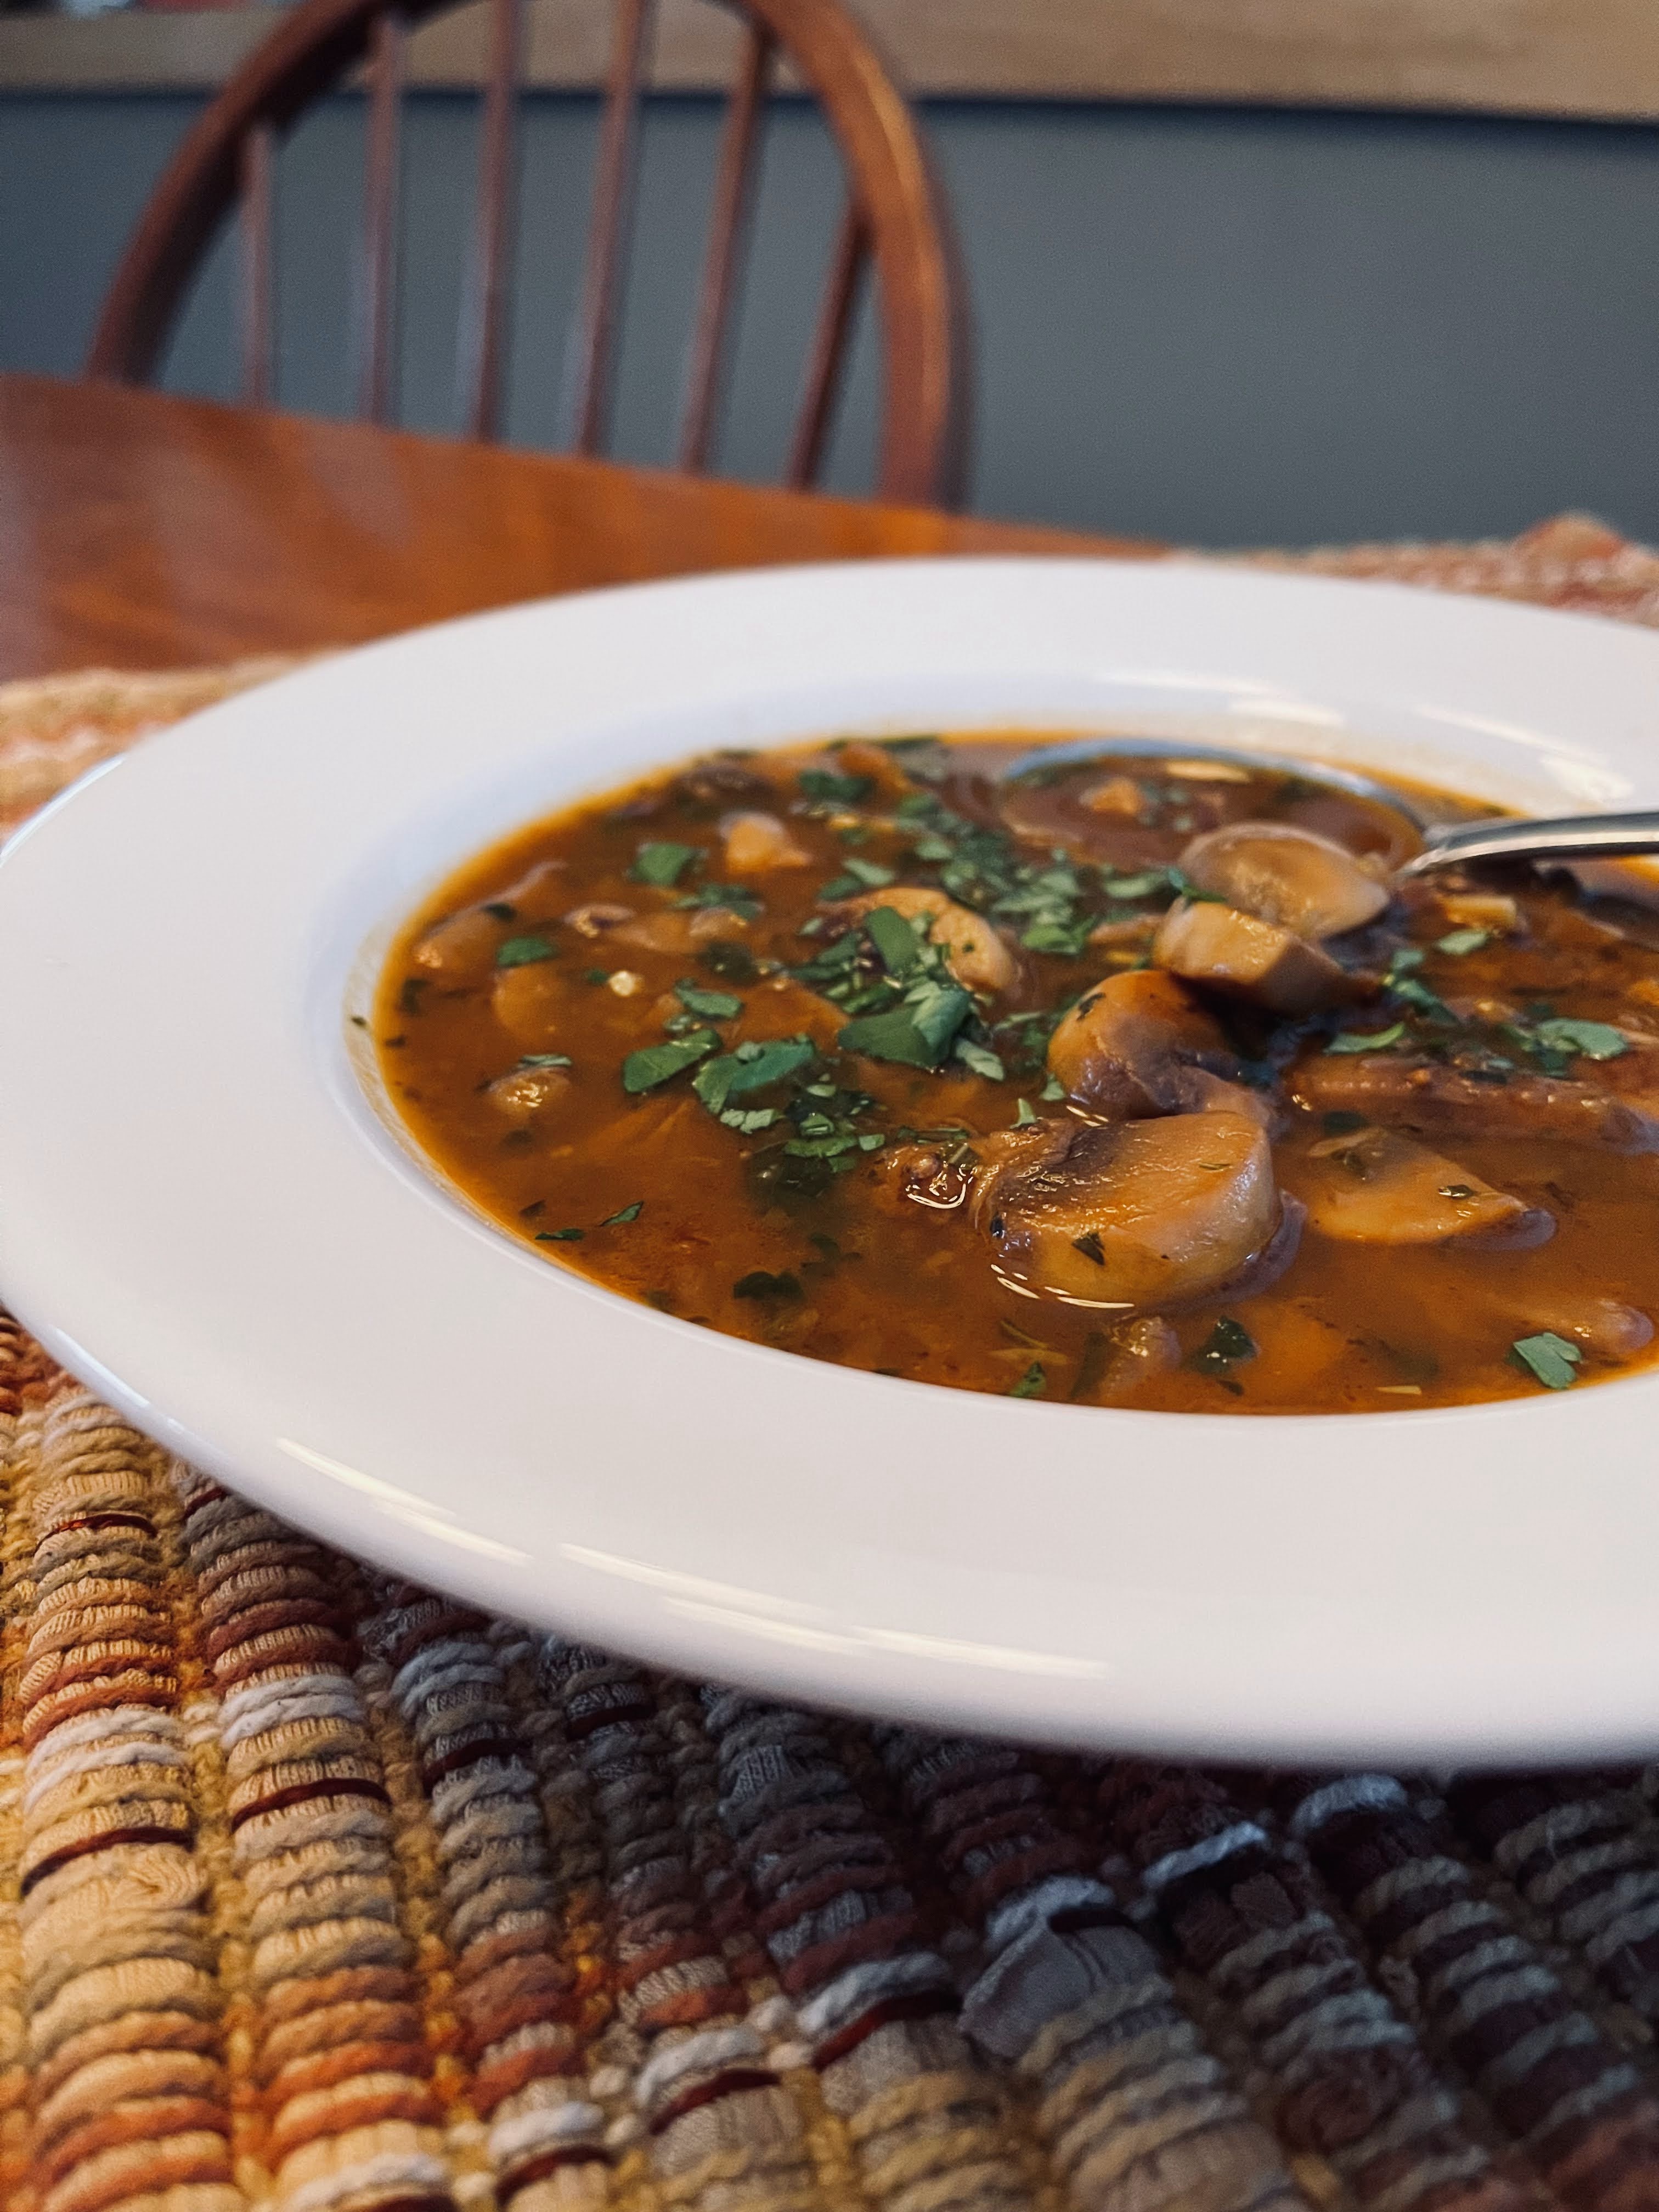
In the winter there is nothing better than soup, and this soup is soul-filling! There are many approaches to mushroom soup, and they will all give you satisfying results. This approach however, has a secret ingredient that not only thickens it with added protein, but gives it a rich and wonderful rustic feel. That ingredient is chickpea flour. What? That’s right, chickpea flour. Your are free to omit it, but you will end up with a much brothyer soup.
There are several elements to this soup that are equally important; homemade stock, a variety of fresh mushrooms, and making sure that you brown the mushrooms deeply, not just saute them. Each of these elements build on the other, giving you a opulent result you will feel proud to serve your family or guests.
1 1/2 pounds fresh mushrooms, (such as cremini, white mushrooms, shitake, oyster or portabellas), chopped
3/4 cup dried porcini mushrooms, soaked in 1 cup boiling water for 30 minutes, then finely chopped, straining steeping water through a fine mesh strainer. Set aside.
4 large shallots, diced
3 garlic cloves, grated on micro planer
1 tablespoon tomato paste
2 teaspoons chopped fresh thyme leaves
2 teaspoons chopped fresh rosemary leaves
2 teaspoons fine sea salt, plus more to taste
1/2 teaspoon ground coriander
1/2 teaspoon sweet paprika
1/4 cup chickpea flour
4 cups chicken or vegetable stock (I can’t empathize how important this is)
1/4 cup chopped fresh cilantro or parsley, for serving
INSTRUCTIONS:
Pour 1 cup boiling water over porcini mushrooms and let sit for 30 minutes. Remove mushrooms and chop, set aside. Strain soaking water through a fine mesh strainer, set aside.
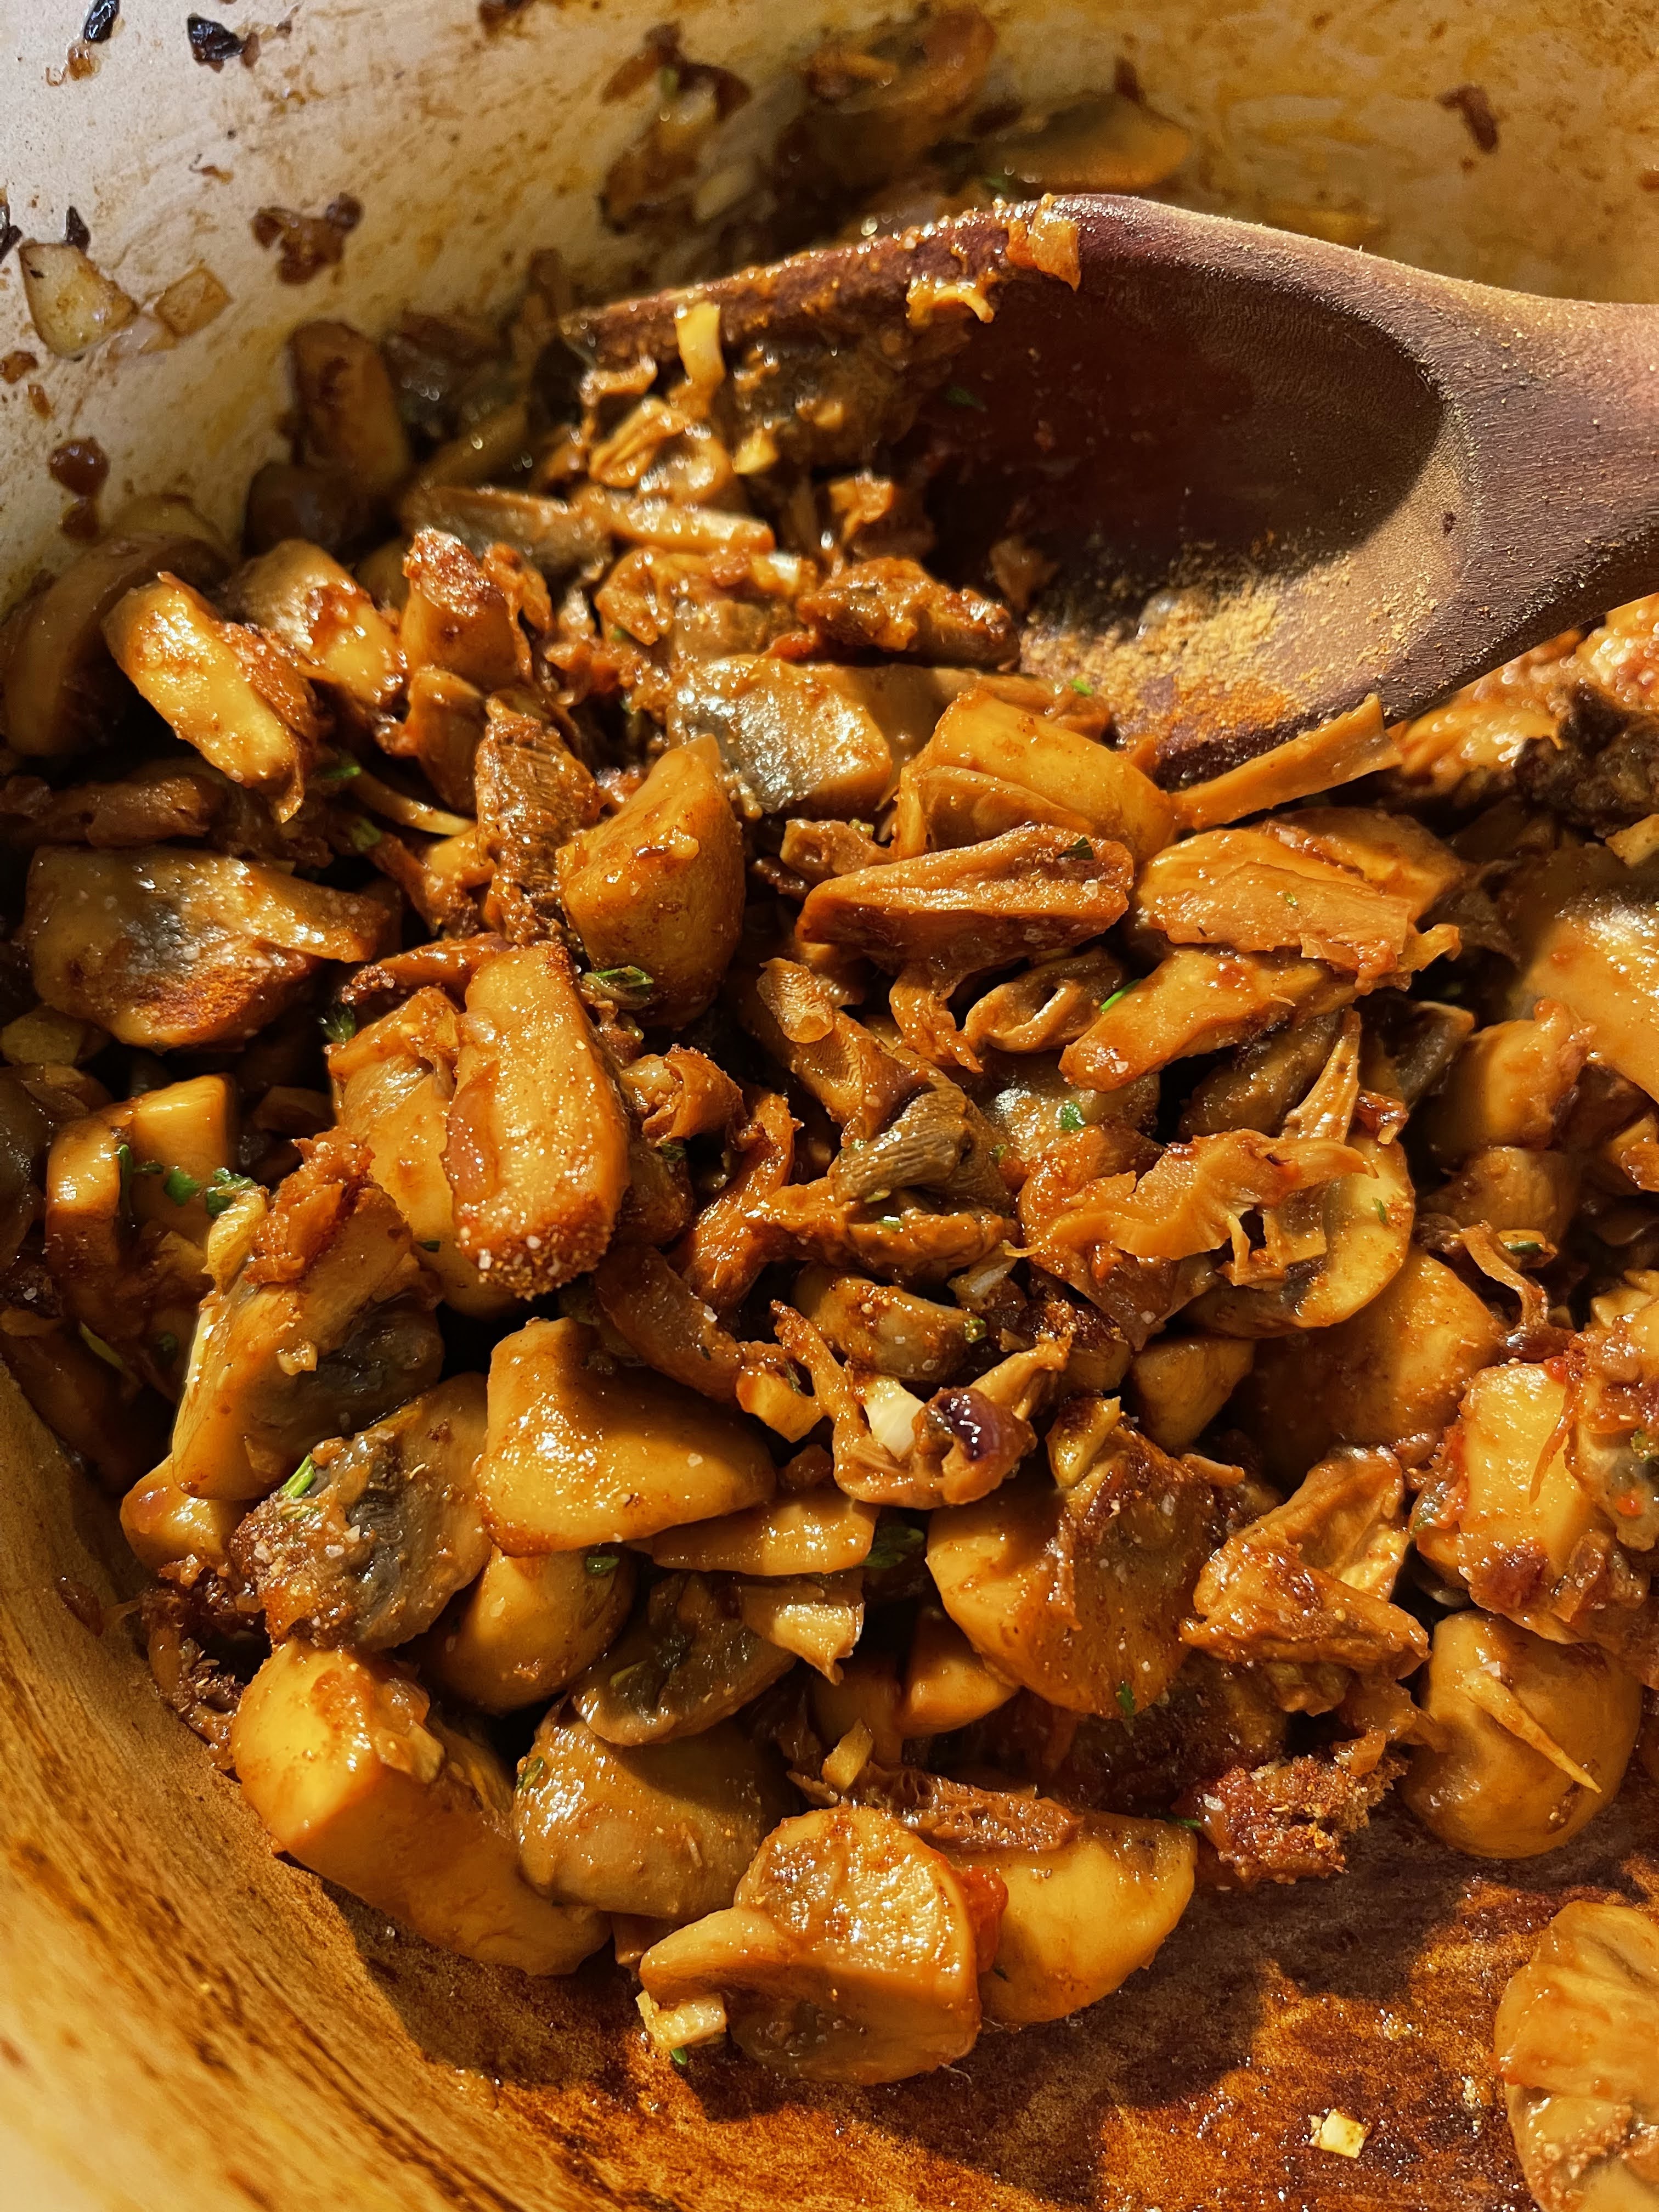
Melt 2 tablespoon of the butter and 1 tablespoon of the olive oil in a heavy soup pot or Dutch oven. Stir in half of the shallots and mushrooms, and cook, stirring occasionally, until browned, about 10-12 minutes. Use a slotted spoon to transfer the shallots and mushrooms to a large bowl. Repeat with the remaining butter, olive oil, shallots and mushrooms.
Pour all the mushrooms back into the pot, including the porcini’s, stir in the garlic and tomato paste, and cook until the garlic is fragrant, about 1-2 minutes. Then stir in the thyme, rosemary, 1 teaspoon of salt, coriander, and paprika and cook for 1 minute more.
Stir in the chickpea flour, and cook stirring for 1 minute. Stir in the stock of your choice, the reserved porcini water, and the remaining 1 teaspoon of salt. Let simmer for about 20 minutes. Taste and add additional salt if needed. Garnish with a sprinkling of paprika and chopped herbs.
Serves 4-6
“Nature alone is antique, and the oldest art is a mushroom.” –Thomas Carlyle.
I recently posted a recipe for a fool-proof pie crust. I’m sure all of you put that extra crust in the freezer for another use right? Well, here you are; a cap for a delicious, rich chicken pot pie. If not, the recipe is added here. Remember to freeze half of it for your next adventure. I remember the pot pies my mother used to buy on sale at the grocery store in their individual tins. The crust was as dry as dust, and the contents inside made you want to skip it altogether. This one will not only turn your head, but will end up on a regular rotation in your kitchen. It’s so good you can even feel confident serving it to guests. The really good news is that you save yourself extra time by picking up a rotisserie chicken on the way home, and your half way there!
BRICKYARD FARMS CHICKEN POT PIE
INGREDIENTS FOR MAMA JAN’S PERFECT PIE CRUST:
3 cups flour (I use Bob’s Red Mill Fine Pastry Flour)
1 tablespoon sugar
1 teaspoon salt
3 tablespoons fresh thyme leaves, divided
¾ cup butter. cut in pieces
1/3 cup shortening, cut in pieces
½ cup ice water
INSTRUCTIONS:
Pulse flour, 2 tablespoons thyme leaves, sugar and salt in a processor. Add butter and shortening; pulse until crumbly. Add ice water and pulse until it forms a ball. Dust silicone baking mat with flour; place ball on mat and cut in half. Wrap one half in plastic wrap. If using for this pot pie, you may roll it out immediately; place other half in freezer for future use.
Roll out in a circle a little larger than the dish you are using for your pot pie. A large souffle dish works well. Cut a small opening to let steam out (I use a small cookie cutter) Refrigerate rolled out crust for 15 minutes. Roll loosely around your rolling pin and place on top of your pot pie when you are ready to use it.
INGREDIENTS FOR FILLING:
4 cups shredded rotisserie chicken
5 tablespoons unsalted butter
2 cups red-skinned potatoes, cut in 1/2 inch chunks
4 carrots, peeled and cut into 1/2 inch pieces on the diagonal
1 large leek, white and pale green parts only, sliced thin & washed
6 ounces cremini mushrooms, sliced 1/4 inch
Zest from 1 lemon
1 tablespoon thyme leaves
5 tablespoons flour
1 cup whole milk
2 cups chicken stock
1/4 cup flat leaf parsley, chopped
1 egg yolk
1 tablespoon heavy cream
INSTRUCTIONS:
Pre-heat oven to 375 degrees F. In large, high-sided skillet, melt butter over medium-high heat. Add potatoes and cook, stirring occasionally for 4-5 minutes, or until the potatoes start to turn golden.
Add leeks, carrots and mushrooms, and cook for an additional 4-5 minutes more.
Add your flour and cook, stirring constantly for 1 minute. Add your milk and chicken stock and bring to a simmer. Cook until thick and bubbly, stirring constantly, about 3-4 minutes.
Add reserved chicken pieces, parsley, remaining 1 tablespoon thyme leaves, lemon zest, kosher salt and freshly ground black pepper to taste. Mix thoroughly.
Fill you souffle dish, or ceramic dish with pot pie filling.
Make your egg wash of 1 egg yolk and 1 tablespoon heavy cream.
Roll your crust around a rolling pin and drape over pie. I then use my rolling pin to trim off extra crust. You may fold extra crust underneath the border, if you prefer that type of look. If you have used your cookie cutter, place removed piece next to opening.
Brush crust with egg wash. Place dish on cookie sheet and bake for 35-40, until crust is golden. Serve hot.
Serves 6
“Sometimes a little comfort food can go a long way.”
Many years ago, when I was 10 years old, I made my first pie crust. I had read the ingredients incorrectly and accidentally switched the salt and sugar amounts, making the pie virtually inedible. Since then I have used refrigerator pie crusts with similar results; they too were tough, tasteless and inedible. I love tarts, pies and galettes and wanted to master these at home. My reluctance to make homemade pie crusts continued until 2 months ago when my surrogate mother Mama Jan Burian offered me a solution. I had always admired her baking skills and shared with her that pie crusts intimidated me. She gave me her perfect pie crust recipe. “It’s virtually foolproof!”, she told me.
Although slightly skeptical, with the encouragement of Mama Jan, I knew I had to try again. After making the very first one, I regretted getting stuck in the refrigerator section of the grocery store. My god, it was foolproof! I am now delighted to report that there is no turning back! I’m obsessed with savory galettes. This one has become a favorite; and can be served for breakfast, lunch or dinner. It comes together quickly and has had favorable reviews. Thanks Mama Jan!!
SAVORY MUSHROOM GRUYERE GALETTE
MAMA JAN’S PERFECT PIE CRUST
INGREDIENTS:
3 cups flour (I use Bob’s Red Mill Fine Pastry Flour)
1 tablespoon sugar
1 teaspoon salt
¾ cup butter
1/3 cup shortening
½ cup ice water
DIRECTIONS:
Pulse flour, sugar and salt in a processor. Add butter and shortening; pulse until crumbly. Add ice water and pulse until it forms a ball. Dust silicone baking mat with flour; place ball on mat and cut in half. Wrap each half in plastic wrap. If using for a one crust pie or galette, place one half in refrigerator for one hour; place other half in freezer for future use.
Remove wrapped dough from refrigerator and let stand for 10-15. Unwrap and place on lightly floured silicone baking mat. Roll out in a circle of about 16 inches in diameter. Roll loosely around your rolling pin and place on a large baking sheet lined with parchment paper.
FOR FILLING:
2-3 medium sized shallots, minced
2 12 ounce packages white button or crimini mushrooms, or a mixture of both, sliced 1/4 inch thick
3 tablespoons unsalted butter
1/3 cup white vermouth
Kosher salt and freshly grated black pepper to taste
1 tablespoon fresh thyme leaves
8 ounces finely shredded Gruyere or Comte cheese
1 egg lightly beaten
2 tablespoons fresh parsley, chopped
DIRECTIONS:
Preheat oven to 400 degrees F. In a large non-stick skillet, melt butter over medium heat. Add shallots and saute until soft, about 6-8 minutes. Add mushrooms, then thyme leaves and continue to saute as the mushrooms start to sweat out their moisture. After about 10 minutes add your white vermouth, salt and pepper. Continue sauteing until most of the moisture is evaporated from pan. Remove from heat and set aside.
Place your finely shredded Gruyere cheese in a 12 inch circle in the center of rolled out crust; leaving a 2 inch border. Place your mushroom mixture on top of Gruyere. Gently fold over border making occasional pleats where necessary.
Brush with beaten egg. Place in over for 35-45 minutes; or until crust is golden and mushrooms are bubbly. Let sit for 10 minutes before cutting. Garnish with chopped parsley.
Serves 2-4
“I learned that a galette is sort of the offspring of a pie and a tart- halfway between homespun and fancy- but easier to make than its parents. The biggest difference is that a galette is a free-form pastry, baked without a pie pan or tart ring. It’s rustic. And it’s forgiving. You just roll it out flat and then fold it in roughly around the filling.” —Viola Shipman
Boy, are we ever having a heat wave! Just in time for harvesting our 5500 heads of garlic. The good news is it’s great for garlic; not so much for us garlic diggers and cleaners. We get up early while the heat is bearable, then stop by midday to avoid becoming ill. This is definitely the time of year for simplicity in the kitchen. You can always throw something on the grill, but I really go for meal salads. They don’t heat up the kitchen, and you can munch on them for a few days. Virtually any grain or bean will work well, combined with vegetables of your choice. I go for texture differences whenever possible; which usually means crunch and savory elements. I’ve been making this salad for decades. It’s great for a picnic (no mayo) and can be doubled or tripled to serve a crowd.
WILD RICE SALAD
INGREDIENTS:
1 cup long grain wild rice, cooked, drained and cooled
8 pieces of bacon, chopped, fried and drained
2 cups celery, diced
2 cups white onion, diced
4 ounces white or brown mushrooms, stems removed, caps sliced
2 cups curly parsley, chopped
1 cup pecans or almonds, toasted
DRESSING:
1/2 cup sunflower oil
1/2 cup fresh lemon juice
Kosher salt and freshly ground black pepper to taste
DIRECTIONS:
Measure 3 cups water into a medium saucepan and add 1 teaspoon salt. Bring to a boil and stir in wild rice. Turn down to low, partially cover and cook for 40 minutes. Drain in a wire colander and set aside to cool.
Chop bacon, fry until crisp and drain on paper towels. Set aside.
In a large bowl, place cooled wild rice, with celery, onions, mushrooms, pecans and parsley.
Place ingredients for dressing in a pint mason jar. Seal with lid and shake vigorously. Pour over salad and mix thoroughly but gently.
Serve on a platter and top with crumbled bacon.
Serves 4-6
“I love how summer just wraps its warm arms around you like a blanket.” —Kelle Elmore