vegetables

Dippidy-Do-Da

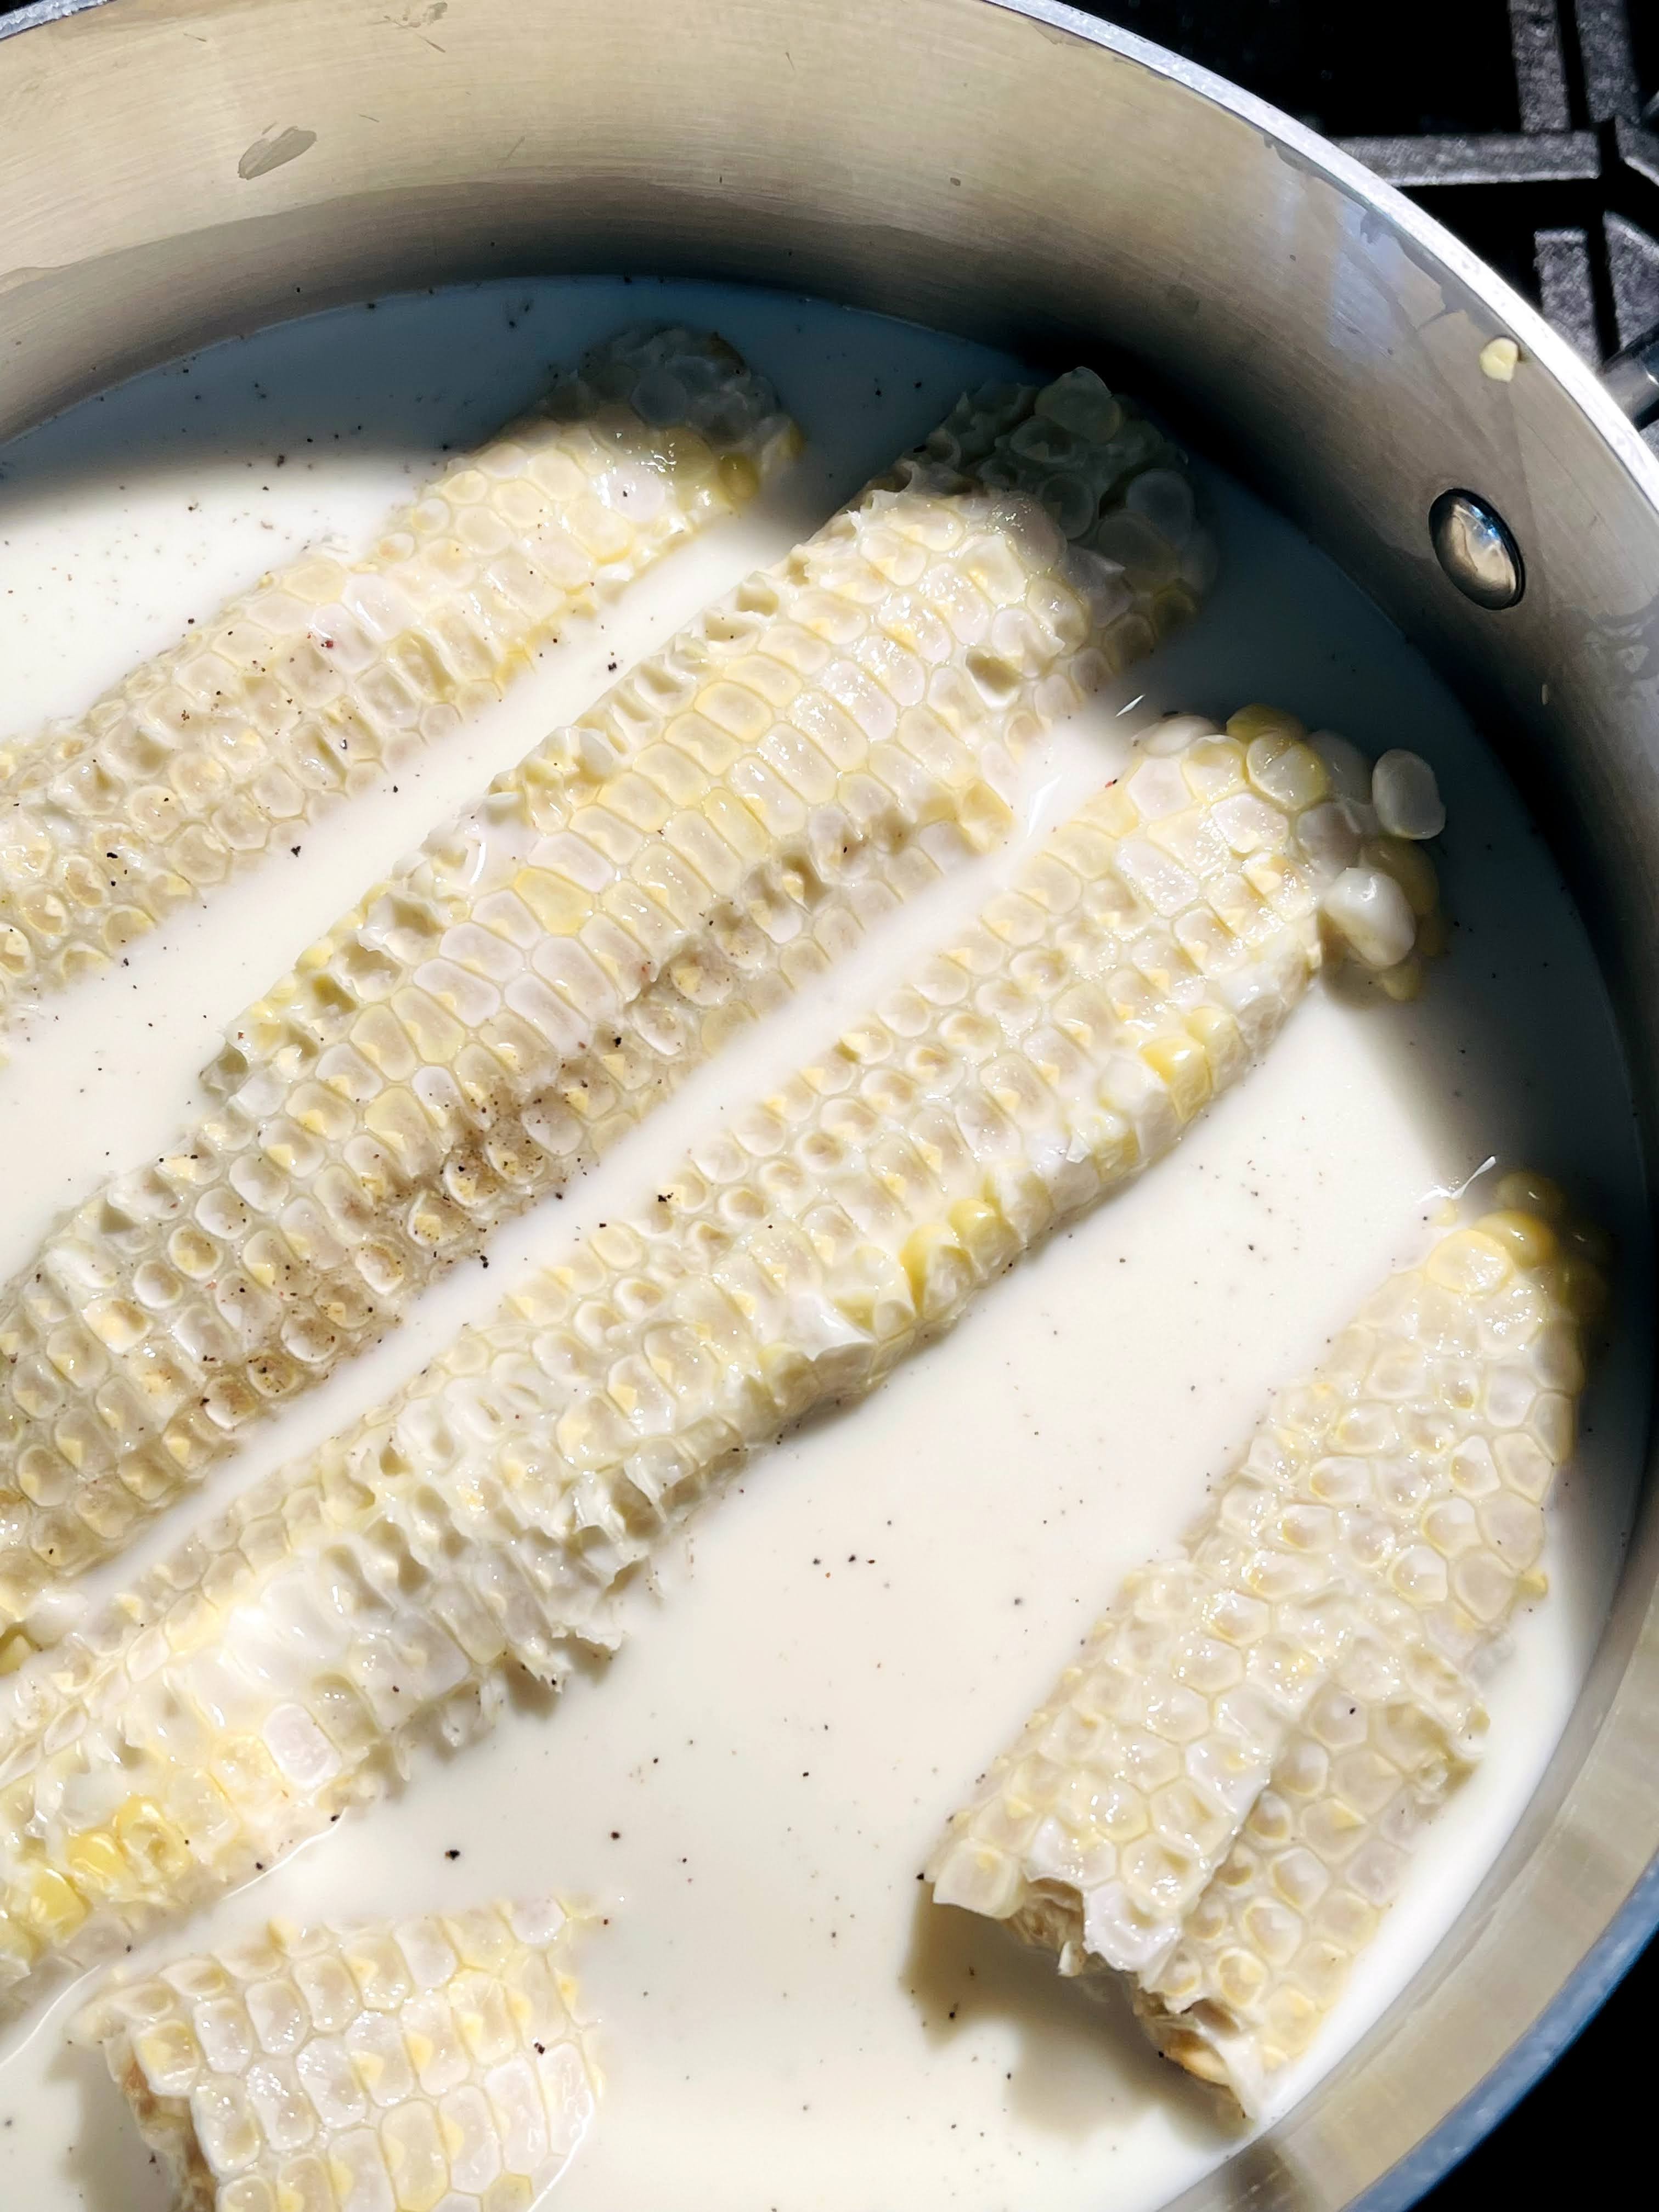
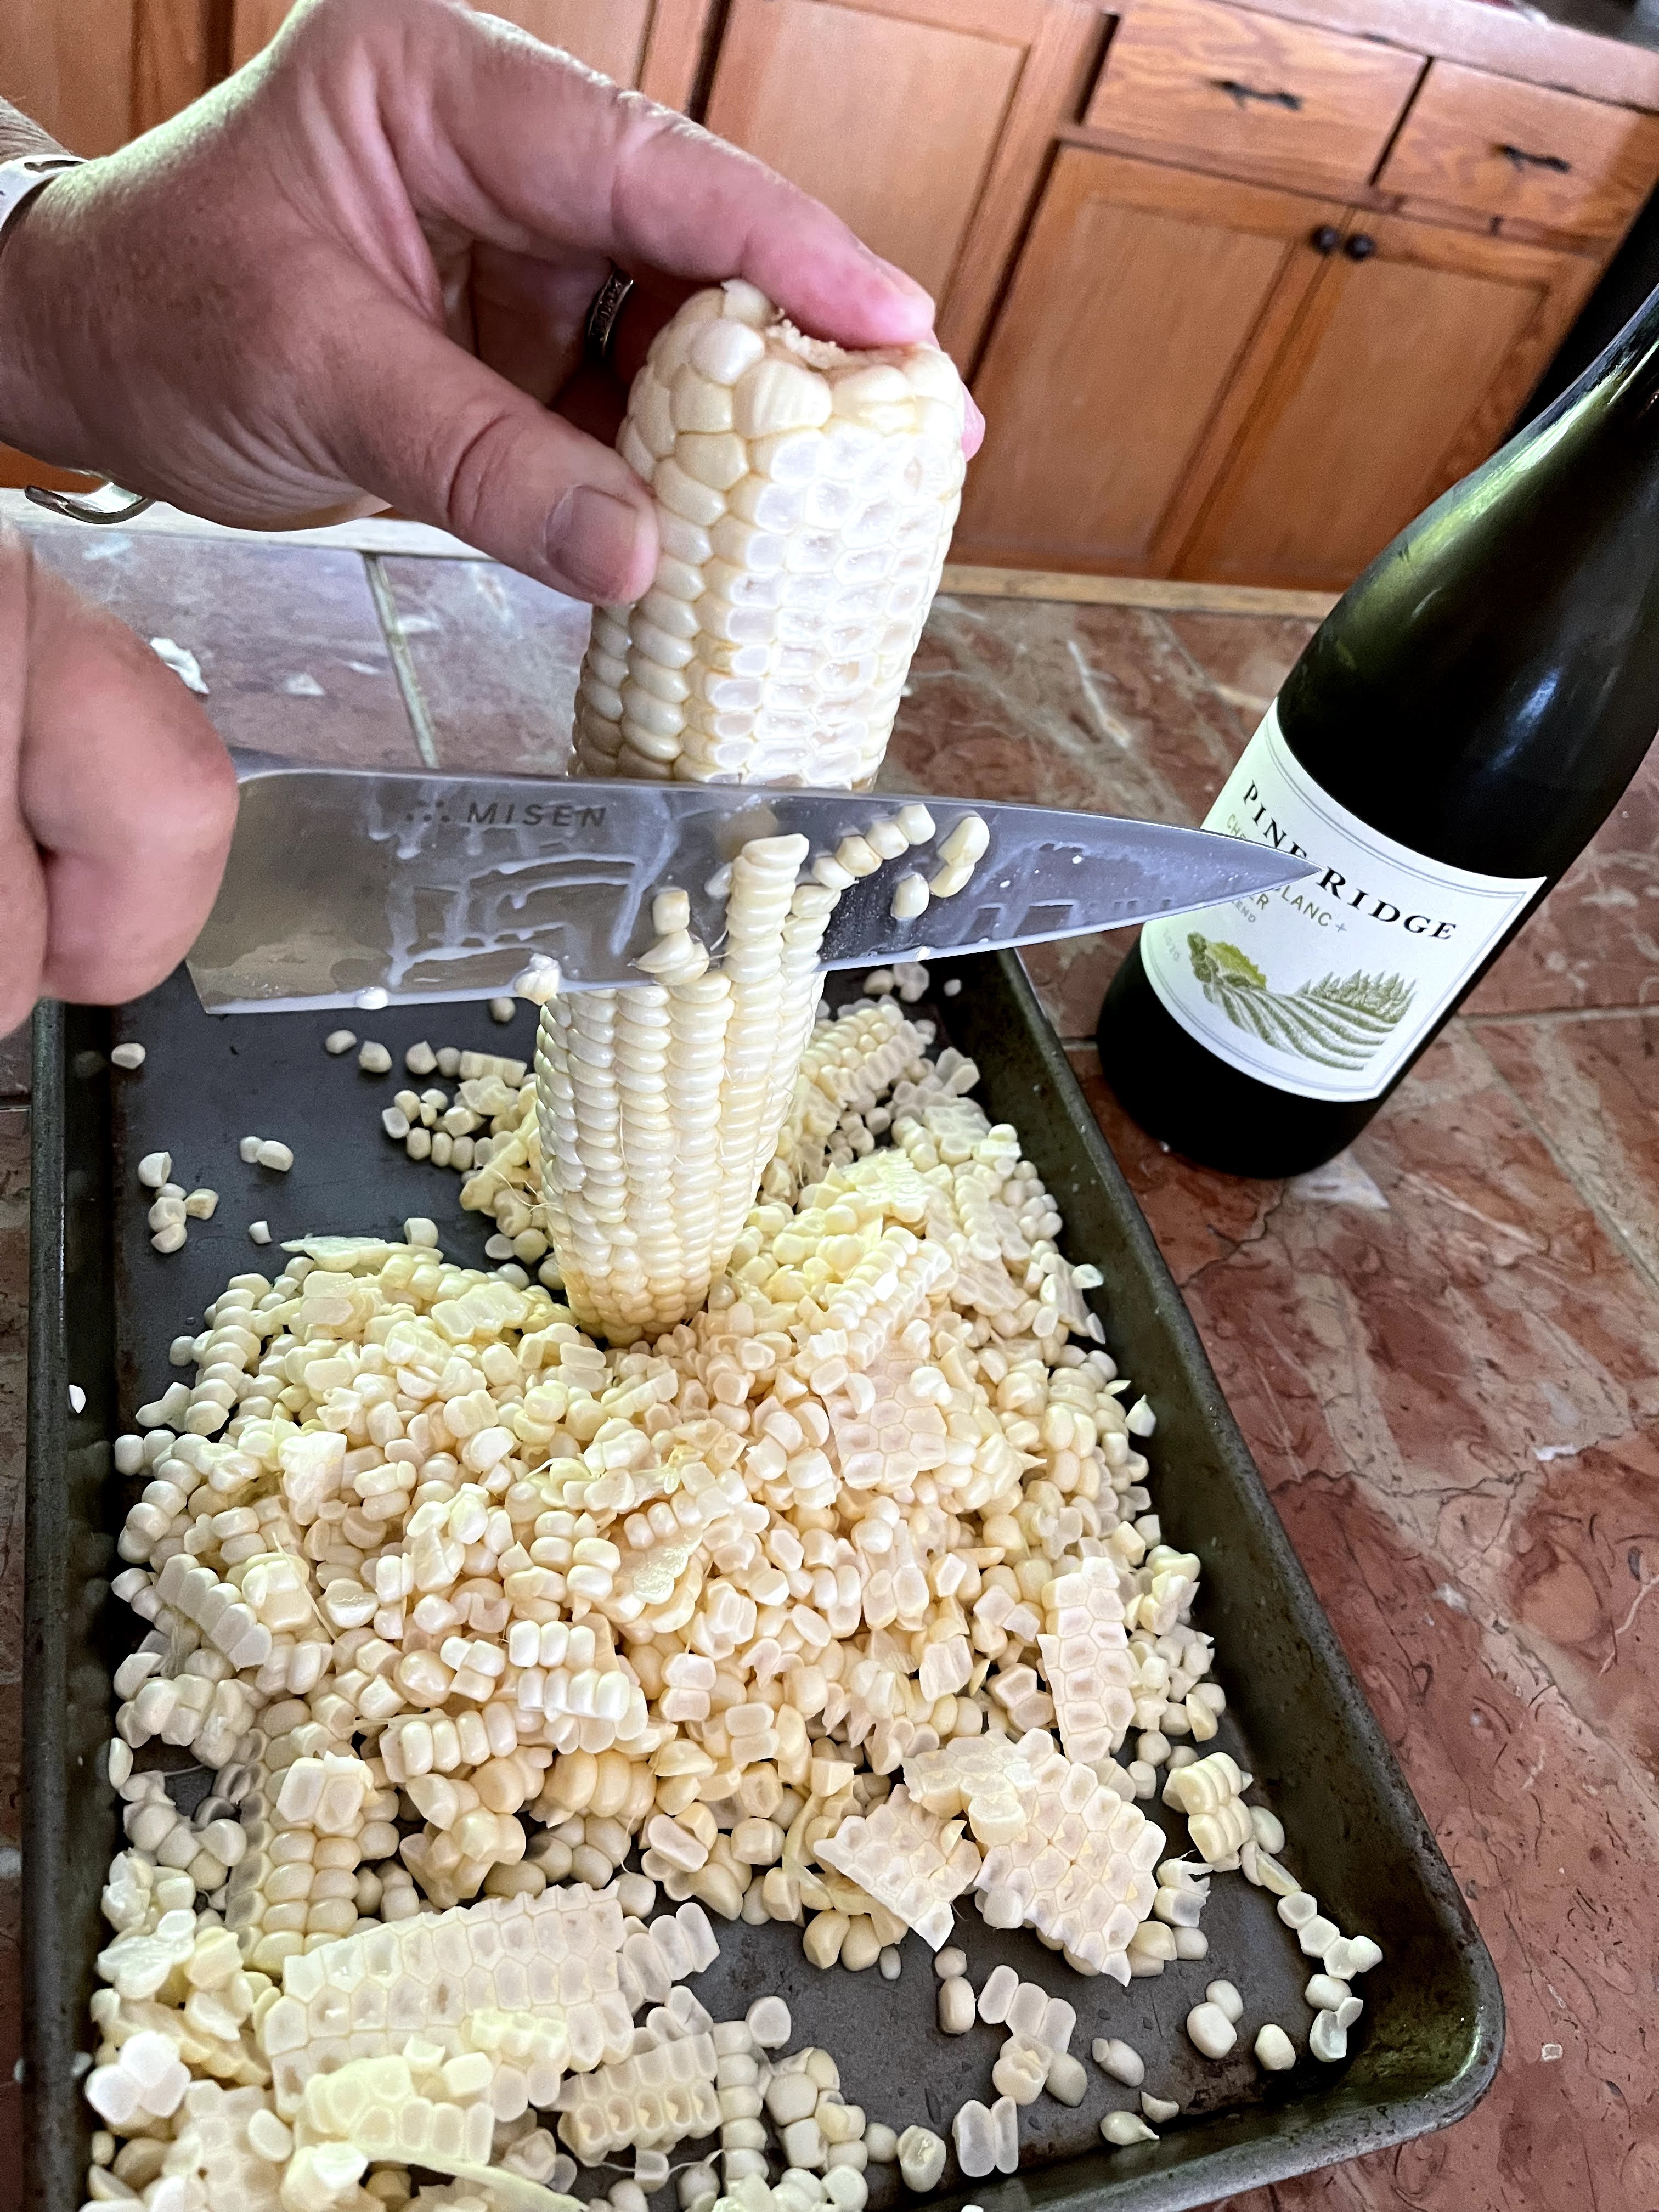
We farm for a living, and I hate the heat; go figure! The one thing that keeps me going is all the fresh produce we grow or purchase from the farmers market. My head literally spins with the endless options for creative food and meals. This time we are focusing on fresh corn. This is a riff on Mexican Street Corn or Elote (grilled corn on the cob). I put up quite a bit of corn during summer for chowder, fresh corn polenta and this particular dip. That way, we can enjoy all that goodness during the winter months, when fresh is in short supply. It’s full of summer flavors and can feed a crowd on short notice.

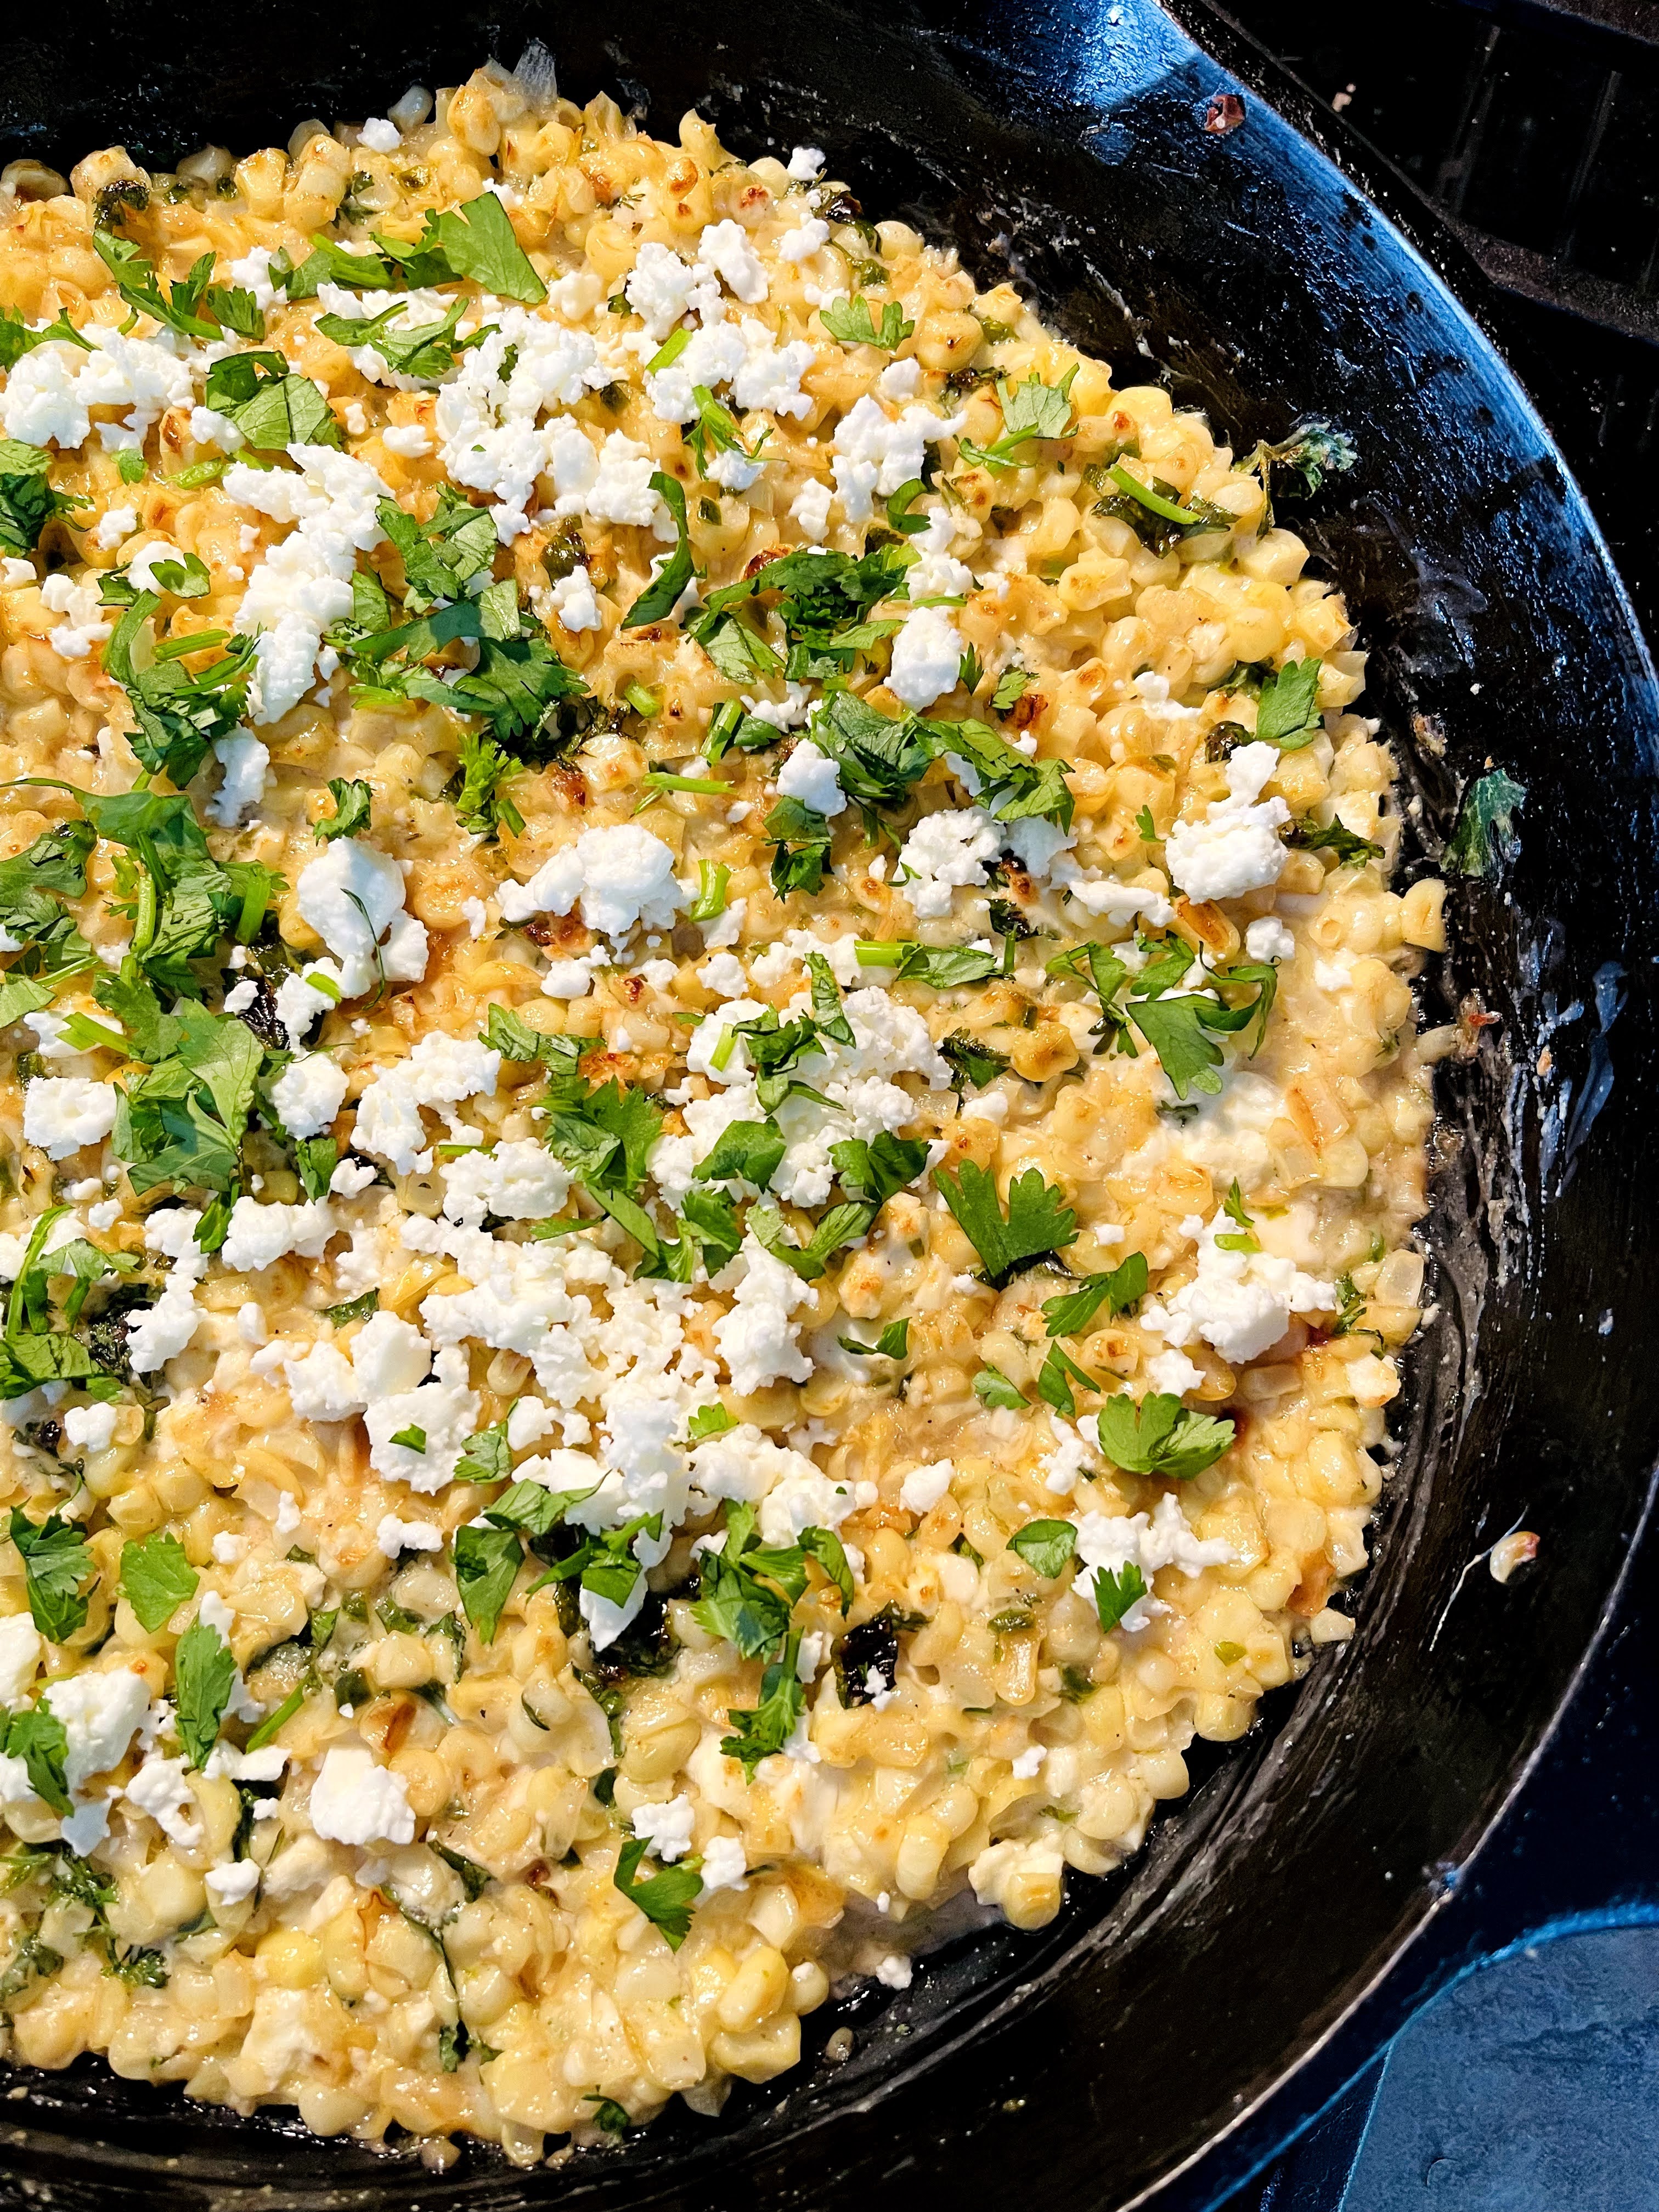
I prefer white corn for this, but any corn will do. You can use Mexican crema or sour cream, salty Cotija cheese or feta depending on what you may have on hand. I like to use a cast-iron skillet for this, so I can take it from stove top to oven, and then to table all in one pan. You can also use a skillet and pour it into a baking dish for serving. Either way it’s sure to be a hit!
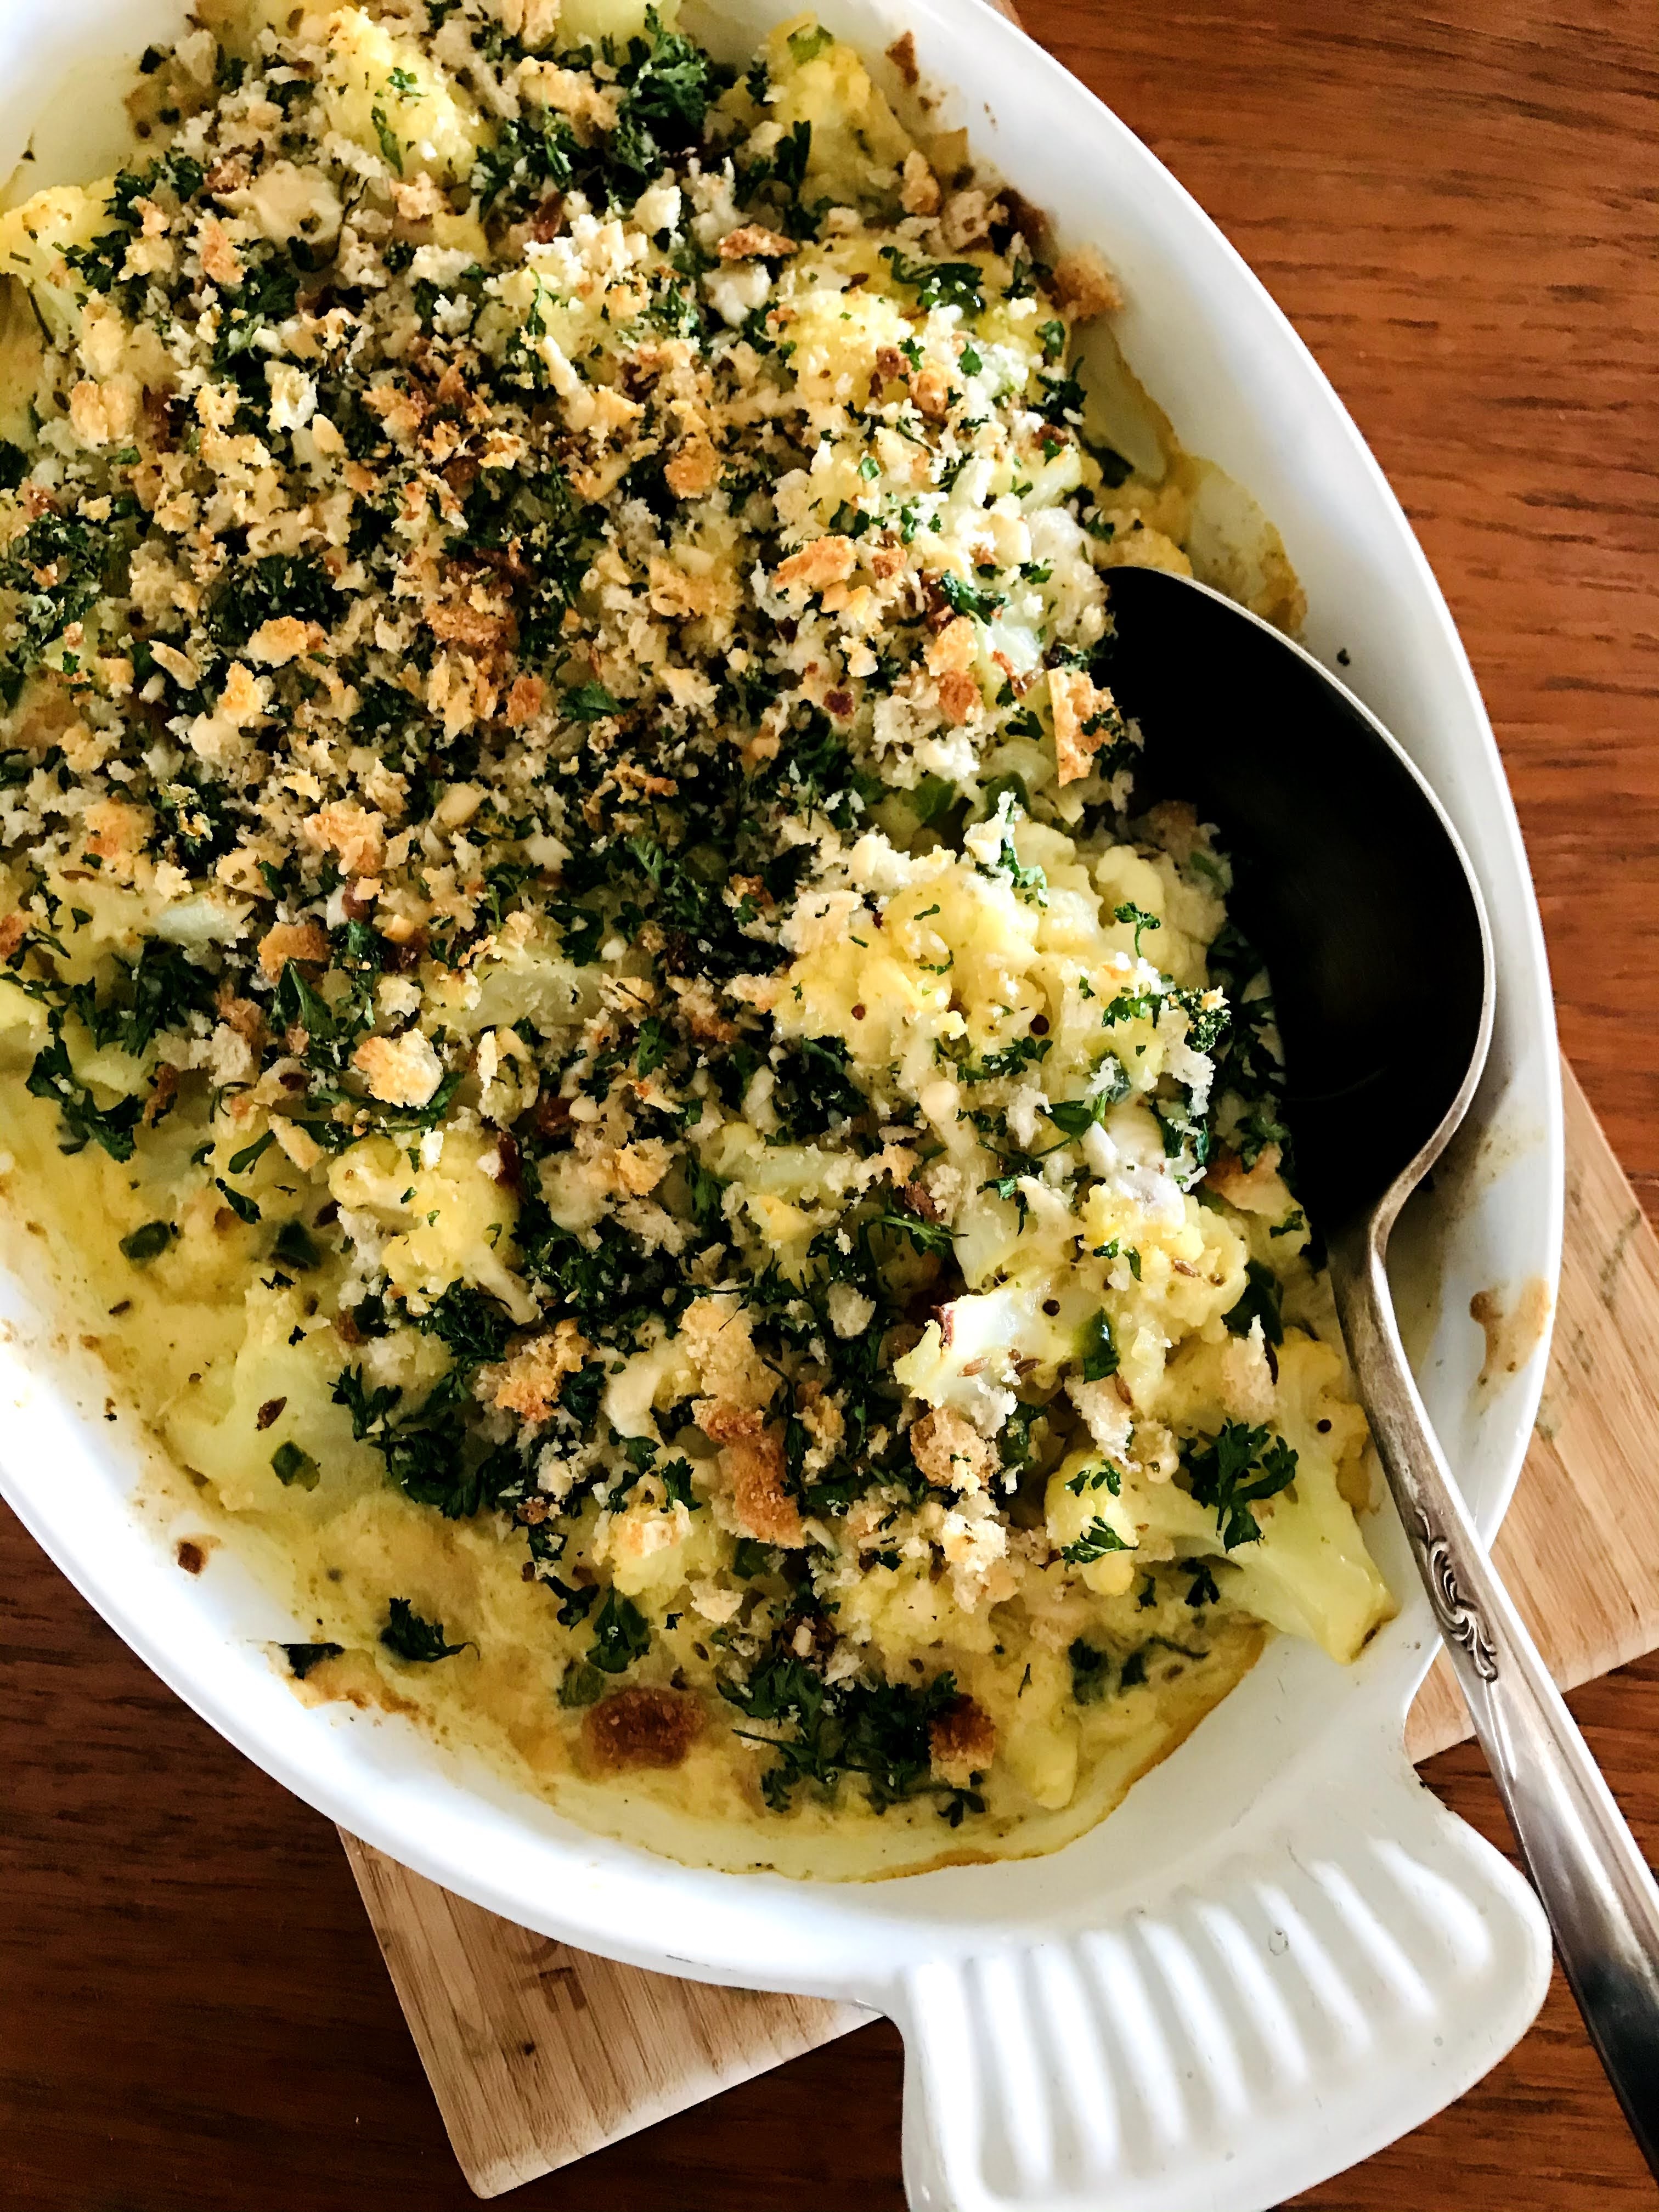
MEXICAN CORN DIP

INGREDIENTS:

  • 1 tablespoon olive oil
  • 4 cups fresh or frozen (thawed) corn kernels
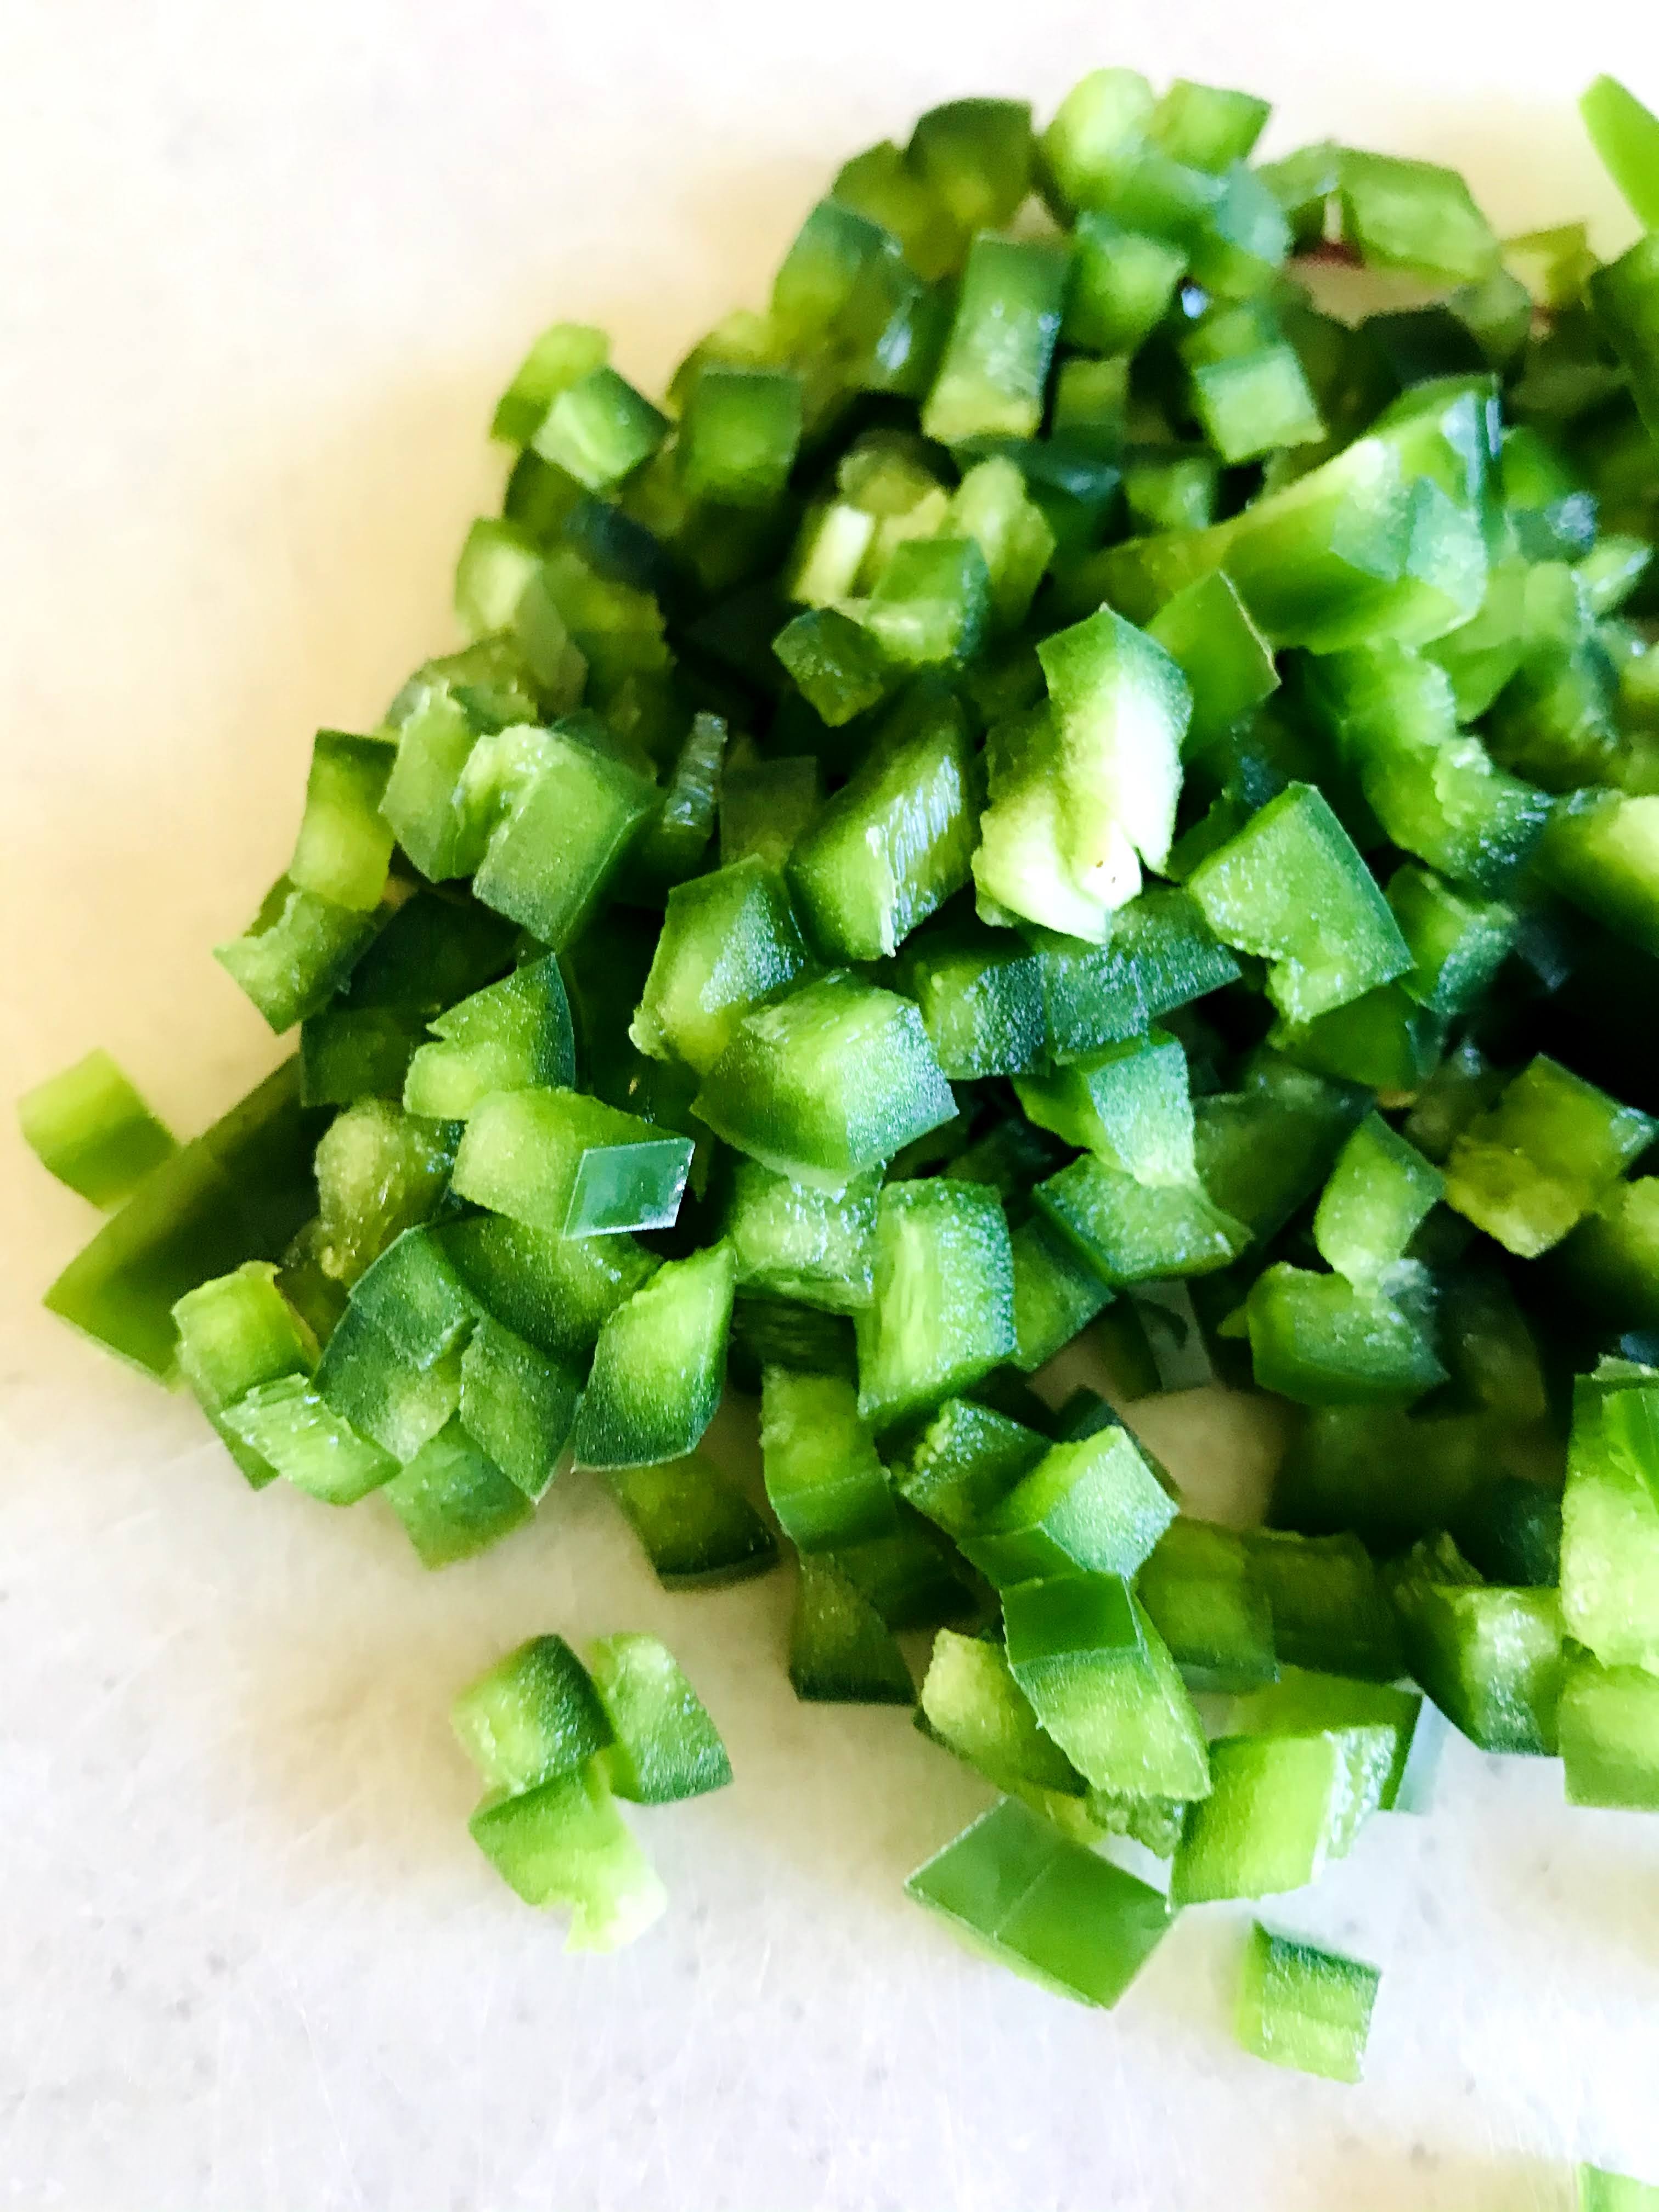
  • 2-3 jalapeno peppers, seeded and finely chopped
  • 2 cloves fresh garlic, minced
  • 1 medium white onion (like Sierra Bianca), chopped
  • 1/2 cup mayonnaise
  • 1/2 cup Mexican crema or sour cream
  • Juice of one lime, divided
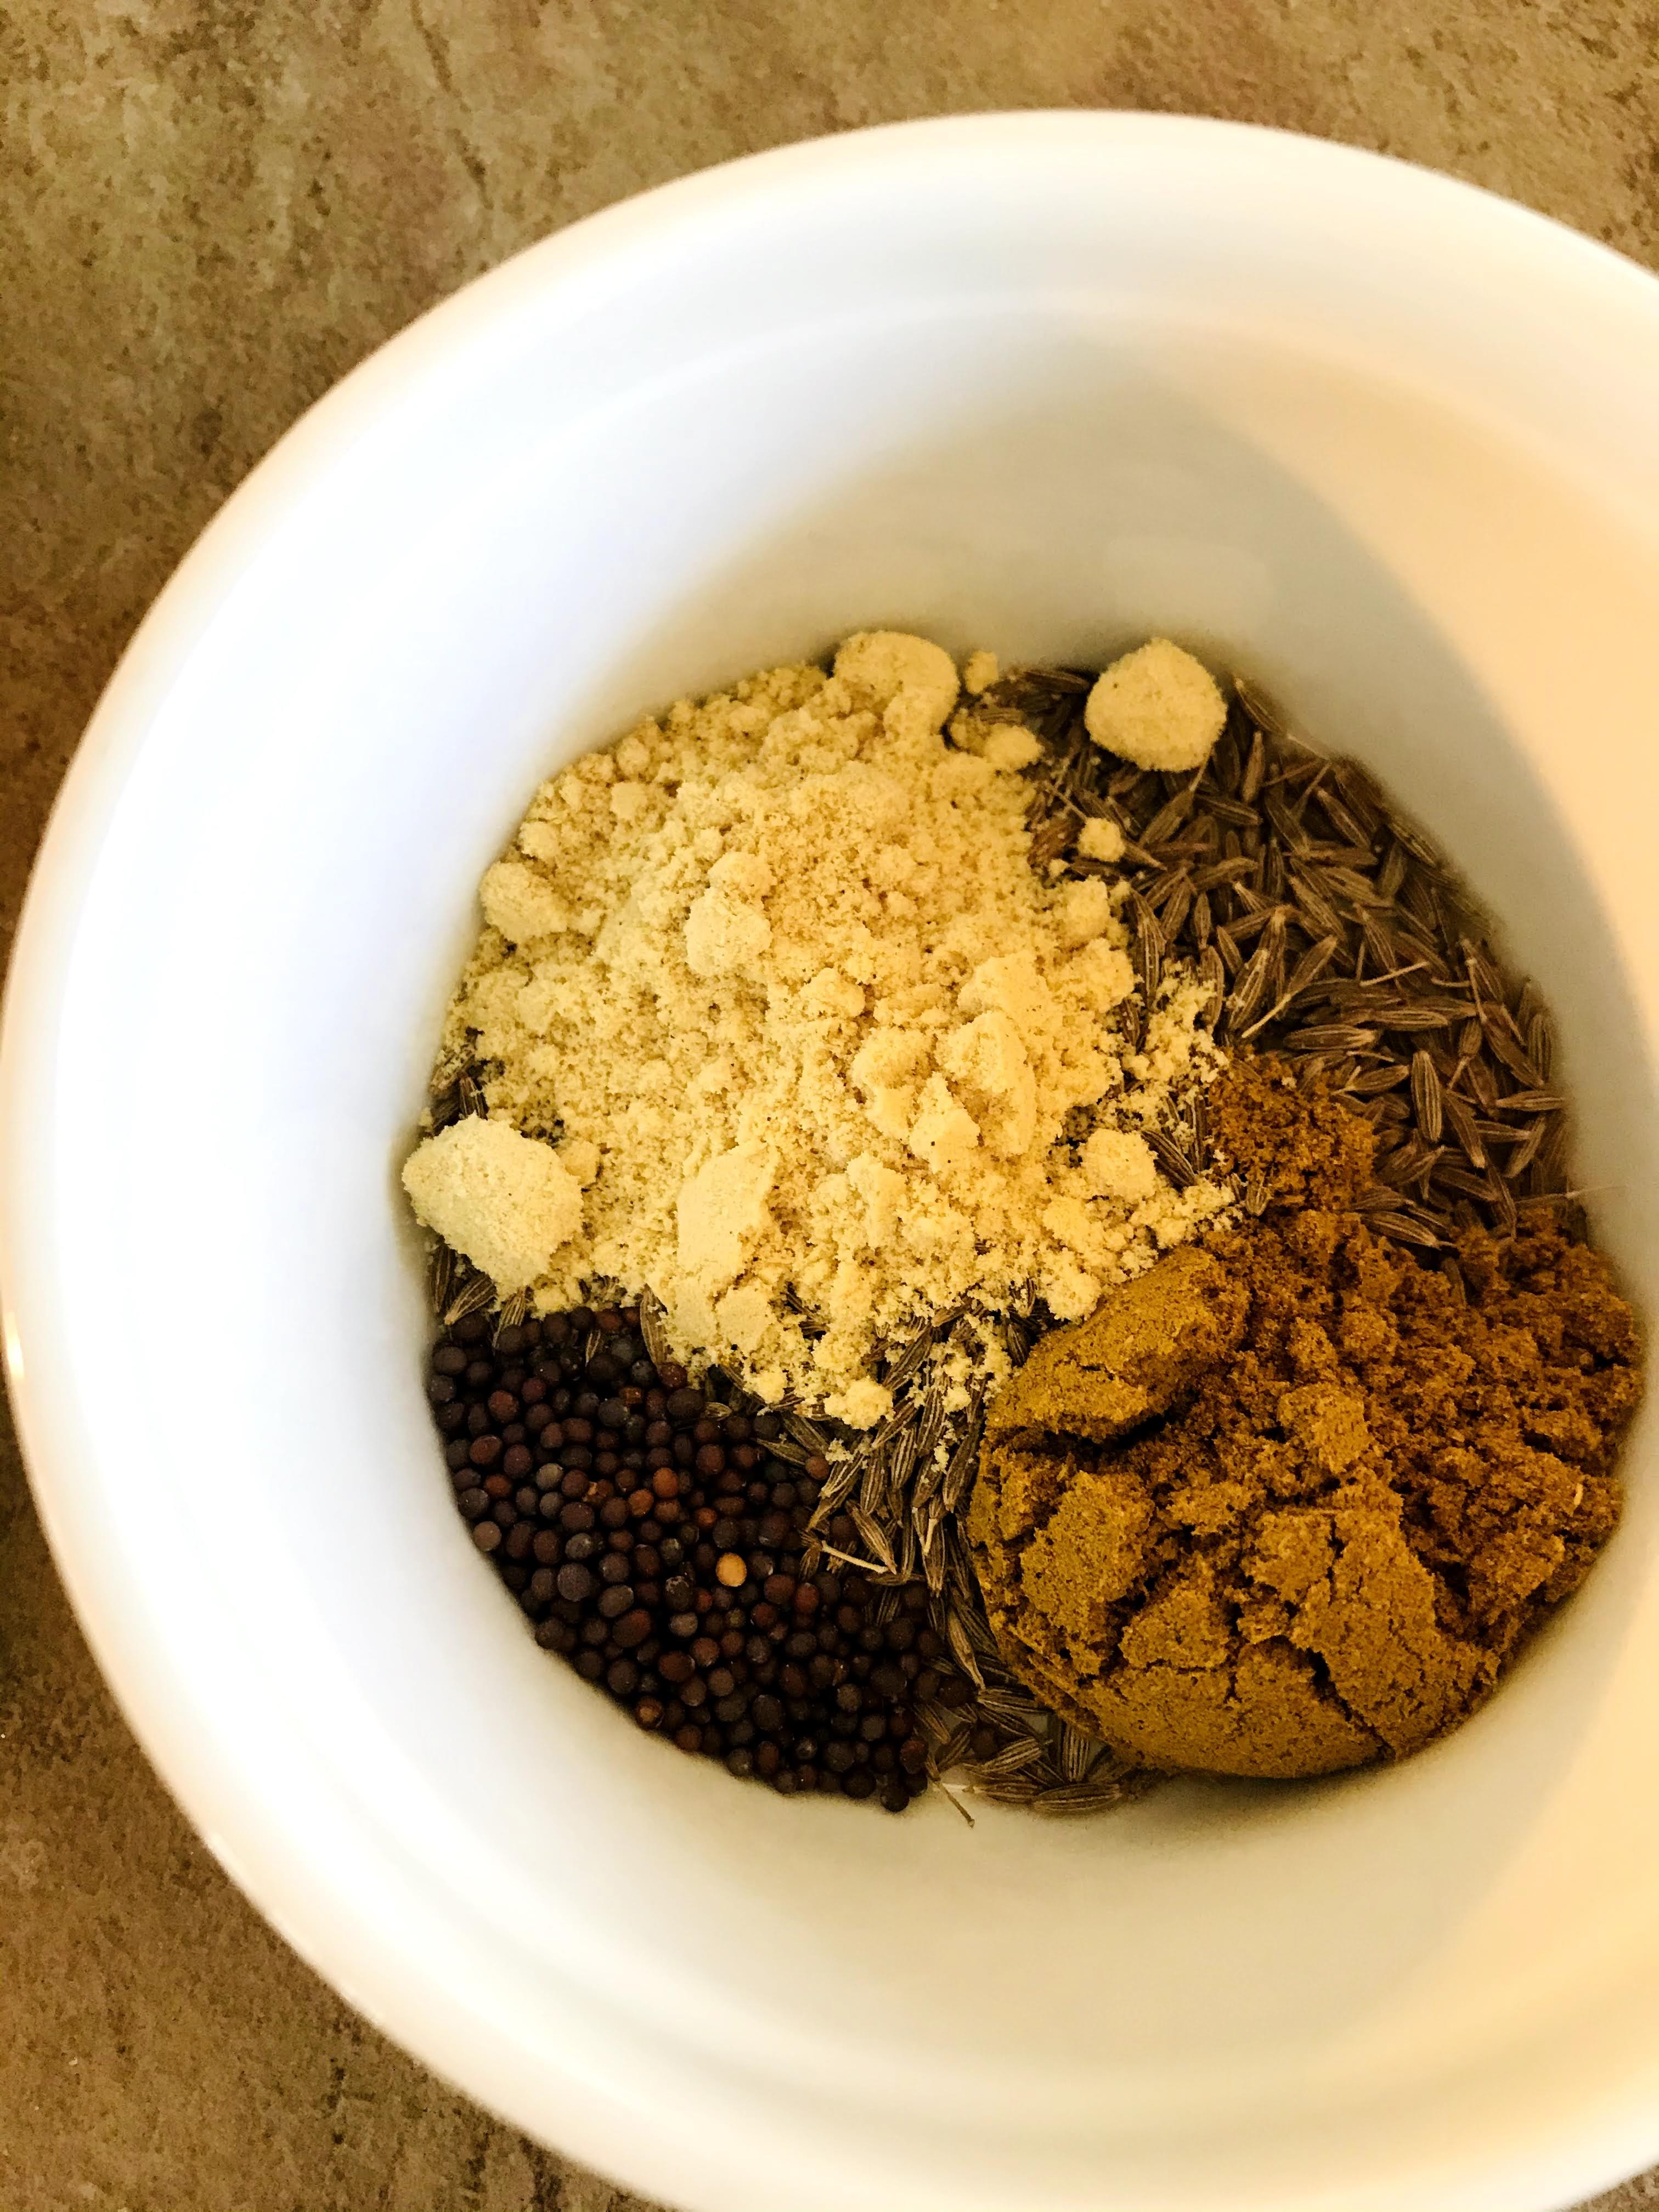
  • 1 teaspoon ground cumin
  • 1 cup crumbled Cotija or feta cheese, crumbled and divided
  • 1/2 teaspoon smoked paprika
  • Chopped fresh cilantro for garnish
  • Tortilla chips for serving

INSTRUCTIONS:

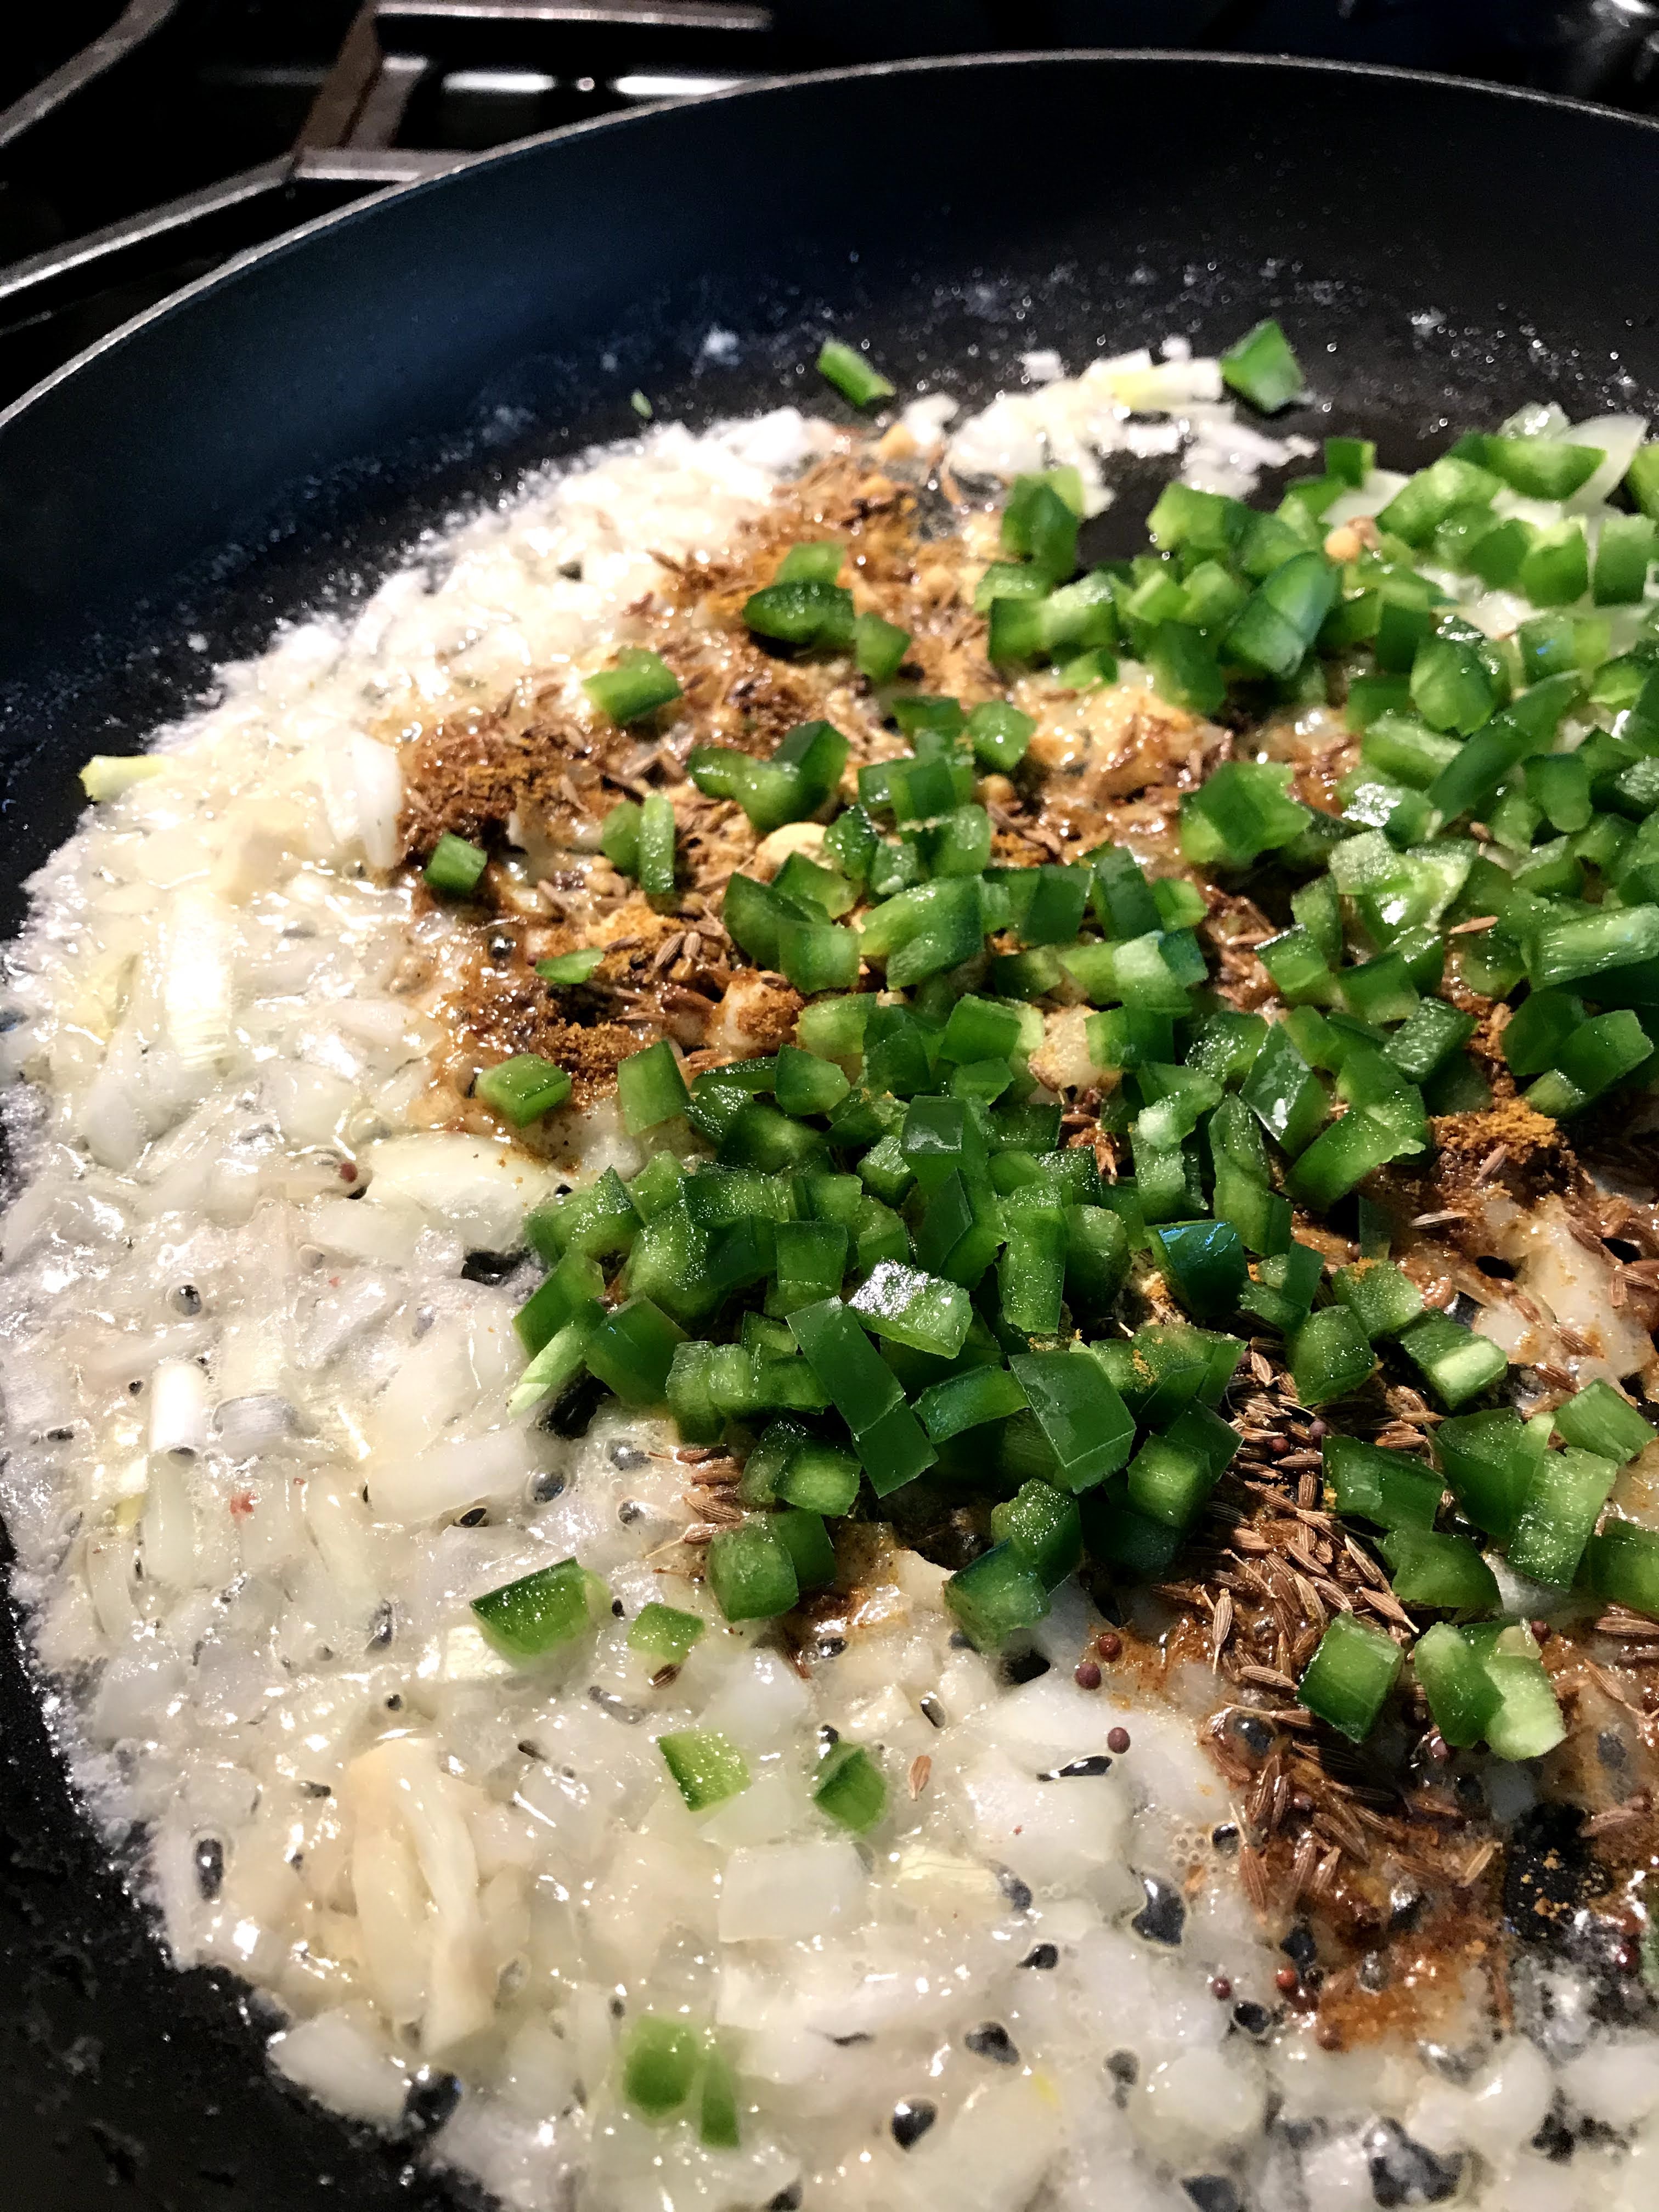
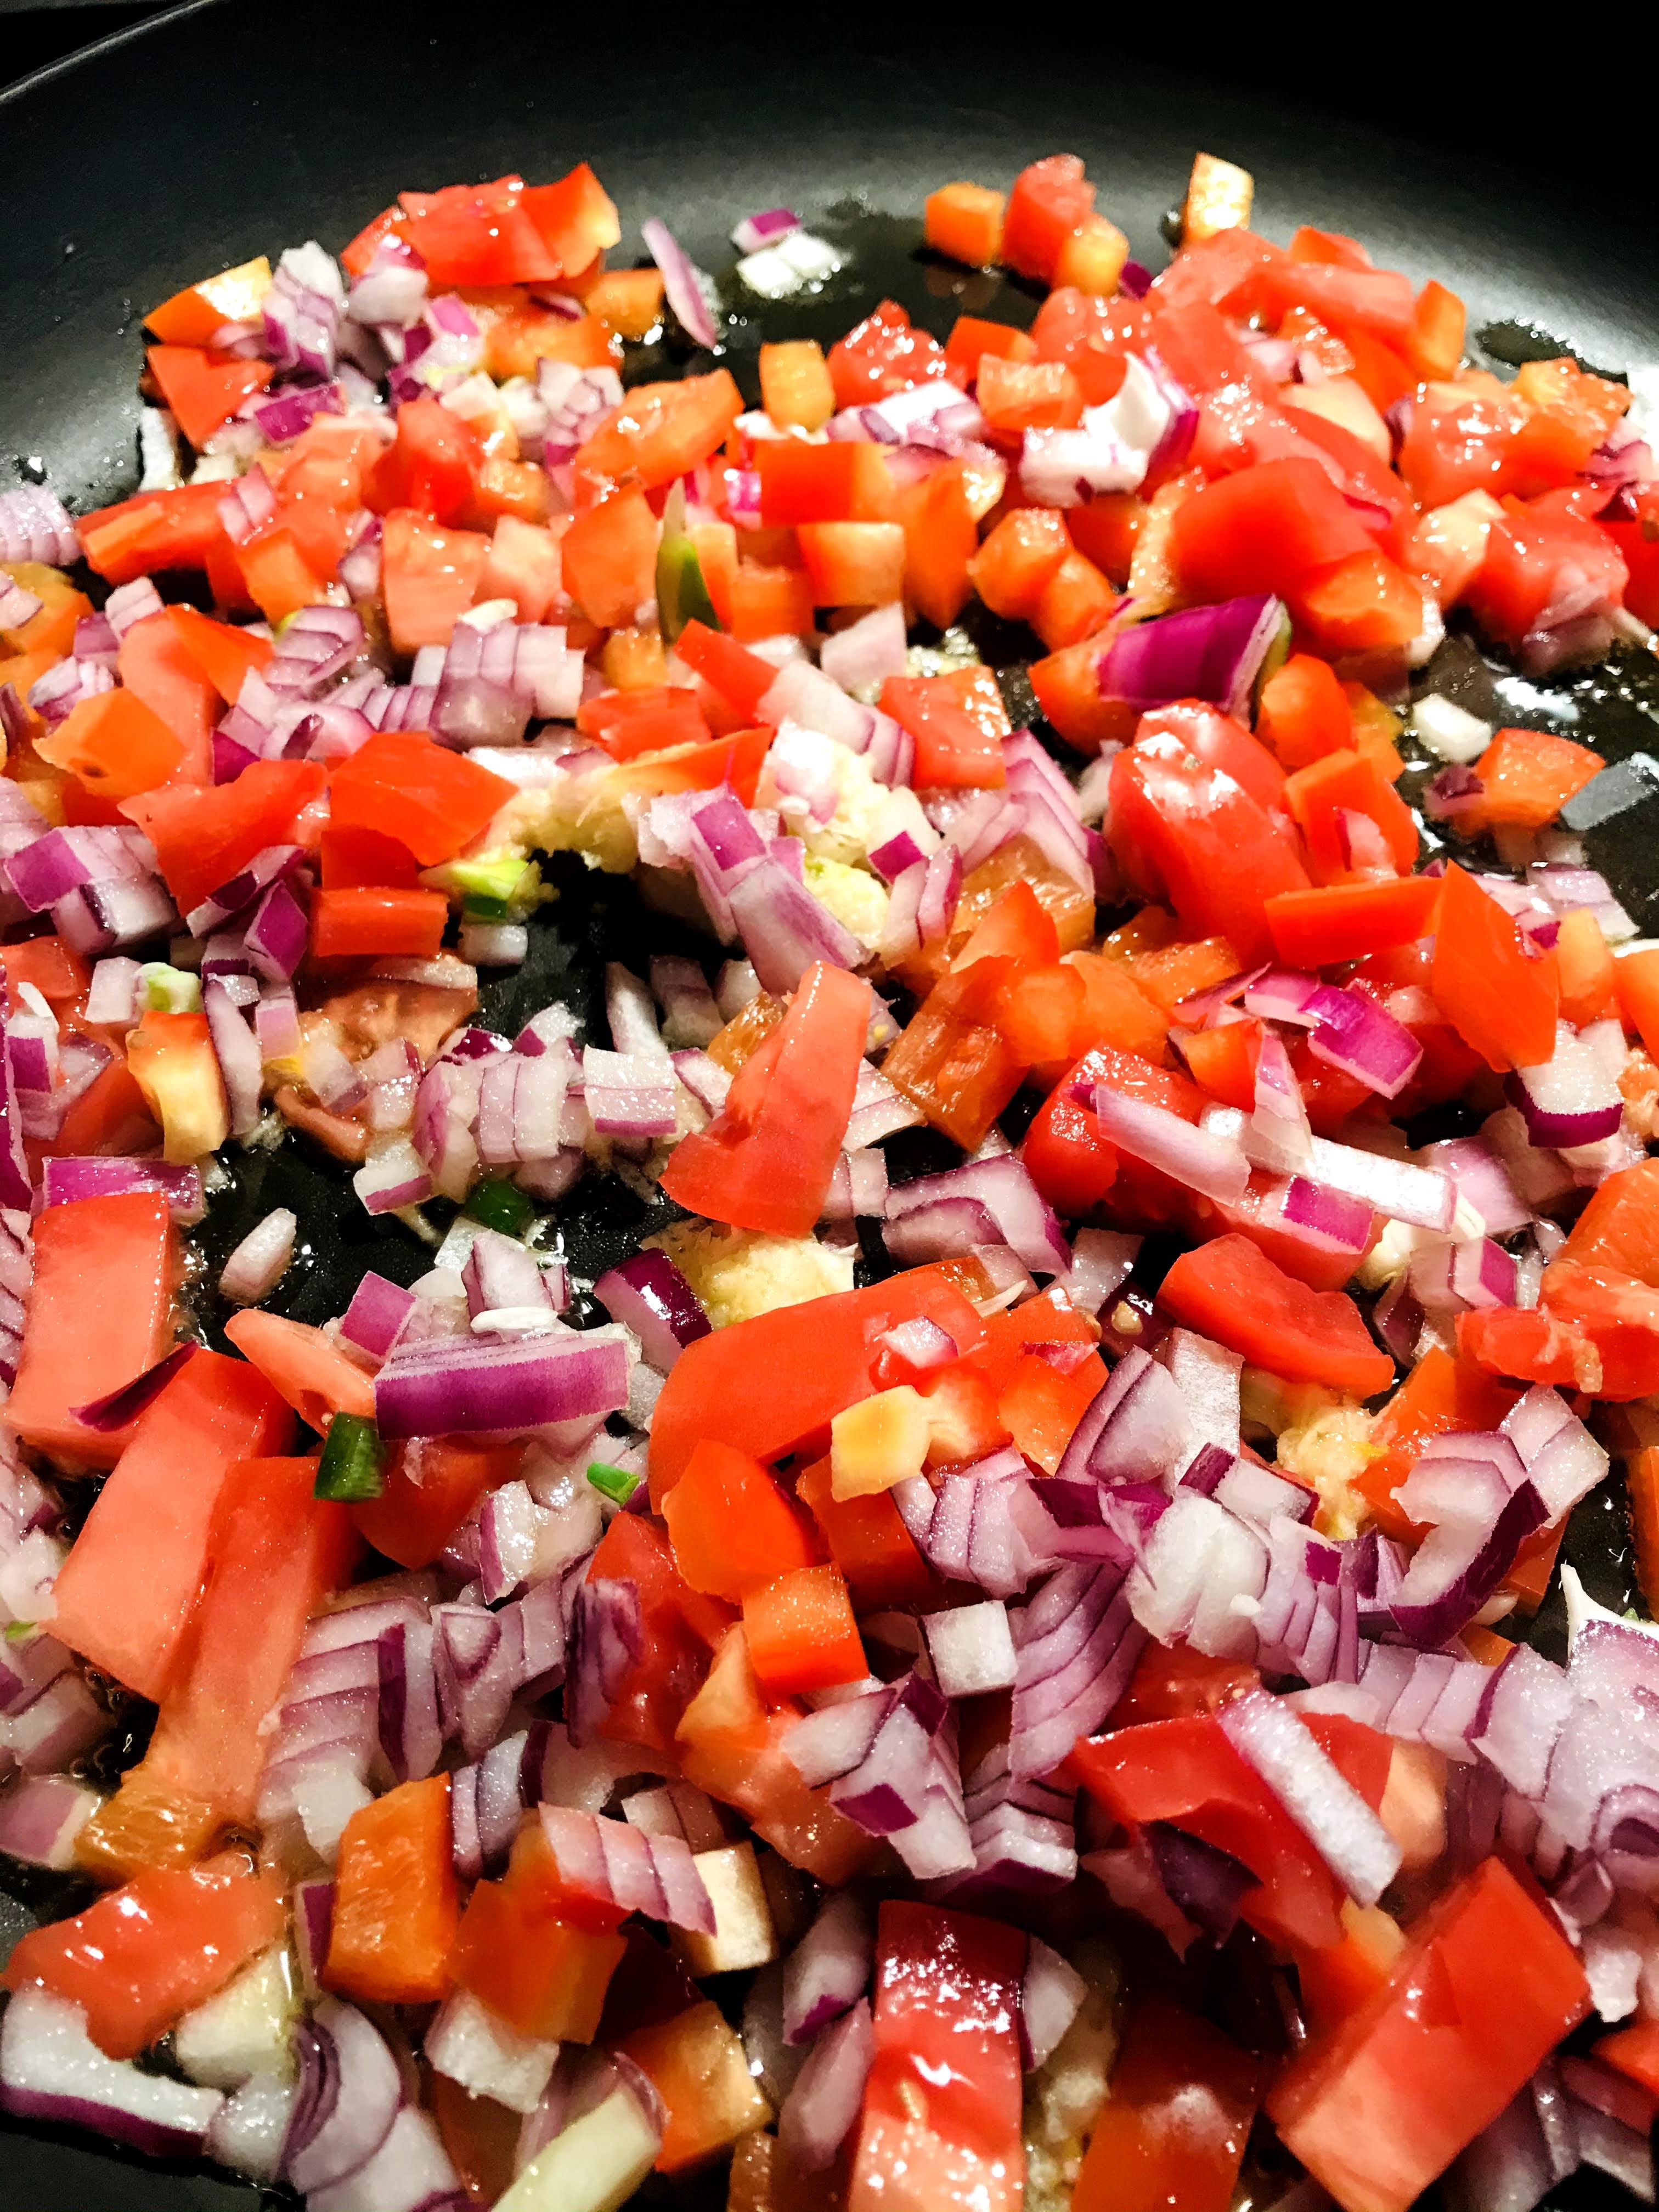
  1. Preheat oven to 350 degrees F. Heat oil in a large skillet over high heat until hot but not smoking. Add corn, garlic, onion and jalapeño and cook, without stirring, until lightly charred, about 3-5 minutes. Lower heat to medium-low and add Mexican crema or sour cream, mayo, half of the lime juice, spices, and half of the cheese. Mix well.
  2. Spoon contents into 2 quart baking dish if using, or place cast-iron skillet into oven. Bake until cheese is melted and outer edges begin to bubble, about 15-20 minutes.
  3. Drizzle remaining lime juice oven corn, sprinkle with remaining cheese and top with chopped cilantro.
  4. Serve with taco chips.

Serves 6-8

“Life without Mexican food, is like no life at all!”

Summer + Corn = Delicious

It’s been a while since my last post, but when the farm season is on it demands most of our waking hours. It has been hot and humid for the past month. At the end of the day, all I want is a shower and a cocktail! We had a successful garlic harvest that was sold in just two days! We are currently harvesting our early potatoes and onions. When my brother in law brought a dozen ears of corn to us, I knew I wanted to make some corn chowder. It is such a pleasure to use vegetables from our farm, at their peak of freshness.

Making a stock out of the corn cobs really deepens the flavor profile. I prefer the sweetness of white summer onions, red potatoes and dill for this soup; but use whatever suits your taste. You could substitute the red potatoes for Yukon golds, use a sweet yellow onion like Walla Walla, and cilantro instead of dill. This soup uses a mirepoix for a base, but you could use onions and jalapeño for a southwestern flare. Either way, the end result will not disappoint.

SUMMER CORN CHOWDER

INGREDIENTS

FOR CORN STOCK:

  • 4 cups chicken stock (homemade if possible)
  • 1 1/2 cups whole milk
  • 1 cup heavy cream
  • Reserved corn cobs

FOR CORN CHOWDER:

  • 4 cups corn kernels (from about 4-5 ears of corn), reserving cobs for stock
  • 6 slices bacon, chopped
  • 1 large onion of choice, finely diced (approximately 1 1/2 cups)
  • 1 large carrot, peeled and finely diced (1 cup)
  • 3 stalks celery, finely diced (1 cup)
  • 3 medium potatoes, scrubbed and cut into 1/4 inch cubes
  • 2 teaspoons sea salt or to taste
  • Freshly ground black pepper to taste
  • Pinch of red pepper or to taste
  • 3 tablespoons fresh dill, chopped

INSTRUCTIONS:

  1. Make the corn stock by cutting kernels from the cobs with a sharp knife. Set corn kernels aside, and place cobs in a stock pot.
  2. Add 4 cups chicken stock, milk, and heavy cream. Add salt and freshly ground pepper to taste. Bring to a boil, then turn down to a simmer. Cook 30 minutes while you make the chowder. Use tongs to remove and discard cobs.
  3. In a large Dutch oven or heavy pot, brown chopped bacon over medium-high heat. Remove bacon bits to paper towels to drain with a slotted spoon.
  4. In the same pot, add chopped onion, carrot and celery to the bacon fat and cook uncovered, stirring occasionally until onion is soft and translucent.
  5. Add corn kernels, potatoes, additional salt, freshly ground black pepper to taste, and a pinch of cayenne. Add corn stock and simmer uncovered for 15 minutes or until potatoes are soft. Add fresh chopped dill and ladle into bowls. Top with bacon bits.

Serves: 4-6

“Summertime, and the living is easy.” –George Gershwin

A Big Bowl of Yummy

When we’re busy on the farm in the summer, it’s good to have some go-to salads that can be made in advance, and eaten over several days if need be. This a riff on tabbouleh, a Lebanese salad from the Middle East, made primary with bulgur and parsley. Bulgur is made from parboiled or steamed wheat kernels/berries that are then dried, partially stripped of their outer bran layer, and coarsely ground. The result of this process is a highly nutritious grain that cooks relatively quickly. There might be as many recipes for tabbouleh as their are cooks. The ratio of fresh parsley to bulgur is one of the reasons.

Traditionally tabbouleh is made with bulgur, tomatoes, cucumber, green onions, parsley and mint. Since we are vegetable farmers, I like to load mine up with additional ingredients like radish, grated carrot, and chickpeas. I also like to use a little more bulgur than they might use in the Middle East, making it packed with fiber rich whole grain, complex carbohydrates, and healthy fats.

Although most recipes call for a medium-coarse, or #2 bulgur, I like to use a fine bulgur or #1 for my tabbouleh. If you enjoy a more chewy grain, use the #2 medium-coarse. Either way, 1 cup dried bulgur will yield 4 cups cooked bulgur. I buy my fine bulgur from a Middle Eastern grocery store. At any rate you can adjust proportions and ingredients to your personal preferences, however non-traditional it may be. Just don’t omit the bulgur or fresh parsley altogether. Tabbouleh, although best when fresh, will keep in the refrigerator up to 3 days.

BRICKYARD FARMS TABBOULEH

INGREDIENTS:

  • 1 cup bulgur, #1 or #2
  • 1 can chickpeas, rinsed
  • 1 pint cherry tomatoes, halved
  • 1 medium cucumber, sliced 1/4 inch, then quarter slices
  • 4 green onions, sliced using both white and green parts
  • 6-8 radishes, sliced
  • 2-3 carrots, peeled and shredded on large holes of box grater
  • 1 large bunch curly parsley, chopped
  • 6-8 large mint leaves, chopped
  • 1/2 cup fresh lemon juice
  • 1/2 cup extra-virgin olive oil (quality matters here)
INSTRUCTIONS:
  1. If you are using fine or #1 bulgur: Place 1 cup bulgur in large bowl. Boil 2 cups of water and pour in over the bulgur. Let rest for 10-12 minutes. Fluff with a fork. I like to place it in the refrigerator for about an hour to cool it down. You can also just let it cool in the bowl.
  2. If you are using medium-coarse #2, place 1 cup bulgur in a heavy pot and add 2 cups water, and 1/4 teaspoon kosher salt (optional). Bring to a boil, then turn down to low and cover. Cook for 12 minutes. Take of heat and let stand for 10 minutes more. Fluff with a fork. Let cool to room temperature or place in refrigerator for one hour.
  3. To the cooled bulgur add your halved cherry tomatoes, cucumber, green onions. radishes, chickpeas, grated carrots, chopped parsley and mint.
  4. In a separate bowl or pint mason jar, mix together the lemon juice and extra-virgin olive oil. Mix with a whisk, or shake vigorously to emulsify. Pour 1/2 of dressing over tabbouleh. Mix thoroughly. Add additional dressing just before serving.

Serves 6-8

“What is more refreshing than a salad, when your appetite seems to have deserted you?” –Alexis Soyer

Cutting Carbs? No Problem!

I’ve been a vegetable lover all my life (well, except beets and okra, but that’s another story). Being organic vegetable farmers, we eat seasonally as much as possible. There are certain vegetables we return to again, and again for their amazing versatility; one of these is cauliflower. You can rice it, steam it, roast it whole or with other vegetables. This particular recipe calls for it to be made into a luscious gratin. This is a riff on a recipe from my main man, Yotam Ottolenghi. He is an absolute genius when it comes to vegetables. I have switched up some of the spices, and adjusted for our heat preference. Feel free to do the same.

This gratin can be made in advance (up to one full day) and refrigerated until ready to bake. It will pair well as a vegetarian dish with a side of brown rice, or goes well with roasted chicken and/or fish. I find a dollop of yogurt and a sprinkling of micro-greens rather than parsley works well too.

CAULIFLOWER GRAIN WITH MUSTARD & CHEDDAR

INGREDIENTS:

  • 1 large cauliflower , broken into 2 inch pieces
  • 2 tablespoons unsalted butter
  • 1 medium onion, finely chopped
  • 1 1/2 teaspoons cumin seeds
  • 1 teaspoon medium curry powder
  • 1 1/2 teaspoons ground mustard
  • 2 jalapeños, seeded and minced
  • 1/2 teaspoon brown mustard seeds
  • 3/4 cup heavy cream
  • 1 1/2 cups white cheddar (about 6 ounces), shredded on large holes of box grater
  • Salt and freshly ground black pepper to taste
  • 1/2 cup fresh breadcrumbs (I blast mine in a food processor)
  • 1/4 cup parsley, finely chopped

INSTRUCTIONS:

  1. Preheat oven to 400 degrees F. Steam the cauliflower over boiling water for 5 minutes, drain in a colander and let cool slightly.
  2. In a 12-inch non-stick skillet melt the butter over medium heat. Add the onion and sauté for about 8 minutes or until soft and golden. Add the cumin, curry powder, mustard powder, and chilies and cook for 4 minutes more, stirring occasionally. Add the mustard seeds and cook for 1 minute more.
  3. Pour in the heavy cream. Add 1 1/4 cups cheddar and salt/pepper, then simmer for about 4 minutes, or until sauce slightly thickens. Add the cauliflower and stir gently to coat. Remove from heat.
  4. In a small bowl, place the 1/4 cup cheddar, with the breadcrumbs and parsley. Mix until combined. In a 9-inch buttered casserole dish, fill with the coated cauliflower mixture. Sprinkle with breadcrumb mixture.
  5. Bake until golden; about 25 minutes (slightly longer if refrigerated)

Serves 4

“There is nothing that is comparable to it, or as thrilling,

as gathering the vegetables one has grown.” –Alice Toklas

A Soothing Bowl

There have been many times when I’ve felt a little off, that I want to eat something warm, nourishing, and easy to digest. A warming bowl of kitchari is what I make to settle myself and sooth my digestion. It’s clean, wholesome and quite frankly delicious. I sometimes incorporate it with a simple 3-day fast in the spring and fall to bring my system back into balance. Kitchari comes from the Ayurvedic system of eating and health that has been around for thousands of years.

Kitchari is made from organic basmati rice, split mung dal, ghee and spices. You can also top it with the vegetables of your choice, cooking them in the kitchari itself. I enjoy putting a dollop of my homemade cilantro-chili sauce, Greek yogurt and microgreens on top. Vegan’s can simply leave the yogurt off. Kitchari is best when made fresh, so plan your proportions so you don’t have leftovers. I make enough for each day and leave it covered on the stove top. If it firms up simply add a little additional water before reheating. Don’t be put off by the long list of ingredients; you can also find premade spice mixes if the list seems to daunting.

For those of you that are curious and want additional information about Ayurveda, http://banyarnbotanicals.com is a great website to explore.

BASIC KITCHARI

INGREDIENTS:

  • 1/2 cup basmati rice
  • 1/4 cup split mung beans
  • 6 cups water
  • 1 tablespoon ghee
  • 1 teaspoon cumin seeds
  • 1/8 teaspoon hing (asafoetida)
  • 1 teaspoon coriander seeds
  • 1 teaspoon black pepper corns
  • 1 bay leaf
  • 2 more tablespoons ghee
  • 3/4 teaspoon ground cinnamon
  • 1/4 teaspoon ground cloves
  • 1 teaspoon turmeric
  • 1 teaspoon salt
  • 1 tablespoon fresh ginger, grated
  • 1/2 medium onion, chopped
  • 1-2 cloves garlic (optional)
  • 1/2 teaspoon ground cumin
  • 2-4 cups fresh vegetables (greens, spinach, kale, zucchini)
  • 2 more cups water (as needed)

INSTRUCTIONS:

  1. Measure out the rice and split mung dal and place in bowl. Add water to cover and soak overnight. You can skip this step (although it cooks much quicker) by rinsing the rice and dal in a colander until the water is clear. If soaking, drain and rinse the following day.
  2. Melt a tablespoon of ghee in a medium saucepan and add the whole cumin seeds and hing. Lightly toast them, taking care they don’t burn. Add the rice, mung and water and bring to a boil. Cover and cook for about 45 minutes, stirring occasionally so it doesn’t stick. It should end up looking like porridge or oatmeal in consistency.
  3. Warm the last two tablespoons of ghee in a small skillet. Add the coriander, peppercorns and bay leaf and sauté for 2-3 minutes. Then stir in the rest of the spices and the onion (and garlic if using). Put the sautéed spices in a blender with about 1/3 cup water and blend well. Pour the spice mixture into the rice and mung. Rinse out the blender with the last two cups of water and add it to the kitchari as well. Add your vegetables. Cook for 10-20 more.
  4. Top with garnishes of your choice like cilantro, yogurt or microgreens.

“I know there is strength in the differences between us. I know there is comfort where we overlap.” —Ani DeFranco

Stocking Up!

During the fall and winter there is nothing I enjoy more than a steaming bowl of soup. Commercial stocks are inexpensive, plentiful and convenient, but they will never replace homemade. I typically make 36 quarts of chicken, and 24 quarts of vegetable stock each season, and freeze it for future use. Not only does the house smell terrific while it simmers, it is the foundation for all sorts of delicious meals that include soups, stews and risotto. I find that vegetable stock in particular, benefits from a little love and attention to the ingredients.

If you roast or brown the vegetables before you assemble the stock, the caramelization improves the flavor profile. Adding dried porcini mushrooms and tomato paste will impart a savory or umami element that deepens the end result. Unlike chicken stock which is simmered up to 24 hours, vegetable stock is simmered no longer than 90 minutes. The addition of herbs and onion skins add flavor and color to the stock.

VEGETABLE STOCK

INGREDIENTS:

  • 1 ounce dried porcini mushrooms
  • 4 tablespoons olive oil
  • 4 cups chopped onion (save the skins)
  • 2 cups chopped celery
  • 3 cups chopped carrot
  • 2 cups chopped parsnip
  • 1 cup chopped fennel bulb
  • 2 large garlic cloves, smashed (can leave skins on)
  • 1 tablespoon tomato paste
  • 1 tablespoon fresh rosemary
  • 2 teaspoons dried thyme
  • 1 teaspoon black peppercorns
  • 4 bay leaves
  • 1/2 cup chopped parsley
  • 2 large handfuls spinach

INSTRUCTIONS:

  1. Rehydrate dried mushrooms. Place the dried mushrooms in a 4 cup glass Pyrex measuring cup and pour 4 cups boiling water over them. Set aside.
  2. Brown the onions, celery, carrots, parsnips and fennel. Heat the olive oil over high heat in a large stockpot. Add the chopped vegetables and stir to coat. Sprinkle with salt. Cook over high heat for several minutes, stirring only occasionally. Be patient with the browning of the vegetables, as they have a high moisture content. It may take 10-15 minutes or longer to brown them.
  3. Add the garlic and tomato paste and stir to combine. Cook, stirring often, for 2-3 minutes, or until the tomato paste begins to turn a rusty color.
  4. Add the mushrooms and their soaking water, the rosemary, thyme, onion skins, peppercorns, bay leaves, parsley and 4 additional quarts of water. Bring to a simmer, then lower heat to low. After 45 minutes add spinach. Continue to simmer for a total of 90 minutes.
  5. Strain the stock with a basket skimmer or slotted spoon, removing all the big pieces of vegetables and mushroom. Discard or compost. Set up a large bowl with a wire mesh strainer in it. Line strainer with a layer of cheesecloth. Using a ladle or 2 cup measuring cup, pour stock through strainer. When the liquid slows down, you may have to change the cheesecloth.
  6. Pour into jars, or 1 quart plastic deli containers and chill or freeze. Make sure you leave 1 1/2 inches of headspace if freezing.

Yields: 4-5 quarts

“The secret to change, is to focus all your energy not on fighting the old, but on building the new.” –Socrates

A Leg Up On Legumes

When it comes to food that is inexpensive, versatile, nutrient rich and a pantry staple, nothing can beat beans and legumes. They can be a base for anything from bowls, to entrees, to salads and soups. The two I use the most are chickpeas and lentils. They are cousins and their history dates back to 6000 B.C. Both chickpeas and lentils are still a staple in the Middle Eastern and Indian diets, and are featured in many cuisines throughout the world. They are considered a superfood as they are rich in protein, and are often used as a meat replacement in vegetarian diets. If paired with brown rice or a whole grain they are a complete protein.

Lentils come in a variety of colors, such as brown, green (lentils du Puy), gold, red and even black. Used in French bistro cuisine, they became a favored ingredient. Red lentils cook the fastest and break down quickly, while brown are typically used for soups. Green du Puy hold their shape and are favored for salads. Before using lentils, it is prudent to sort through them for unwanted pebbles or debris. I simply pour them onto a sheet pan and look them over, then transfer them to a wire colander and give them a rinse. The following recipe is beautifully earthy and comes together quickly, making it perfect for a week night. I usually make a large batch, since it freezes well. That way I can thaw a quart and have it on the table without much notice.

COUNTRY LENTIL SOUP

INGREDIENTS:

  • 1 pound bag of brown lentils, picked over and rinsed
  • 8 cups vegetable stock (homemade if possible) or water
  • 2 tablespoons olive oil
  • 1-1/2 cup celery, sliced
  • 1-1/2 cup carrots, cut into small cubes
  • 1 medium yellow onion, chopped
  • 1 teaspoon dried Italian herb blend
  • 1 15.5 ounce can fire roasted tomatoes (I like Muir Glenn)
  • Kosher salt and freshly ground black pepper to taste
  • 2 tablespoons red wine vinegar

INSTRUCTIONS:

  1. In a large stock pot or Dutch oven, heat olive oil on medium-high. Add celery, carrots and onions to pot and sauté until onions are soft, about 8-10 minutes. Add Italian seasoning and mix.
  2. Next add the rinsed lentils, and mix thoroughly. Add the vegetable stock or water and mix again. Bring to a boil, then cover slightly ajar and simmer on low for 40-50 minutes. Taste lentils to seen if they are soft. If not continue to simmer an additional 10-15 minutes or until done.
  3. Add the tomatoes and their juice. Mix, then heat about 5 minutes. Season with salt and pepper.
  4. Off heat, add red wine vinegar. Ladle into bowls.

Serves: 8-10

“Kindness is like snow—it beautifies everything it covers.” –Kahlil Gibran

Elevating Breakfast

I absolutely love food! It is my passion, my vocation, my artform and my entertainment. Yet, my relationship to food has been out of balance for most of my life. I eat when I’m stressed, I eat when I’m sad, I eat when I’m bored. I eat when I’m happy. In other words, I am an emotional eater. This has caused me to lose the same 30-40 pounds over and over throughout my adult life. It has taken me a long time to be willing to come to terms with the fact that my relationship to food was what was out of balance.

I am by nature a generous person. Food is love to me. My ability to love myself, not so much. I became aware that the act of excessive eating, was how I filled myself up. Food substituted for love, and this realization was an amazing discovery. So what do I do with this information? Diets have never worked for me. I would lose the weight only to gain it back (and then some)! What I needed was a lifestyle change, not a diet. I needed to understand the why of my overeating, its triggers, and correct that distortion. In other words, I needed to create a life that was healthy and took into account my love of food. I discovered: Noom. I highly recommend it for not only helping you lose weight, but learning about the psychology of why we create unhealthy habits. If I as an elder can make changes, anyone can.

The following recipe is a good example of controlling food quantity, as well as being satisfied. I am a person who does not eat a lot of processed food. I find this not only delicious, but something created from items we usually have on hand. I usually prepare a entire can of artichoke hearts, so I can use it throughout the week.

ARTICHOKE & EGG TARTINE

INGREDIENTS:

  • 1 teaspoon extra-virgin olive oil
  • 1 can artichoke hearts, drained
  • 1-2 leeks cleaned and rinsed, using white and light green parts, thinly sliced (you can also use 2-3 shallots)
  • 1/2 teaspoon dried oregano
  • Freshly ground black pepper to taste
  • 1 slice of toasted bread of choice per person
  • 1 large farm fresh egg per person
  • Hot sauce (optional) I like Chalula

INSTRUCTIONS:

  1. Drain artichokes, then place them between several layers of paper towels. Press firmly to absorb as much of the brine as possible; then chop coarsely.
  2. Slice leeks or shallots thinly; set aside.
  3. Heat olive oil in 10-inch non-stick skillet on medium. Add leeks or shallots and sauté until soft. Add artichokes, oregano and pepper. Sauté until hot.
  4. Toast bread (you could also use 1/2 of an English muffin). Poach or fry eggs over-easy.
  5. Spoon artichoke mixture on toast; top with egg.
  6. Add a dash or two of hot sauce.

Serves up to 4

“Every woman who finally figured out her worth, has picked up her suitcases of pride and boarded a flight to freedom, which landed in the valley of change.” —Shannon L. Alder

Mi Casa es Su Casa

Needing to shed a few pounds, I’ve been busy creating dishes that although leaner are still interesting. Lately I’m finding many ways to use cauliflower rice. It’s so easy to make and so incredibly versatile. If you really want to cut corners, many grocery stores sell it prebagged for convenience in the produce section.

As I have pointed out in my recent cookbook, Twisted Basics: Laugh, Cook, Eat! vegetables do not have to be boring! There is no substitute for fresh veggies, when it comes to feeling healthy. When I make cauliflower rice, I like to use a large head so I will have additional meals at the ready. I simply vacuum seal it in 4 cup increments. One large head can produce enough for 3 meals! When I made this Mexican Cauliflower Rice dish today, my wife could not tell the difference between real rice and its faux counterpart.

MEXICAN CAULIFLOWER RICE

INGREDIENTS:

  • 1 medium head cauliflower, riced (approx. 4 cups)
  • 2 tablespoons olive oil
  • 1 1/2 cups red or yellow onion, chopped
  • 1 cup bell pepper (any color), chopped
  • 1 paste tomato, diced
  • 1 jalapeno pepper, finely chopped
  • 2 cloves garlic, minced or grated
  • 3/4 teaspoon ground cumin
  • 3/4 teaspoon garlic salt
  • 1/2 teaspoon smoked paprika
  • 1/2 cup vegetable or chicken stock
  • 2 tablespoons tomato paste
  • Juice from 1/2 lime
  • 3 tablespoons fresh cilantro, chopped
  • 1 cup Greek yogurt
  • 3 teaspoons green tabasco

INSTRUCTIONS:

  1. To make cauliflower rice, separate head into flowerettes and slice stalks into 1 inch pieces. Place in food processor and pulse 7-8 times or until course and resembles rice. Measure out 4 cups and set aside.
  2. Chop your veggies and prep ingredients. Combine spices in a small bowl and mix.
  3. Whisk together Greek yogurt and green tabasco. Season with salt and pepper to taste.
  4. Heat a 12 inch non-stick skillet on medium-high. Add 2 tablespoons olive oil
  5. Add onion, peppers, tomato, and garlic. Sauté for 5-8 minutes or until soft.
  6. Add the spice blend, stock, and tomato paste. Mix well and cook for 2 additional minutes.
  7. Add cauliflower rice and cook until desire texture is reached, folding ingredients until thoroughly incorporated, about 5-6 more minutes.
  8. Add minced jalapeño and mix.
  9. Plate and drizzle dressing over the top. Garnish with chopped cilantro.

Serves 4

“Progress is impossible without change, and those who cannot change their minds, cannot change anything.” —George Bernard Shaq

Sweet and Spicy!

There are times when we just have to shake it up a bit! We all have our go-to rotations for meal planning, but it is interesting how a different condiment or sauce can really take a side to the next level (thank you Yotam Ottelenghi). I also appreciate a sauce that can go with many different things, from vegetables, to chicken, lamb or fish. This sauce has it all. Even the color contrast of this dish is striking. As I mentioned last week, using the addition of a flavored olive oil is really wonderful, in this case Persian Lime. It pairs nicely with the fresh lime juice. Skip it if you don’t have it. If you have people in your family that don’t like too much heat, the Greek yogurt that accompanies this side will easily tamp it down.

Sweet potatoes are a terrific vegetable for people watching their weight. They are high in vitamin A, they support digestive and heart health, and they are rich in dietary fiber, keeping you full longer. They also stabilize your blood-sugar, fuel your brain, and since they are loaded with beta-carotene they are terrific for your eyes. So what’s not to like?

SWEET POTATOES WITH YOGURT & CILANTRO-CHILI SAUCE

INGREDIENTS:

  • 1/2 cup extra-virgin olive oil divided (Persian Lime if available)
  • 1/2 tablespoon local honey
  • Juice of 2 limes, divided
  • Kosher salt and freshly ground black pepper to taste
  • 2 1/4 pounds sweet potatoes, scrubbed and cut into 1-inch wedges
  • 1/2 bunch cilantro
  • 2 green chilies, seeded and chopped (I use jalapenos)
  • 2 garlic cloves, pressed or grated
  • 1/4 cup sliced blanched almonds
  • 1 tablespoon white wine vinegar
  • 1 cup Greek yogurt

INSTRUCTIONS:

  1. Heat oven to 400 degrees F. Line a large baking sheet with parchment paper.
  2. In a large bowl, combine 1/4 cup extra-virgin olive oil, honey, juice from 1 lime, salt and pepper to taste, and potato wedges. Toss to coat. Spread in a even layer on baking sheet, bake until tender and lightly browned in spots, about 45-55- minutes. Sprinkle with additional salt to taste.
  3. Meanwhile, in a food processor, pulse to combine 1/4 cup extra-virgin olive oil, the cilantro, chilies, garlic, almonds, juice from remaining lime, vinegar and a large pinch of salt, until it forms a chunky puree. Taste and add more salt if needed.
  4. Arrange sweet potatoes on a platter; spoon sauce in dollops over the potatoes, dollop with yogurt, drizzle with some olive oil, and serve with additional sauce and yogurt on the side.

Serve 4-6

“Our very survival depends on us staying awake, to adjust to new ideas, to remain vigilant, and to face the challenge of change.” –Martin Luther King